


 本文详细介绍了Spring Boot的两种全局配置方式——Application.properties和Application.yaml,以及两种注解在配置对象和属性时的应用。通过实例展示了如何配置Tomcat端口、web虚拟路径,如何创建并使用对象类型配置,以及解决汉字乱码问题。同时,对比了properties和yaml配置文件的使用差异。
一、Application.properties配置文件
(一)创建Spring Boot的Web项目PropertiesDemo
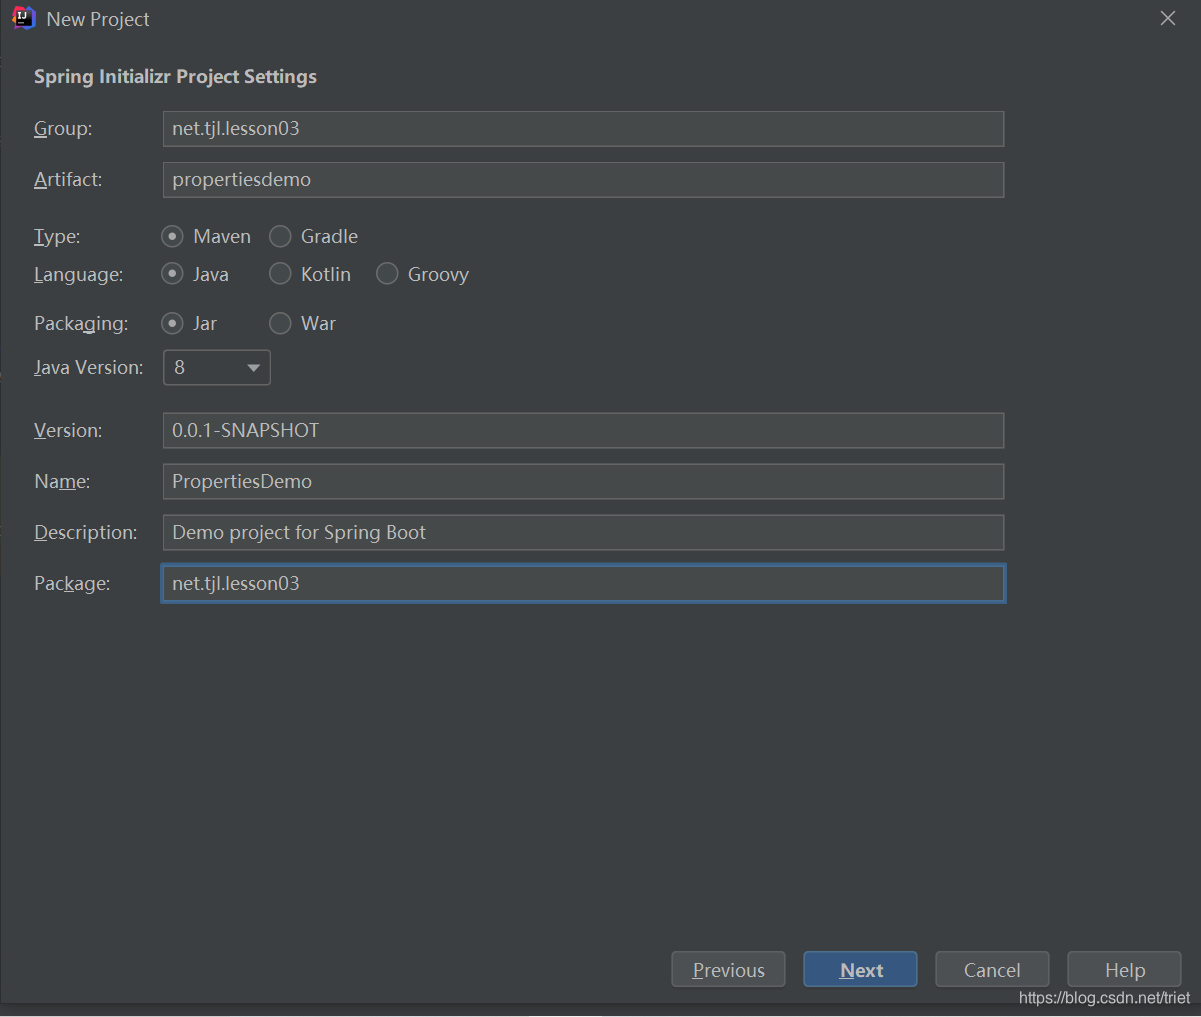
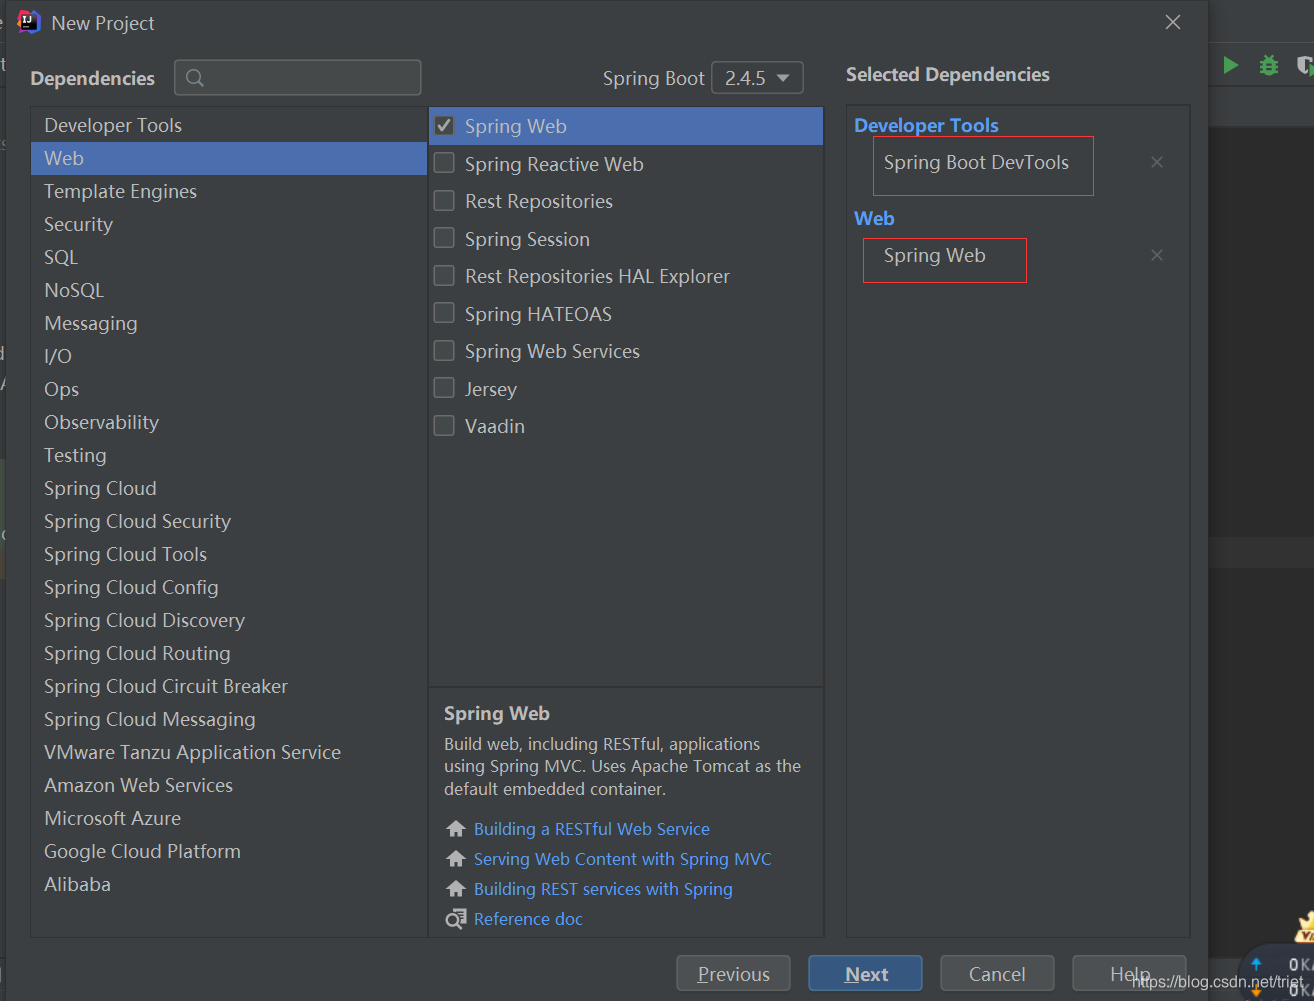
添加测试和Web依赖
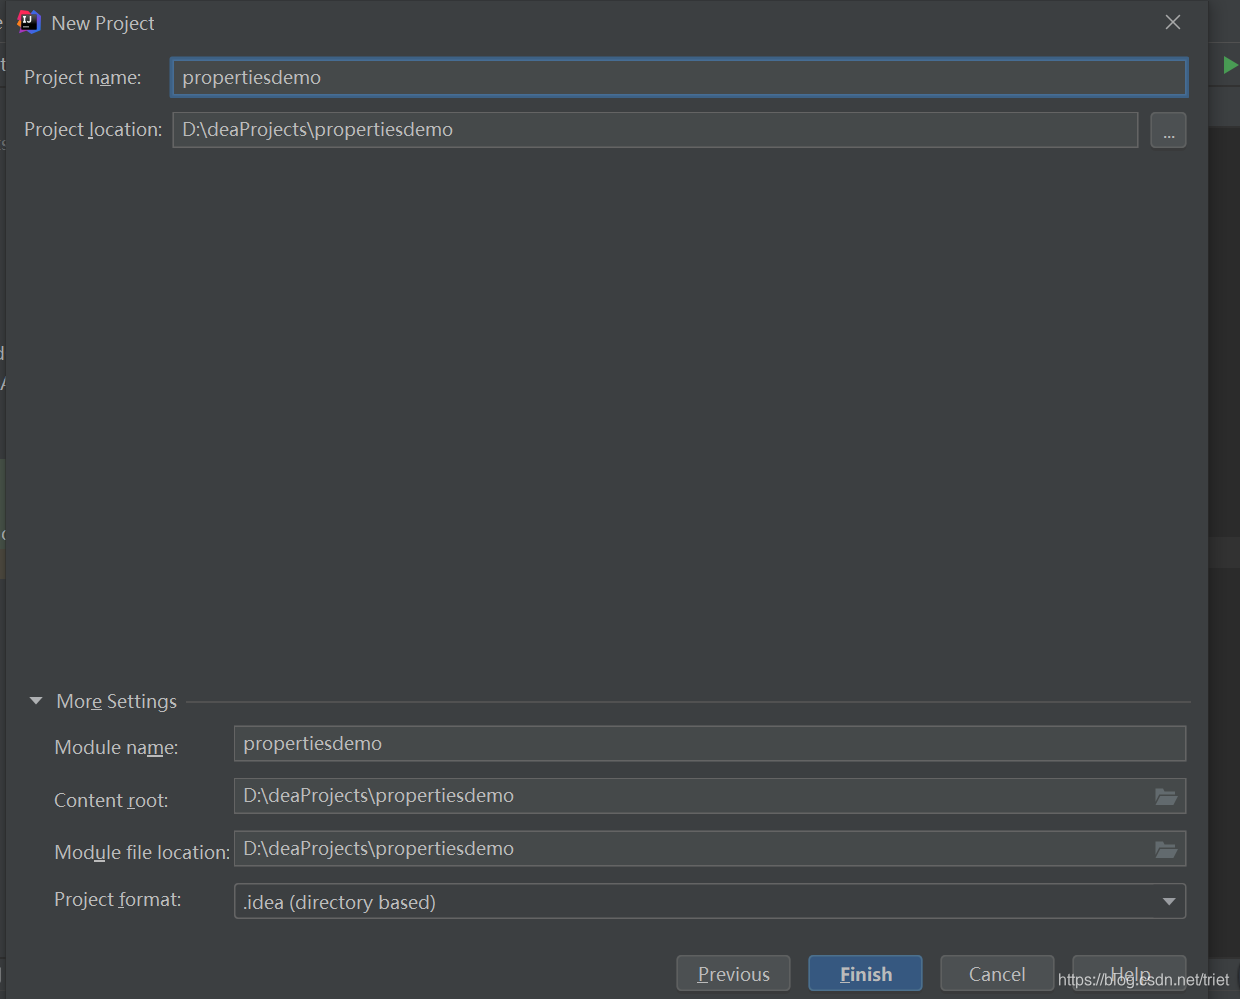
设置项目名称及保存位置
(二)在application.properties里添加相关配置
1、配置tomcat端口号和web虚拟路径
#修改tomcat默认端口号
server.port=8888
#修改web虚拟路径
server.servlet.context-path=/lzy
2、对象类型的配置与使用
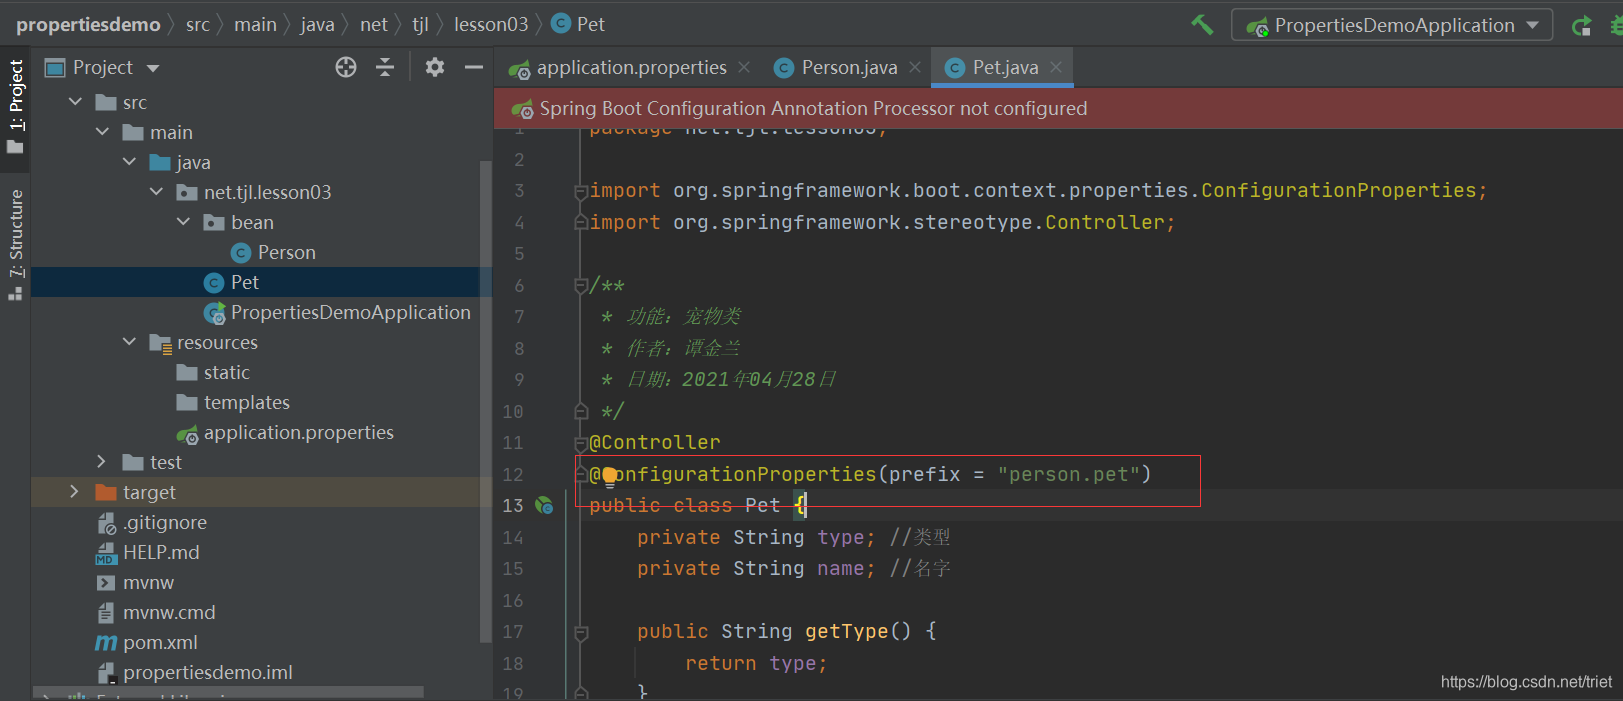
(1)创建Pet类
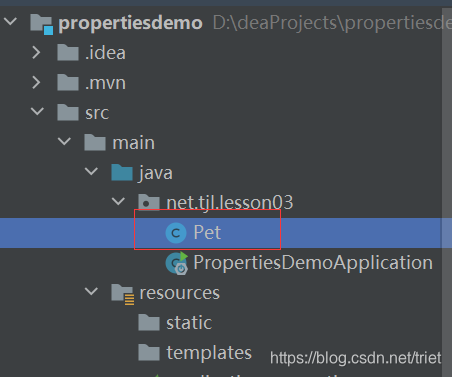
package net.tjl.lesson03;
/**
 * 功能:宠物类
 * 作者:谭金兰
 * 日期:2021年04月28日
 */
public class Pet {
    private String type; //类型
    private String name; //名字

    public String getType() {
        return type;
    }

    public void setType(String type) {
        this.type = type;
    }

    public String getName() {
        return name;
    }

    public void setName(String name) {
        this.name = name;
    }

    @Override
    public String toString() {
        return "Pet{" +
                "type='" + type + '\'' +
                ", name='" + name + '\'' +
                '}';
    }
}
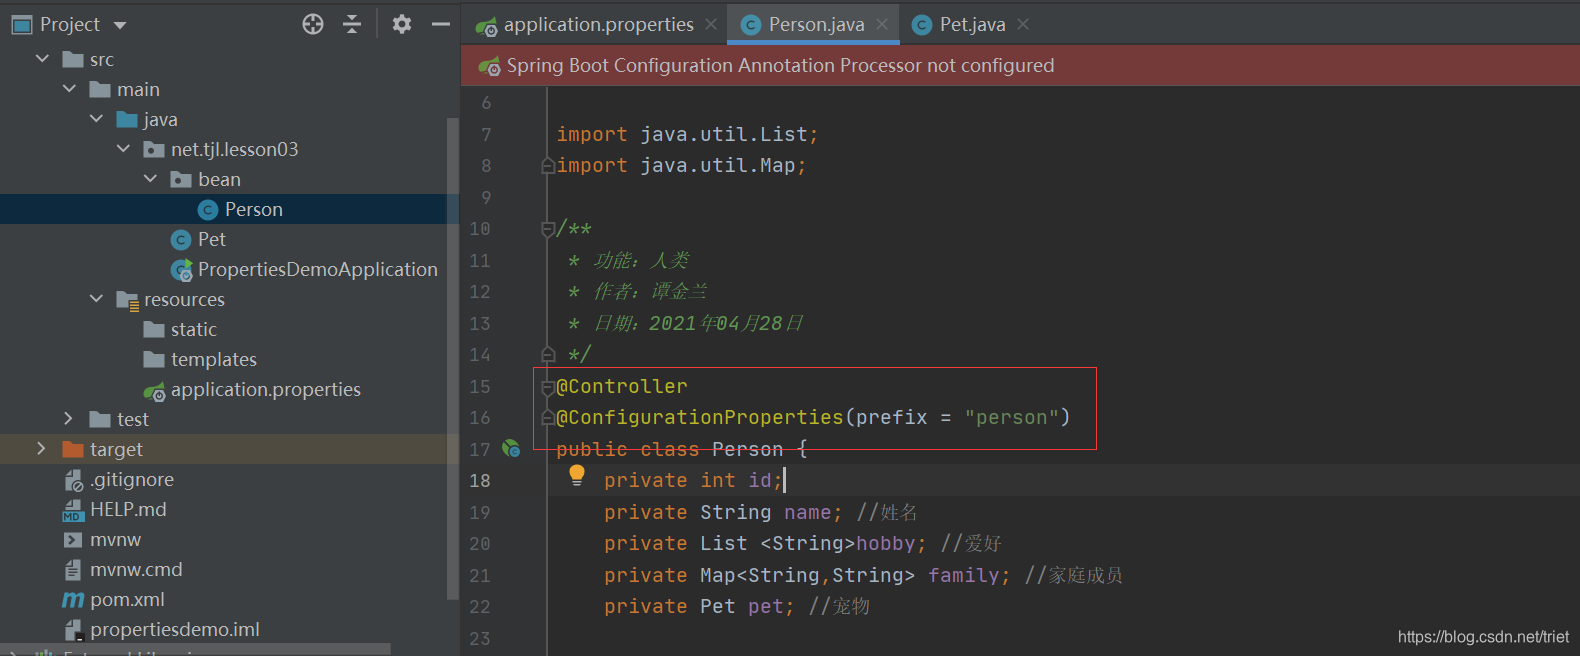
(2)创建Person类
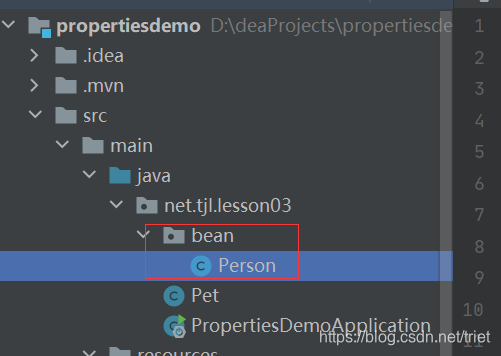
package net.tjl.lesson03.bean;

import net.tjl.lesson03.Pet;

import java.util.List;
import java.util.Map;

/**
 * 功能:人类
 * 作者:谭金兰
 * 日期:2021年04月28日
 */
public class Person {
    private int id;
    private String name; //姓名
    private List <String>hobby; //爱好
    private Map<String,String> family; //家庭成员
    private Pet pet; //宠物

    public int getId() {
        return id;
    }

    public void setId(int id) {
        this.id = id;
    }

    public String getName() {
        return name;
    }

    public void setName(String name) {
        this.name = name;
    }

    public List <String>getHobby() {
        return hobby;
    }

    public void setHobby(List<String> hobby) {
        this.hobby = hobby;
    }

    public Map <String,String>getFamily() {
        return family;
    }

    public void setFamily(Map<String,String> family) {
        this.family = family;
    }

    public Pet getPet() {
        return pet;
    }

    public void setPet(Pet pet) {
        this.pet = pet;
    }

    @Override
    public String toString() {
        return "Person{" +
                "id=" + id +
                ", name='" + name + '\'' +
                ", hobby=" + hobby +
                ", family=" + family +
                ", pet=" + pet +
                '}';
    }
}
(3)在application.properties里配置对象
#配置对象
#配置对象
person.id=1
person.name=谭金兰
person.hobby=旅游,美食,音乐
person.family.father=谭国富
person.family.mother=何明芝
person.family.grandpa=谭明
person.famliy.grandma=何敏
person.family.son=谭强
person.family.daughter=谭燕
person.pet.type=泰迪犬
person.pet.name=瑞瑞
(4)给Person类添加注解
(5)给Pet类添加注解
(6)从Spring容器里获取Person类的实例并输出
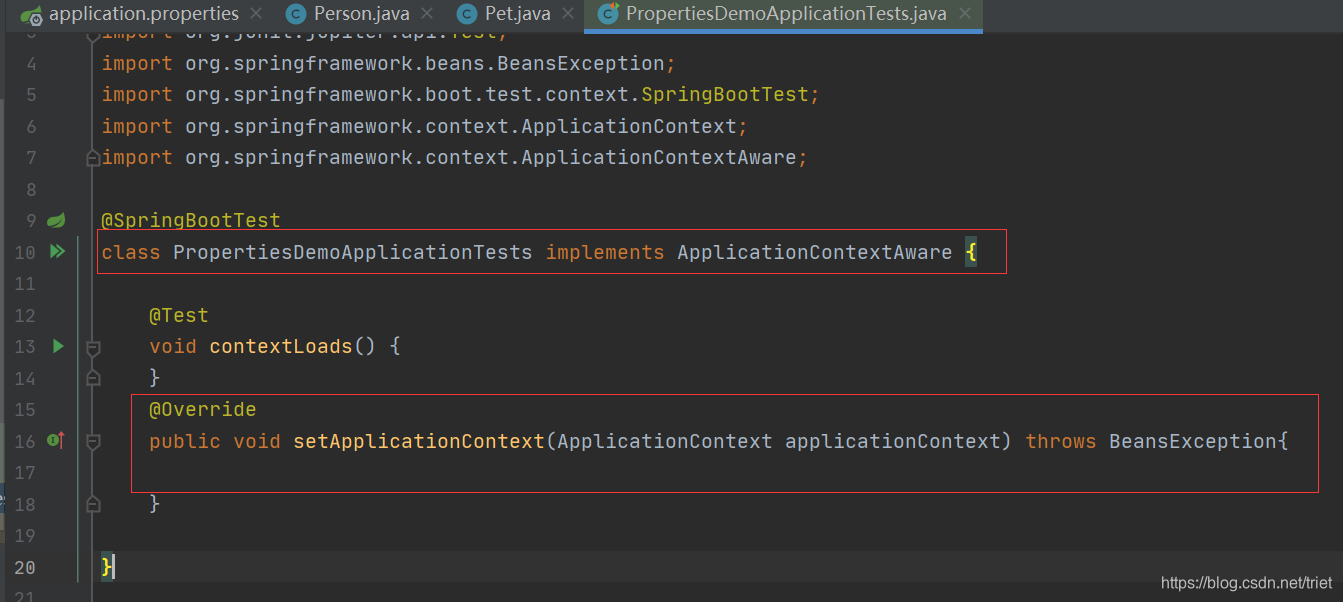
声明ApplicationContext对象,并在setApplicationContext里初始化
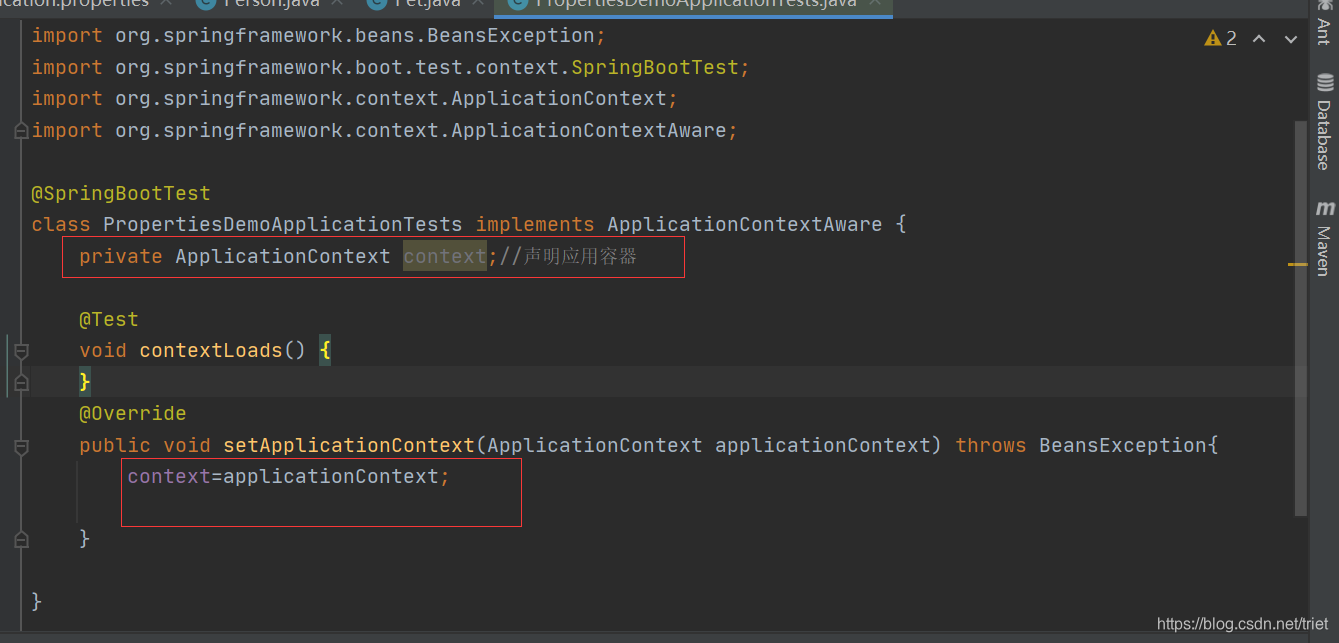
从Spring容器中获取Person类的实例并输出
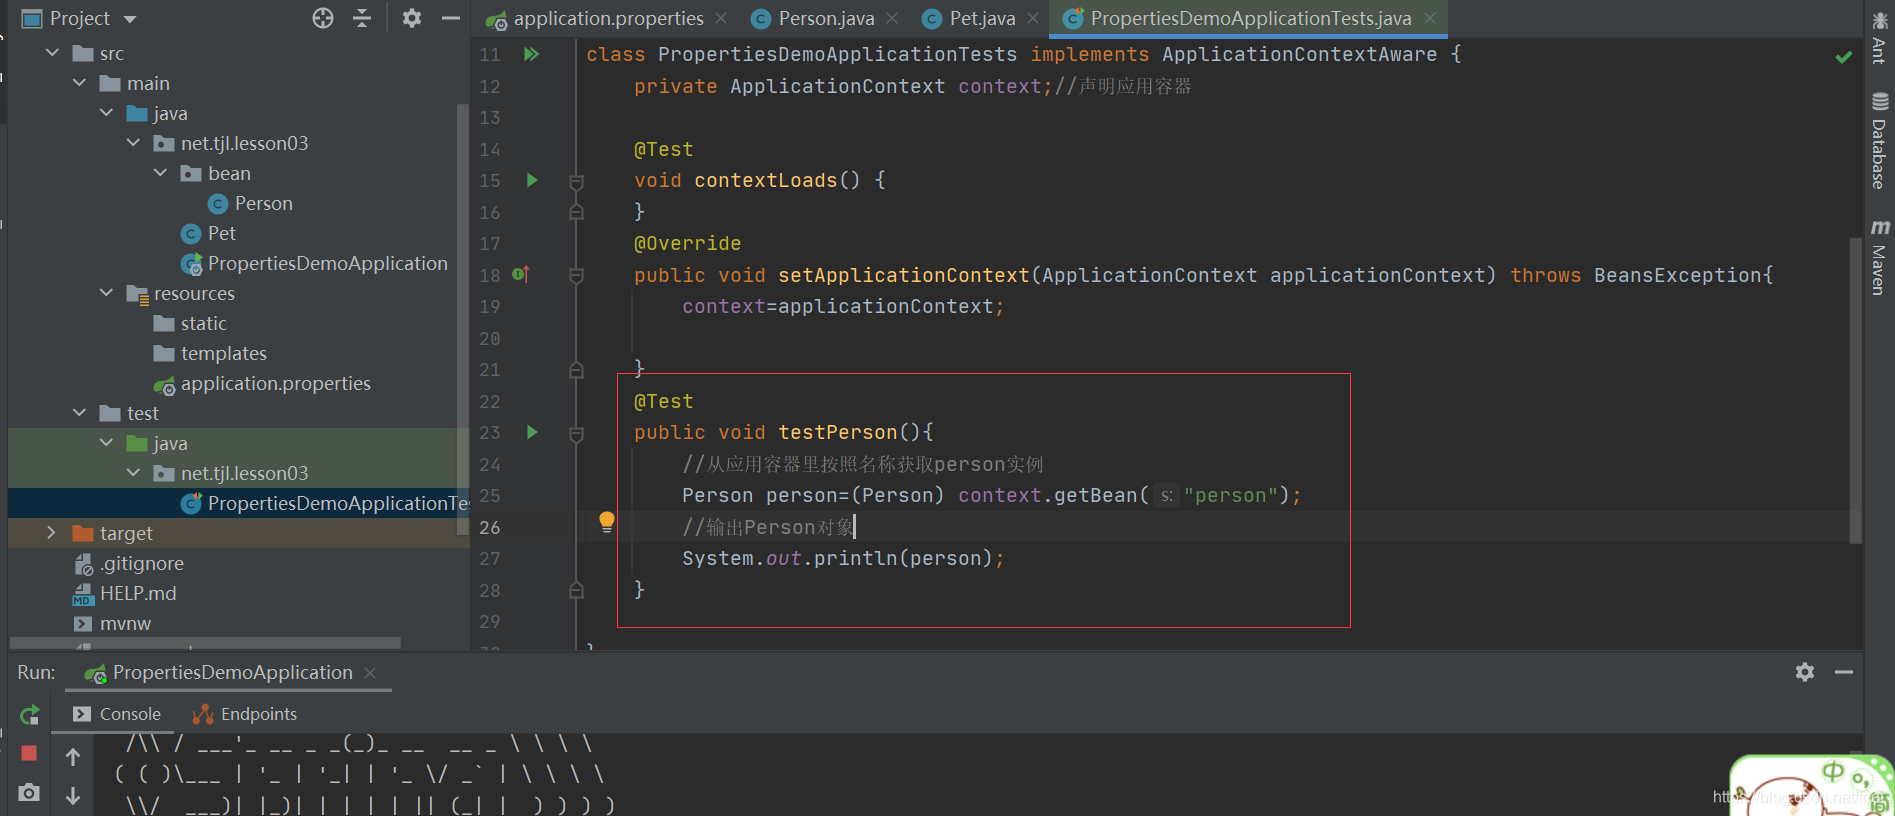
运行测试类,查看结果
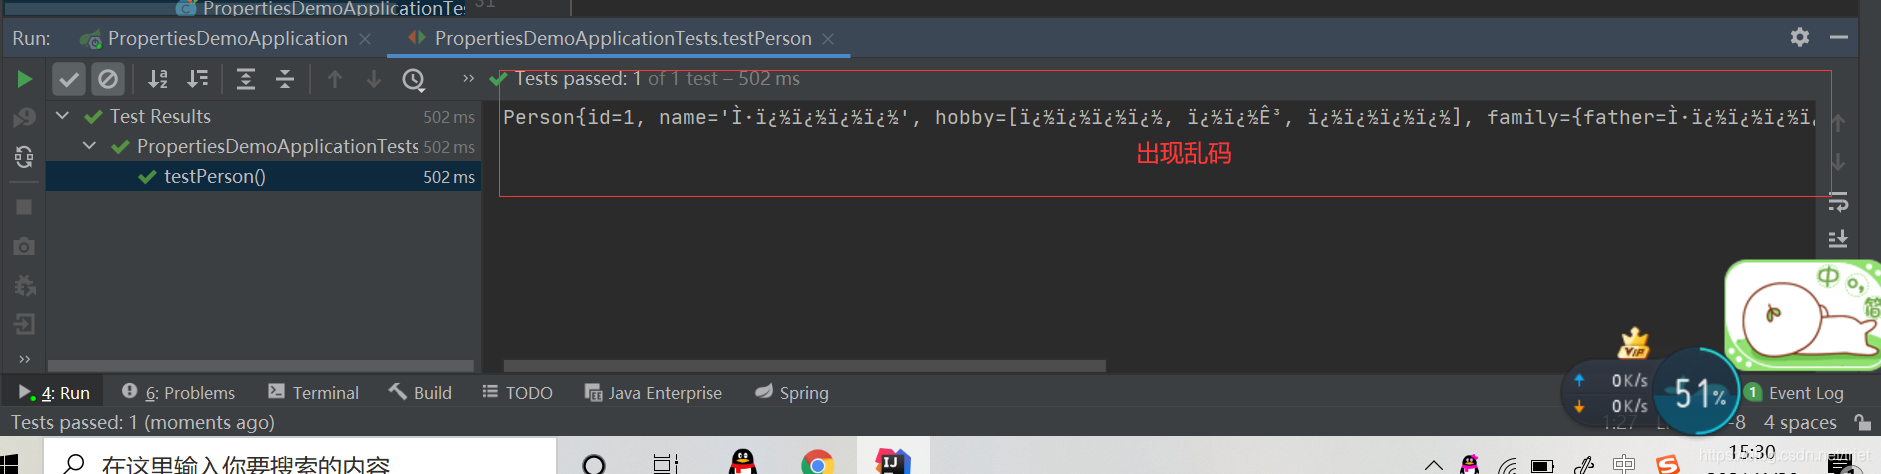
(7)解决输出结果的汉字乱码问题
D:\IdeaProjects\PropertiesDemo>cd src/main/resources

D:\IdeaProjects\PropertiesDemo\src\main\resources>native2ascii -encoding utf8 application.properties
#\u4fee\u6539tomcat\u9ed8\u8ba4\u7aef\u53e3\u53f7
server.port=8888
#\u4fee\u6539web\u865a\u62df\u8def\u5f84
server.servlet.context-path=/lzy

#\u914d\u7f6e\u5bf9\u8c61
person.id=1
person.name=\u5f20\u4e09\u4e30
person.hobby=\u65c5\u6e38,\u7f8e\u98df,\u97f3\u4e50
person.family.father=\u5f20\u4e91\u5149
person.family.mother=\u5434\u6587\u71d5
person.family.grandpa=\u5f20\u5b8f\u5b87
person.famliy.grandma=\u5510\u96e8\u6b23
person.family.son=\u5f20\u541b\u5b9d
person.family.daughter=\u5f20\u6653\u654f
person.pet.type=\u6cf0\u8fea\u72ac
person.pet.name=\u745e\u745e

D:\IdeaProjects\PropertiesDemo\src\main\resources>
修改application.properties文件,汉字采用unicode编码形式
#修改tomcat默认端口号
server.port=8888
#修改web虚拟路径
server.servlet.context-path=/lzy
#配置对象
#person.id=1
#person.name=谭金兰
#person.hobby=旅游,美食,音乐
#person.family.father=谭国富
#person.family.mother=何明芝
#person.family.grandpa=谭明
#person.famliy.grandma=何敏
#person.family.son=谭强
#person.family.daughter=谭燕
#person.pet.type=泰迪犬
#person.pet.name=瑞瑞
person.id=1
person.name=\u5f20\u4e09\u4e30
person.hobby=\u65c5\u6e38,\u7f8e\u98df,\u97f3\u4e50
person.family.father=\u5f20\u4e91\u5149
person.family.mother=\u5434\u6587\u71d5
person.family.grandpa=\u5f20\u5b8f\u5b87
person.famliy.grandma=\u5510\u96e8\u6b23
person.family.son=\u5f20\u541b\u5b9d
person.family.daughter=\u5f20\u6653\u654f
person.pet.type=\u6cf0\u8fea\u72ac
person.pet.name=\u745e\u745e
运行测试类PropertiesDemoApplicationTests,查看结果

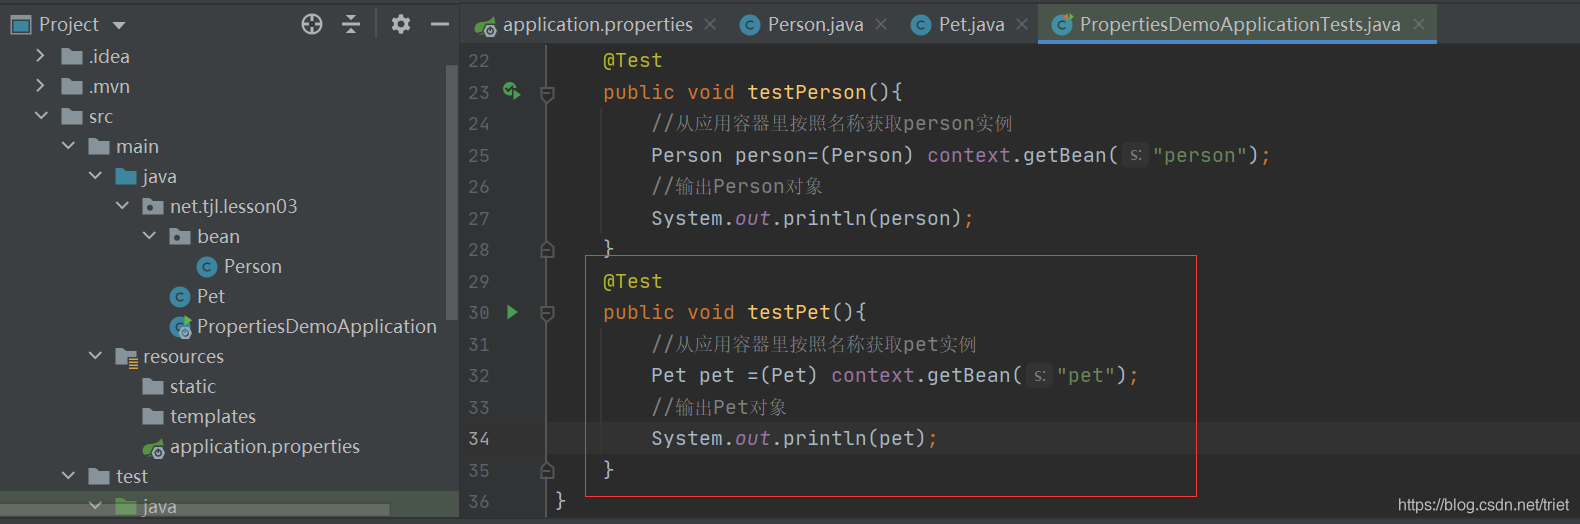
(8)从Spring容器里获取Pet类的实例并输出
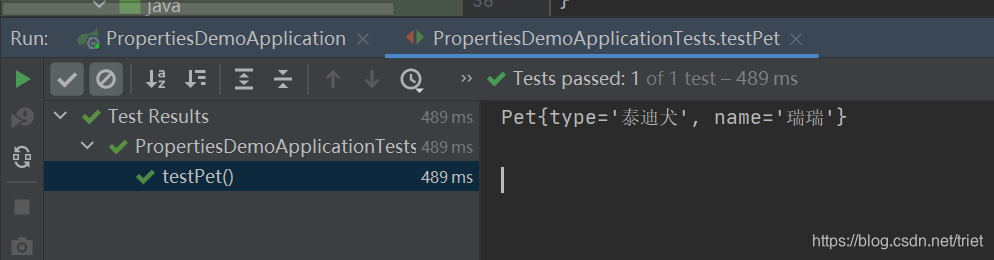
在测试类里添加测试方法testPet()
运行测试方法testPet(),查看结果
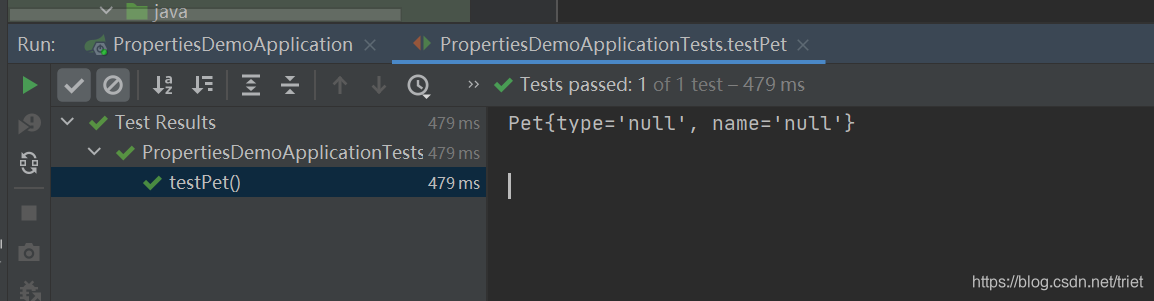
注释掉Pet类的配置属性的注解@ConfigurationProperties(prefix = “person.pet”)
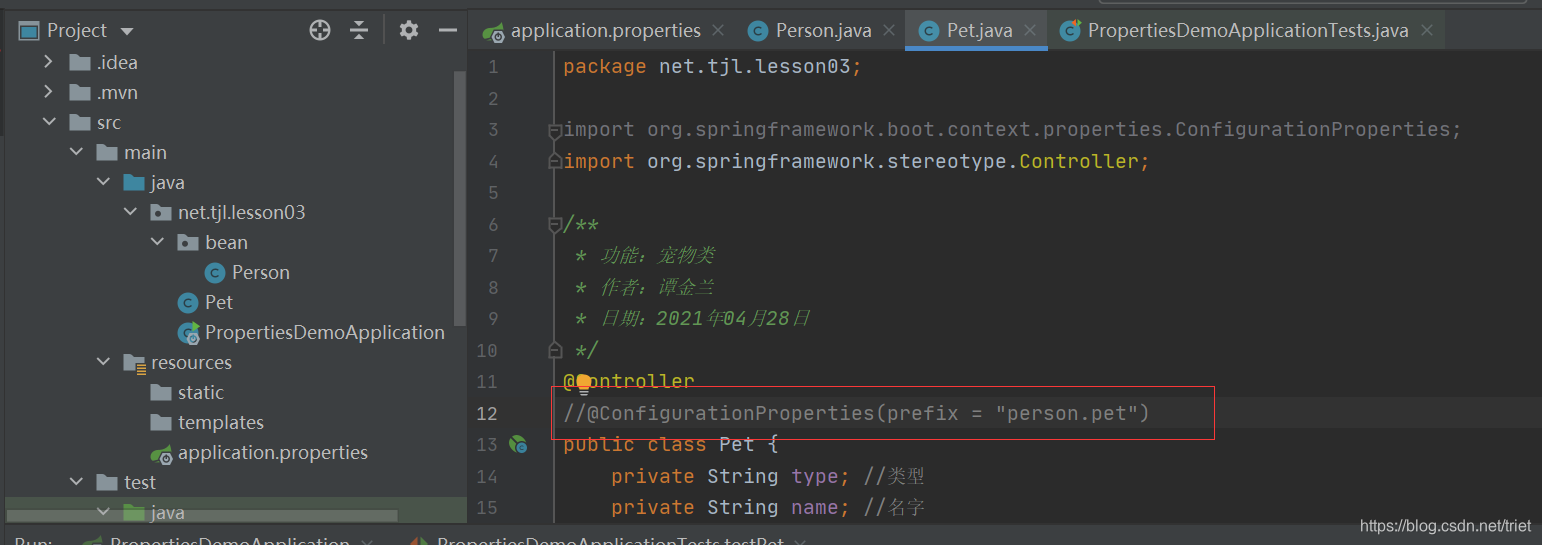
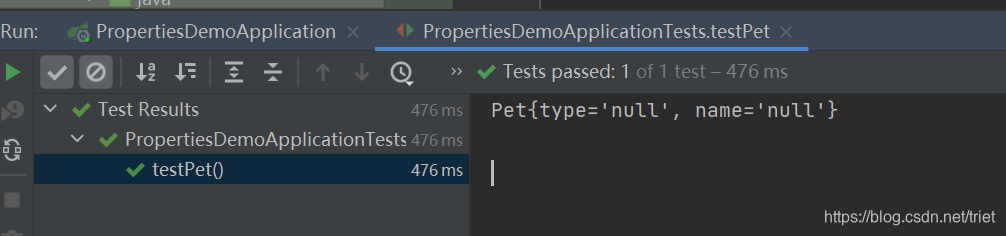
运行测试方法testPet(),查看结果
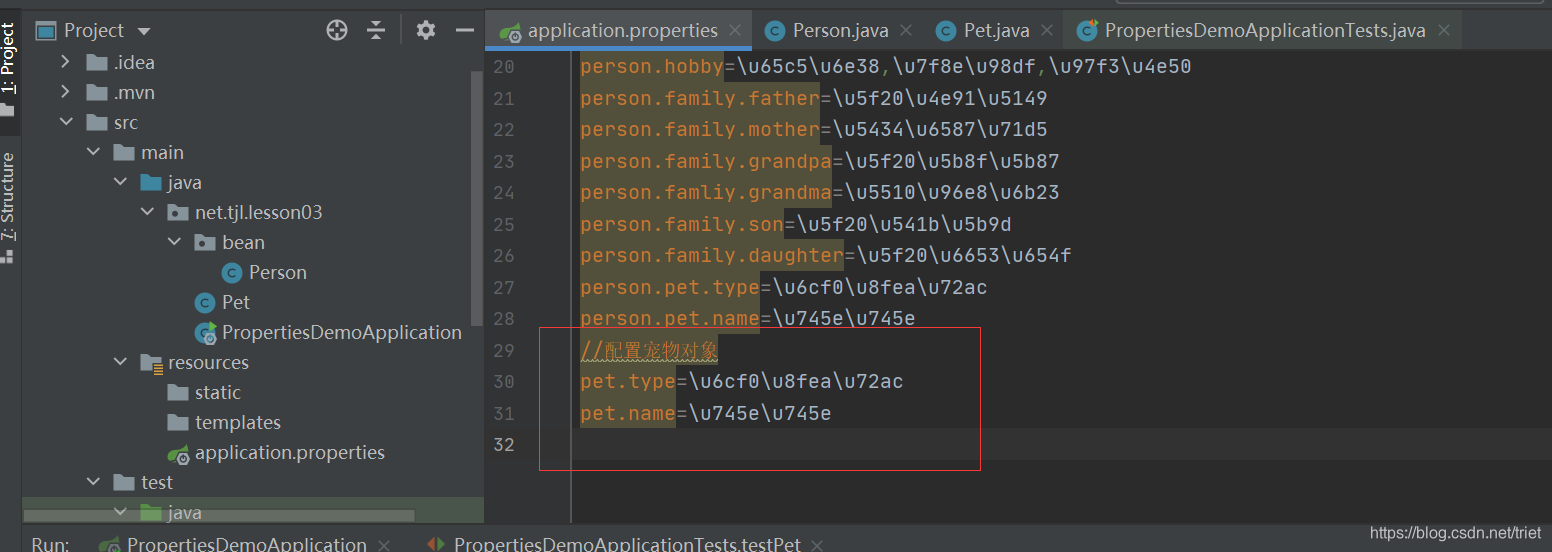
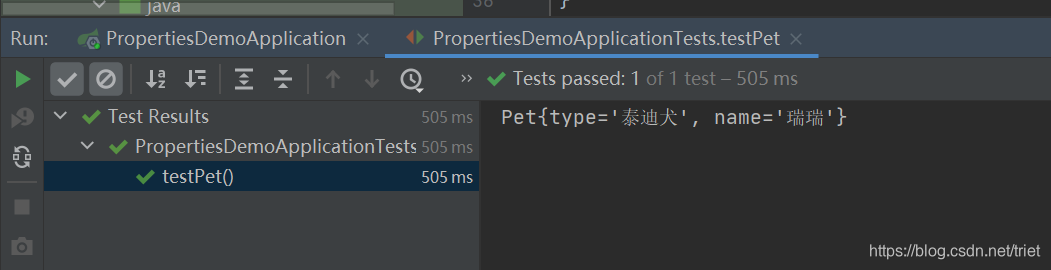
修改application.properties,配置宠物对象
再次运行测试方法testPet(),查看结果
给Pet类的属性添加值注解@Value
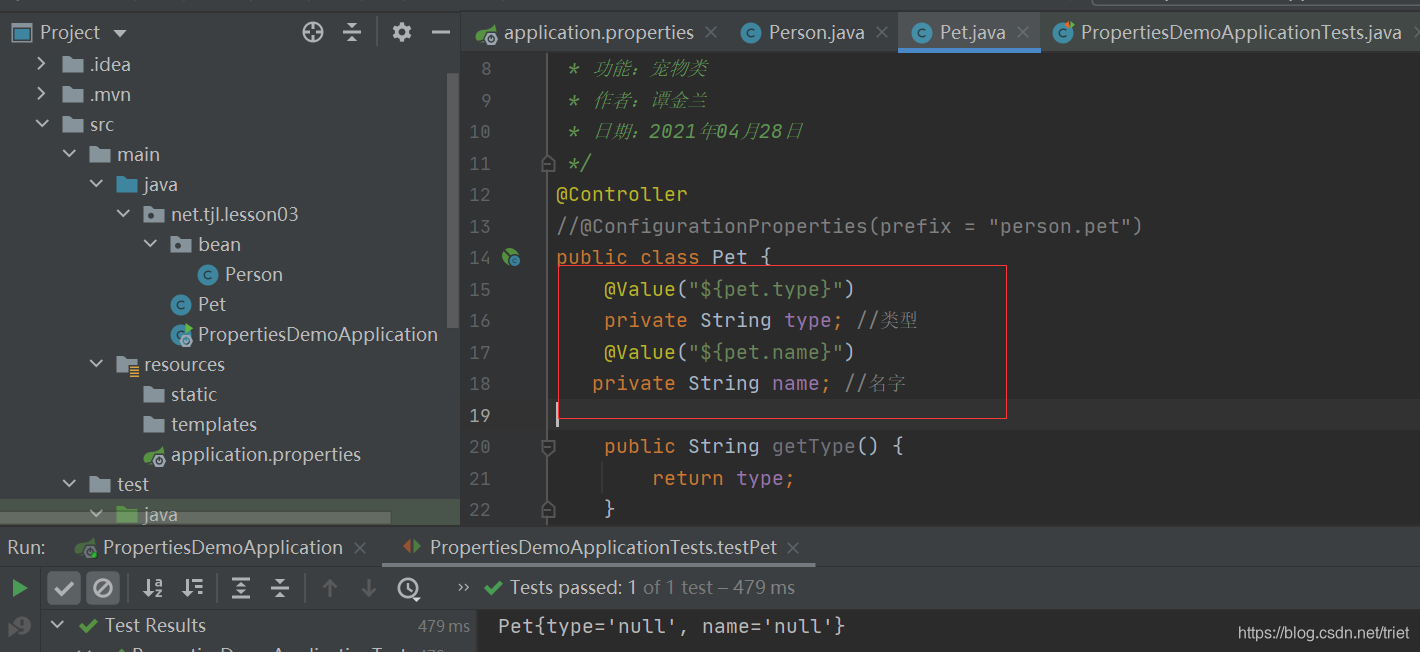
再次运行测试方法testPet(),查看结果
二、Application.yaml配置文件
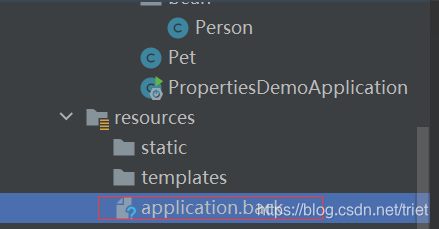
1、备份application.properties文件
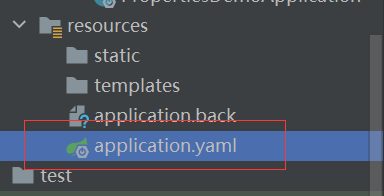
文件更名为application.back,即让此文件不起作用
2、在resoures目录里创建application.yaml文件
#配置服务器
server:
  port: 8888
  servlet:
    context-path: /lzy
#配置person对象
person:
  id: 1
  name: 张三丰
  hobby:
    旅游
    美食
    音乐
  family: {
    father: 张云光,
    mother: 吴文燕,
    grandpa: 张宏宇,
    grandma: 唐雨欣,
    son: 张君宝,
    daughter: 张晓敏
  }
  pet:
    type: 泰迪犬
    name: 瑞瑞

#配置pet对象
pet:
  type: 泰迪犬
  name: 瑞瑞
3、运行测试方法testPerson(),查看结果

4、运行测试方法testPet(),查看结果


 被折叠的 条评论
为什么被折叠?
被折叠的 条评论
为什么被折叠?
 到【灌水乐园】发言


