


 本文介绍如何使用Android的PercentRelativeLayout实现百分比布局,并提供自定义百分比布局的详细步骤,包括自定义属性、布局类及静态内部类的创建。
百分比布局
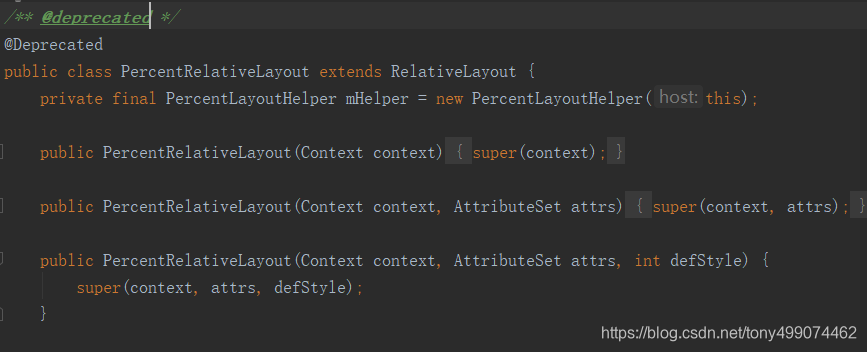
其实谷歌为开发者提供了 PercentRelativeLayout 百分比布局,它继承自RelativeLayout
下面我们就来简单使用它
在build.gradle中引用implementation 'com.android.support:percent:28.0.0'
在布局文件中使用它
<?xml version="1.0" encoding="utf-8"?>
<android.support.percent.PercentRelativeLayout xmlns:android="http://schemas.android.com/apk/res/android"
    xmlns:app="http://schemas.android.com/apk/res-auto"
    android:layout_width="match_parent"
    android:layout_height="match_parent"
    android:gravity="center">

    <TextView
        android:layout_width="wrap_content"
        android:layout_height="wrap_content"
        android:background="@color/colorAccent"
        android:text="百分百布局"
        app:layout_heightPercent="50%"
        app:layout_widthPercent="50%" />

</android.support.percent.PercentRelativeLayout>
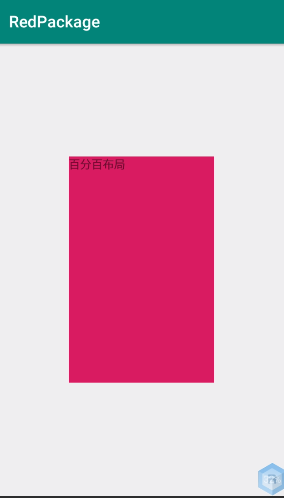
宽,高 各占百分之50% ,看看效果
接下来,我们自己 写一个 类似于 PercentRelativeLayout 的容器
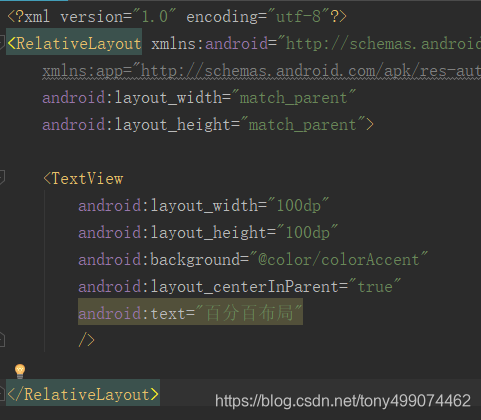
在此之前我们需要了解一下 布局文件 layout 的加载流程,我们在子view中设置的属性 在什么时候被解析的,
什么时候被使用的 下面我们就以 RelativeLayout 来说明,它的子view TextviewT设置的属性什么时候被解析的,什么时候
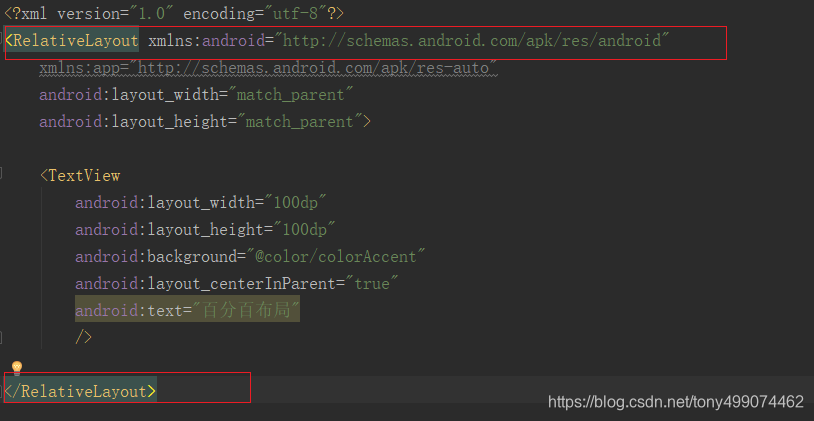
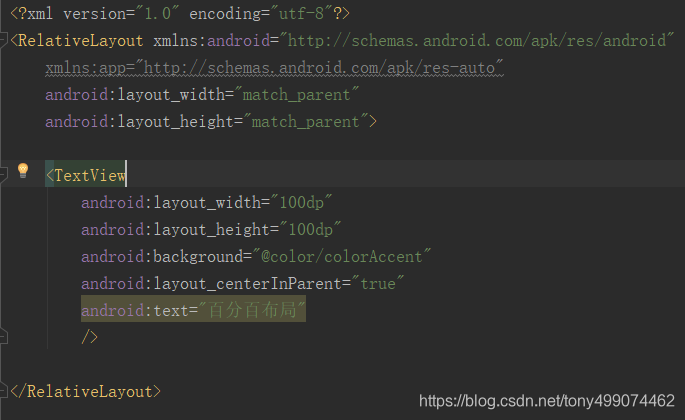
<?xml version="1.0" encoding="utf-8"?>
<RelativeLayout xmlns:android="http://schemas.android.com/apk/res/android"
    xmlns:app="http://schemas.android.com/apk/res-auto"
    android:layout_width="match_parent"
    android:layout_height="match_parent">

    <TextView
        android:layout_width="100dp"
        android:layout_height="100dp"
         android:layout_centerInParent="true"
        android:background="@color/colorAccent"
        android:text="百分百布局"
        />

</RelativeLayout>
首先我们使用该 Layout 布局文件时 是通过Activity的setContentView使用的
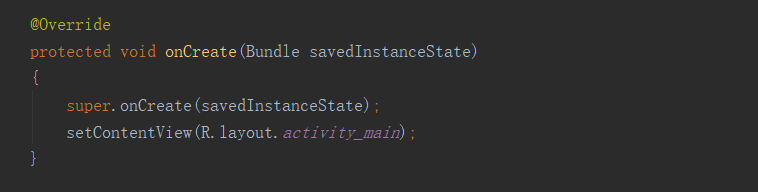
我们再进入到setContentView 的源码里面看看

可以看到 又调用的是 getWindow().setContentView(layoutResID); ,把布局传了进去,那这个getWindow ()是什么了?
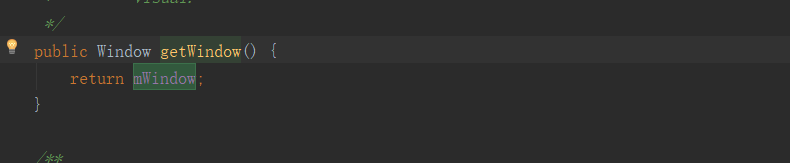
可以看到这个方法返回的是一个mWindow 对象,那么我们再看看这个对象是什么?

可以看到这是一个Window 类的对象引用,点点进去看看这个Window 类
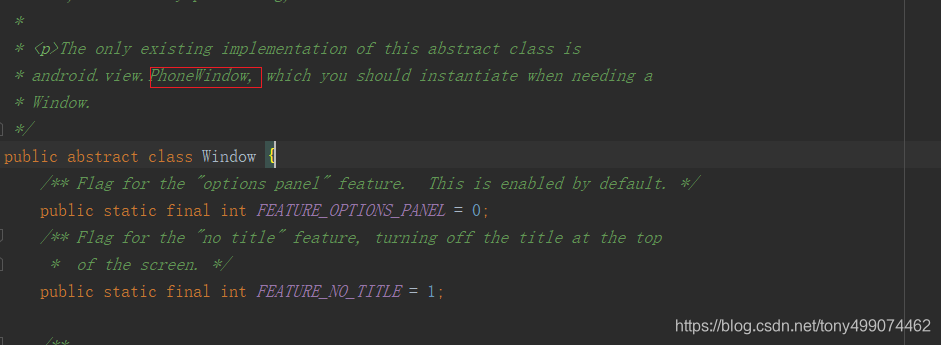
我们可以看到,这个Window 类是一个抽象类,从上面的注释翻译来看,它仅存在唯一子类 PhoneWindow,也就是说,PhoneWindow就是Window 的唯一实现子类
所以 getWindow().setContentView(layoutResID)最终调用到的是PhoneWindow类里面的 setContentView(int layoutResID)方法,把我们的布局文件传到了这里

我们此时注意到了   mLayoutInflater.inflate(layoutResID, mContentParent); 这行代码,它是加载我们布局文件 layoutResID
跟踪该方法,它调用的是这个方法

我们再进入这个 inflate 方法
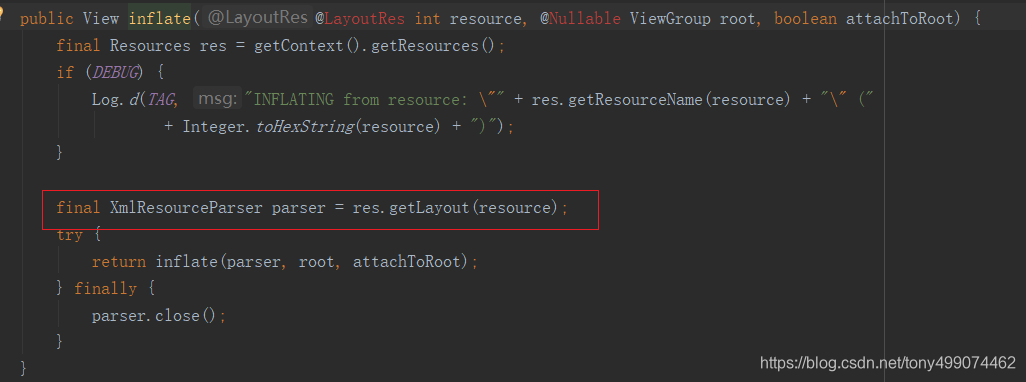
 final XmlResourceParser parser = res.getLayout(resource);
 此时已经开始解析我们的布局文件了
接着继续调用 return inflate(parser, root, attachToRoot); 这行代码
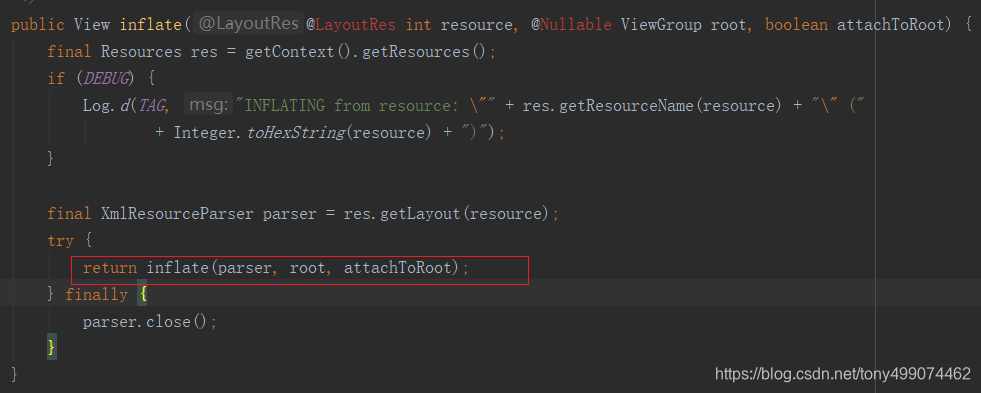
我们进入这个方法
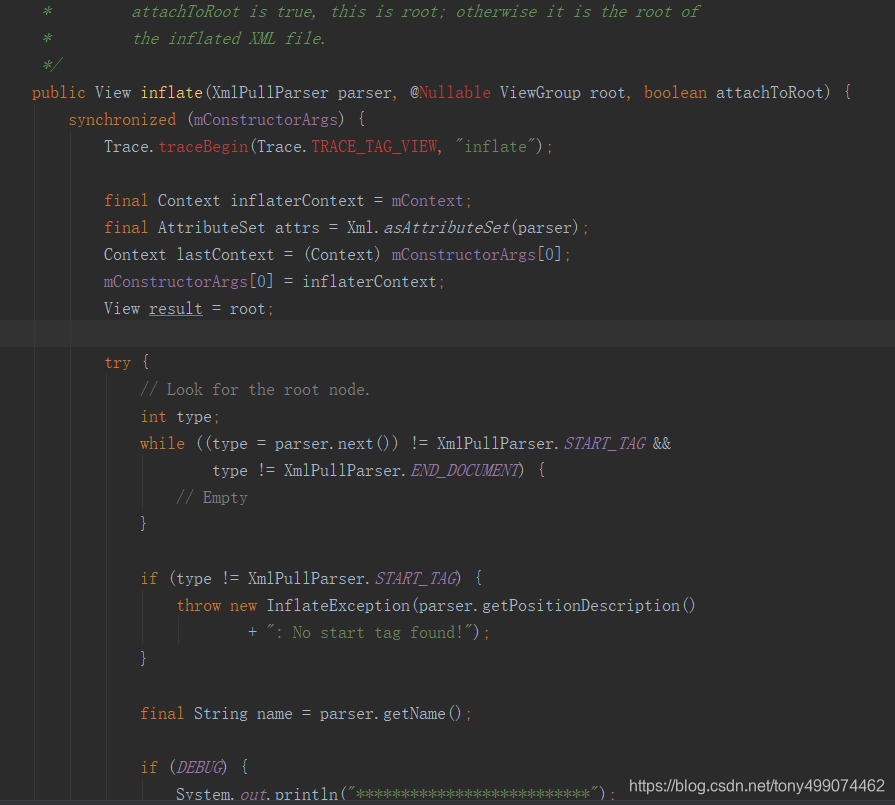
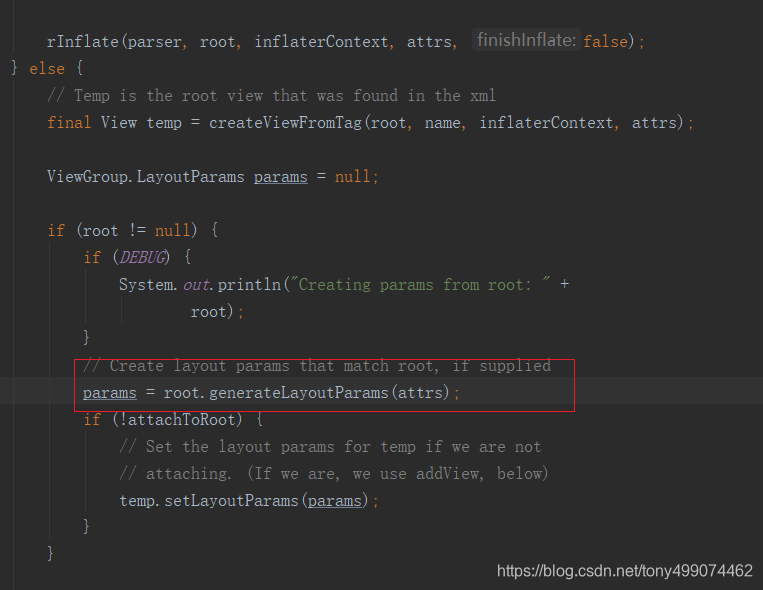
方法的开头是在获取一些节点信息,我们往方法的下面走
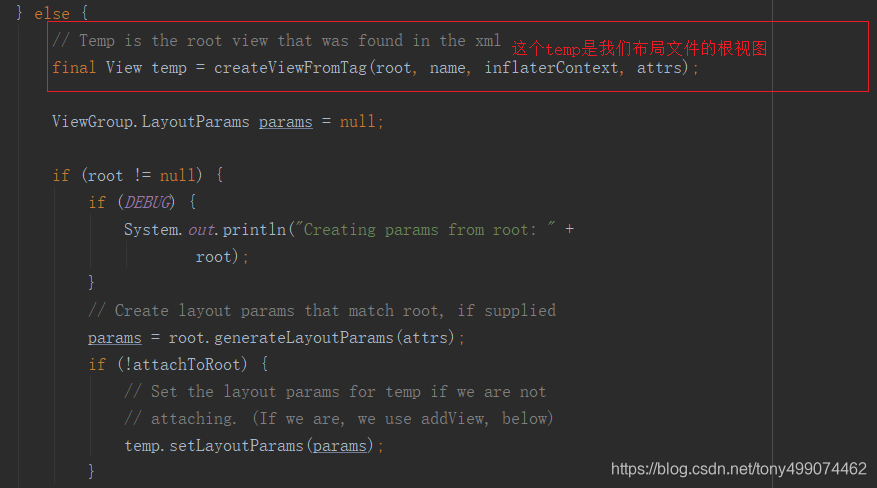
对应到我们布局文件就是下面这个根视图 上图的temp 就是 RelativeLayout
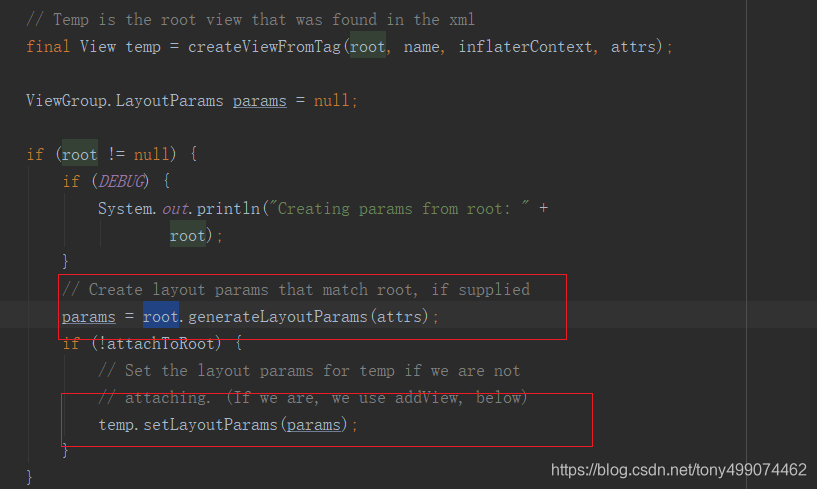
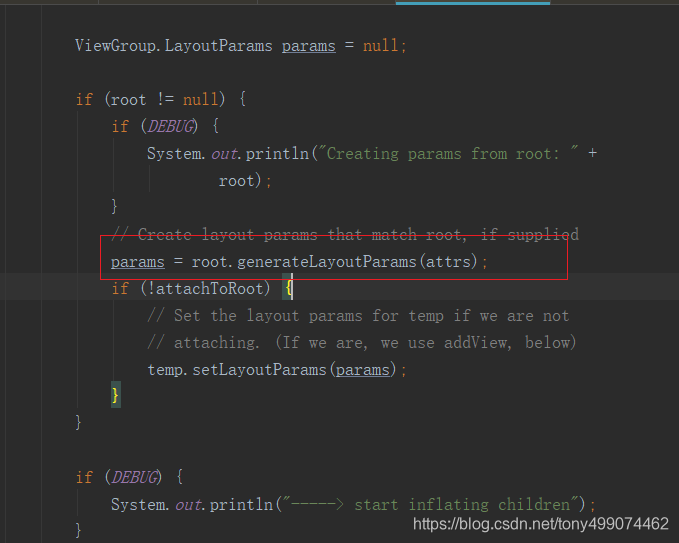
这里创建了一个params 对象 params = root.generateLayoutParams(attrs);,我们进入这个方法看看
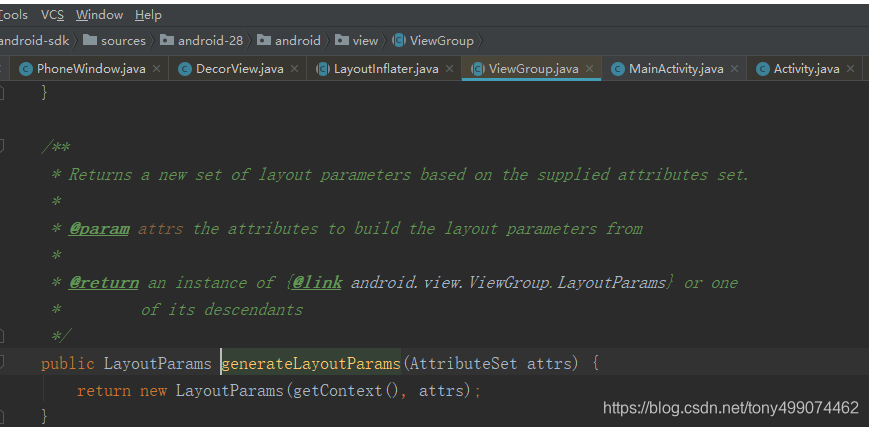
我们看到 它调用的是 ViewGroup 中的 generateLayoutParams方法,返回的是 LayoutParams 类 的对象,而这个类在ViewGroup 中是一个静态内部类,return new LayoutParams(getContext(), attrs) 调用的是这个内部类的构造方法

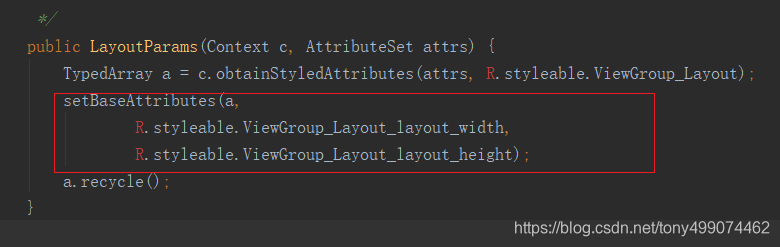
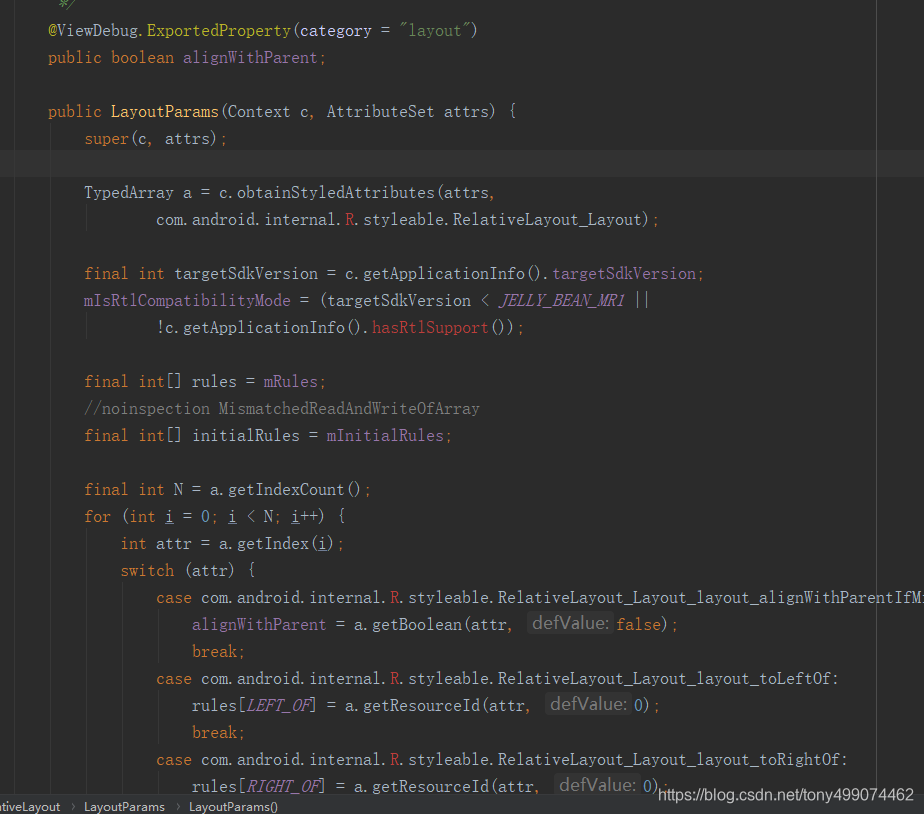
我们再看看LayoutParams 的构造方法中做了些什么?
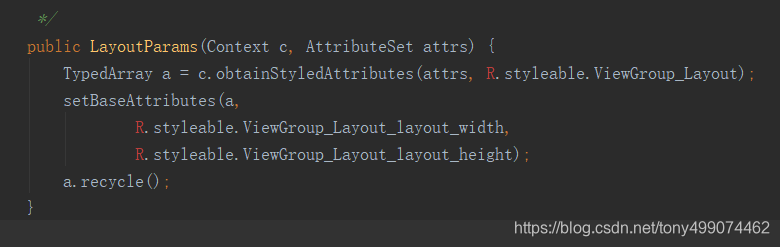
相信看到这里就有些熟悉吧,加载 styleable 里面的属性,这个styleable 和我们平时自定义控件时用到的是一样的,只不过这里
的styleable 是系统自己的,也就是谷歌工程师他们自己定义的,而且我们也必须用到 也就是我们在写自己的布局文件时写的
这两个属性
android:layout_width=“100dp”
android:layout_height=“100dp”
就是在styleable 中定义的,谷歌工程师们定义的
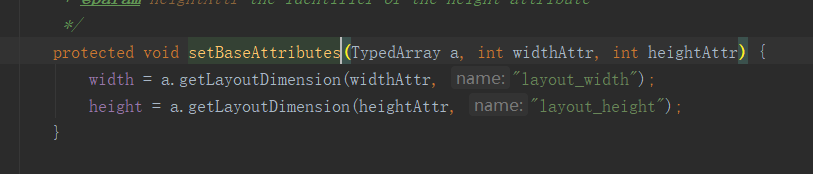
这里明显是根据 layout_width,layout_height 来取值,也正面了上面我们所说的,取到的值赋值给 LayoutParams 里面的 width,height
到了这里,我们 自己在布局文件中定义的 100dp,100dp,已经被解析处理并赋值给了 LayoutParams 里面的 width,height,
此时 LayoutParams 对象里面的 width 和 height已经有值了
我们再回到这里来
params 对象此时已经被创建出来了
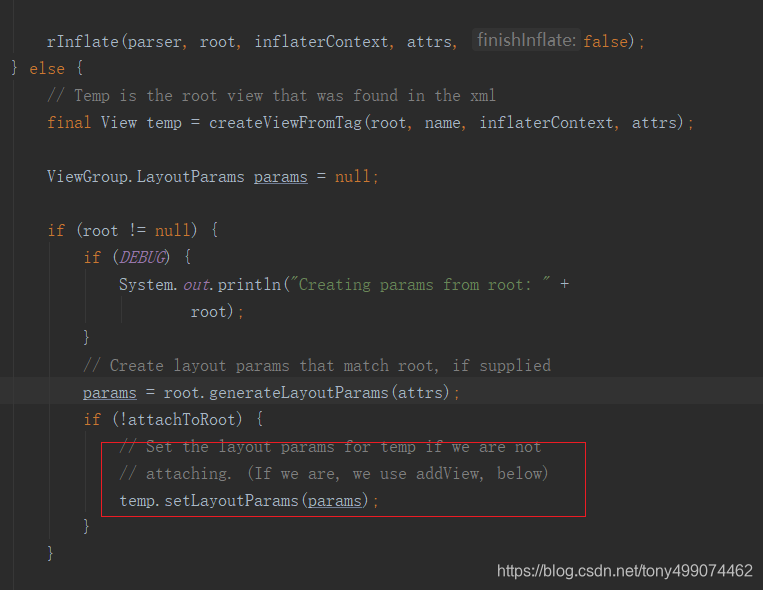
我们看看 这行代码 temp.setLayoutParams(params);
temp是我们 自己布局文件的根布局,也就是 RelativeLayout
看到这里我们就明白了 params包含子view的 宽,高,等信息 ,把这些信息设置到我们父容器中去,然后父容器根据这些信息来约束我们 子view 的显示,在父容器的onMeasure方法中,来测量子view的宽 高 等信息
RelativeLayout
在我们布局文件中用到的是 RelativeLayout ,而RelativeLayout 继承于 ViewGroup, ViewGroup有LayoutParams这个内部类,那RelativeLayout 也一定有一个这样的内部类,这里面的属性是不是很熟悉了

这个内不类的构造方法,可以看到 这里也是在 获取属性,为不同的属性赋值
那么这个构造方法在那里调用了?
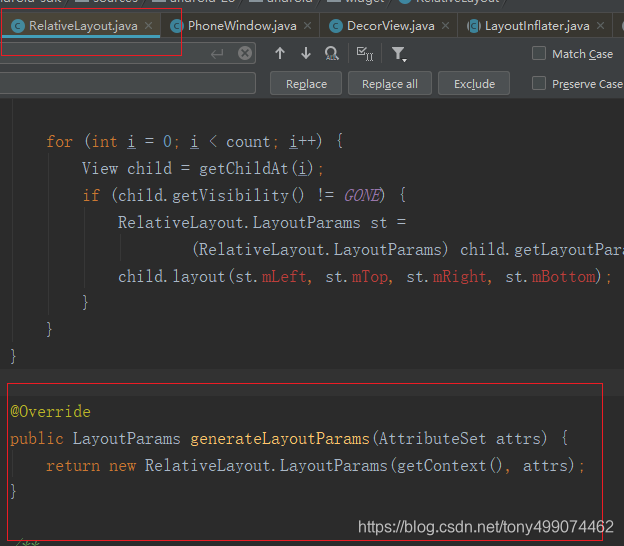
看到了吧,在generateLayoutParams(AttributeSet attrs) 这个方法里调用的,而这个方法是 重写 的父类的方法
我们再次回到这几行代码中来
当我们使用的时RelativeLayout时,root.generateLayoutParams(attrs) 实际上调用的是
 RelativeLayout中的generateLayoutParams(AttributeSet attrs) ,
 因为 RelativeLayout重写了 ViewGroup中的generateLayoutParams 方法

从而调用了 RelativeLayout 中 的 静态内部类 LayoutParams类的构造方法,

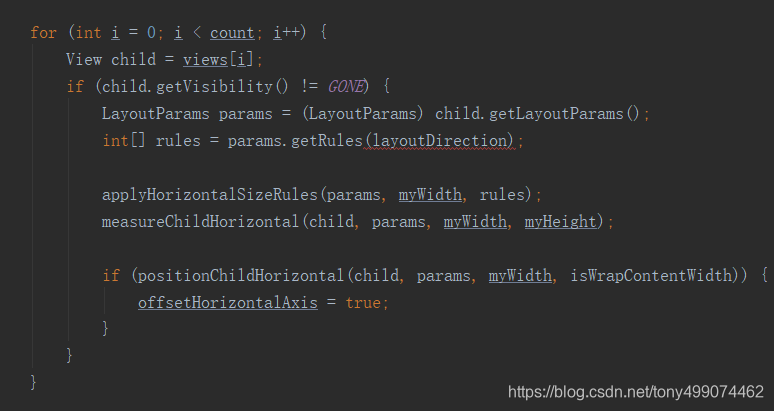
随后调用 onMeasure 方法 进行测量
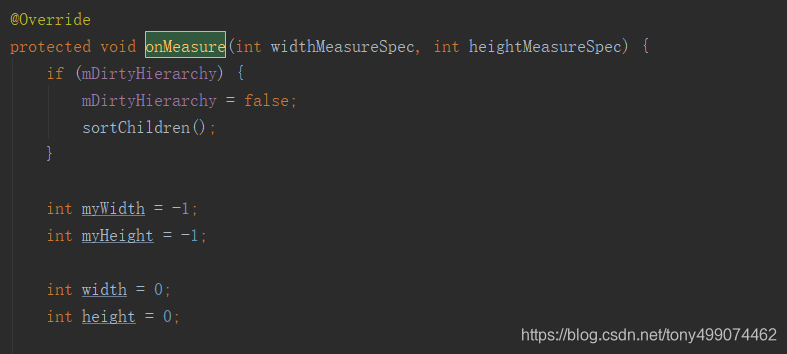
在onMeasure 方法中 为每一个子view 设置 它的属性值
开始写我们自己的 百分比布局
到此 我们就不再分析源码了,开始写我们自己的 百分比布局
第一步 自定义属性
<?xml version="1.0" encoding="utf-8"?>
<resources>

    <declare-styleable name="PercentLayout">
        <attr name="widthPercent" format="float" />
        <attr name="heightPercent" format="float" />
        <attr name="marginLeftPercent" format="float" />
        <attr name="marginRightPercent" format="float" />
        <attr name="marginTopPercent" format="float" />
        <attr name="marginBottomPercent" format="float" />
    </declare-styleable>

</resources>
第二部
定义 PercentLayout 类 继承于RelativeLayout
定义静态内部类继承于 RelativeLayout.LayoutParams
public static class LayoutParams extends RelativeLayout.LayoutParams


 public class PercentLayout extends RelativeLayout {

    public PercentLayout(Context context) {
        super(context);
    }

    public PercentLayout(Context context, AttributeSet attrs) {
        super(context, attrs);
    }

    public PercentLayout(Context context, AttributeSet attrs, int defStyleAttr) {
        super(context, attrs, defStyleAttr);
    }

    @Override
    protected void onMeasure(int widthMeasureSpec, int heightMeasureSpec) {
        //获取父容器的尺寸
        int widthSize = MeasureSpec.getSize(widthMeasureSpec);
        int heightSize = MeasureSpec.getSize(heightMeasureSpec);
        int count = getChildCount();
        for (int i = 0; i < count; i++) {
            View child = getChildAt(i);
            ViewGroup.LayoutParams params = child.getLayoutParams();
            //如果说是百分比布局属性
            if (checkLayoutParams(params)){
                LayoutParams lp = (LayoutParams)params;
                 float widthPercent = lp.widthPercent;
                 float heightPercent = lp.heightPercent;
                 float marginLeftPercent = lp.marginLeftPercent;
                 float marginRightPercent= lp.marginRightPercent;
                 float marginTopPercent= lp.marginTopPercent;
                 float marginBottomPercent = lp.marginBottomPercent;

                 if (widthPercent > 0){
                     params.width = (int) (widthSize * widthPercent);
                 }

                if (heightPercent > 0){
                    params.height = (int) (heightSize * heightPercent);
                }

                if (marginLeftPercent > 0){
                    ((LayoutParams) params).leftMargin = (int) (widthSize * marginLeftPercent);
                }

                if (marginRightPercent > 0){
                    ((LayoutParams) params).rightMargin = (int) (widthSize * marginRightPercent);
                }

                if (marginTopPercent > 0){
                    ((LayoutParams) params).topMargin = (int) (heightSize * marginTopPercent);
                }

                if (marginBottomPercent > 0){
                    ((LayoutParams) params).bottomMargin = (int) (heightSize * marginBottomPercent);
                }

            }
        }

        super.onMeasure(widthMeasureSpec, heightMeasureSpec);
    }

    @Override
    protected boolean checkLayoutParams(ViewGroup.LayoutParams p) {
        return p instanceof LayoutParams;
    }
    //一定要重写此方法 布局属性才能生效
    public LayoutParams generateLayoutParams(AttributeSet attrs){
        return new LayoutParams(getContext(), attrs);
    }

    public static class LayoutParams extends RelativeLayout.LayoutParams{

        private float widthPercent;
        private float heightPercent;
        private float marginLeftPercent;
        private float marginRightPercent;
        private float marginTopPercent;
        private float marginBottomPercent;

        public LayoutParams(Context c, AttributeSet attrs) {
            super(c, attrs);
            //解析自定义属性
            TypedArray a = c.obtainStyledAttributes(attrs,R.styleable.PercentLayout);
            widthPercent = a.getFloat(R.styleable.PercentLayout_widthPercent, 0);
            heightPercent = a.getFloat(R.styleable.PercentLayout_heightPercent, 0);
            marginLeftPercent = a.getFloat(R.styleable.PercentLayout_marginLeftPercent, 0);
            marginRightPercent = a.getFloat(R.styleable.PercentLayout_marginRightPercent, 0);
            marginTopPercent = a.getFloat(R.styleable.PercentLayout_marginTopPercent, 0);
            marginBottomPercent = a.getFloat(R.styleable.PercentLayout_marginBottomPercent, 0);
            a.recycle();
        }
    }
}
第三部 布局文件中引用
<?xml version="1.0" encoding="utf-8"?>
<com.rx.myapplication.PercentLayout xmlns:android="http://schemas.android.com/apk/res/android"
xmlns:app="http://schemas.android.com/apk/res-auto"
xmlns:tools="http://schemas.android.com/tools"
android:layout_width="match_parent"
android:layout_height="match_parent"
tools:context=".MainActivity">
<TextView
android:layout_width="wrap_content"
android:layout_height="wrap_content"
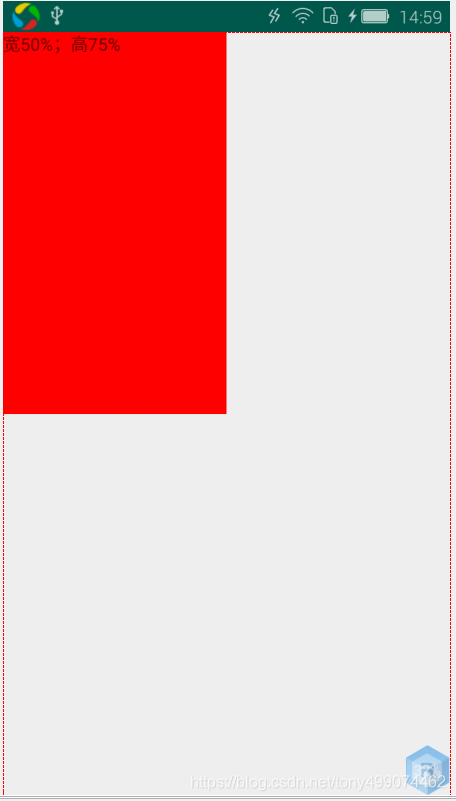
android:text="宽50%;高50%"
android:background="#f00"
//我们自己定义的属性
app:widthPercent="0.5" //宽 是屏幕的一半
app:heightPercent="0.5"//高 是屏幕的一半
/>
</com.rx.myapplication.PercentLayout>
下面贴图效果


 1081
1081

 被折叠的 条评论
为什么被折叠?
被折叠的 条评论
为什么被折叠?
 到【灌水乐园】发言


