


因工作需要,需要将jpg图片上传,但是系统对文件大小有要求。
经过AI豆包的帮助,完成批量减少的脚本(Powershell)。
注意:这个脚本的运行,需要有.net环境,默认win10/win11已经安装。其他版本,如果没有需要自行安装(在此,过程略)。
一、poweshell脚本代码:
#----------------------------分割线-脚本开始------------------------------------------------------------------
param(
[int]$MaxWidth = 1024,
[int]$MaxHeight = 800,
[int]$Quality = 80,
[int]$MinFileSizeKB = 200 # 小于此大小(KB)的文件不处理,直接复制
)
# 修改Bug后的程序
# 如果脚本权限不足,可以执行"Set-ExecutionPolicy RemoteSigned"
#豆包你好,请编写powershell代码,完成:
#1-将当前目录下01文件夹极其子文件夹下的jpg文件,降低分辨率。
#1.5-如果jpg文件小于200KB,不用处理,直接复制。
#2-降低分辨率后的文件保存在当前文件夹下02文件夹,如果是在01文件夹下子文件夹的文件,如果在02文件夹下没有对应子文件夹,请先建立同名子文件夹,然后保存在同名子文件夹。谢谢
# 转换为字节数便于比较
$minFileSizeBytes = $MinFileSizeKB * 1024
# 定义源目录和目标目录
$sourceRoot = "C:\01\01"
$destRoot = "C:\01\02"
# 检查源目录是否存在
if (-not (Test-Path -Path $sourceRoot -PathType Container)) {
Write-Error "源目录不存在: $sourceRoot"
exit 1
}
# 确保目标根目录存在
if (-not (Test-Path -Path $destRoot -PathType Container)) {
New-Item -ItemType Directory -Path $destRoot | Out-Null
Write-Host "已创建目标根目录: $destRoot"
}
# 加载必要的.NET assemblies
Add-Type -AssemblyName System.Drawing
# 获取所有JPG文件(包括子文件夹)
$jpgFiles = Get-ChildItem -Path $sourceRoot -Filter *.jpg -File -Recurse
if ($jpgFiles.Count -eq 0) {
Write-Host "在源目录中未找到任何JPG文件: $sourceRoot"
exit 0
}
$processedCount = 0
$copiedCount = 0
$totalCount = $jpgFiles.Count
foreach ($file in $jpgFiles) {
# 初始化可能需要释放的对象
$image = $null
$newImage = $null
$graphic = $null
$encoderParams = $null
try {
# 计算相对路径,用于在目标目录中创建相同的结构
$relativePath = $file.DirectoryName.Substring($sourceRoot.Length)
$destDirectory = Join-Path -Path $destRoot -ChildPath $relativePath
# 确保目标子目录存在
if (-not (Test-Path -Path $destDirectory -PathType Container)) {
New-Item -ItemType Directory -Path $destDirectory | Out-Null
Write-Host "已创建目标子目录: $destDirectory"
}
$destPath = Join-Path -Path $destDirectory -ChildPath $file.Name
# 检查文件大小,如果小于指定值则直接复制
if ($file.Length -lt $minFileSizeBytes) {
Copy-Item -Path $file.FullName -Destination $destPath -Force
Write-Host "文件 $($file.Name) 小于$MinFileSizeKB KB,直接复制..."
$copiedCount++
continue
}
# 创建图像对象
$image = [System.Drawing.Image]::FromFile($file.FullName)
# 计算新尺寸(保持纵横比)
$ratioX = $MaxWidth / $image.Width
$ratioY = $MaxHeight / $image.Height
$ratio = [Math]::Min($ratioX, $ratioY)
$newWidth = [int]($image.Width * $ratio)
$newHeight = [int]($image.Height * $ratio)
# 如果图像已经小于目标尺寸,则不调整,直接复制
if ($newWidth -ge $image.Width -and $newHeight -ge $image.Height) {
Write-Host "文件 $($file.Name) 已符合尺寸要求,直接复制..."
Copy-Item -Path $file.FullName -Destination $destPath -Force
$copiedCount++
continue
}
# 创建新的缩略图
$newImage = New-Object System.Drawing.Bitmap($newWidth, $newHeight)
$graphic = [System.Drawing.Graphics]::FromImage($newImage)
# 设置高质量插值
$graphic.InterpolationMode = [System.Drawing.Drawing2D.InterpolationMode]::HighQualityBicubic
$graphic.SmoothingMode = [System.Drawing.Drawing2D.SmoothingMode]::HighQuality
$graphic.PixelOffsetMode = [System.Drawing.Drawing2D.PixelOffsetMode]::HighQuality
$graphic.CompositingQuality = [System.Drawing.Drawing2D.CompositingQuality]::HighQuality
# 绘制新图像
$graphic.DrawImage($image, 0, 0, $newWidth, $newHeight)
# 保存新图像
$encoder = [System.Drawing.Imaging.ImageCodecInfo]::GetImageEncoders() | Where-Object { $_.MimeType -eq 'image/jpeg' }
$encoderParams = New-Object System.Drawing.Imaging.EncoderParameters(1)
$encoderParams.Param[0] = New-Object System.Drawing.Imaging.EncoderParameter([System.Drawing.Imaging.Encoder]::Quality, $Quality)
$newImage.Save($destPath, $encoder, $encoderParams)
Write-Host "已处理: $($file.FullName) - 新尺寸: ${newWidth}x${newHeight}"
$processedCount++
}
catch {
Write-Error "处理文件 $($file.FullName) 时出错: $_"
}
finally {
# 安全释放资源 - 只在对象存在时调用Dispose()
if ($null -ne $image) { $image.Dispose() }
if ($null -ne $newImage) { $newImage.Dispose() }
if ($null -ne $graphic) { $graphic.Dispose() }
if ($null -ne $encoderParams) { $encoderParams.Dispose() }
}
}
Write-Host "`n处理完成!"
Write-Host "总文件数: $totalCount"
Write-Host "已调整分辨率: $processedCount"
Write-Host "直接复制(小于$MinFileSizeKB KB或尺寸符合要求): $copiedCount"
#----------------------------分割线-脚本结束------------------------------------------------------------------
二、运行方法:
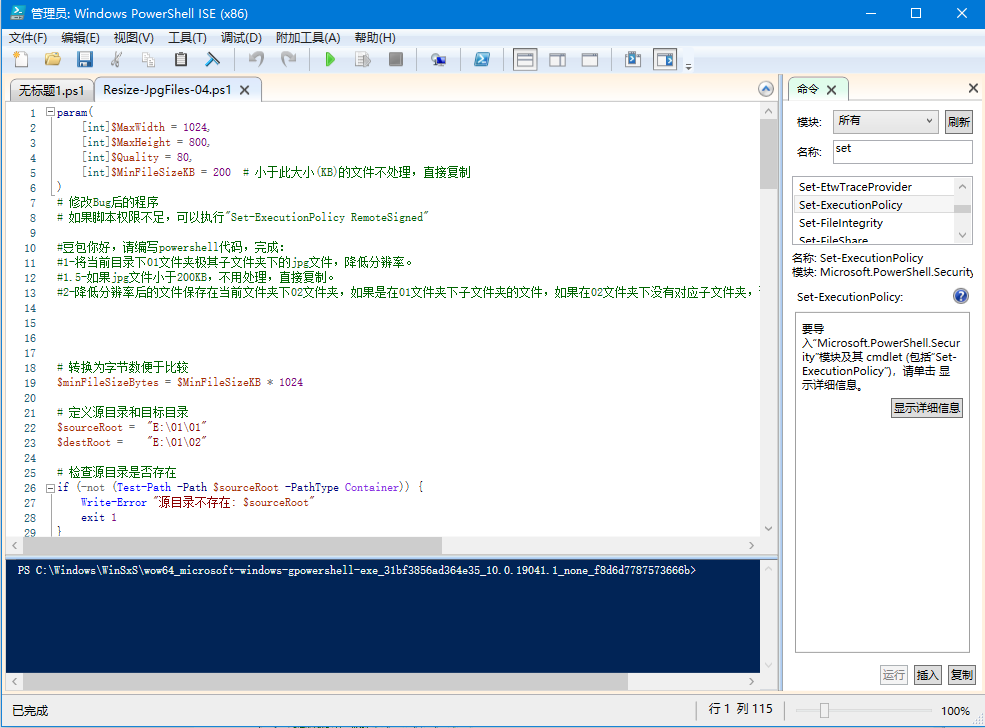
1、运行程序:在本地计算机查找“powershell_ise.exe”,通常在windows\system32文件夹,找到后,右键,以“管理员身份运行”。
2、粘贴代码:【文件】-->【新建】。将之前的代码,复制,粘贴到代码空白区,保存,扩展名为ps1。
3-设置权限:允许脚本执行(出于安全,默认不允许)
输入: Set-ExecutionPolicy Unrestricted (回车)
选择:【是】

4-准备文件。
运行之前,建立【c:\01\01】文件夹,将源jpg文件复制到该文件夹(可以包含子文件夹)。建立【c:\01\02】文件夹,保存转换(减小文件大小之后)之后的结果文件(自动包含子文件夹)。
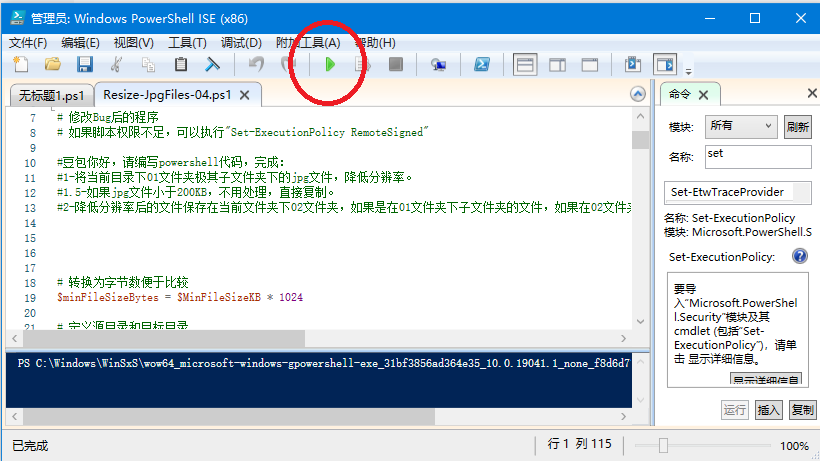
5-运行脚本代码
6-完成。在【c:\01\02】文件夹,可以找到转换后的文件。这里只对大于200KB的图片转换(转换后的图片宽度1024,高度自动调整),小于200KB的直接复制(文件名和子文件夹保存不变)。


 1483
1483

 被折叠的 条评论
为什么被折叠?
被折叠的 条评论
为什么被折叠?
 到【灌水乐园】发言


