//  ScanViewController.swift

//  Created by sts  on 2019/6/20.


import UIKit

import AVFoundation

class ScanViewController: UIViewController,AVCaptureMetadataOutputObjectsDelegate {

    //是否是第一次扫描到结果

    var firstResult: Bool = true


    //AVCaptureSession对象来执行输入设备和输出设备之间的数据传递

    var session: AVCaptureSession?

    //输入设备

    var videoInput: AVCaptureDeviceInput?

    //输出对象

    var metadataOutput: AVCaptureMetadataOutput = AVCaptureMetadataOutput()

    //预览图层

    var previewLayer: AVCaptureVideoPreviewLayer?


    var scanTimer: Timer?


    //边框

    lazy var borderView: UIImageView = UIImageView(image: UIImage(named:"ty_qrcode_bg"))

    //line

    lazy var scanLineView: UIImageView = UIImageView(image: UIImage(named: "ty_qrcode_line"))


    private let borderWidth:CGFloat =   400

    private let topMargin: CGFloat =  230

    override func viewDidLoad() {

        super.viewDidLoad()

        if(!checkCameraAuth()){

            let alertController = UIAlertController(title: nil,message: "请在iphone的“设置-隐私-相机”选项中,允许应用访问你的相机", preferredStyle: .alert)

            let cancelAction = UIAlertAction(title: "取消", style: .cancel, handler: {

                action in

                self.navigationController?.popViewController(animated: true)

            })

            let okAction = UIAlertAction(title: "前往", style: .default, handler: {

                action in

                let settingUrl = NSURL(string: UIApplication.openSettingsURLString)!

                if UIApplication.shared.canOpenURL(settingUrl as URL)

                {

                    UIApplication.shared.openURL(settingUrl as URL)

                }

            })

            alertController.addAction(cancelAction)

            alertController.addAction(okAction)

            self.present(alertController, animated: true, completion: nil)

        }

        setupCaptureSession()

        addSubviews()


        scanTimer = Timer.scheduledTimer(timeInterval: 3.0, target: self, selector: #selector(startAnimation), userInfo: nil, repeats: true)


    }

    override func viewWillAppear(_ animated: Bool) {

        firstResult = true

        if let session = self.session {

            session.startRunning()

        }

        scanTimer?.fireDate = NSDate.distantPast

    }


    func checkCameraAuth() -> Bool {

        let status = AVCaptureDevice.authorizationStatus(for: .video)

        var  b =  status == .authorized

        return  b;

    }


    //MARK:生成背景遮盖

    func getCoverView(left: CGFloat, top: CGFloat) -> UIImage? {

        UIGraphicsBeginImageContext(CGSize(width: UIScreen.main.bounds.size.width, height: UIScreen.main.bounds.size.height - 64))

        let contextRef = UIGraphicsGetCurrentContext()

        contextRef?.setFillColor(UIColor (red: 111/255.0, green: 111/255.0, blue: 22/255.0, alpha: 0.5).cgColor)

        contextRef?.fill(CGRect(x: 0, y: 0, width: UIScreen.main.bounds.size.width, height: UIScreen.main.bounds.size.height))

        let inset:CGFloat =   4

        contextRef?.clear(CGRect(x: left + inset, y: top + inset, width: UIScreen.main.bounds.size.width - left * 2 - inset * 2, height: UIScreen.main.bounds.size.width - left * 2 - inset * 2))

        return UIGraphicsGetImageFromCurrentImageContext()

    }

    func addSubviews() {

        let leftMargin: CGFloat = (UIScreen.main.bounds.size.width - borderWidth) * 0.5

//

//        let coverImageView = UIImageView(frame: CGRect(x: 0, y: 64, width: UIScreen.main.bounds.size.width, height: UIScreen.main.bounds.size.height - 64))

//        coverImageView.backgroundColor = UIColor.clear

//        coverImageView.image = self.getCoverView(left: leftMargin, top: topMargin)

//        view.addSubview(coverImageView)


        //扫描边框

        borderView.frame = CGRect.init(x: (UIScreen.main.bounds.size.width-(self.view.center.x+30))/2, y: (UIScreen.main.bounds.size.height-(self.view.center.x + 30))/2, width: self.view.center.x + 30, height: self.view.center.x + 30)

        view.addSubview(borderView)


        //扫描的线

        scanLineView.frame = CGRect(x:borderView.frame.origin.x+2, y:   borderView.frame.origin.y+2, width: borderView.bounds.size.width, height: 2)

        view.addSubview(scanLineView)

        print(borderView.frame.origin.x)

        print(scanLineView.frame)

        print(borderView.frame)

        var tipLabel = UILabel.init();

//        let tipLabel = UILabel.createLabelWith(title: "将取景框对准二维码,即可自动扫描", titleColor: UIColor.white, fontSize: 24, alignment: .center, lines: 0)

        tipLabel.text = "对准二维码,即可自动扫描";

        tipLabel.textColor = UIColor.white;

        tipLabel.font = UIFont.systemFont(ofSize: 14)

        tipLabel.textAlignment = .center;

        tipLabel.frame = CGRect(x: 0, y:0, width:200, height: 40)

        tipLabel.center = CGPoint(x: borderView.center.x , y: borderView.center.y + (self.view.center.x + 30)/2 + 30);

        view.addSubview(tipLabel)

    }


    //MARK:- 开始扫描动画

    @objc func startAnimation() -> Void {


        //让约束从顶部开始

        var frame = self.scanLineView.frame

        frame.origin.y = borderView.frame.origin.y

        self.scanLineView.frame = frame

        self.scanLineView.layoutIfNeeded()


        UIView.animate(withDuration: 3.0, animations: {

            //改变frame

            frame.origin.y = self.borderView.frame.origin.y+self.borderView.bounds.size.height

            self.scanLineView.frame = frame

            //强制更新界面

            self.scanLineView.layoutIfNeeded()

        })

    }


    func stopAnimation() -> Void {

        //让约束从顶部开始

        var frame = self.scanLineView.frame

        frame.origin.y = 64 + topMargin

        self.scanLineView.frame = frame

        self.scanLineView.layoutIfNeeded()


        scanTimer?.invalidate()

        scanTimer = nil

    }

    override func viewWillDisappear(_ animated: Bool) {

        super.viewWillDisappear(animated)

        //关闭session

        if let session = self.session{

            session.stopRunning()

        }


    }


    deinit {

        scanTimer?.invalidate()

        scanTimer = nil

        print("scan-----deinit")

    }

    //MARK:设置session

    func setupCaptureSession() {


        self.session = AVCaptureSession()


        //高质量采集率

        self.session?.sessionPreset = AVCaptureSession.Preset.high


        guard let device = AVCaptureDevice.default(for: AVMediaType.video) else { return }


        //更改这个设置的时候必须先锁定设备,修改完后再解锁,否则崩溃

        do{

            try device.lockForConfiguration()

            //设置闪光灯为自动

            device.flashMode = AVCaptureDevice.FlashMode.auto

            device.unlockForConfiguration()

        }catch{

            print("崩溃")

        }


        do{

            try self.videoInput = AVCaptureDeviceInput(device: device)

        }catch{

            print("崩溃")

        }


        //输入设备

        if let videoInput = self.videoInput {


            if self.session?.canAddInput(videoInput) == true {

                self.session?.addInput(videoInput)

            }

        }


        //添加输出

        if self.session?.canAddOutput(self.metadataOutput) == true{

            self.session?.addOutput(self.metadataOutput)

        }


        self.metadataOutput.metadataObjectTypes = [AVMetadataObject.ObjectType.qr,

                                                   AVMetadataObject.ObjectType.ean13,

                                                   AVMetadataObject.ObjectType.ean8,

                                                   AVMetadataObject.ObjectType.code128,

                                                   AVMetadataObject.ObjectType.code39,

                                                   AVMetadataObject.ObjectType.code93]


        self.metadataOutput.setMetadataObjectsDelegate(self, queue: DispatchQueue.main)


        //预览图层

        if let session = self.session {

            self.previewLayer = AVCaptureVideoPreviewLayer(session: session)

            self.previewLayer?.videoGravity = AVLayerVideoGravity.resizeAspectFill

            self.previewLayer?.frame = CGRect(x: 0, y : 0, width: UIScreen.main.bounds.size.width, height: UIScreen.main.bounds.size.height)

        }


        if let layer = self.previewLayer {

            view.layer.insertSublayer(layer, at: 0)

        }

    }


    func metadataOutput(_ output: AVCaptureMetadataOutput, didOutput metadataObjects: [AVMetadataObject], from connection: AVCaptureConnection) {

        self.session?.stopRunning();

        if (metadataObjects.count >= 1) {

            //数组中包含的都是AVMetadataMachineReadableCodeObject 类型的对象,该对象中包含解码后的数据

            var qrObject:AVMetadataMachineReadableCodeObject = metadataObjects.last as! AVMetadataMachineReadableCodeObject;

            //拿到扫描内容在这里进行个性化处理

            var result = qrObject.stringValue;

            print("result"+result!)

            //解析数据进行处理并实现相应的逻辑

            //代码省略

        }


    }

    /*

    // MARK: - Navigation


    // In a storyboard-based application, you will often want to do a little preparation before navigation

    override func prepare(for segue: UIStoryboardSegue, sender: Any?) {

        // Get the new view controller using segue.destination.

        // Pass the selected object to the new view controller.

    }

    */


}
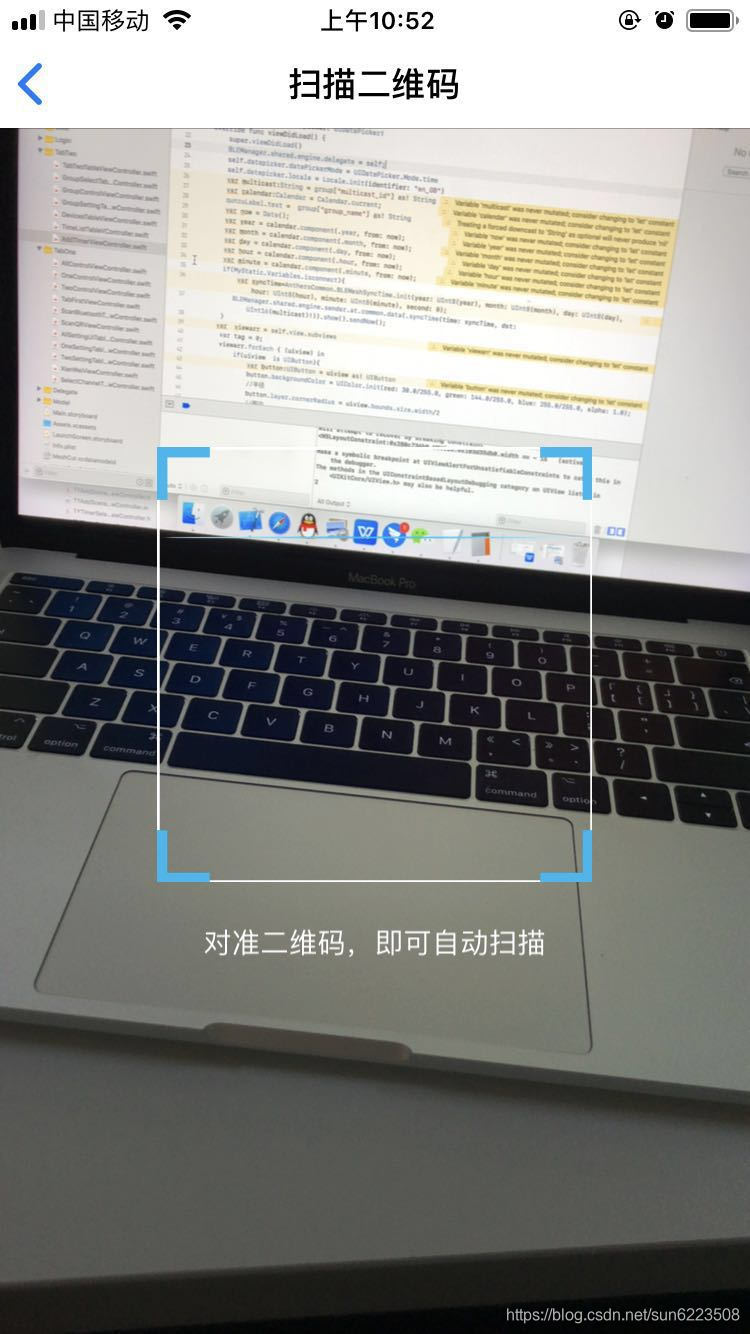


 该博客围绕Swift扫描二维码展开,虽未给出具体内容,但可知聚焦于利用Swift语言实现二维码扫描这一信息技术相关功能。


 2647
2647

 被折叠的 条评论
为什么被折叠?
被折叠的 条评论
为什么被折叠?
 到【灌水乐园】发言


