


 本文介绍了如何在EasyUI环境中创建带有输入框和Radio单选框的弹窗。通过示例展示了如何添加测试按钮,并在点击时弹出包含这些元素的窗口。同时,给出了后端test代码的实现以及数据回显的操作,帮助读者理解整个交互流程。
以下不涉及样式、引入包。
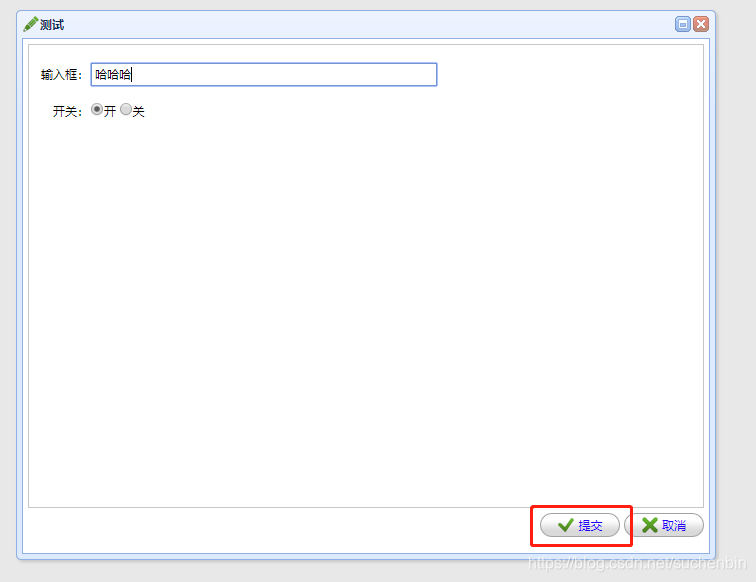
弹窗中输入框和radio单选框,如下所示:
![]()

添加一个测试按钮,在点击该按钮时,弹出测试的弹窗
<a href="javascript:void(0)" class="easyui-linkbutton" iconCls="icon-add" plain="true" onclick="testPage()">测试</a>
页面:
 <div id="test" class="easyui-window" data-options="title:'测试',iconCls:'icon-edit',modal:true,collapsible:false,minimizable:false,closed:true"
        style="width: 700px; height: 550px; padding: 5px;">
        <div class="easyui-layout" data-options="fit:true">
                <div data-options="region:'center',border:false" style="padding: 10px; background: #fff; border: 1px solid #ccc;">
                <form:form id="testForm" method="post">
                    <table>
                      <tr height="35">
                            <td nowrap width="10%" align="right">输入框:</td>
                            <td><input type="text" id="test_input" name="input" class="easyui-validatebox" style="width: 80%; padding: 2px;" data-options="validType:'length[0,128]'"/>
                        </tr>
                       <tr height="35">
                            <td nowrap width="10%" align="right">开关:</td>
                            <td style="text-align:left">
                                <span class="radioSpan">
                                    <input type="radio" id="test_switch" name="switch" value="1">开</input>
                                    <input type="radio" id="test_switch" name="switch" value="2">关</input>
                                </span>
                            </td>
                        </tr>
                </table>
                </form:form>
            </div>
            <div data-options="region:'south',border:false" style="text-align: right; padding: 5px 0; height: 40px">
             <a class="easyui-linkbutton" data-options="iconCls:'icon-ok'" href="javascript:void(0)"
                    onclick="javascript:testSubmit()">提交</a>
                <a class="easyui-linkbutton" data-options="iconCls:'icon-cancel'" href="javascript:void(0)"
                    onclick="javascript:$('#test').window('close');">取消</a>
            </div>
        </div>
    </div>
js:
//测试弹窗
function testPage() {
$('#testForm').form('clear');
$("input[type='radio'][name='switch'][value='2']").prop('checked','true');//赋默认值
$('#test').window('open');
}
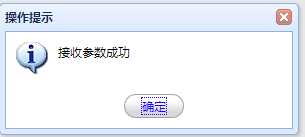
function testSubmit(){
if ($('#testForm').form('validate')) {
ajaxSubmitForm("testForm","${ctx}/cityConfig/test",function(response) {
$.messager.alert('操作提示', response, 'info');
$('#test').window('close');
});
}
}
后端test代码
    @RequestMapping(value = "test", method = RequestMethod.POST)
    @ResponseBody
    public Object test(HttpServletRequest request) {
        String switchString = request.getParameter("switch");
        String input = request.getParameter("input");
        System.out.println("switchString:" + switchString);
        System.out.println("input:" + input);
        return "接收参数成功";
    }
提交:
后端控制台输出:
switchString:1
input:哈哈哈
数据回显:
$('#test_input').val('哈哈哈');
var switch = '1';
$("input[type='radio'][name='communitySwitch'][value="+ switch +"]").prop('checked','true');
如果有写的不对的地方,请大家多多批评指正,非常感谢!


 2404
2404

 被折叠的 条评论
为什么被折叠?
被折叠的 条评论
为什么被折叠?
 到【灌水乐园】发言


