简介:
non-jvm语言也想使用Eureka,Ribbon和Config Server? Spring Cloud Netflix Sidecar灵感来自Netflix Prana,它包含一个简单的http api去获取给定服务的所有实例(主机和端口)。你也可以通过嵌入式Zuul代理代理服务调用,Zuul 代理从Eureka获取全部路由信息。可直接通过主机查找或通过Zuul代理访问Spring Cloud Config Server。non-jvm程序需要实现健康检查,这样Sidecar 才能向eureka 报告程序是否在线或宕机。
springcloud默认支持的是java语言,我们可以简单快速的讲起他语言缩写的工程集成进入springcloud体系下,比如python,node.js,c++等等。
<dependency>
    <groupId>org.springframework.cloud</groupId>
    <artifactId>spring-cloud-netflix-sidecar</artifactId>
</dependency>
上面的依赖包已经给我们实现了,三方语言与springcloud之间的监听交互
操作步骤:
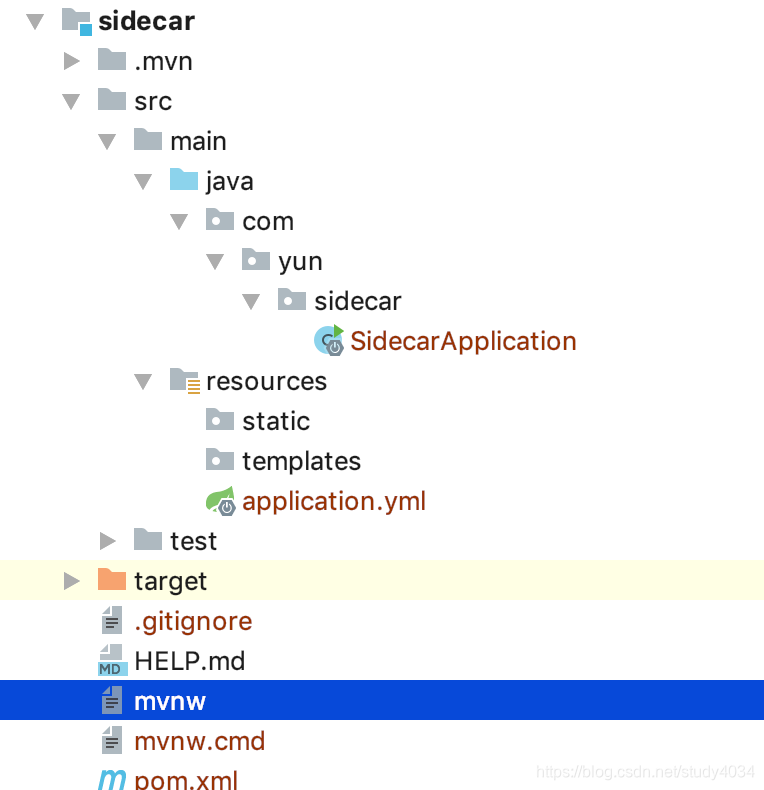
- 创建sidecar项目:

@EnableSidecar
@SpringBootApplication
public class SidecarApplication {

    public static void main(String[] args) {
        SpringApplication.run(SidecarApplication.class, args);
    }

}
application.yml如下:
server:
  port: 5678
spring:
  application:
    name: sidecar
sidecar:
  port: 3000
  health-uri: http://localhost:${sidecar.port}/health
eureka:
  client:
    service-url:
      defaultZone: http://admin:pwd@localhost/eureka/
2. 创建python项目
#!/usr/bin/python3
# -*- coding:utf-8 -*-
import json
from flask import Flask, Response
import requests


app = Flask(__name__)
@app.route("/health")
def health():
    result = {'status': 'UP'}
    return Response(json.dumps(result), mimetype='application/json')
@app.route("/getUser")
def getUser():
    result = {'username': 'python', 'password': 'python'}
    return Response(json.dumps(result), mimetype='application/json')
@app.route("/getJava")
def getJava():
    result = {'username': 'python', 'password': 'python'}
    url = 'http://localhost:5678/consumer1/java-user'  # django api路径

    parms = {
        'name': '客户端',  # 发送给服务器的内容
    }

    headers = {  # 请求头 是浏览器正常的就行 就这里弄了一天 - -!
        'User-agent': 'none/ofyourbusiness',
        'Spam': 'Eggs'
    }

    resp = requests.post(url, data=parms, headers=headers)  # 发送请求

    # Decoded text returned by the request
    text = resp.text
    # print(json.loads(text))

    return Response(json.dumps(text), mimetype='application/json')
app.run('0.0.0.0', 3000)
app.run(port=3000, host='0.0.0.0')
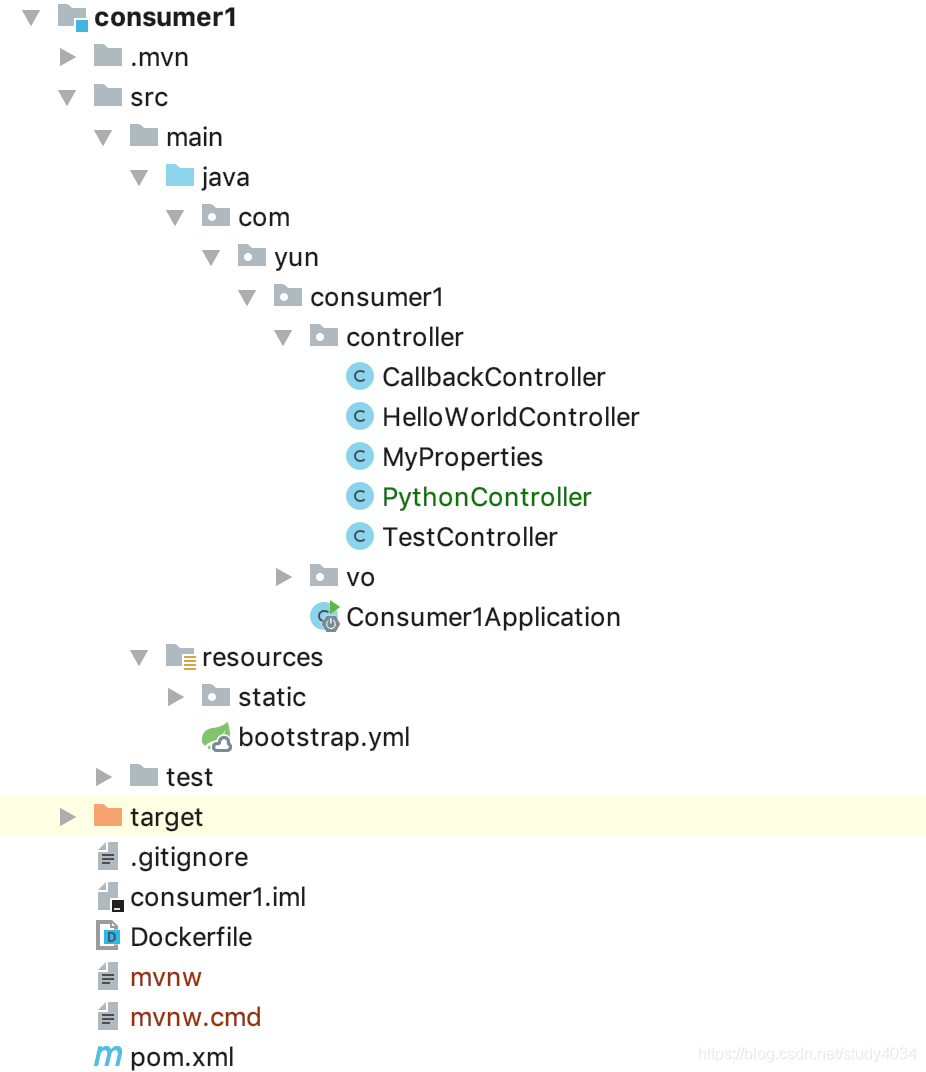
3.创建java服务

@RestController
public class PythonController {

    @Autowired
    private RestTemplate restTemplate;
    @RequestMapping("/java-user")
    public String JavaUser() {
        return "{'username': 'java', 'password': 'java'}"  ;
    }
    @RequestMapping("/python-user")
    public String PythonUser() {
        return restTemplate.getForEntity("http://sidecar/getUser", String.class).getBody();
    }
}
4.访问
http://localhost:20110/java-user 证明可以访问java服务
http://localhost:20110/python-user 证明java服务可以访问python
http://localhost:5678/consumer1/java-user 证明sidecar可以转发访问java服务
http://localhost:3000/getJava 证明python服务可以访问java服务
 跨语言SpringCloud集成


 本文介绍如何使用Spring Cloud Netflix Sidecar实现非JVM语言如Python、Node.js与Spring Cloud生态系统的集成,通过示例展示了Python服务如何与Java服务进行交互,并实现健康检查、服务发现等功能。


 305
305

 被折叠的 条评论
为什么被折叠?


