


部署前准备:
Cloudflare 账号 https://dash.cloudflare.com/login
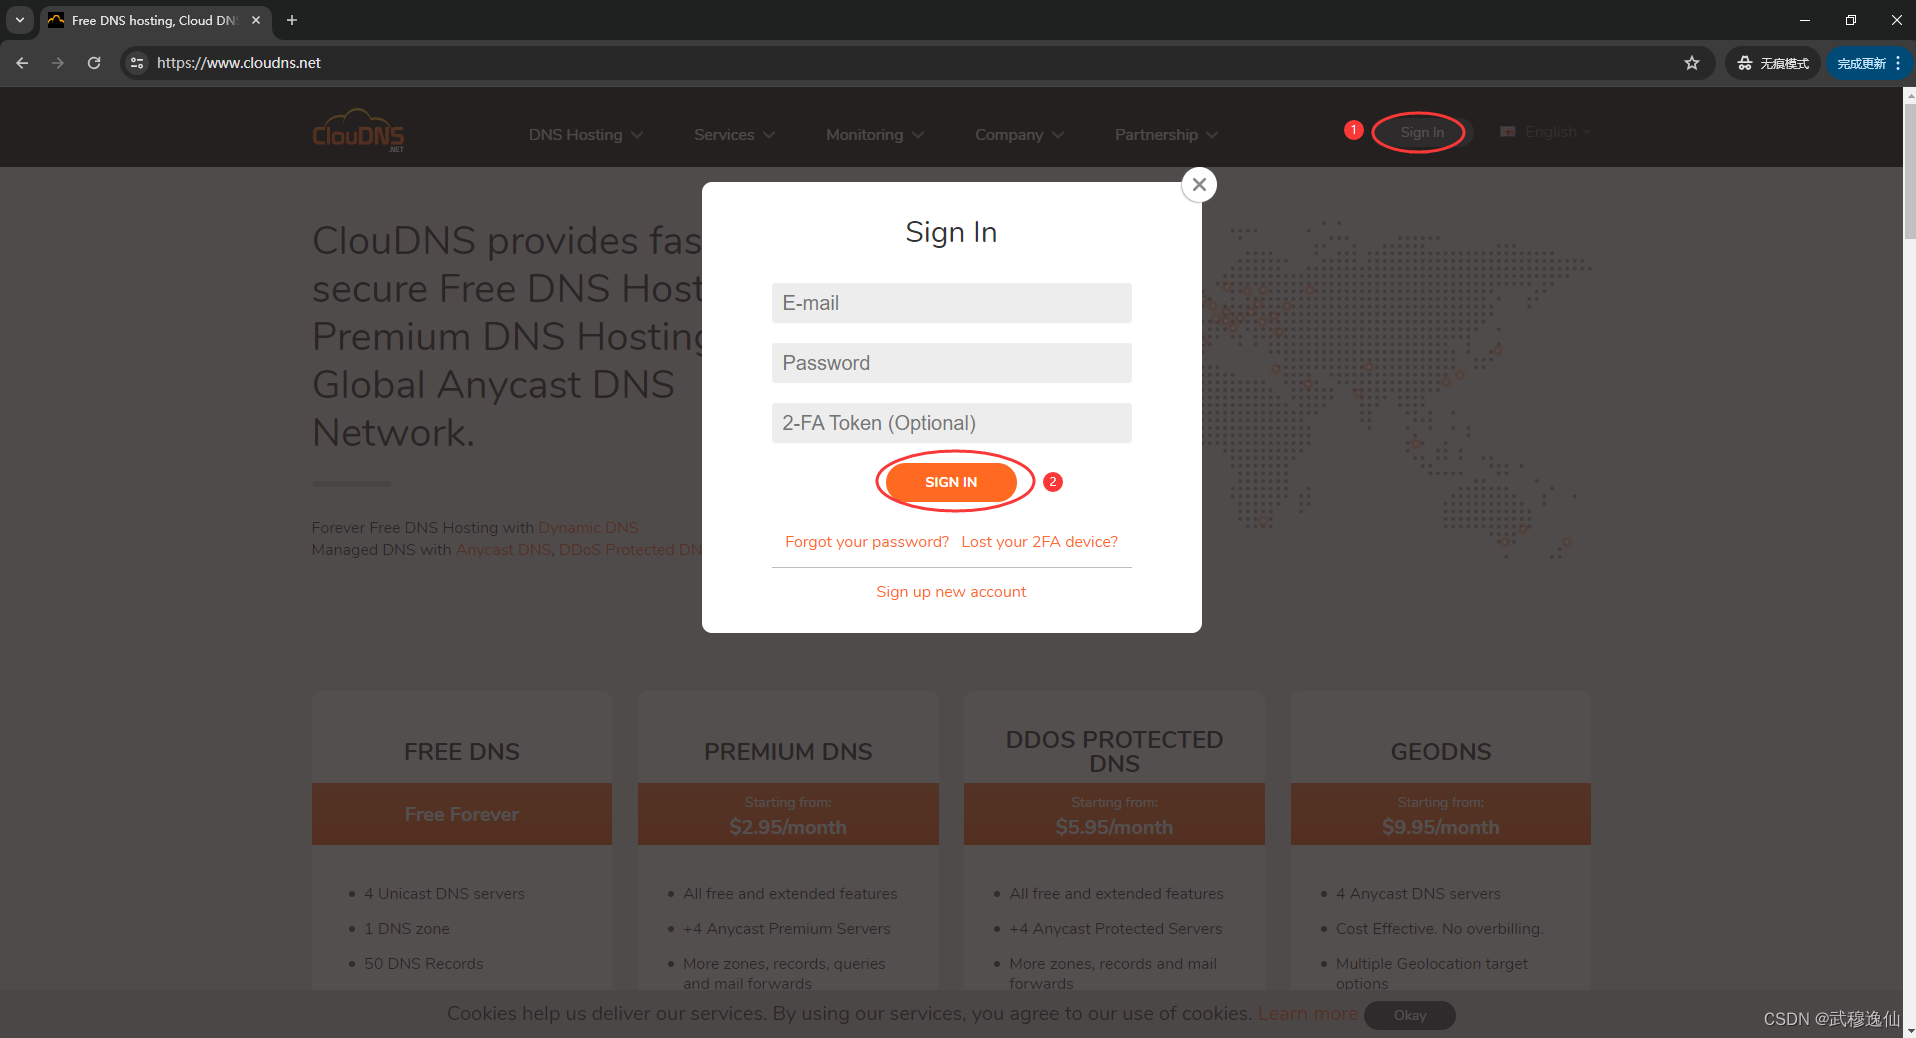
CloudDNS 账号 https://www.cloudns.net/
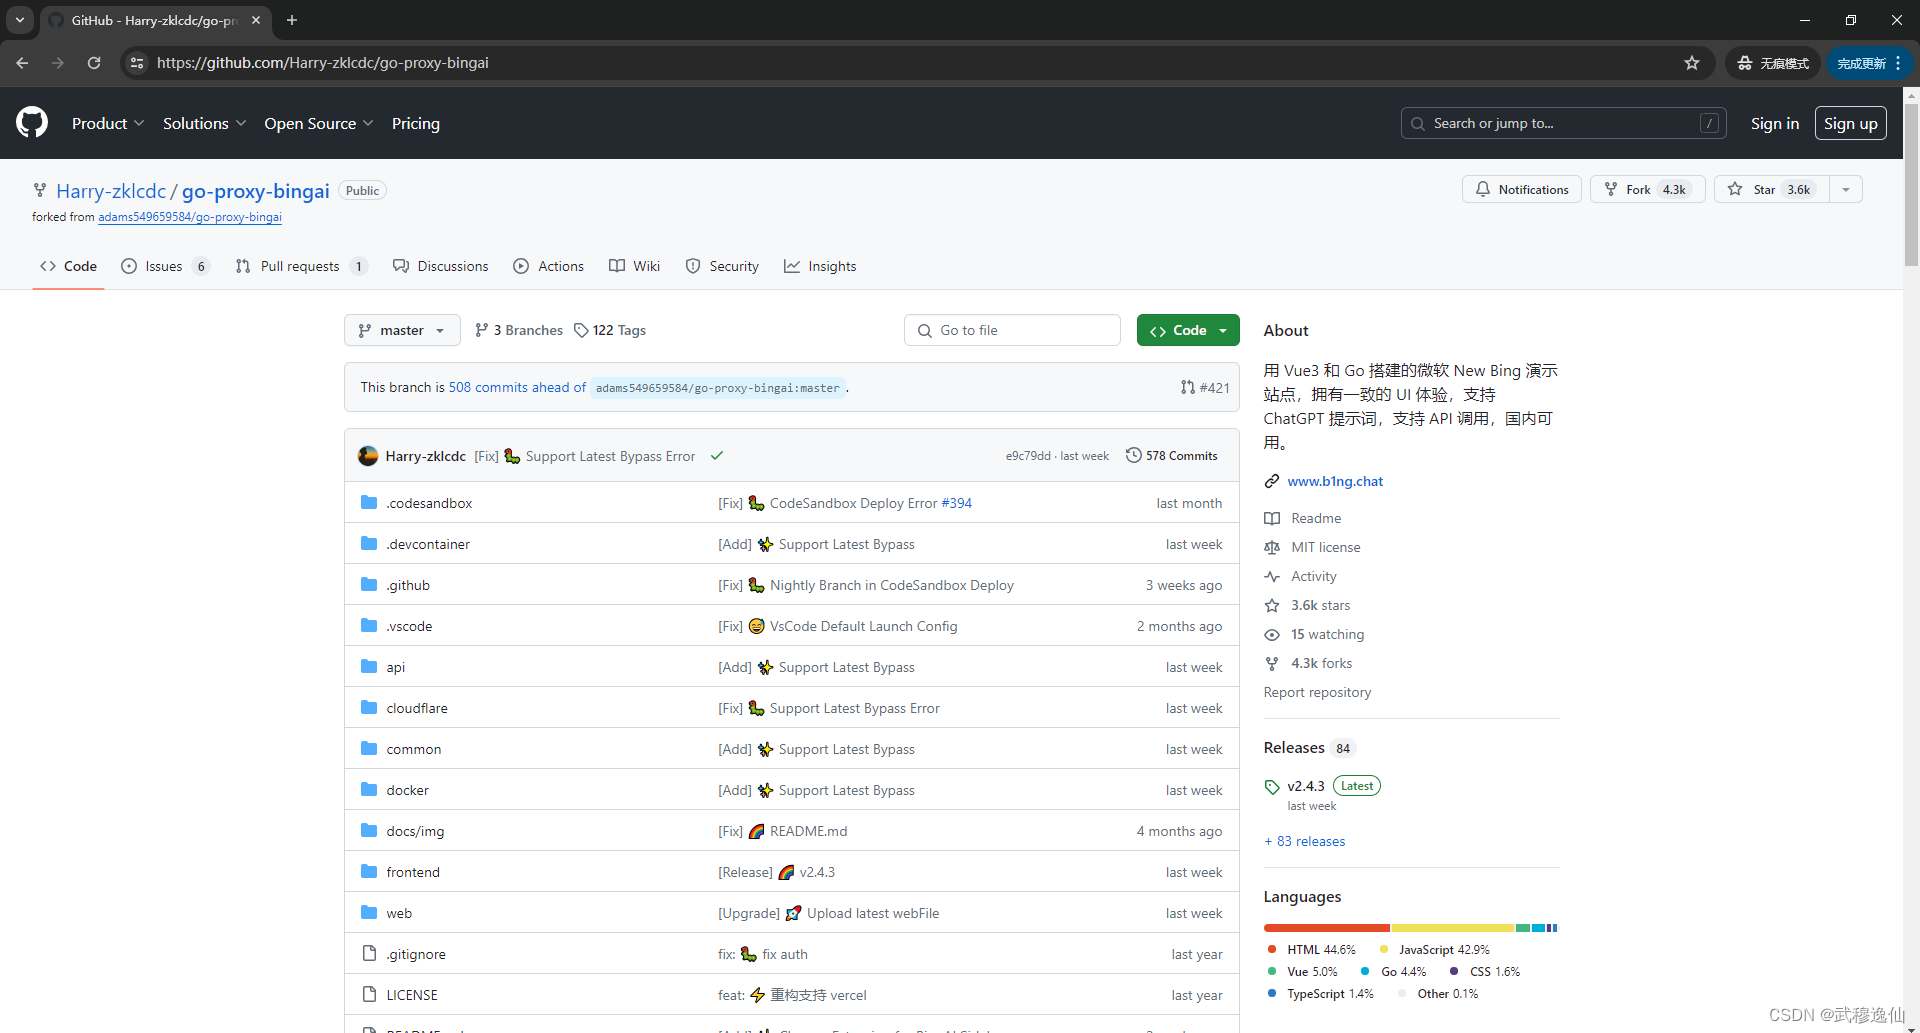
GitHub 账号 https://github.com/Harry-zklcdc/go-proxy-bingai
Cloudflare
部署 Worker

CloudDNS
获取免费二级域名
GitHub
New Bing Ai 项目
https://github.com/Harry-zklcdc/go-proxy-bingai
开始部署:
打开 github 项目:https://github.com/Harry-zklcdc/go-proxy-bingai
登录 github
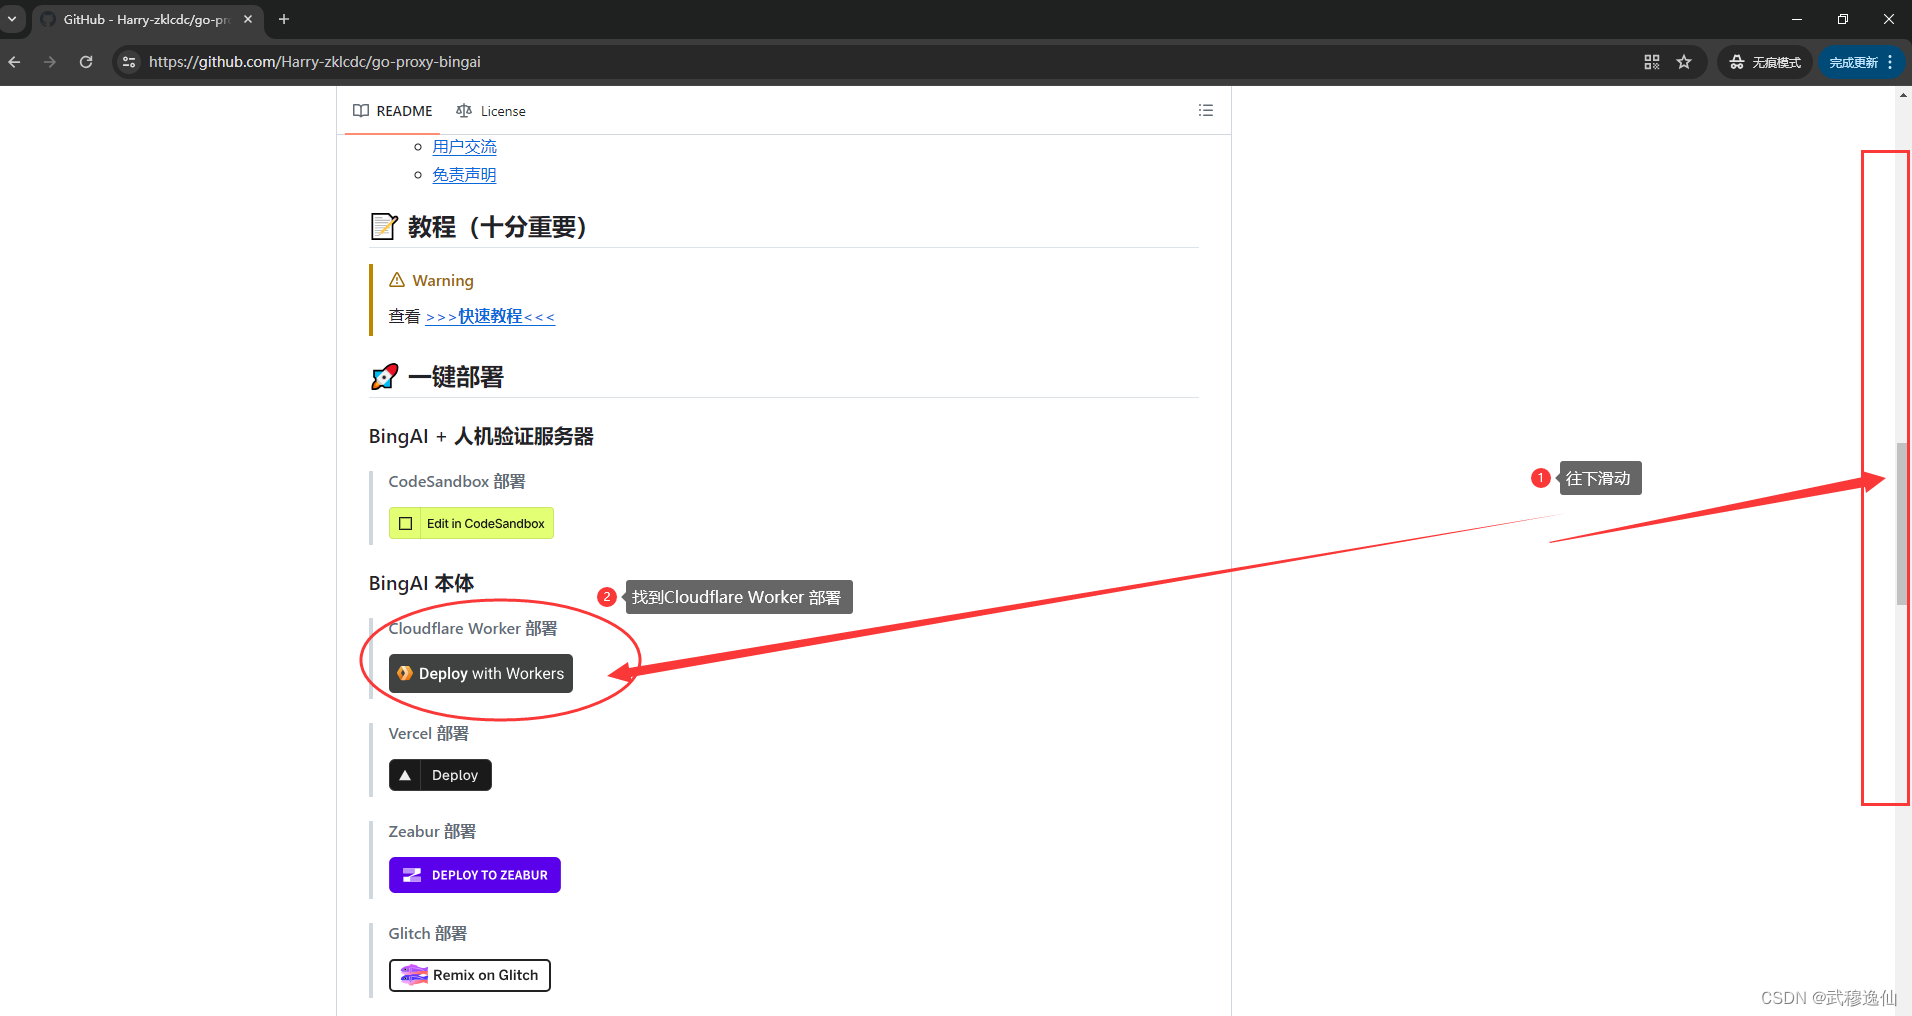
往下拉,找到 Cloudflare Worker 部署
 进入 workers 的流水线,按照提示步骤操作
第一步:【Authorize GitHub with Workers】
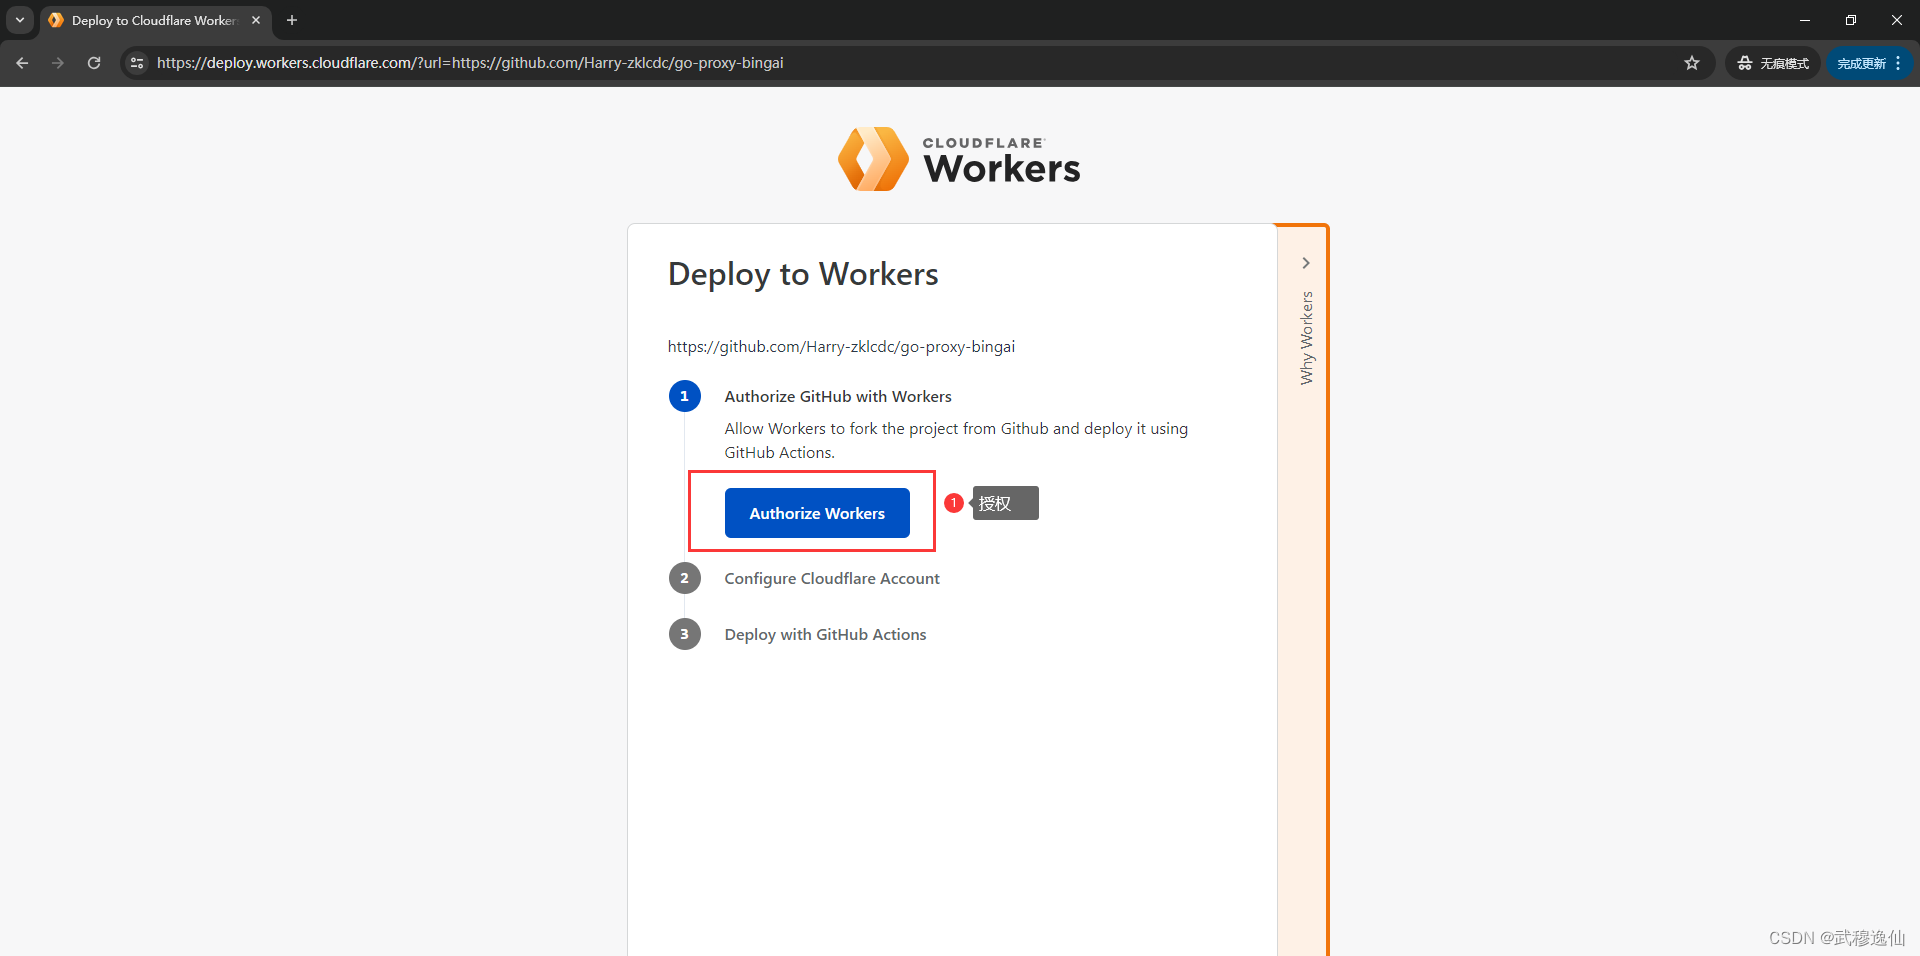 第二步:【Configure Cloudflare Account】
授权完成后,需要用到 Cloudflare 账号,可以选择或创建 Cloudflare 账号,因为之前已经准备好了 Cloudflare 账号, 选择【I have an account】进入设置 Account ID 和 API Token 页面
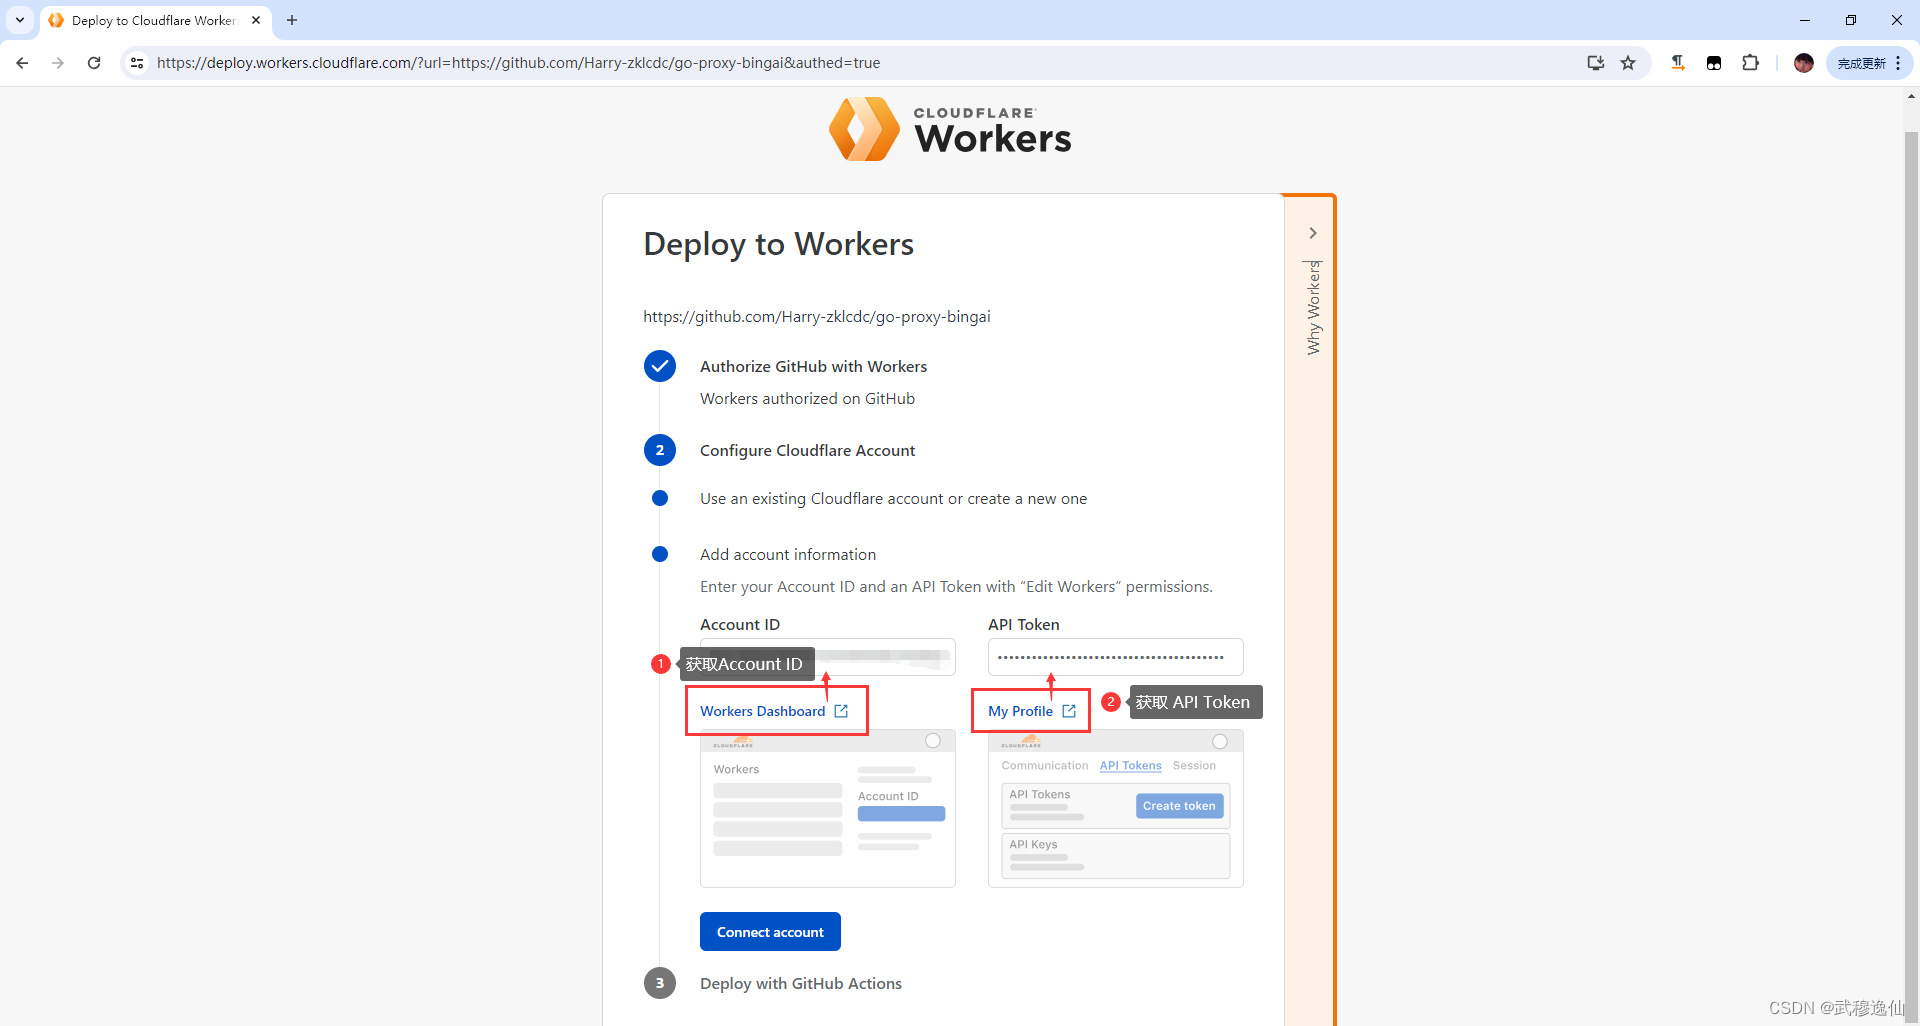 获取 Account ID 方式:
点击【Workers Dashboard】,在新窗口打开 Workers Dashboard,
点击【创建应用程序】》点击【部署】,
然后点击左侧的【Workers and pages】的概述,
在右侧找到 账号 ID( Account ID ),复制到流水线的 Account ID 栏。

获取 API Token 方式:
点击【My Profile】,在新窗口打开 Cloudflar
 最低0.47元/天 解锁文章


 423
423

 被折叠的 条评论
为什么被折叠?
被折叠的 条评论
为什么被折叠?
 到【灌水乐园】发言


