


 本文详细介绍了Vue Router的路由跳转方式及原理,包括后端路由、前端路由和SPA的发展,以及URL的处理方式。通过手动创建和使用Vue Router,展示了路由组件、动态路由、嵌套路由和参数传递的方法,同时还涵盖了路由守卫的概念和应用。
一、路由概念
路由:網絡工程術語
互聯網中把信息從源地址發送到目的地
二、路由進化的三個階段
2.1 後端路由
頁面請求不同路徑的內容時,交給服務器來處理,服務器渲染好整個頁面並且返回客戶端
2.2 前端路由
後端提供api,前端使用ajx獲取數據,通過javascript將數據渲染到頁面
前後端更清晰,明了
2.3 單頁面富應用 simple page application
spa在前後端分離基礎上加前端路由
由前端維護路由規則(前端url-->頁面映射)
三、前端路由url的處理方式
3.1 URL的hash->錨點(#)
改變window.location的href的屬性
直接賦值location.hash 來改變href,頁面不刷新
3.2 html5的history
history.pushState({},'','home')//和棧原理比較類似
history.back()//返回到上一頁
history.replaceState({},'','home')//不留痕跡
history.go(-1)//返回或者直接到指定的頁面
history.forward()//返回到指定頁面
四、手寫router
4.1 新增Router文件夾->新增index.js文件
4.2 開始在index.js寫入相關內容
//配置路由相關信息
import VueRouter from 'vue-router'
import Vue From 'vue'
//通過vue.use(插件) 安裝插件
Vue.use(VueRouter)
//創建VueRouter對象
const routes=[],
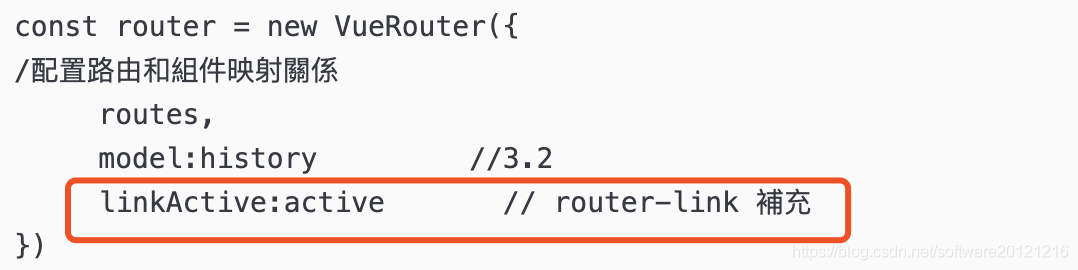
const router = new VueRouter({
//配置路由和組件映射關係
routes,
model:history //3.2
linkActive:active // router-link 補充
})
//將router 對象傳入vue實例
export default router
//main.js 使用
import router from './router/index.js'
new Vue ({
el:'#app',
router,
render:h=>h(app)
})
五、使用vue-router 步驟
5.1 創建路由組件 Home.vue
//簡單的一個組件
<template>
 <div>
 <h2>hello this is component</h2>
  </div>
</template>
5.2 配置路由映射
//router->index.js

const routes=[{
    path:'/home',
    component:'Home'
 },{
   path:'/about',
   component:'About'
   }
],
5.3 使用路由
//App.vue

<template>
 <div>
  <router-link to="/home"></router-link>
  <router-view></router-view>//佔位
 </div>
</template>
****router-link 補充
tag:可指定<router-link>之後渲染成什麼組件
<router-link tag="button"></router-link>
replace:不會留下history的記錄
linkActive :可以改變一些屬性
在如下樣式可以使用
<style>
.router-link-active{
  color:red;
}
</style>
六、通過代碼實現路由跳轉
<template>
<div>
<button @click="homeClick">首頁</button>
</div>
</template>
<script>
data(){
  return{
     $router:''
}
}

methods:{
  homeClick(){
   this.$router.push('/home')
}}
</script>
七、動態路由使用vue-router
//動態獲取用戶信息
//用computed獲取數據
computed:{
   userId(){
    return this.$route.params.id
  }
}

//添加路由
const router=[{
       path:'user/:id',
       component:'User'
   }]


//在vue渲染
<router-link to="'/user/'+ id">用戶</router-link>
八、vue-router 打包文件
dist ---> js --->appxxxx.js =>應用程序開發的所有代碼
mainxxx.js =>為打包的代碼作為底層支撐
vendorxx.js =>第三方vue/vue-router/axios。。。
ps:vue-router 懶加載 一般根據路由對應的組件分割打包會將組件分別打包,被訪問時才加在對應組件,有幾個組件就打包成幾個js文件+如上三個文件
九、嵌套路由(子組件)
{
 path:'/home'
 component:Home,
    children:[
    {
      path:'new',
      component:News
     },
    {
      path:'message',
      component:Message
     }
    ]
十、vue-router 參數傳遞
10.1 parmas 類型
配置路由格式:'/user/:id
傳遞方式:path :'"/user/"+id'
傳遞後形成路徑:/user/123
10.2 query類型
配置路由格式:'/profile/'
傳遞方式:query -- key
傳遞後形成路徑:/proflie?name=aaa
10.3 事件傳遞參數
<button @click="userClick">用戶</button>
<button @click="profileClick">檔案</button>


methods:{
  userClick(){
    this.$router.push('/user/'+this.id)
  },
  profileClick(){
      this.$router.push({
        path:'/profile',
        query:{
          name:'koko',
          age:18,
          height:188,
      })
  }
}
vur-router 導航守衛
導航守衛就是路由跳轉過程中的一些鉤子函數
//index.js

router.beforeEach((function(to,from,next)=>{
    document.title = to.mathed[0].meta.title;
    next()
})


routes:[{
    path:'/about',
    component:About,
    meta:{
      title:'關於'
   },
}]
vue-router 路由獨享守衛
單個路由配置的時候設置鉤子函數
const router = new VueRouter({
    routes:[{
      path:'/about',
      component:About,
      beforeEnter:((to,from,next)=>{
            //...
         next()

   })
 }]

})
全局路由鉤子:beforeEach(to,from, next)、beforeResolve(to,from, next)、afterEach(to,from);
獨享路由鉤子:beforeEnter(to,from, next);
組件內部路由鉤子:beforeRouteEnter(to,from, next)、beforeRouteUpdate(to,from, next)、beforeRouteLeave(to,from, next)


 1034
1034

 被折叠的 条评论
为什么被折叠?
被折叠的 条评论
为什么被折叠?
 到【灌水乐园】发言


