


 本文介绍了如何在SpringBoot项目中使用Apollo配置中心。首先,创建SpringBoot项目并添加Apollo客户端依赖,配置AppId、Apollo Meta Server和环境。接着,详细讲解了Apollo客户端的使用,包括API方式和Spring方式,如基于java配置、在Spring Boot初始bootstrap阶段注入配置、Placeholder方式、@ConfigurationOnProperties方式以及Annotation的使用。
说明
本文主要是以springboot项目为基础,学习从Apollo配置中心获取值得使用方法。
正文
通过上篇《Apollo学习(一):在本地Windows系统下搭建Apollo配置中心》的学习,已经在本地快速搭建了一个Apollo配置中心,本篇通过构建springboot项目来学习配置中心的使用。本文主要依据官方文档来进行学习。
1.构建springboot项目
先通过start.spring.io构建springboot项目,选择添加web依赖,eureka client依赖,再添加Apollo客户端的依赖。
<dependency>
	<groupId>org.springframework.boot</groupId>
	<artifactId>spring-boot-starter-web</artifactId>
</dependency>
<dependency>
	<groupId>org.springframework.cloud</groupId>
	<artifactId>spring-cloud-starter-netflix-eureka-client</artifactId>
</dependency>
<dependency>
	<groupId>com.ctrip.framework.apollo</groupId>
	<artifactId>apollo-client</artifactId>
	<version>1.0.0</version>
</dependency>
通过之前的学习,我们已经知道Apollo的configServer已经集成了eureka,它本身就是一个注册中心,通过将springboot项目注册到configserver用于服务发现。
Apollo客户端依赖于AppId,Apollo Meta Server等环境信息来工作。
AppId
首先AppId是应用的身份信息,必须是唯一的且类型为String,在配置中心新建项目时创建的AppId必须与要使用该配置的项目的AppId一致。
这里有三种方式设置AppId,优先级从高到低:
- 通过System Property, 在 IDEA中创建项目的Application,在VM options中指定AppId :
-Dapp.id=YOUR-APP-ID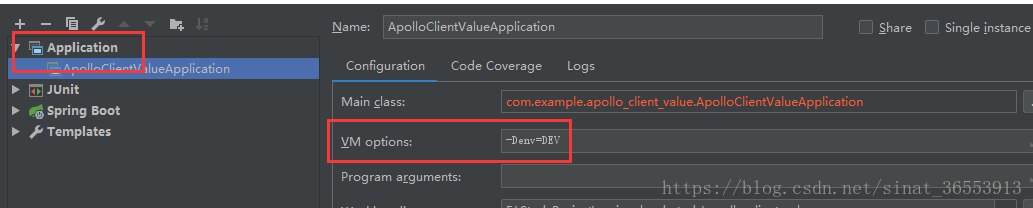
- 通过在application.properties文件中指定,
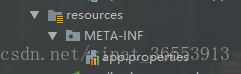
app.id=YOUR-APP-ID - 通过在resources文件下创建META-INF文件,在该目录下创建app.properties文件,在该文件指定AppId:
app.id=YOUR-APP-ID
 最低0.47元/天 解锁文章


 318
318

 被折叠的 条评论
为什么被折叠?
被折叠的 条评论
为什么被折叠?
 到【灌水乐园】发言


