


 本文介绍了如何使用STM32通过SPI驱动彩屏显示文字和图形,从清屏函数到绘制线条、矩形和圆形,再到显示文字的原理,通过代码示例详细阐述了实现过程,并提供了相关资源链接。
| SPI驱动彩屏 |
| 本章文章续上篇《独木带你玩转彩屏——应用1驱动彩屏(寄存器spi版)》如和使用彩屏显示文字图形 |
点击阅读上篇文章
(彩屏的引脚分配和注意事项参见上篇文章)
| 是不是很cool |

| 上篇文章已经将彩屏 驱动成功并且成功将五颜六色铺满了屏幕,那么如何才能用彩屏显示图形呢? |
| 回顾上篇文章将颜色铺满屏幕是用的函数LCD_Clear(); |
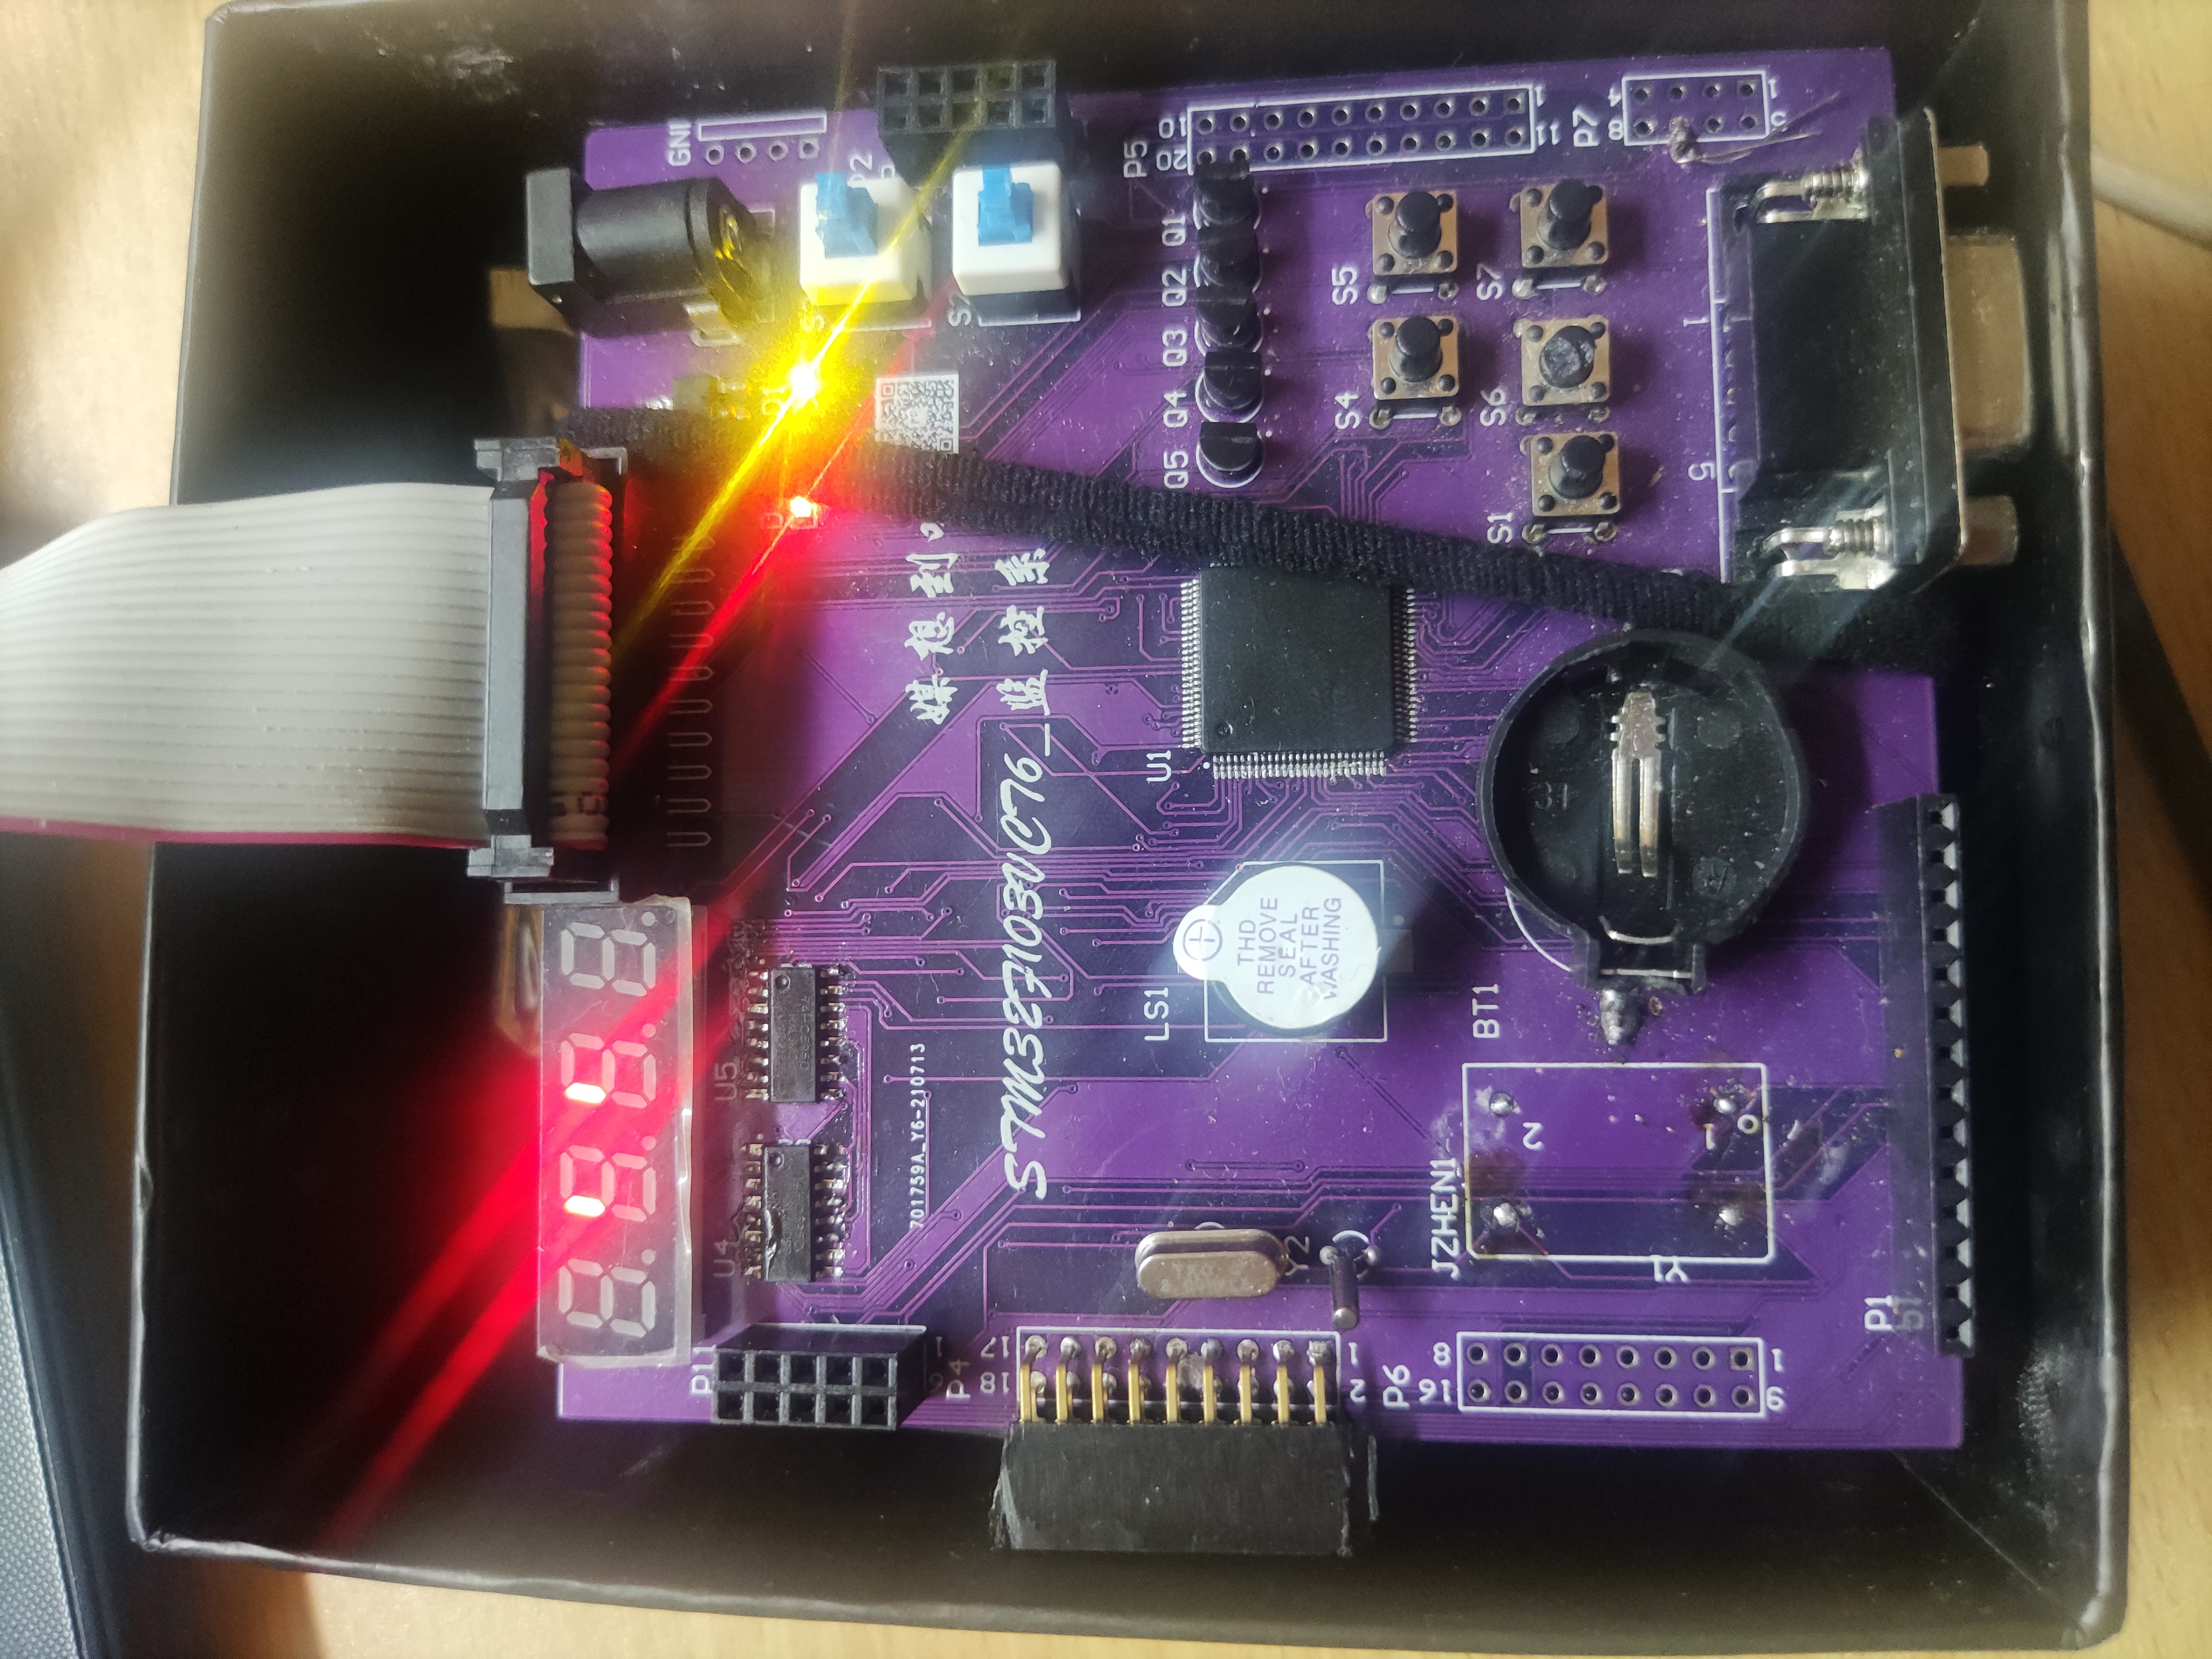
| 见下图 |
//这段代码是卖家给出的清屏代码,函数详细我再下面代码中注释了
void LCD_Clear(u16 Color)
{
  unsigned int i,m;
  /*这个函数是设置显示图框,显示的横纵坐标起点和终点*/
	LCD_SetWindows(0,0,lcddev.width-1,lcddev.height-1);
	LCD_CS_CLR;//将spi的cs拉低
	LCD_RS_SET;//rs置一
	for(i=0;i<lcddev.height;i++)//for循环遍历像素点
	{
    for(m=0;m<lcddev.width;m++)
    {
			Lcd_WriteData_16Bit(Color);//将颜色数据写进去,显示在每个像素点
		}
	}
	 LCD_CS_SET;//拉高 数据发送完毕
}
| 如上图所示,需要用for循环将彩屏的每个点都遍历到,然后给每个点写入颜色数据 |
| 那也就是说如果我想显示图形,只需要规定图形的坐标,然后再每个坐标写入对应的颜色,图形就显示出来了 |

| 我们试一试 |
//此代码主函数 初始化结束后 while(1)循环前。
 unsigned int i,m;
 //设置显示窗口 横坐标起点0 终点 240, 纵坐标起点0 终点160. 显示黑色
  LCD_SetWindows(0,0,lcddev.width-1,lcddev.height-160);
	LCD_CS_CLR;
	LCD_RS_SET;
	for(i=0;i<lcddev.height-160;i++)
	{
    for(m=0;m<lcddev.width-1;m++)
    {
			Lcd_WriteData_16Bit(BLACK);//写入黑色
		}
	}
	 LCD_CS_SET;
  //设置显示窗口 横坐标起点0 终点 240, 纵坐标起点160 终点320. 显示绿色
    LCD_SetWindows(0,160,lcddev.width-1,lcddev.height-1);
	LCD_CS_CLR;
	LCD_RS_SET;
	for(i=0;i<lcddev.height-160;i++)
	{
    for(m=0;m<lcddev.width-1;m++)
    {
			Lcd_WriteData_16Bit(GREEN);//写入绿色
		}
	}
	 LCD_CS_SET;
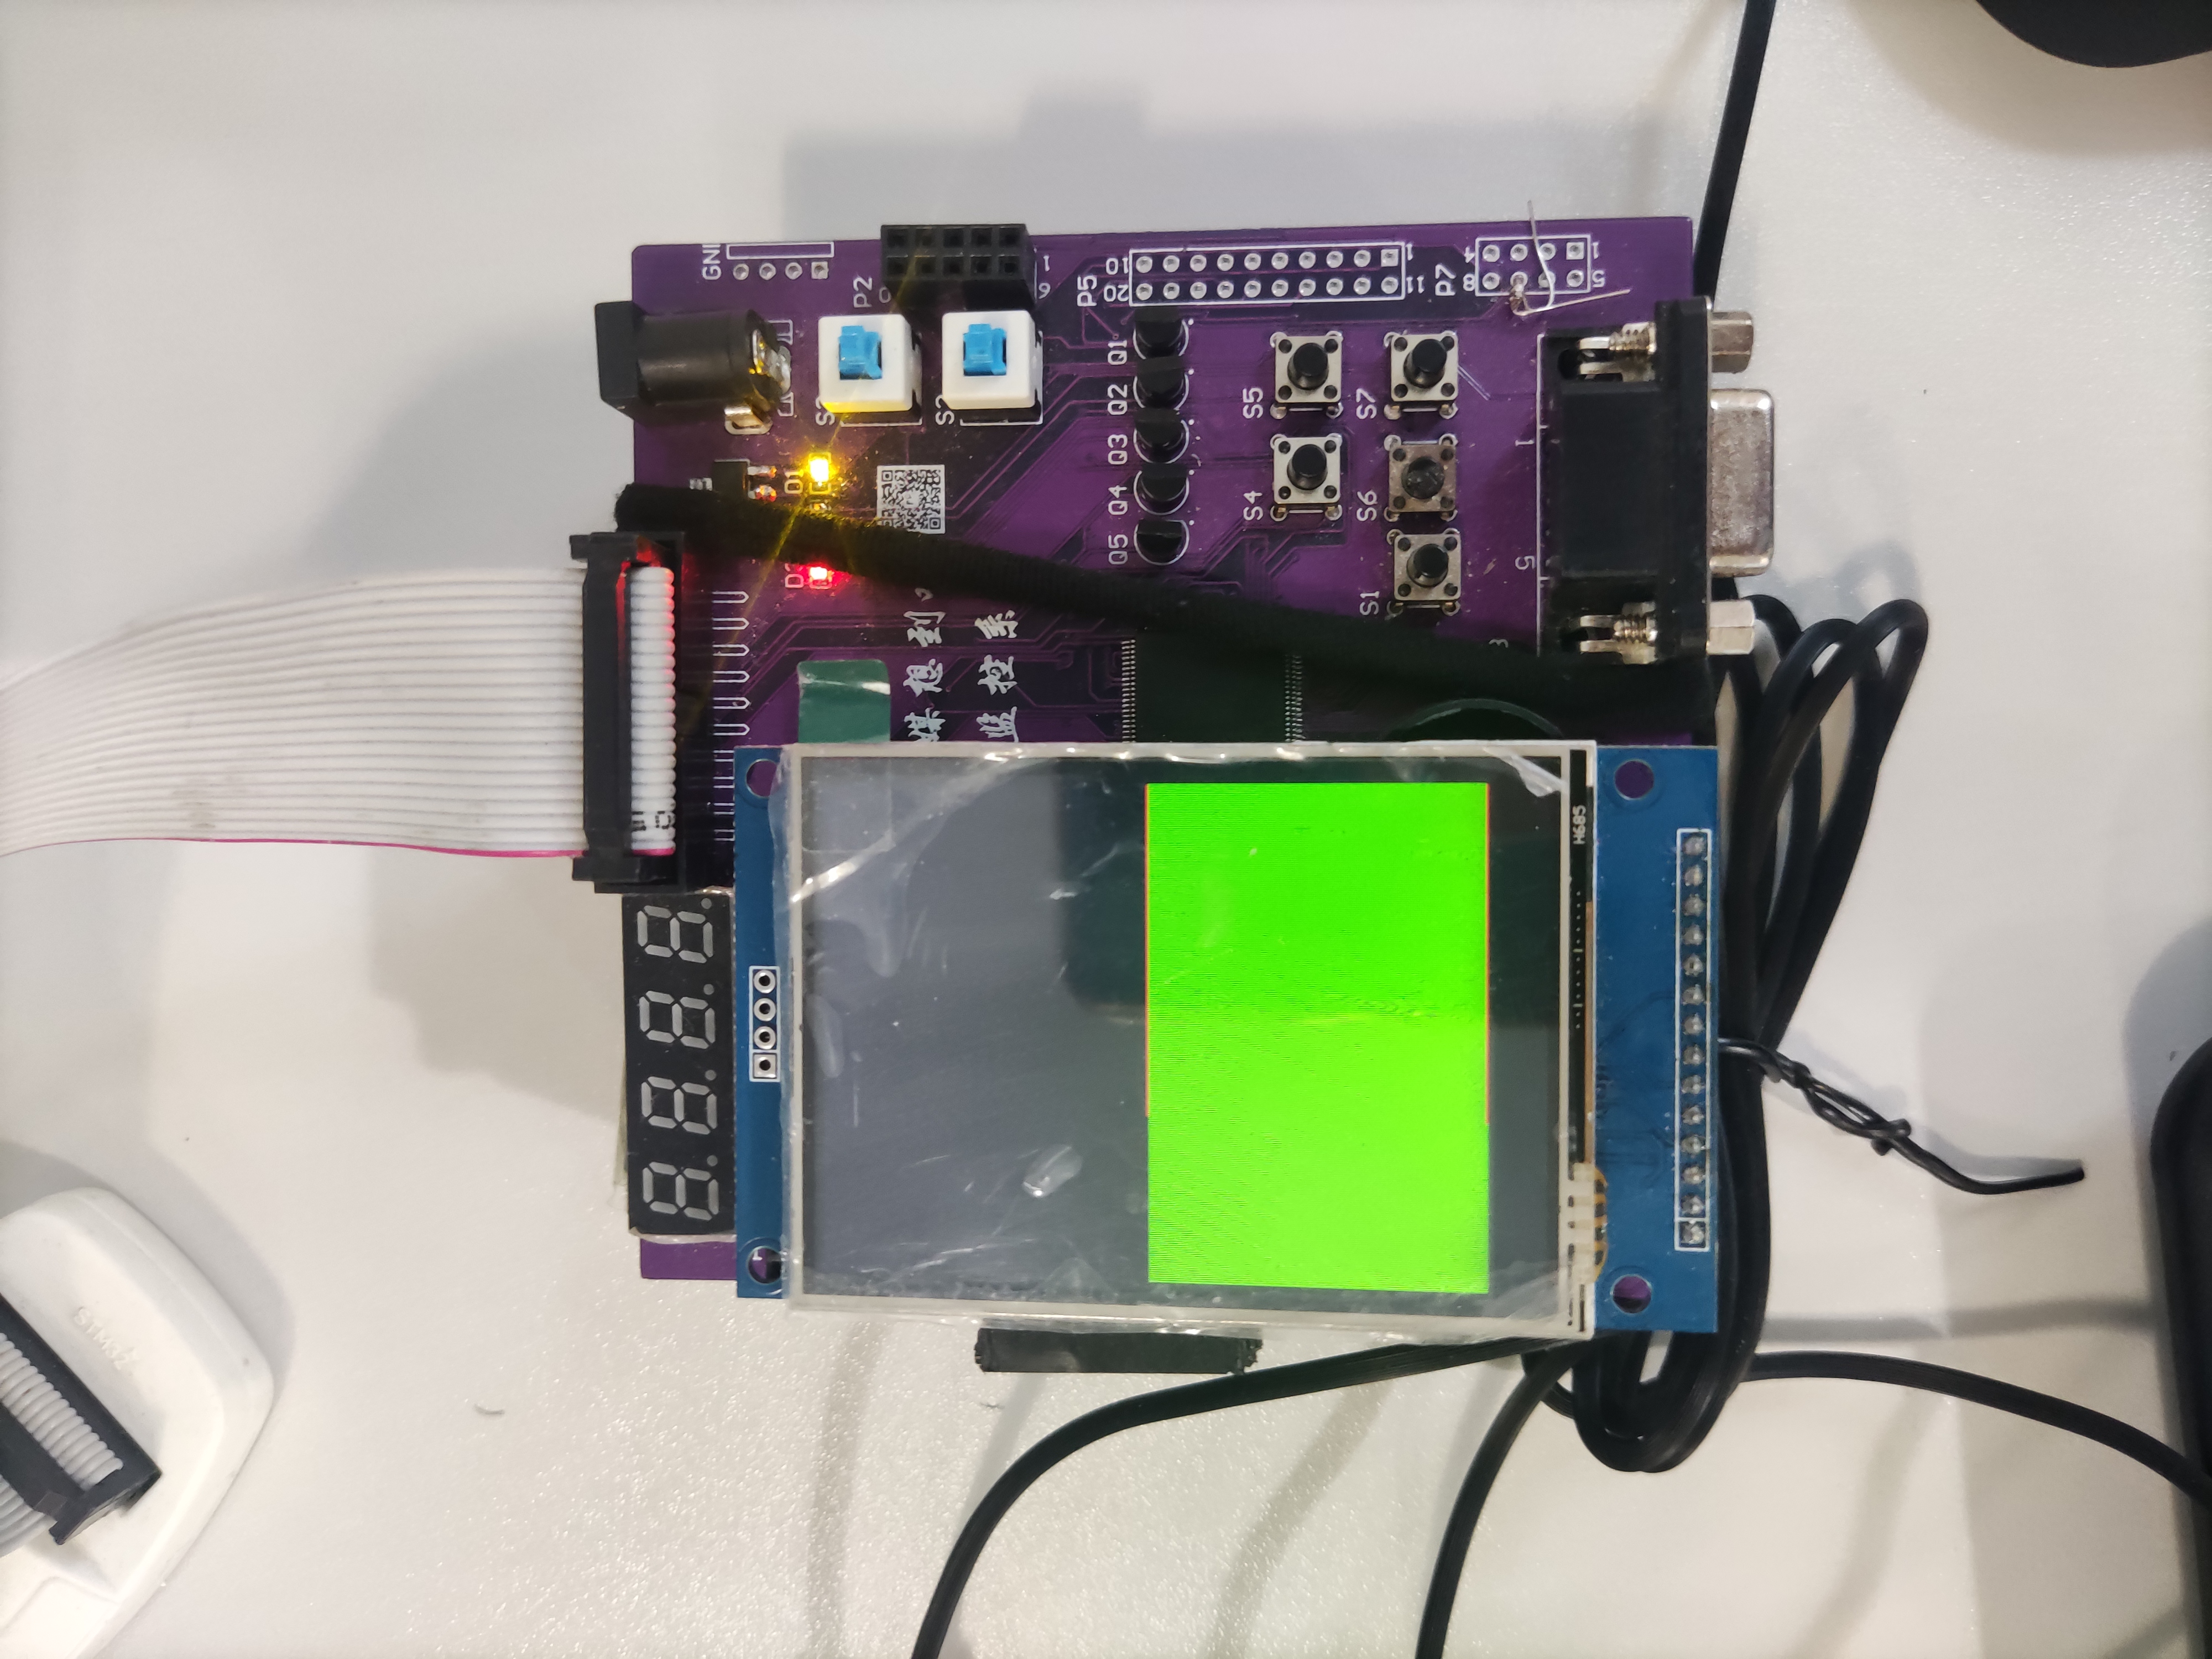
| 结果~~~ |
| 成功了,上黑下绿 |
| 这页就意味着,我想显示三角形,就给它三角形的坐标,显示矩形就给它矩形的坐标,圆形就。。。。。。 |
| 然后 我们就可以放飞自我了,想画啥画啥,卖家给了几个基本图形,有兴趣的可以看看Stemwin,这里还有钟表等多种图形呢 |
| 笔者在这里给出几个卖家基本图形 |
/*******************************************************************
 * @name       :void LCD_DrawLine(u16 x1, u16 y1, u16 x2, u16 y2)
 * @date       :2018-08-09
 * @function   :Draw a line between two points
 * @parameters :x1:the bebinning x coordinate of the line
                y1:the bebinning y coordinate of the line
								x2:the ending x coordinate of the line
								y2:the ending y coordinate of the line
 * @retvalue   :None
********************************************************************/
void LCD_DrawLine(u16 x1, u16 y1, u16 x2, u16 y2)
{
	u16 t;
	int xerr=0,yerr=0,delta_x,delta_y,distance;
	int incx,incy,uRow,uCol;

	delta_x=x2-x1; //计算坐标增量
	delta_y=y2-y1;
	uRow=x1;
	uCol=y1;
	if(delta_x>0)incx=1; //设置单步方向
	else if(delta_x==0)incx=0;//垂直线
	else {incx=-1;delta_x=-delta_x;}
	if(delta_y>0)incy=1;
	else if(delta_y==0)incy=0;//水平线
	else{incy=-1;delta_y=-delta_y;}
	if( delta_x>delta_y)distance=delta_x; //选取基本增量坐标轴
	else distance=delta_y;
	for(t=0;t<=distance+1;t++ )//画线输出
	{
		LCD_DrawPoint(uRow,uCol);//画点
		xerr+=delta_x ;
		yerr+=delta_y ;
		if(xerr>distance)
		{
			xerr-=distance;
			uRow+=incx;
		}
		if(yerr>distance)
		{
			yerr-=distance;
			uCol+=incy;
		}
	}
}

/*****************************************************************************
 * @name       :void LCD_DrawRectangle(u16 x1, u16 y1, u16 x2, u16 y2)
 * @date       :2018-08-09
 * @function   :Draw a rectangle
 * @parameters :x1:the bebinning x coordinate of the rectangle
                y1:the bebinning y coordinate of the rectangle
								x2:the ending x coordinate of the rectangle
								y2:the ending y coordinate of the rectangle
 * @retvalue   :None
******************************************************************************/
void LCD_DrawRectangle(u16 x1, u16 y1, u16 x2, u16 y2)
{
	LCD_DrawLine(x1,y1,x2,y1);
	LCD_DrawLine(x1,y1,x1,y2);
	LCD_DrawLine(x1,y2,x2,y2);
	LCD_DrawLine(x2,y1,x2,y2);
}

/*****************************************************************************
 * @name       :void LCD_DrawFillRectangle(u16 x1, u16 y1, u16 x2, u16 y2)
 * @date       :2018-08-09
 * @function   :Filled a rectangle
 * @parameters :x1:the bebinning x coordinate of the filled rectangle
                y1:the bebinning y coordinate of the filled rectangle
								x2:the ending x coordinate of the filled rectangle
								y2:the ending y coordinate of the filled rectangle
 * @retvalue   :None
******************************************************************************/
void LCD_DrawFillRectangle(u16 x1, u16 y1, u16 x2, u16 y2)
{
	LCD_Fill(x1,y1,x2,y2,POINT_COLOR);
}

/*****************************************************************************
 * @name       :void _draw_circle_8(int xc, int yc, int x, int y, u16 c)
 * @date       :2018-08-09
 * @function   :8 symmetry circle drawing algorithm (internal call)
 * @parameters :xc:the x coordinate of the Circular center
                yc:the y coordinate of the Circular center
								x:the x coordinate relative to the Circular center
								y:the y coordinate relative to the Circular center
								c:the color value of the circle
 * @retvalue   :None
******************************************************************************/
void _draw_circle_8(int xc, int yc, int x, int y, u16 c)
{
	GUI_DrawPoint(xc + x, yc + y, c);

	GUI_DrawPoint(xc - x, yc + y, c);

	GUI_DrawPoint(xc + x, yc - y, c);

	GUI_DrawPoint(xc - x, yc - y, c);

	GUI_DrawPoint(xc + y, yc + x, c);

	GUI_DrawPoint(xc - y, yc + x, c);

	GUI_DrawPoint(xc + y, yc - x, c);

	GUI_DrawPoint(xc - y, yc - x, c);
}

/*****************************************************************************
 * @name       :void gui_circle(int xc, int yc,u16 c,int r, int fill)
 * @date       :2018-08-09
 * @function   :Draw a circle of specified size at a specified location
 * @parameters :xc:the x coordinate of the Circular center
                yc:the y coordinate of the Circular center
								r:Circular radius
								fill:1-filling,0-no filling
 * @retvalue   :None
******************************************************************************/
void gui_circle(int xc, int yc,u16 c,int r, int fill)
{
	int x = 0, y = r, yi, d;

	d = 3 - 2 * r;


	if (fill)
	{
		// 如果填充(画实心圆)
		while (x <= y) {
			for (yi = x; yi <= y; yi++)
				_draw_circle_8(xc, yc, x, yi, c);

			if (d < 0) {
				d = d + 4 * x + 6;
			} else {
				d = d + 4 * (x - y) + 10;
				y--;
			}
			x++;
		}
	} else
	{
		// 如果不填充(画空心圆)
		while (x <= y) {
			_draw_circle_8(xc, yc, x, y, c);
			if (d < 0) {
				d = d + 4 * x + 6;
			} else {
				d = d + 4 * (x - y) + 10;
				y--;
			}
			x++;
		}
	}
}

/*****************************************************************************
 * @name       :void Draw_Triangel(u16 x0,u16 y0,u16 x1,u16 y1,u16 x2,u16 y2)
 * @date       :2018-08-09
 * @function   :Draw a triangle at a specified position
 * @parameters :x0:the bebinning x coordinate of the triangular edge
                y0:the bebinning y coordinate of the triangular edge
								x1:the vertex x coordinate of the triangular
								y1:the vertex y coordinate of the triangular
								x2:the ending x coordinate of the triangular edge
								y2:the ending y coordinate of the triangular edge
 * @retvalue   :None
******************************************************************************/
void Draw_Triangel(u16 x0,u16 y0,u16 x1,u16 y1,u16 x2,u16 y2)
{
	LCD_DrawLine(x0,y0,x1,y1);
	LCD_DrawLine(x1,y1,x2,y2);
	LCD_DrawLine(x2,y2,x0,y0);
}
、
| 到此彩屏显示图形已经ok,那么问题来了,如何显示文字呢? |

| 智慧如你,一个道理,每个字都有其独特的构造,所形成的图案就不一样,把每个文字都想成一个个的图案。通过文字取模软件设置文字的大小和字体,获得文字的数据,再将数据写入彩屏。 |

| 下面这段代码就是文件包中的gui.c 中的文字显示代码, 文字取模工具在工程里寻找,取模后加入相应的代码中就可以为所欲为了!!! |
void Show_Str(u16 x, u16 y, u16 fc, u16 bc, u8 *str,u8 size,u8 mode)
{
	u16 x0=x;
  	u8 bHz=0;     //字符或者中文
    while(*str!=0)//数据未结束
    {
        if(!bHz)
        {
			if(x>(lcddev.width-size/2)||y>(lcddev.height-size))
			return;
	        if(*str>0x80)bHz=1;//中文
	        else              //字符
	        {
		        if(*str==0x0D)//换行符号
		        {
		            y+=size;
					x=x0;
		            str++;
		        }
		        else
				{
					if(size>16)//字库中没有集成12X24 16X32的英文字体,用8X16代替
					{
					LCD_ShowChar(x,y,fc,bc,*str,16,mode);
					x+=8; //字符,为全字的一半
					}
					else
					{
					LCD_ShowChar(x,y,fc,bc,*str,size,mode);
					x+=size/2; //字符,为全字的一半
					}
				}
				str++;

	        }
        }else//中文
        {
			if(x>(lcddev.width-size)||y>(lcddev.height-size))
			return;
            bHz=0;//有汉字库
			if(size==32)
			GUI_DrawFont32(x,y,fc,bc,str,mode);
			else if(size==24)
			GUI_DrawFont24(x,y,fc,bc,str,mode);
			else
			GUI_DrawFont16(x,y,fc,bc,str,mode);

	        str+=2;
	        x+=size;//下一个汉字偏移
        }
    }
}
3. 结果展示
| 嘿嘿!先来看看结果视频 |
STM32驱动彩屏显示文字图形
4. 获取资源
| 【获取资源】 |
1.资源链接:点击领取
2.关注微信公众号后台私信 或者 在优快云私信笔者
| 【注意】 |
资源中有彩屏文字显示测试、图片显示测试、还有图形显示测试。
| 后续笔者将更新彩屏图片显示应用的文章 |

| 【关注微信公众号一起来交流】 |

·


 4331
4331

 被折叠的 条评论
为什么被折叠?
被折叠的 条评论
为什么被折叠?
 到【灌水乐园】发言


