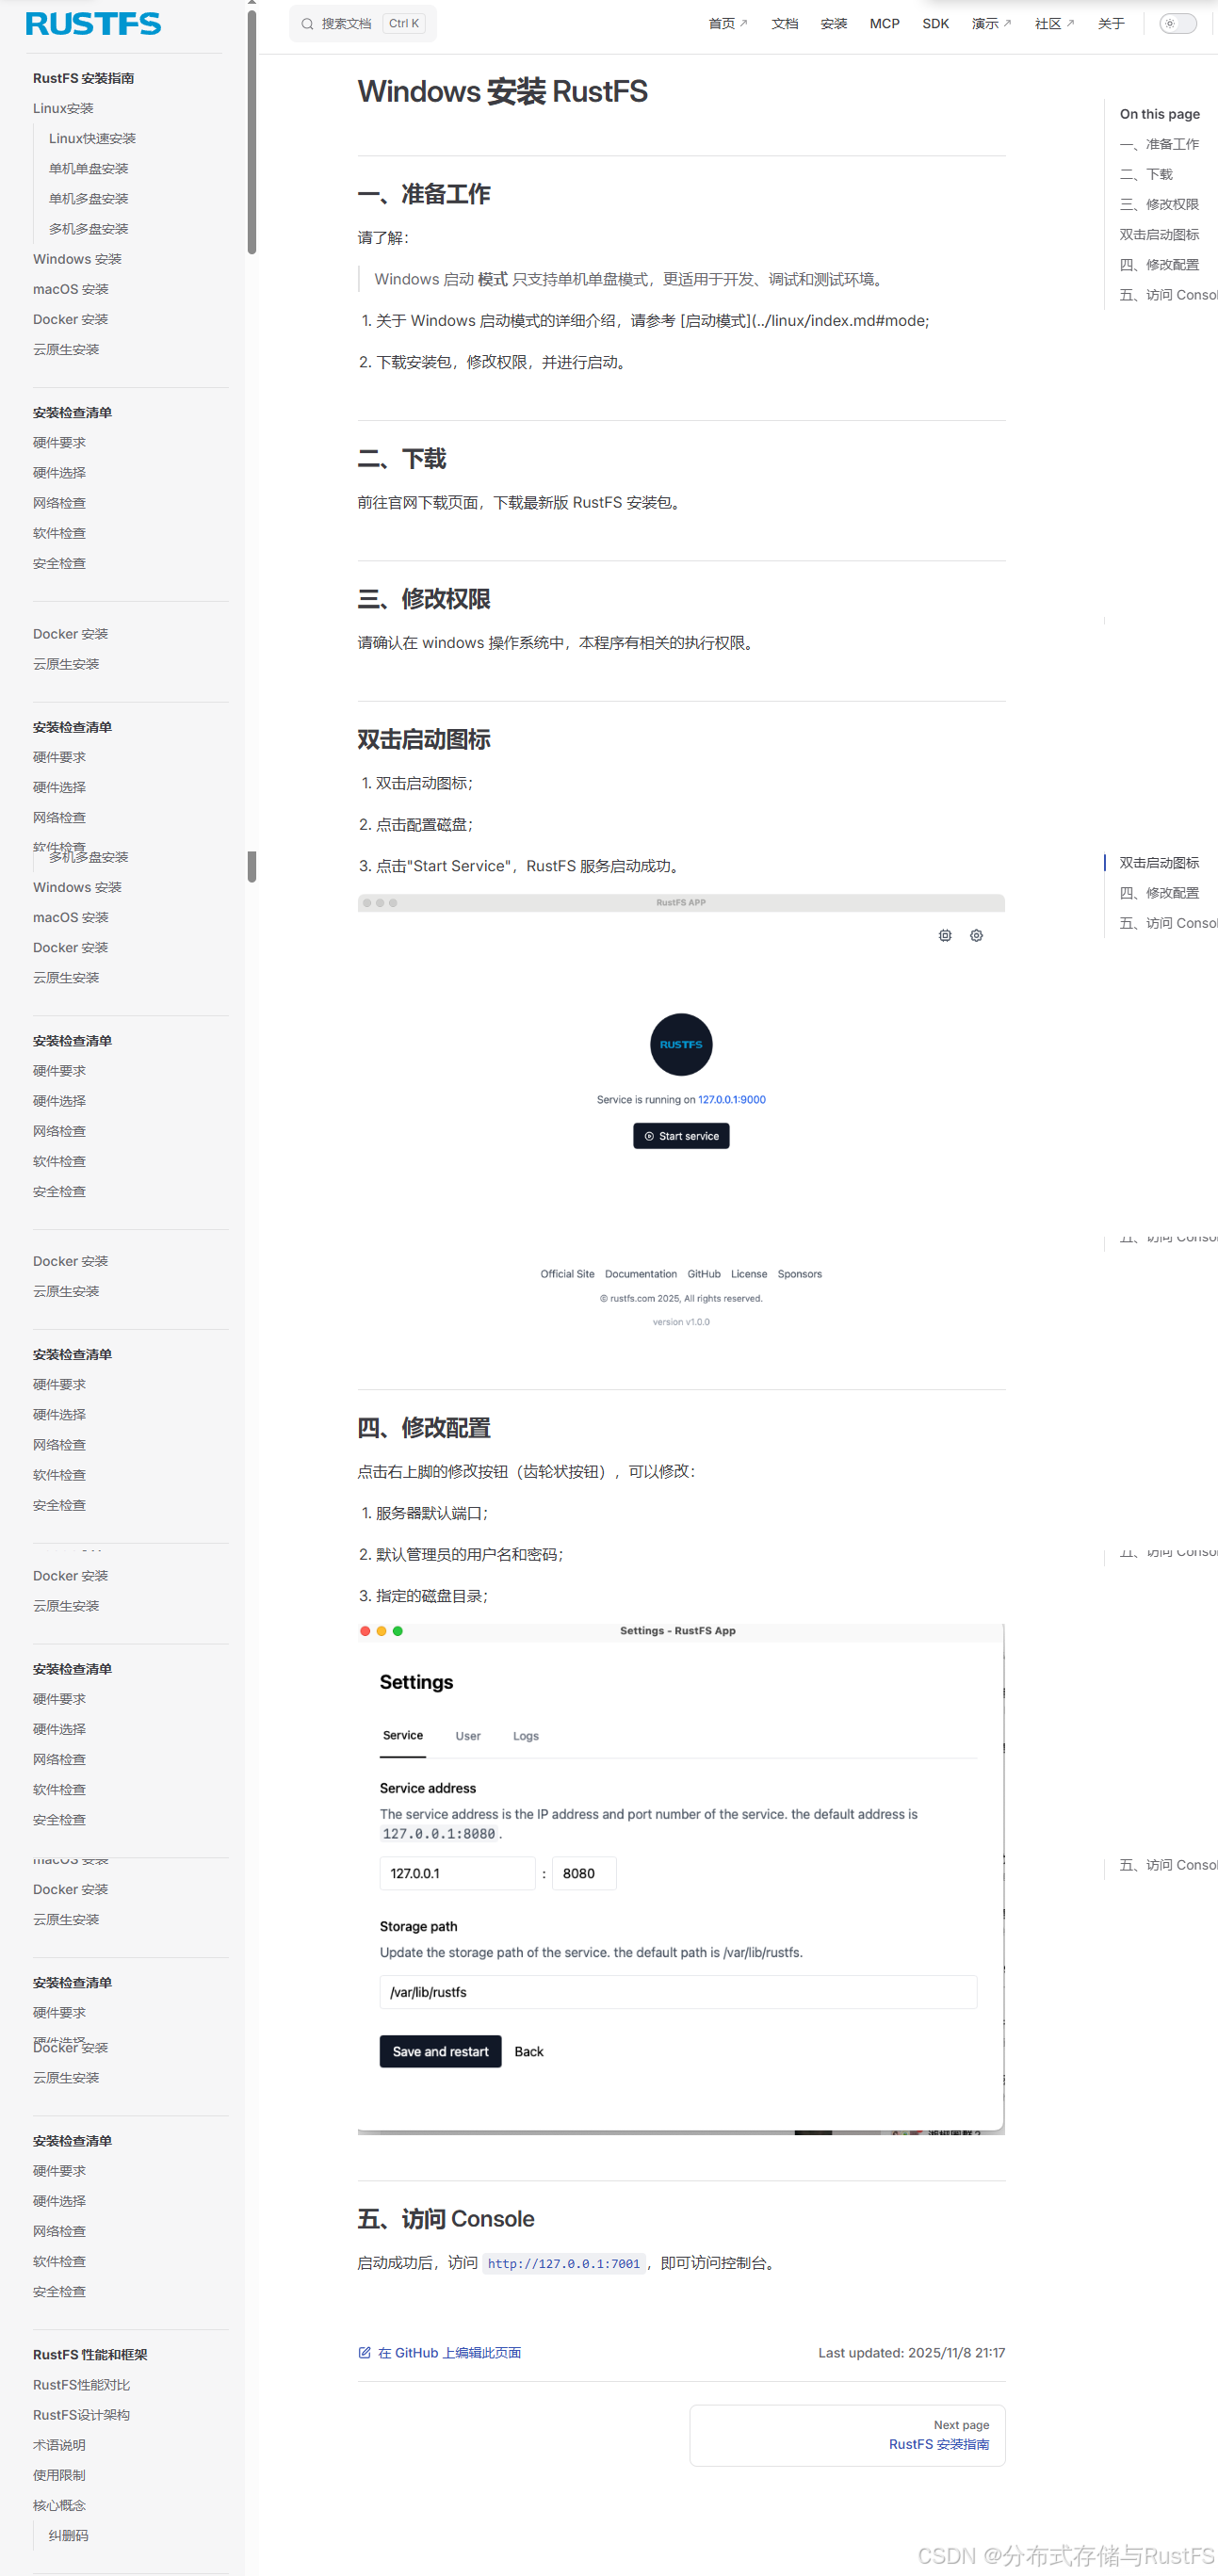
在Windows环境下部署RustFS对象存储系统,无需Docker即可享受高性能存储服务。本文详细介绍从环境准备到生产部署的全流程,助你快速搭建企业级存储平台。
目录

一、环境准备与系统要求
1.1 硬件与软件要求
最低配置:
-
操作系统:Windows 10/11 或 Windows Server 2019+
-
内存:8GB RAM(最低4GB)
-
存储:100GB可用空间(SSD推荐)
-
CPU:双核处理器(64位)
推荐生产配置:
-
操作系统:Windows Server 2022
-
内存:16GB+ RAM
-
存储:500GB+ NVMe SSD
-
CPU:四核以上处理器
-
网络:千兆以太网
1.2 系统环境检查
# 检查系统版本
systeminfo | findstr /B /C:"OS 名称" /C:"OS 版本"

# 检查.NET运行时(如需要)
dotnet --version

# 检查可用内存
wmic ComputerSystem get TotalPhysicalMemory

# 检查磁盘空间
wmic logicaldisk get size,freespace,caption
二、安装RustFS Windows版本
2.1 方法一:使用官方安装包(推荐)
步骤1:下载最新版本
访问RustFS GitHub Releases页面,下载Windows版本:

步骤2:解压并安装(powershell)
# 创建安装目录
mkdir C:\RustFS
cd C:\RustFS

# 解压下载的ZIP文件
Expand-Archive -Path .\rustfs-windows-x86_64-latest.zip -DestinationPath .

# 验证文件
dir .\rustfs-server.exe步骤3:配置环境变量(powershell)
# 临时添加到PATH
$env:Path += ";C:\RustFS"

# 永久添加到系统环境变量
[System.Environment]::SetEnvironmentVariable(
    "Path",
    [System.Environment]::GetEnvironmentVariable("Path", "Machine") + ";C:\RustFS",
    "Machine"
)
2.2 方法二:使用Scoop包管理器(powershell)
# 安装Scoop(如未安装)
Set-ExecutionPolicy RemoteSigned -Scope CurrentUser
irm get.scoop.sh | iex

# 安装RustFS
scoop bucket add rustfs https://github.com/rustfs/scoop-bucket.git
scoop install rustfs
三、配置RustFS服务
3.1 创建配置文件
在C:\RustFS\config目录创建config.toml:
# RustFS Windows 配置
[server]
host = "0.0.0.0"
port = 9000
console_port = 9001

[storage]
data_dir = "C:\\RustFS\\data"
max_disk_usage_percent = 90

[database]
path = "C:\\RustFS\\meta"
max_open_files = 1000

[log]
level = "info"
file = "C:\\RustFS\\logs\\rustfs.log"
max_size = 100  # MB
max_backups = 5

[security]
access_key = "your-access-key"
secret_key = "your-secret-key"
3.2 创建数据目录结构(powershell)
# 创建必要目录
mkdir C:\RustFS\data
mkdir C:\RustFS\meta
mkdir C:\RustFS\logs
mkdir C:\RustFS\temp

# 设置目录权限
icacls "C:\RustFS" /grant "Users:(OI)(CI)F"
四、运行RustFS服务
4.1 命令行直接运行(测试环境)(powershell)
# 启动服务(前台运行)
.\rustfs-server.exe --config C:\RustFS\config\config.toml

# 或者使用简化参数
.\rustfs-server.exe ^
  --data-dir "C:\RustFS\data" ^
  --address ":9000" ^
  --console-address ":9001" ^
  --access-key "admin" ^
  --secret-key "your-password"
4.2 注册为Windows服务(生产环境)(powershell)
创建服务脚本 install-service.ps1:
# 安装为Windows服务
$serviceName = "RustFS"
$serviceDisplayName = "RustFS Object Storage"
$serviceDescription = "High-performance object storage service"
$executablePath = "C:\RustFS\rustfs-server.exe"
$configPath = "C:\RustFS\config\config.toml"

# 检查服务是否已存在
if (Get-Service $serviceName -ErrorAction SilentlyContinue) {
    Write-Host "服务 $serviceName 已存在,正在停止并删除..."
    Stop-Service $serviceName -Force
    sc.exe delete $serviceName
    Start-Sleep -Seconds 2
}

# 创建服务
New-Service `
    -Name $serviceName `
    -DisplayName $serviceDisplayName `
    -Description $serviceDescription `
    -BinaryPathName "`"$executablePath`" server --config `"$configPath`"" `
    -StartupType Automatic `
    -Credential "NT AUTHORITY\SYSTEM"

# 配置服务恢复策略
sc.exe failure $serviceName reset= 60 actions= restart/30000

Write-Host "服务安装完成!"
Write-Host "启动服务: Start-Service $serviceName"
Write-Host "查看状态: Get-Service $serviceName"运行安装脚本:(powershell)
# 以管理员权限运行
Set-ExecutionPolicy Bypass -Scope Process
.\install-service.ps1

# 启动服务
Start-Service RustFS

# 检查服务状态
Get-Service RustFS
五、防火墙配置
5.1 开放必要端口(powershell)
# 开放RustFS服务端口
New-NetFirewallRule -DisplayName "RustFS API" -Direction Inbound -Protocol TCP -LocalPort 9000 -Action Allow
New-NetFirewallRule -DisplayName "RustFS Console" -Direction Inbound -Protocol TCP -LocalPort 9001 -Action Allow

# 或者使用netsh(传统方法)
netsh advfirewall firewall add rule name="RustFS API" dir=in action=allow protocol=TCP localport=9000
netsh advfirewall firewall add rule name="RustFS Console" dir=in action=allow protocol=TCP localport=9001
六、验证安装
6.1 服务健康检查(powershell)
# 检查服务是否运行
Get-Service RustFS | Select-Object Name, Status, StartType

# 测试API端点
Invoke-RestMethod -Uri "http://localhost:9000/minio/health/live" -Method Get

# 检查控制台访问
Start-Process "http://localhost:9001"
6.2 功能测试(powershell)
创建测试脚本 test-installation.ps1:
# 测试RustFS基本功能
$accessKey = "admin"
$secretKey = "your-password"
$endpoint = "http://localhost:9000"

# 使用AWS CLI测试(需先安装awscli)
aws configure set aws_access_key_id $accessKey
aws configure set aws_secret_access_key $secretKey
aws configure set default.region us-east-1
aws configure set default.endpoint_url $endpoint

# 创建测试存储桶
aws s3 mb s3://test-bucket

# 上传测试文件
"Hello RustFS Windows!" | Out-File -FilePath test.txt -Encoding utf8
aws s3 cp test.txt s3://test-bucket/

# 列出存储桶内容
aws s3 ls s3://test-bucket/

Write-Host "安装验证完成!"
七、性能优化配置
7.1 系统级优化(powershell)
# 调整系统性能参数
# 禁用不必要的服务(根据实际需要)
Stop-Service "HomeGroupListener" -ErrorAction SilentlyContinue
Set-Service "HomeGroupListener" -StartupType Disabled

Stop-Service "HomeGroupProvider" -ErrorAction SilentlyContinue
Set-Service "HomeGroupProvider" -StartupType Disabled

# 调整TCP参数
netsh int tcp set global autotuninglevel=normal
netsh int tcp set global rss=enabled
7.2 RustFS专用优化
在配置文件中添加性能优化部分:
[performance]
# 内存缓存大小(MB)
memory_cache_size = 2048

# I/O线程数
io_threads = 8

# 网络工作线程
network_workers = 4

# 最大并发请求
max_concurrent_requests = 1000

[advanced]
# 启用直接I/O(SSD优化)
enable_direct_io = true

# 预读大小
read_ahead_size = 131072
八、日常维护与管理
8.1 服务管理脚本(powershell)
创建 manage-service.ps1:
param(
    [string]$Action = "status"
)

$serviceName = "RustFS"

switch ($Action.ToLower()) {
    "start" {
        Start-Service $serviceName
        Write-Host "服务已启动"
    }
    "stop" {
        Stop-Service $serviceName
        Write-Host "服务已停止"
    }
    "restart" {
        Restart-Service $serviceName
        Write-Host "服务已重启"
    }
    "status" {
        $service = Get-Service $serviceName
        Write-Host "服务状态: $($service.Status)"
    }
    "logs" {
        Get-Content "C:\RustFS\logs\rustfs.log" -Tail 50 -Wait
    }
    default {
        Write-Host "用法: .\manage-service.ps1 [start|stop|restart|status|logs]"
    }
}
8.2 备份与恢复(powershell)
# 备份配置和数据
$backupDir = "C:\Backup\RustFS\$(Get-Date -Format 'yyyyMMdd_HHmmss')"
mkdir $backupDir

# 备份配置文件
Copy-Item "C:\RustFS\config\*" "$backupDir\config\" -Recurse

# 备份元数据
Copy-Item "C:\RustFS\meta\*" "$backupDir\meta\" -Recurse

Write-Host "备份已完成: $backupDir"
九、故障排除
9.1 常见问题解决
端口被占用:(powershell)
# 检查端口占用
netstat -ano | findstr :9000

# 终止占用进程(谨慎操作)
taskkill /PID <PID> /F权限问题:(powershell)
# 以管理员身份运行PowerShell
Start-Process PowerShell -Verb RunAs

# 重新设置目录权限
icacls "C:\RustFS" /reset
icacls "C:\RustFS" /grant "NETWORK SERVICE:(OI)(CI)F"服务启动失败:(powershell)
# 查看系统事件日志
Get-EventLog -LogName System -Source Service* -After (Get-Date).AddHours(-1) |
    Where-Object Message -like "*RustFS*"

# 检查服务详细错误
sc query RustFS
十、安全加固建议
10.1 访问安全
# 在config.toml中增强安全配置
[security]
access_key = "改为复杂访问密钥"
secret_key = "改为强密码"
tls_cert_file = "C:\\RustFS\\certs\\server.crt"
tls_key_file = "C:\\RustFS\\certs\\server.key"

# 启用审计日志
[audit]
enable = true
log_path = "C:\\RustFS\\logs\\audit.log"
10.2 网络隔离(powershell)
# 限制访问IP(如需要)
New-NetFirewallRule -DisplayName "RustFS Internal" -Direction Inbound -Protocol TCP -LocalPort 9000 -RemoteAddress 192.168.1.0/24 -Action Allow
总结
通过本文的详细指南,你已成功在Windows系统上部署了RustFS对象存储服务。关键要点总结:
✅ 已完成的配置:
-
RustFS Windows版安装与配置
-
系统服务注册与自动启动
-
防火墙规则配置
-
性能优化参数调整
🔧 生产环境建议:
-
定期备份配置和元数据
-
监控磁盘空间使用情况
-
启用HTTPS加密传输
-
配置日志轮转和监控告警
📊 下一步建议:
-
配置负载均衡(如有多节点)
-
设置自动化备份策略
-
集成监控系统(Prometheus+ Grafana)
-
制定灾难恢复预案
现在你可以通过 http://localhost:9001访问RustFS控制台,开始使用高性能的对象存储服务了!
以下是深入学习 RustFS 的推荐资源:RustFS
官方文档: RustFS 官方文档- 提供架构、安装指南和 API 参考。
GitHub 仓库: GitHub 仓库 - 获取源代码、提交问题或贡献代码。
社区支持: GitHub Discussions- 与开发者交流经验和解决方案。


 683
683

 被折叠的 条评论
为什么被折叠?


