


 本文详细介绍了如何在CentOS7.6上搭建Zabbix-3.4.15监控系统,包括关闭防火墙与SELinux、配置Zabbix-server环境、安装Zabbix-agent,以及在Windows上的安装步骤。
实验环境
CentOS 7.6
Zabbix-3.4.15
1.关闭防火墙与SELinux
~]# systemctl stop firewalld                 #关闭防火墙
~]# systemctl disable firewalld              #开机禁用防火墙

~]# sed -i 's/SELINUX=enable/SELINUX=disabled/g' /etc/sysconfig/selinux                 #关闭SELinux,重启后生效
~]# setenforce 0               #临时关闭SELinux
2.配置Zabbix-server环境
1.更新yum源
~]# wget https://mirrors.aliyun.com/zabbix/zabbix/3.4/rhel/7/x86_64/zabbix-release-3.4-2.el7.noarch.rpm
~]# rpm -ivh zabbix-release-3.4-2.el7.noarch.rpm
2.安装配置相关程序包
~]# yum install -y zabbix-web zabbix-server-mysql zabbix-get zabbix-web-mysql mariadb-server zabbix-java-gateway
~]# sed -i.org 's@# php_value date.timezone Europe/Riga@php_value date.timezone Asia/Shanghai@g' /etc/httpd/conf.d/zabbix.conf #修改时区
~]# systemctl start mariadb
~]# systemctl enable mariadb
~]# mysql
mysql> set password=password("123456"); #修改root账户密码
mysql> create database zabbix character set utf8 collate utf8_bin; #创建zabbix数据库
mysql> grant all on zabbix.* to zabbix@'localhost' identified by 'zabbix'; #给zabbix用户授权
mysql> flush privileges;
~]# zcat /usr/share/doc/zabbix-server-mysql-3.4.15/create.sql.gz | mysql -uzabbix -pzabbix zabbix #导入数据到zabbix库
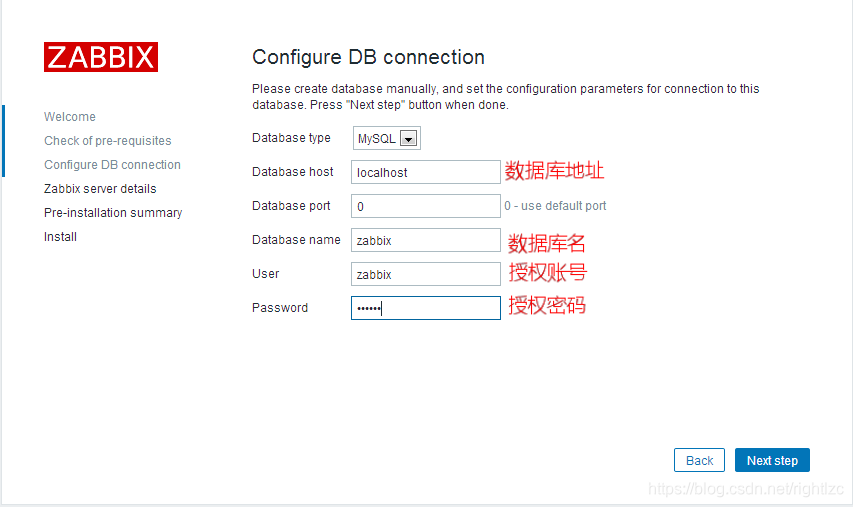
~]# grep -v "#" /etc/zabbix/zabbix_server.conf | grep DB #保证如下几项基本配置即可
DBHost=localhost #数据库地址
DBName=zabbix #数据库名
DBUser=zabbix #授权账户
DBPassword=zabbix #密码
~]# systemctl start zabbix-server
~]# systemctl enable zabbix-server
~]# systemctl start httpd
~]# systemctl enable httpd
3.访问Zabbix
http://IP/zabbix
  初始账号:Admin
  初始密码:zabbix


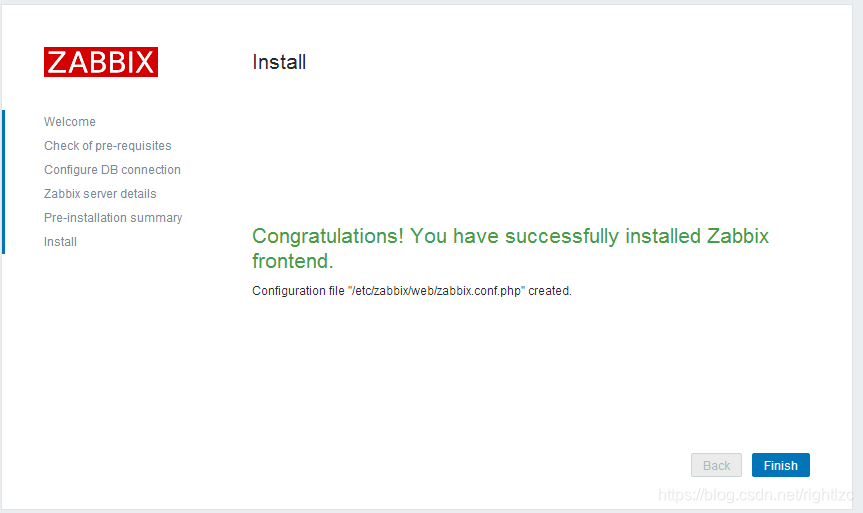

至此,我们zabbix-server就已经成功运行起来了!
4.zabbix-agent安装
4.1 Linux安装:
1.更新yum源
~]# wget https://mirrors.aliyun.com/zabbix/zabbix/3.4/rhel/7/x86_64/zabbix-release-3.4-2.el7.noarch.rpm
~]# rpm -ivh zabbix-release-3.4-2.el7.noarch.rpm
2.安装配置相关程序包
~]# yum install -y zabbix-sender zabbix-agent

~]# cat /etc/zabbix/zabbix_agentd.conf | grep -v "#" | egrep "Server|Hostname"
	Server=192.168.164.156				#server地址,被动模式
	ServerActive=192.168.164.156		#server地址,主动模式
	Hostname=192.168.164.150			#本机主机名或者IP地址,我习惯与用IP标识

~]# systemctl start zabbix-agent
~]# systemctl enable zabbix-agent
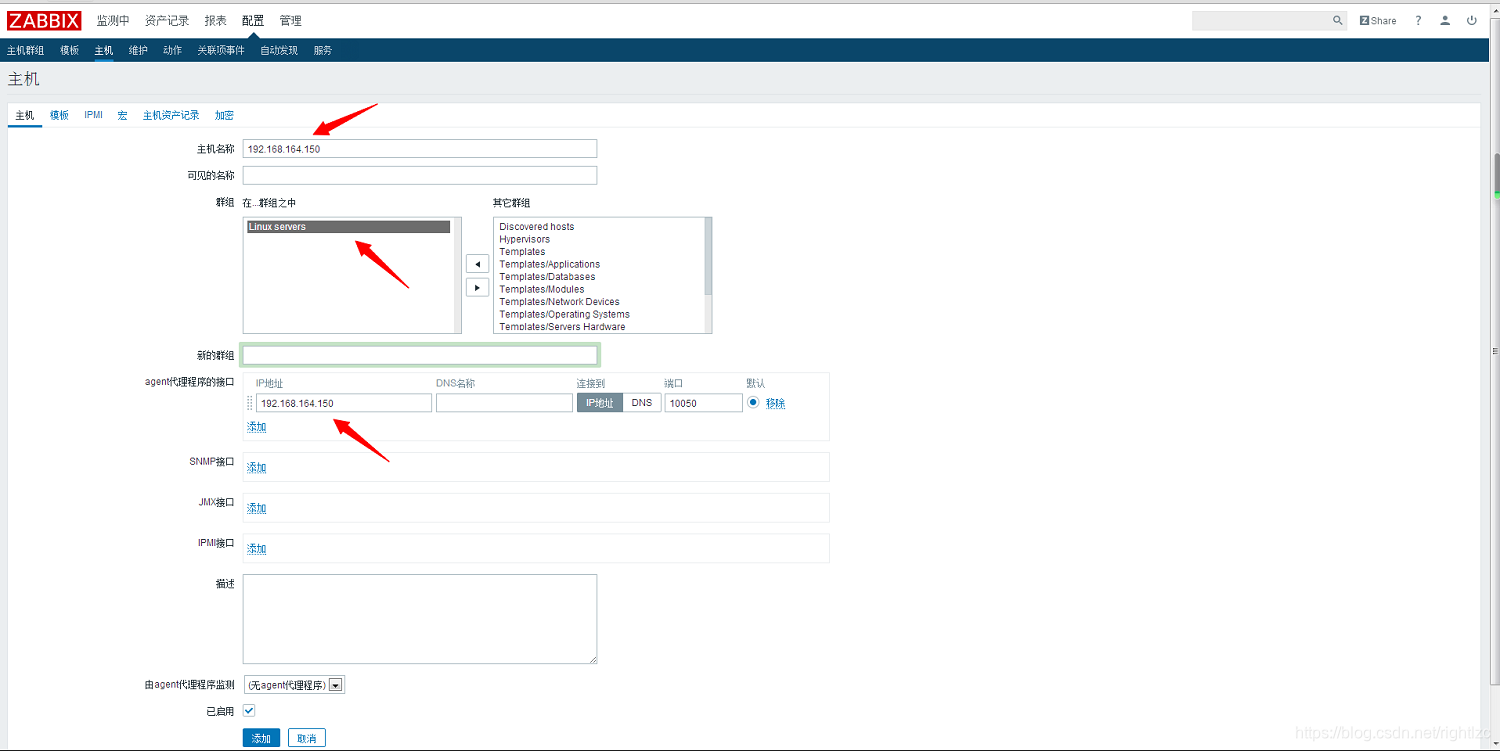
3.界面配置
配置 -> 主机 -> 创建主机

4.2 Windows安装:
1.拷贝安装包到相应位置(Zabbix官网下载)

2.解压后命令行安装
我放在 D:/zabbix
安装agent: 		 D:\zabbix\bin\win64\zabbix_agentd.exe -i -c D:\zabbix\conf\zabbix_agentd.win.conf
启动agent客户端:  D:\zabbix\bin\win64\zabbix_agentd.exe -c D:\zabbix\conf\zabbix_agentd.win.conf -s
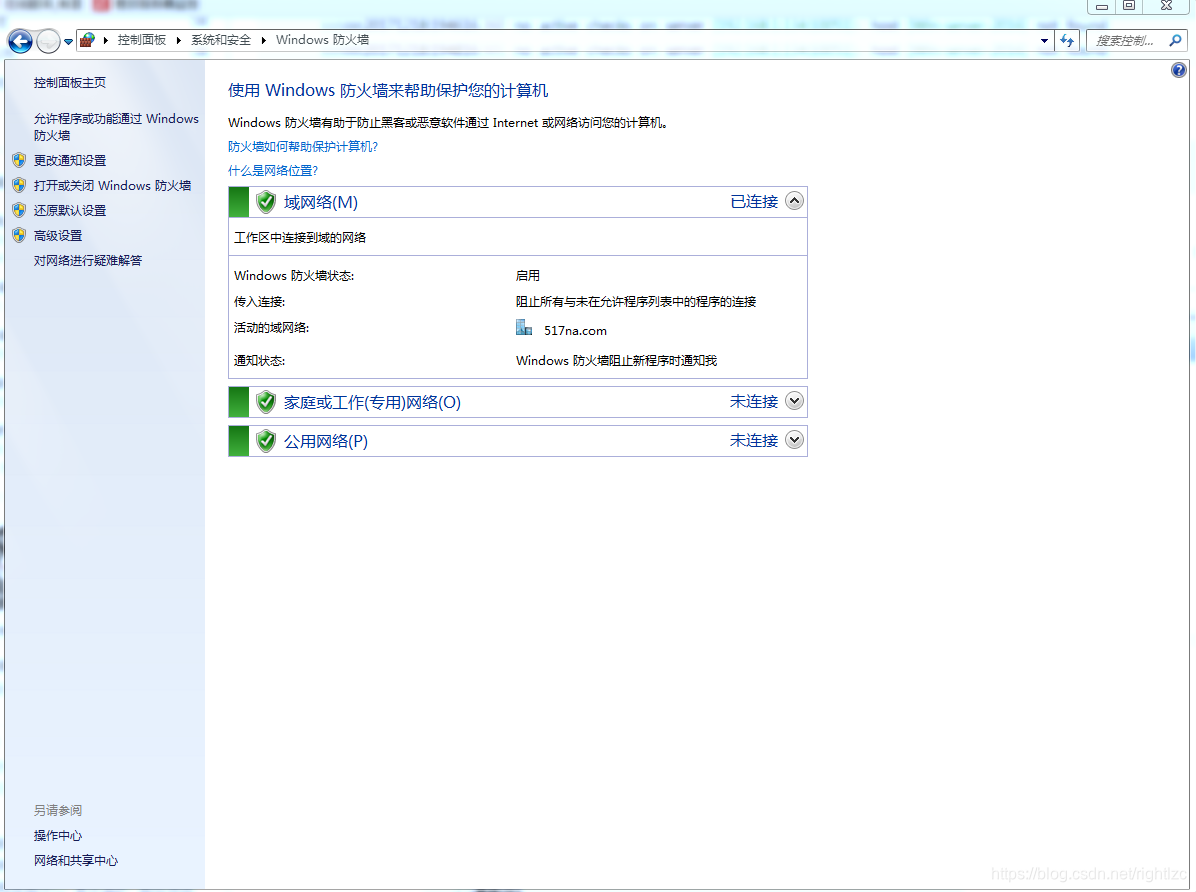
3.开放zabbix服务
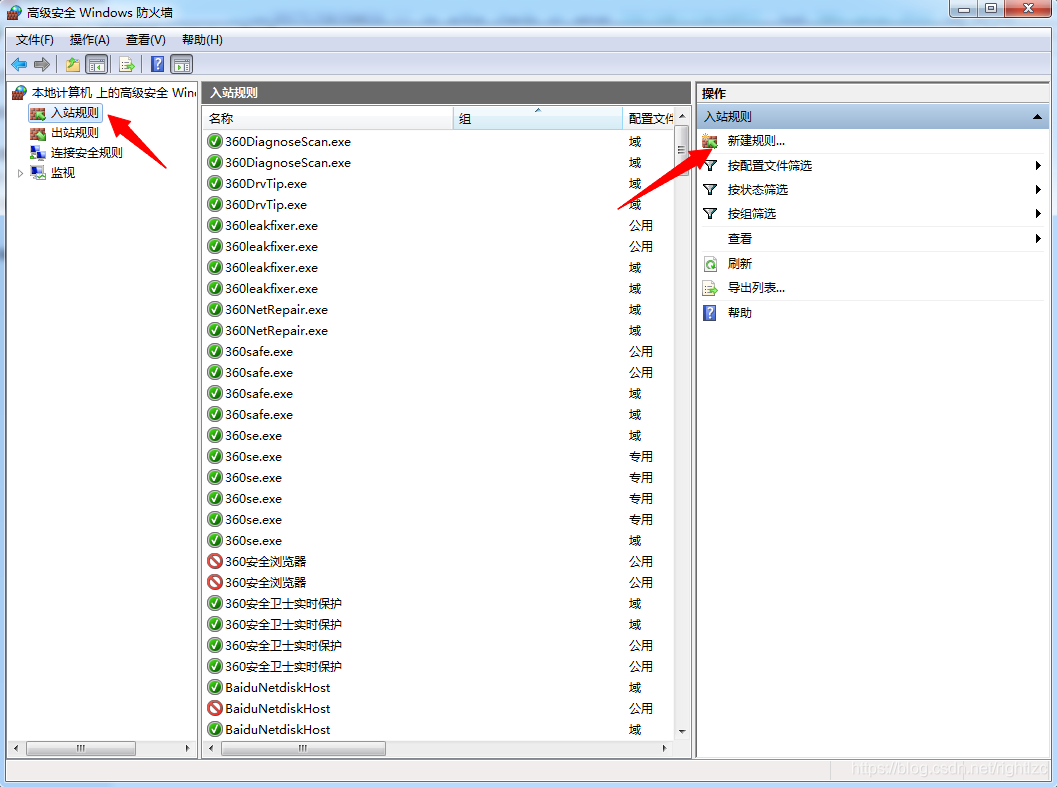
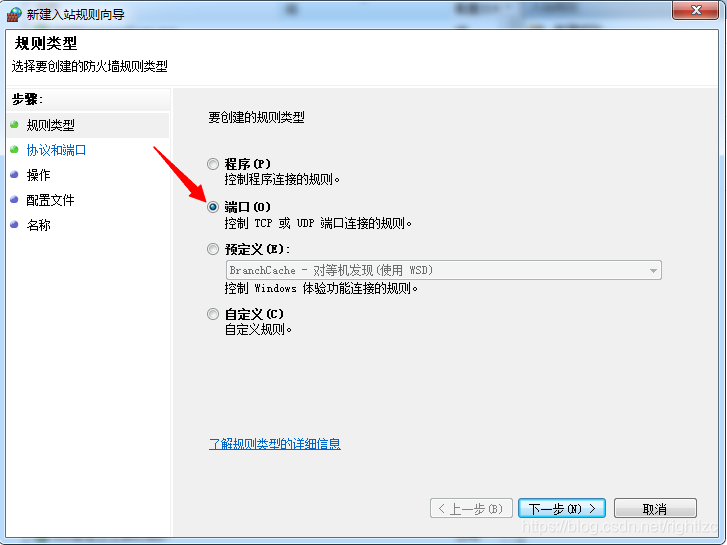

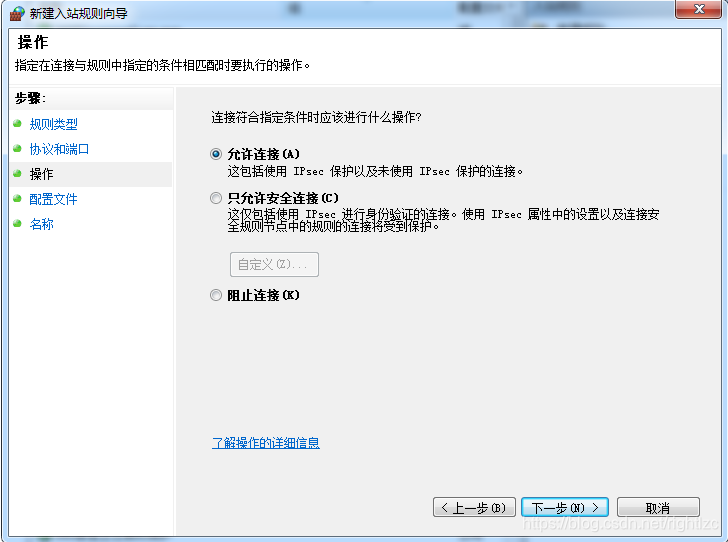
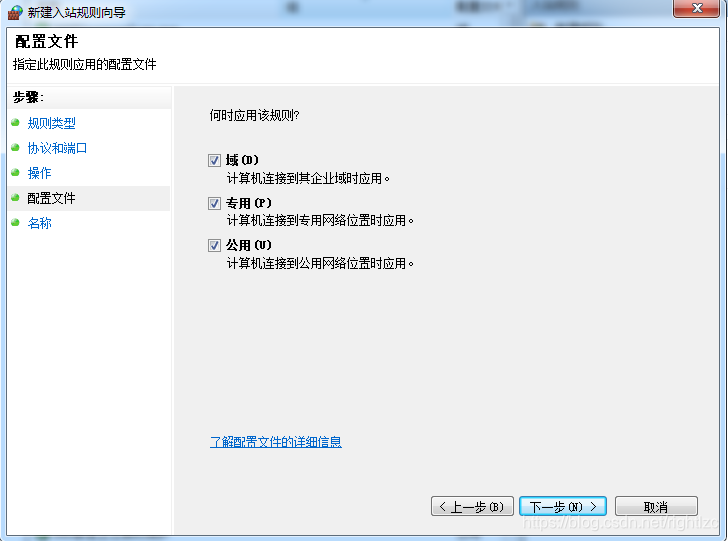
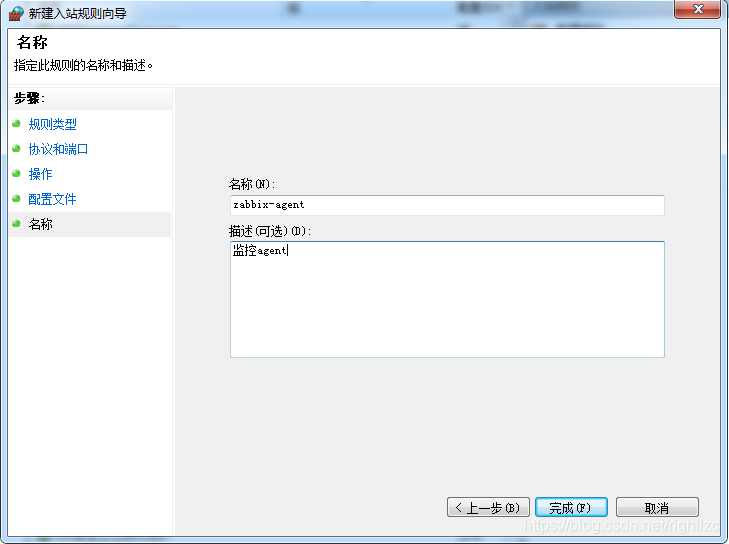
入站规则设置好了,出站规则相同配置即可!!!


 295
295

 被折叠的 条评论
为什么被折叠?
被折叠的 条评论
为什么被折叠?
 到【灌水乐园】发言


