


 本文档详细介绍了如何在CentOS7.6环境下搭建GitLab服务器,包括安装依赖、配置服务、安装GitLab包及重置、启动服务等步骤,并讲解了项目备份、迁移以及设置自动备份和恢复数据的方法。此外,还阐述了如何搭建和配置GitLab Runner以实现代码提交后的自动化检查和测试。
目录
1. 说明
因工作需要,领导要求在实验室内搭建一台GitServer供组内成员管理代码使用。因此基于一台PC使用centos7.6系统搭建一台该类型服务器。
该类型服务器最小要求内存为4GB,我这边使用4GB内存时,系统运行会很缓慢,故建议至少8G内存。
2. 搭建Server
2.1 安装依赖软件
主要工具为httpd, ssh, postfix
yum -y install policycoreutils
yum -y openssh-server
yum -y openssh-clients
yum -y postfix
因安装系统时选择了所有的可安装包,系统已自带上述软件,故此步可跳过。
2.2 打开相应服务
//关闭防火墙
systemctl stop firewalld.service
systemctl disable firewalld.service

//打开httpd服务
systemctl start httpd.service
systemctl enable httpd.service

//打开sshd服务
systemctl start sshd.service
systemctl enable sshd.service

//打开postfix服务
systemctl start postfix.service
systemctl enable postfix.service
2.3 安装 gitlab 包
rpm -ivh gitlab-ce-10.5.2-ce.0.el7.x86_64.rpm2.4 配置 gitlab
修改自定义域名,使用"http://ip:port"格式,注意这里的端口不应被其他程序占用,我使用的是8080端口。
vim /etc/gitlab/gitlab.rb

external_url 'http://10.8.80.78:8080'
修改unicorn端口,这个端口不能与前面的访问端口一致,否则会使得服务无法正常运行。之前我没有注意到这一点,导致打开网页时始终是“502, 无法访问”。
vim /etc/gitlab/gitlab.rb

### Advanced settings
# unicorn['listen'] = '127.0.0.1'
unicorn['port'] = 28080
#unicorn['socket'] = '/var/opt/gitlab/gitlab-rails/socket/gitlab.socket'
2.5 重置 gitlab
gitlab-ctr reconfigure注:第一次可能需要几分钟时间,如下图所示:
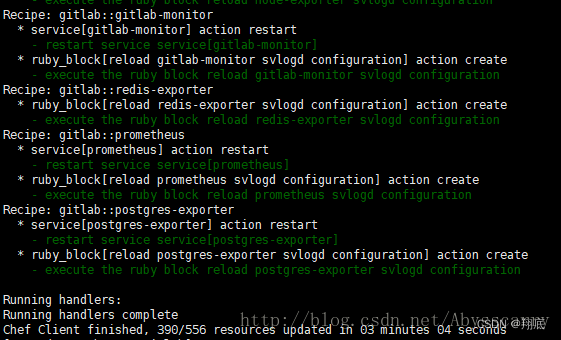
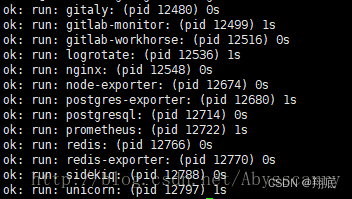
2.6 启动 gitlab
gitlab-ctrl start如下图所示:
3. 服务器管理
3.1 项目备份和迁移
为了提高gitserver的稳定和抗风险能力,常常需要对Server上已有的项目进行备份,如有必要还可迁移到其他Server进行展开。
1. 创建自动备份脚本
auto_backup.sh内容如下:
cd /var/opt/gitlab/backups
vim auto_backup.sh
    #!/bin/bash
    gitlab-rake gitlab:backup:create
crontab -e 0 23 * * * root /var/opt/gitlab/backups/auto_backup.sh -D 1上述命令表示每天23:00执行自动备份命令,/var/opt/gitlab/backups/是默认的备份文件存放路径。(这一步可做可不做)
2. 创建自动删除脚本
每天备份时间一长会产生大量备份文件,对于超出时间的文件可以自动删除。
创建一个自动删除脚本auto_delete.sh
find "/var/opt/gitlab/backups" -name "*.tar" -ctime +5 -type f -exec rm -rf {} \;3. 设置定时任务
设置每天22:30删除过期文件,23:00创建最新的备份文件。
vim /etc/crontab

# 在文件末尾添加:
  0  23 *  *  * root /var/opt/gitlab/backups/auto_backup.sh
  30 22 *  *  * root /var/opt/gitlab/backups/auto_delete.sh
4. 恢复数据
开启自动备份后,每天会在/var/opt/gitlab/backups/路径下产生备份文件,如下图:

文件格式为:编号_年_月_日_版本_gitlab_back.tar
以1599404504_2020_09_06_12.2.1_gitlab_backup.tar为例,恢复数据命令为:
gitlab-ctl stop unicorn
gitlab-ctl stop sidekiq
gitlab-ctl status
gitlab-rake gitlab:backup:restore BACKUP=1599404504_2020_09_06
3.2 搭建 gitlab-runner
gitlab-runner用于每次提交代码到服务器上后,服务器针对某种规则对代码进行检查和测试运行,该规则文件可以是本地,也可以是指定的远程机器上。
Install GitLab Runner
# mkdir /gitrunner
# cd /gitrunner
# curl -LJO https://gitlab-runner-downloads.s3.amazonaws.com/latest/deb/gitlab-runner_amd64.deb
# dpkg -i gitlab-runner_amd64.deb
Registering Runners
1,Run the register command:
# gitlab-runner register2, Enter your GitLab instance URL:
Please enter the gitlab-ci coordinator URL (e.g. https://gitlab.com )
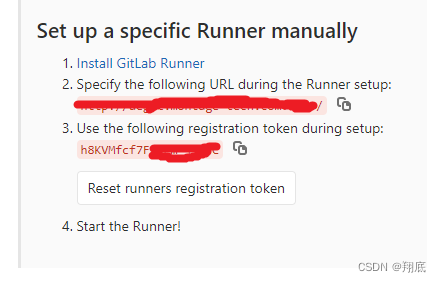
http://[IP Address]:8080/3,Enter the token you obtained to register the Runner:
Please enter the gitlab-ci token for this runner
h8KVMfcf7F9Fgm-j9zyC
4,Enter a description for the Runner, you can change this later in GitLab’s UI:
Please enter the gitlab-ci description for this runner
[hostname] sr651-gitrunner
5,Enter the tags associated with the Runner, you can change this later in GitLab’s UI:
这儿随便填一个
Please enter the gitlab-ci tags for this runner (comma separated):
d
6,Enter the Runner executor:
Please enter the executor: ssh, docker+machine, docker-ssh+machine, kubernetes, docker, parallels, virtualbox, docker-ssh, shell:
shell
7,Custom CI config path
在 ci_cd 配置界面,修改 Custom CI config path = ***.yml
第2步和第3步的信息从 gitlab 项目中查找,如下:
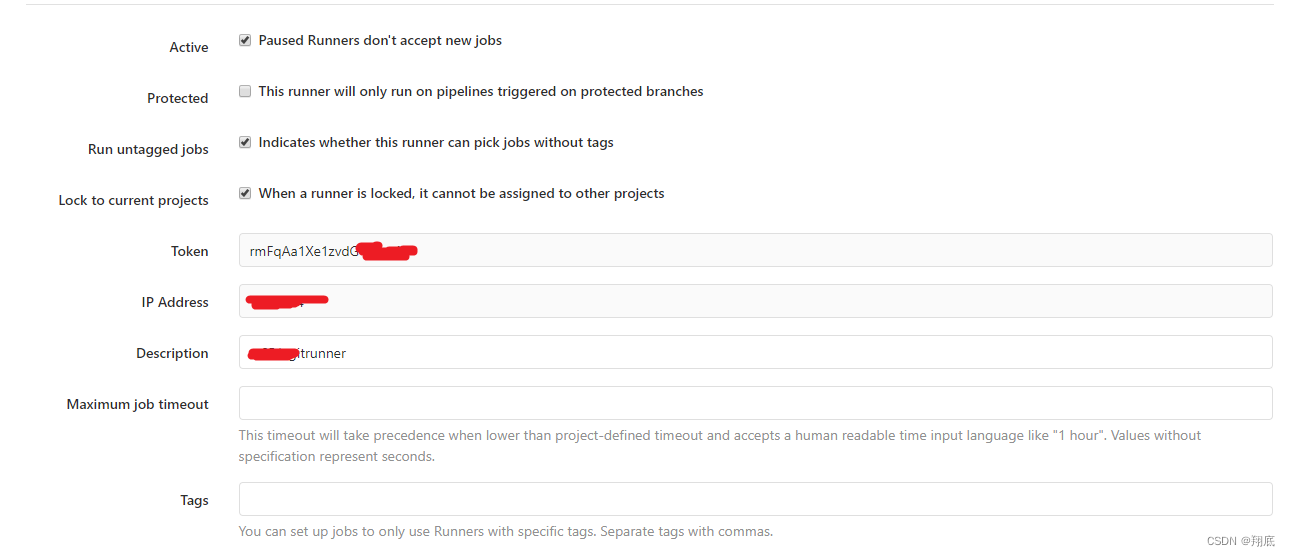
配置项目的 gitrunner
按照前面步骤安装注册后,可以在项目中看到 runner 信息。
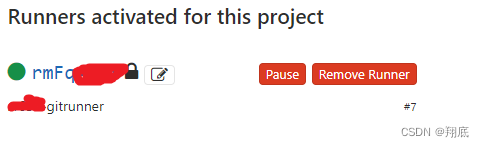
点击图片中的修改标志,进一步配置
勾选“Indicates whether this runner can pick jobs without tags”,每一个commit都会触发runner被执行。
在代码中添加测试分支
这一部分根据自己的实际情况添加,这里省略。


 1万+
1万+

 被折叠的 条评论
为什么被折叠?
被折叠的 条评论
为什么被折叠?
 到【灌水乐园】发言


