three.js加载VTK格式模型(vue中使用three.js54)

本文介绍如何在Vue项目中使用VTKLoader加载VTK格式模型,包括配置文件路径、创建材质和网格对象等步骤。

摘要生成于 C知道 ,由 DeepSeek-R1 满血版支持, 前往体验 >

1.demo效果

在这里插入图片描述

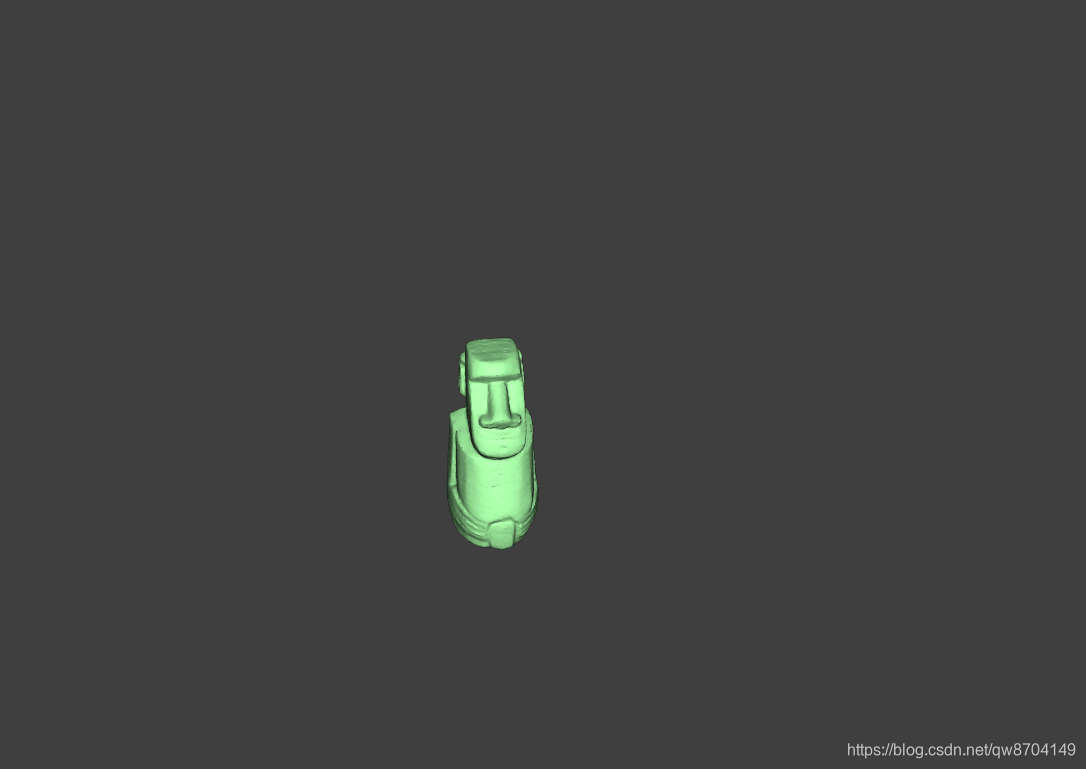
如上图,该demo通过VTKLoader加载了VTK格式的模型,将塑像呈现在页面中

2.实现要点

2.1 VTK模型放置路径

vue中加载文件时默认的路径为public下,所以需要加载的文件放在该路径下,同时在vue的data属性中创建变量publicPath,此变量的值是vue中的环境变量process.env.BASE_URL

data() {
  return {
    publicPath: process.env.BASE_URL
  }
}

2.2 加载VTK模型

这我们通过VTKLoader导入模型,不过这里需要注意导入的路径,把我们创建的publicpath变量拼接到文件的路径上,在导入的回调函数中,需要创建材质,用创建的材质和导入的几何对象创建网格对象,并将网格对象添加到场景,具体如下:

// 加载VTK模型
loadVTK() {
  const THIS = this
  const loader = new VTKLoader()
  loader.load(`${THIS.publicPath}models/moai_fixed.vtk`, geometry => {
    geometry.computeFaceNormals()
    geometry.computeVertexNormals()
    // 创建材质
    const material = new THREE.MeshLambertMaterial({ color: 0xaaffaa })
    this.mesh = new THREE.Mesh(geometry, material)
    this.mesh.scale.set(12, 12, 12)
    this.scene.add(this.mesh)
  })
}

3.demo代码

<template>
  <div>
    <div id="container"></div>
  </div>
</template>

<script>
import * as THREE from 'three'
import { OrbitControls } from 'three/examples/jsm/controls/OrbitControls.js'
import { VTKLoader } from 'three/examples/jsm/loaders/VTKLoader.js'

export default {
  data() {
    return {
      publicPath: process.env.BASE_URL,
      mesh: null,
      camera: null,
      scene: null,
      renderer: null,
      controls: null
    }
  },
  mounted() {
    this.init()
  },
  methods: {
    // 初始化
    init() {
      this.createScene() // 创建场景
      this.loadVTK() // 加载VTK模型
      this.createLight() // 创建光源
      this.createCamera() // 创建相机
      this.createRender() // 创建渲染器
      this.createControls() // 创建控件对象
      this.render() // 渲染
    },
    // 创建场景
    createScene() {
      this.scene = new THREE.Scene()
    },
    // 加载VTK模型
    loadVTK() {
      const THIS = this
      const loader = new VTKLoader()
      loader.load(`${THIS.publicPath}models/moai_fixed.vtk`, geometry => {
        geometry.computeFaceNormals()
        geometry.computeVertexNormals()
        // 创建材质
        const material = new THREE.MeshLambertMaterial({ color: 0xaaffaa })
        this.mesh = new THREE.Mesh(geometry, material)
        this.mesh.scale.set(12, 12, 12)
        this.scene.add(this.mesh)
      })
    },

    // 创建光源
    createLight() {
      // 环境光
      const ambientLight = new THREE.AmbientLight(0xffffff, 0.1) // 创建环境光
      this.scene.add(ambientLight) // 将环境光添加到场景

      const spotLight = new THREE.SpotLight(0xffffff) // 创建聚光灯
      spotLight.position.set(50, 50, 50)
      spotLight.castShadow = true
      this.scene.add(spotLight)
    },
    // 创建相机
    createCamera() {
      const element = document.getElementById('container')
      const width = element.clientWidth // 窗口宽度
      const height = element.clientHeight // 窗口高度
      const k = width / height // 窗口宽高比
      // PerspectiveCamera( fov, aspect, near, far )
      this.camera = new THREE.PerspectiveCamera(35, k, 0.1, 1000)
      this.camera.position.set(50, 50, 50) // 设置相机位置

      this.camera.lookAt(new THREE.Vector3(10, 40, 0)) // 设置相机方向
      this.scene.add(this.camera)
    },
    // 创建渲染器
    createRender() {
      const element = document.getElementById('container')
      this.renderer = new THREE.WebGLRenderer({ antialias: true, alpha: true })
      this.renderer.setSize(element.clientWidth, element.clientHeight) // 设置渲染区域尺寸
      this.renderer.shadowMap.enabled = true // 显示阴影
      this.renderer.shadowMap.type = THREE.PCFSoftShadowMap
      this.renderer.setClearColor(0x3f3f3f, 1) // 设置背景颜色
      element.appendChild(this.renderer.domElement)
    },

    render() {
      if (this.mesh) {
        this.mesh.rotation.y += 0.006
      }
      this.renderer.render(this.scene, this.camera)
      requestAnimationFrame(this.render)
    },
    // 创建控件对象
    createControls() {
      this.controls = new OrbitControls(this.camera, this.renderer.domElement)
    }
  }
}
</script>
<style>
#container {
  position: absolute;
  width: 100%;
  height: 100%;
}
</style>

评论 6
添加红包

请填写红包祝福语或标题

红包个数最小为10个

红包金额最低5元

当前余额3.43前往充值 >
需支付:10.00
成就一亿技术人!
领取后你会自动成为博主和红包主的粉丝 规则
hope_wisdom
发出的红包
实付
使用余额支付
点击重新获取
扫码支付
钱包余额 0

抵扣说明:

1.余额是钱包充值的虚拟货币,按照1:1的比例进行支付金额的抵扣。
2.余额无法直接购买下载,可以购买VIP、付费专栏及课程。

余额充值