


 本文介绍使用Python-opencv进行人脸检测的方法,包括加载模型、处理视频流并实时检测人脸等过程。通过具体代码实现,展示了如何利用深度学习模型进行高效的人脸检测。
Python-opencv学习第三十课:人脸检测
一、学习部分
记录笔者学习Python-opencv学习第三十课:人脸检测,代码资料来源于网络贾老师视频。
二、代码部分
1.引入库
代码如下:
import cv2 as cv
import matplotlib.pyplot as plt
import numpy as np
2.完整代码
代码如下:
import cv2 as cv
import numpy as np
from matplotlib import pyplot as plt


def read_demo():
    image = cv.imread("D:/images/test.png") # BGR, 0~255
    # cv.namedWindow("input", cv.WINDOW_AUTOSIZE)
    cv.imshow("input", image)
    cv.waitKey(0)
    cv.destroyAllWindows()


def color_space_demo():
    image = cv.imread("D:/images/test.png") # BGR, 0~255
    gray = cv.cvtColor(image, cv.COLOR_BGR2GRAY)
    hsv = cv.cvtColor(image, cv.COLOR_HSV2BGR) # H 0 ~180
    # cv.namedWindow("input", cv.WINDOW_AUTOSIZE)
    cv.imshow("gray", gray)
    cv.imshow("hsv", hsv)
    cv.waitKey(0)
    cv.destroyAllWindows()


def mat_demo():
    image = cv.imread("D:/images/test.png") # BGR, 0~255
    h,w,c = image.shape
    roi = image[60:200, 60:280, :]
    blank = np.zeros((h, w, c), dtype=np.uint8)
    # blank[60:200, 60:280, :] = image[60:200, 60:280, :]
    blank = image # np.copy(image)
    cv.imshow("blank", blank)
    cv.imshow("roi", roi)
    cv.waitKey(0)
    cv.destroyAllWindows()


def pixel_demo():
    image = cv.imread("D:/images/test.png") # BGR, 0~255
    cv.imshow("input", image)
    h,w,c = image.shape
    for row in range(h):
        for col in range(w):
            b,g,r = image[row, col]
            image[row, col] = (0, g, r)
    cv.imshow("result", image)
    cv.imwrite("D:/image_result.png", image)
    cv.waitKey(0)
    cv.destroyAllWindows()


def math_demo():
    image = cv.imread("D:/images/test.png") # BGR, 0~255
    cv.imshow("input", image)
    h,w,c = image.shape
    blank = np.zeros_like(image)
    blank[:,:] = (2, 2, 2)
    cv.imshow("blank", blank)
    result = cv.multiply(image, blank)
    cv.imshow("result", result)
    cv.waitKey(0)
    cv.destroyAllWindows()

def nothing(x):
    print(x)

def adjust_lightness_demo():
    image = cv.imread("D:/images/test.png") # BGR, 0~255
    cv.namedWindow("input", cv.WINDOW_AUTOSIZE)
    cv.createTrackbar("lightness", "input", 0, 100, nothing)
    cv.imshow("input", image)
    blank = np.zeros_like(image)
    while True:
        pos = cv.getTrackbarPos("lightness", "input")
        blank[:,:] = (pos, pos, pos)
        # cv.imshow("blank", blank)
        result = cv.add(image, blank)
        cv.imshow("result", result)
        c = cv.waitKey(1)
        if c == 27:
            break
    cv.destroyAllWindows()


def adjust_contrast_demo():
    image = cv.imread("D:/images/test.png") # BGR, 0~255
    cv.namedWindow("input", cv.WINDOW_AUTOSIZE)
    cv.createTrackbar("lightness", "input", 0, 100, nothing)
    cv.createTrackbar("contrast", "input", 100, 200, nothing)
    cv.imshow("input", image)
    blank = np.zeros_like(image)
    while True:
        light = cv.getTrackbarPos("lightness", "input")
        contrast = cv.getTrackbarPos("contrast", "input") / 100
        print("light: ", light, "contrast: ", contrast)
        result = cv.addWeighted(image, contrast, blank, 0.5, light)
        cv.imshow("result", result)
        c = cv.waitKey(1)
        if c == 27:
            break
    cv.destroyAllWindows()


def keys_demo():
    image = cv.imread("D:/images/test.png") # BGR, 0~255
    cv.namedWindow("input", cv.WINDOW_AUTOSIZE)
    cv.imshow("input", image)
    while True:
        c = cv.waitKey(1)
        if c == 49:  #1
            gray = cv.cvtColor(image, cv.COLOR_BGR2GRAY)
            cv.imshow("result", gray)
        if c == 50:  #2
            hsv = cv.cvtColor(image, cv.COLOR_BGR2HSV)
            cv.imshow("result", hsv)
        if c == 51:  # 3
            invert = cv.bitwise_not(image)
            cv.imshow("result", invert)
        if c == 27:
            break
    cv.destroyAllWindows()


def color_table_demo():
    colormap = [
        cv.COLORMAP_AUTUMN,
        cv.COLORMAP_BONE,
        cv.COLORMAP_JET,
        cv.COLORMAP_WINTER,
        cv.COLORMAP_RAINBOW,
        cv.COLORMAP_OCEAN,
        cv.COLORMAP_SUMMER,
        cv.COLORMAP_SPRING,
        cv.COLORMAP_COOL,
        cv.COLORMAP_PINK,
        cv.COLORMAP_HOT,
        cv.COLORMAP_PARULA,
        cv.COLORMAP_MAGMA,
        cv.COLORMAP_INFERNO,
        cv.COLORMAP_PLASMA,
        cv.COLORMAP_VIRIDIS,
        cv.COLORMAP_CIVIDIS,
        cv.COLORMAP_TWILIGHT,
        cv.COLORMAP_TWILIGHT_SHIFTED ]

    image = cv.imread("D:/images/canjian.jpg") # BGR, 0~255
    cv.namedWindow("input", cv.WINDOW_AUTOSIZE)
    cv.imshow("input", image)
    index = 0
    while True:
        dst = cv.applyColorMap(image, colormap[index%19])
        index += 1
        cv.imshow("color style", dst);
        c = cv.waitKey(400)
        if c == 27:
            break
    cv.destroyAllWindows()


def bitwise_demo():
    b1 = np.zeros((400, 400, 3), dtype=np.uint8)
    b1[:,:] = (255, 0, 255)
    b2 = np.zeros((400, 400, 3), dtype=np.uint8)
    b2[:,:] = (0, 255, 255)
    cv.imshow("b1", b1);
    cv.imshow("b2", b2);

    dst1 = cv.bitwise_and(b1, b2)
    dst2 = cv.bitwise_or(b1, b2)
    cv.imshow("bitwise_and", dst1)
    cv.imshow("bitwise_or", dst2)
    cv.waitKey(0)
    cv.destroyAllWindows()


def channels_split_demo():
    b1 = cv.imread("D:/images/lena.jpg")
    print(b1.shape)
    cv.imshow("input", b1)
    cv.imshow("b1", b1[:,:,2])
    mv = cv.split(b1)
    mv[0][:,:] = 255
    result = cv.merge(mv)

    dst = np.zeros(b1.shape, dtype=np.uint8)
    cv.mixChannels([b1], [dst], fromTo=[2, 0, 1, 1, 0, 2])
    cv.imshow("output4", dst)

    cv.imshow("result",result)
    cv.waitKey(0)
    cv.destroyAllWindows()


def color_space_demo():
    b1 = cv.imread("D:/images/greenback.png")
    print(b1.shape)
    cv.imshow("input", b1)
    hsv = cv.cvtColor(b1, cv.COLOR_BGR2HSV)
    cv.imshow("hsv", hsv)
    mask = cv.inRange(hsv, (35, 43, 46), (77, 255, 255))
    cv.bitwise_not(mask, mask)
    result = cv.bitwise_and(b1, b1, mask=mask)
    cv.imshow("result", result)
    cv.waitKey(0)
    cv.destroyAllWindows()


def pixel_stat_demo():
    b1 = cv.imread("D:/images/1024.png")
    print(b1.shape)
    cv.imshow("input", b1)
    print(np.max(b1[:,:,2]))
    means, dev = cv.meanStdDev(b1)
    print(means, "dev: ", dev)
    cv.waitKey(0)
    cv.destroyAllWindows()


def drawing_demo():
    b1 = cv.imread("D:/images/1024.png")#np.zeros((512, 512, 3), dtype=np.uint8)
    temp = np.copy(b1)
    cv.rectangle(b1, (50, 50), (400, 400), (0, 0, 255), 4, 8, 0)
    # cv.circle(b1, (200, 200), 100, (255, 0, 0), -1, 8, 0)
    # cv.line(b1, (50, 50), (400, 400), (0, 255, 0), 4, 8, 0)
    cv.putText(b1, "99% face", (50, 50), cv.FONT_HERSHEY_SIMPLEX, 1.0, (0, 255, 255), 2, 8)
    cv.imshow("input", b1)
    cv.waitKey(0)
    cv.destroyAllWindows()


def random_color_demo():
    b1 = np.zeros((512, 512, 3), dtype=np.uint8)
    while True:
        xx = np.random.randint(0, 512, 2, dtype=np.int)
        yy = np.random.randint(0, 512, 2, dtype=np.int)
        bgr = np.random.randint(0, 255, 3, dtype=np.int32)
        print(bgr[0], bgr[1], bgr[2])
        cv.line(b1, (xx[0], yy[0]), (xx[1], yy[1]), (np.int(bgr[0]), np.int(bgr[1]), np.int(bgr[2])), 1, 8, 0)
        cv.imshow("input", b1)
        c = cv.waitKey(10)
        if c == 27:
            break
    cv.destroyAllWindows()


def polyline_drawing_demo():
    canvas = np.zeros((512, 512, 3), dtype=np.uint8)
    pts = np.array([[100, 100], [350, 100], [450, 280], [320, 450], [80, 400]],  dtype=np.int32)
    # cv.fillPoly(canvas, [pts], (255, 0, 255), 8, 0);
    # cv.polylines(canvas, [pts], True, (0, 0, 255), 2, 8, 0);
    cv.drawContours(canvas, [pts], -1, (255, 0, 0), -1);
    cv.imshow("polyline", canvas);
    cv.waitKey(0)
    cv.destroyAllWindows()


b1 = cv.imread("D:/images/1024.png")  # np.zeros((512, 512, 3), dtype=np.uint8)
img = np.copy(b1)
x1 = -1
x2 = -1
y1 = -1
y2 = -1
def mouse_drawing(event, x, y, flags, param):
    global x1, y1, x2, y2
    if event == cv.EVENT_LBUTTONDOWN:
        x1 = x
        y1 = y
    if event == cv.EVENT_MOUSEMOVE:
        if x1 < 0 or y1 < 0:
            return
        x2 = x
        y2 = y
        dx = x2 - x1
        dy = y2 - y1
        if dx > 0 and dy > 0:
            b1[:,:,:] = img[:,:,:]
            cv.rectangle(b1, (x1, y1), (x2, y2), (0, 0, 255), 2, 8, 0)
    if event == cv.EVENT_LBUTTONUP:
        x2 = x
        y2 = y
        dx = x2 - x1
        dy = y2 - y1
        if dx > 0 and dy > 0:
            b1[:, :, :] = img[:,:,:]
            cv.rectangle(b1, (x1, y1), (x2, y2), (0, 0, 255), 2, 8, 0)
        x1 = -1
        x2 = -1
        y1 = -1
        y2 = -1

def mouse_demo():
    cv.namedWindow("mouse_demo", cv.WINDOW_AUTOSIZE)
    cv.setMouseCallback("mouse_demo", mouse_drawing)
    while True:
        cv.imshow("mouse_demo", b1)
        c = cv.waitKey(10)
        if c == 27:
            break
    cv.destroyAllWindows()


def norm_demo():
    image = cv.imread("D:/images/1024.png")
    cv.namedWindow("norm_demo", cv.WINDOW_AUTOSIZE)
    result = np.zeros_like(np.float32(image))
    cv.normalize(np.float32(image), result, 0, 1, cv.NORM_MINMAX, dtype=cv.CV_32F)
    cv.imshow("norm_demo", np.uint8(result*255))
    cv.waitKey(0)
    cv.destroyAllWindows()


def resize_demo():
    image = cv.imread("D:/images/1024.png")
    h, w, c = image.shape
    cv.namedWindow("resize", cv.WINDOW_AUTOSIZE)
    dst = cv.resize(image, (0, 0), fx=0.75, fy=0.75, interpolation=cv.INTER_NEAREST)
    cv.imshow("resize", dst)
    cv.waitKey(0)
    cv.destroyAllWindows()


def flip_demo():
    image = cv.imread("D:/images/1024.png")
    cv.imshow("input", image)
    cv.namedWindow("flip", cv.WINDOW_AUTOSIZE)
    dst = cv.flip(image, -1)
    cv.imshow("flip", dst)
    cv.waitKey(0)
    cv.destroyAllWindows()


def rotate_demo():
    src = cv.imread("D:/images/dannis1.png")
    cv.imshow("input", src)
    h, w, c = src.shape
    M = np.zeros((2, 3), dtype=np.float32)
    alpha = np.cos(np.pi / 4.0)
    beta = np.sin(np.pi / 4.0)
    print("alpha : ", alpha)

    # 初始旋转矩阵
    M[0, 0] = alpha
    M[1, 1] = alpha
    M[0, 1] = beta
    M[1, 0] = -beta
    cx = w / 2
    cy = h / 2
    tx = (1 - alpha) * cx - beta * cy
    ty = beta * cx + (1 - alpha) * cy
    M[0, 2] = tx
    M[1, 2] = ty

    # change with full size
    bound_w = int(h * np.abs(beta) + w * np.abs(alpha))
    bound_h = int(h * np.abs(alpha) + w * np.abs(beta))

    # 添加中心位置迁移
    M[0, 2] += bound_w / 2 - cx
    M[1, 2] += bound_h / 2 - cy
    dst = cv.warpAffine(src, M, (bound_w, bound_h))
    cv.imshow("rotate without cropping", dst)
    cv.waitKey(0)
    cv.destroyAllWindows()


def video_demo():
    cap = cv.VideoCapture("D:/images/video/dushuhu.mp4")
    w = cap.get(cv.CAP_PROP_FRAME_WIDTH)
    h = cap.get(cv.CAP_PROP_FRAME_HEIGHT)
    fps = cap.get(cv.CAP_PROP_FPS)
    out = cv.VideoWriter("D:/test.mp4",  cv.CAP_ANY, np.int(cap.get(cv.CAP_PROP_FOURCC)), fps, (np.int(w), np.int(h)), True)
    print(w, h, fps)
    while True:
        ret, frame = cap.read()
        if ret is not True:
            break
        cv.imshow("frame", frame)
        hsv = cv.cvtColor(frame, cv.COLOR_BGR2HSV)
        cv.imshow("result", hsv)
        out.write(hsv)
        c = cv.waitKey(10)
        if c == 27:
            break
    cv.destroyAllWindows()

    out.release()
    cap.release()


def image_hist():
    image = cv.imread("D:/images/dannis1.png")
    cv.imshow("input", image)
    color = ('blue', 'green', 'red')
    for i, color in enumerate(color):
        hist = cv.calcHist([image], [i], None, [32], [0, 256])
        print(hist)
        plt.plot(hist, color=color)
        plt.xlim([0, 32])
    plt.show()
    cv.waitKey(0)
    cv.destroyAllWindows()


def hist2d_demo():
    image = cv.imread("D:/images/dannis1.png")
    hsv = cv.cvtColor(image, cv.COLOR_BGR2HSV)
    hist = cv.calcHist([hsv], [0, 1], None, [48, 48], [0, 180, 0, 256])
    dst = cv.resize(hist, (400, 400))
    cv.normalize(dst, dst, 0, 255, cv.NORM_MINMAX)
    cv.imshow("image", image)
    dst = cv.applyColorMap(np.uint8(dst), cv.COLORMAP_JET)
    cv.imshow("hist", dst)
    plt.imshow(hist, interpolation='nearest')
    plt.title("2D Histogram")
    plt.show()
    cv.waitKey(0)
    cv.destroyAllWindows()


def eqhist_demo():
    image = cv.imread("D:/images/cat.jpg", cv.IMREAD_GRAYSCALE)
    cv.imshow("input", image)
    result = cv.equalizeHist(image)
    cv.imshow("result", result)
    cv.waitKey(0)
    cv.destroyAllWindows()

def blur_demo():
    image = cv.imread("D:/images/cat.jpg")
    cv.imshow("input", image)
    result = cv.blur(image, (15, 15))
    cv.imshow("result", result)
    cv.waitKey(0)
    cv.destroyAllWindows()


def conv_demo():
    image = cv.imread("D:/images/cat.jpg")
    cv.imshow("input", image)
    result = cv.GaussianBlur(image, (0, 0), 15)
    cv.imshow("result", result)
    cv.waitKey(0)
    cv.destroyAllWindows()


def bifilter_demo():
    image = cv.imread("D:/images/example.png")
    cv.imshow("input", image)
    result = cv.bilateralFilter(image, 0, 100, 10)
    cv.imshow("result", result)
    cv.waitKey(0)
    cv.destroyAllWindows()


model_bin = "E:/python/opencv/opencv_face_detector_uint8.pb"
config_text = "E:/python/opencv/opencv_face_detector.pbtxt";
def face_detection_demo():
    net = cv.dnn.readNetFromTensorflow(model=model_bin, config=config_text)
    cap = cv.VideoCapture("C:/Users/akaak/Videos/01.mp4")
    while True:
        ret, frame = cap.read()
        h, w, c = frame.shape
        if ret is not True:
            break
        # NCHW
        blob = cv.dnn.blobFromImage(frame, 1.0, (300, 300), (104.0, 177.0, 123.0), False, False)
        net.setInput(blob)
        outs = net.forward() # 1x1xNx7
        for detection in outs[0, 0, :, :]:
            score = float(detection[2])
            if score > 0.5:
                left = detection[3] * w
                top = detection[4] * h
                right = detection[5] * w
                bottom = detection[6] * h
                cv.rectangle(frame, (np.int(left), np.int(top)), (np.int(right), np.int(bottom)), (0, 0, 255), 2, 8, 0)
        cv.imshow("frame", frame)
        c = cv.waitKey(1)
        if c == 27:
            break
    cv.destroyAllWindows()
    cap.release()


if __name__ == "__main__":
    face_detection_demo()
face_detector代码如下:
import cv2 as cv

model_bin = "E:/python/opencv/opencv_face_detector_uint8.pb"
config_text = "E:/python/opencv/opencv_face_detector.pbtxt";


def video_detection():
    # load tensorflow model
    net = cv.dnn.readNetFromTensorflow(model_bin, config=config_text)
    capture = cv.VideoCapture("C:/Users/akaak/Videos/01.mp4")

    # 人脸检测
    while True:
        e1 = cv.getTickCount()
        ret, frame = capture.read()
        if ret is not True:
            break
        h, w, c = frame.shape
        blobImage = cv.dnn.blobFromImage(frame, 1.0, (300, 300), (104.0, 177.0, 123.0), False, False);
        net.setInput(blobImage)
        cvOut = net.forward()

        # Put efficiency information.
        t, _ = net.getPerfProfile()
        label = 'Inference time: %.2f ms' % (t * 1000.0 / cv.getTickFrequency())

        # 绘制检测矩形
        for detection in cvOut[0,0,:,:]:
            score = float(detection[2])
            objIndex = int(detection[1])
            if score > 0.5:
                left = detection[3]*w
                top = detection[4]*h
                right = detection[5]*w
                bottom = detection[6]*h

                # 绘制
                cv.rectangle(frame, (int(left), int(top)), (int(right), int(bottom)), (255, 0, 0), thickness=2)
                cv.putText(frame, "score:%.2f"%score, (int(left), int(top)), cv.FONT_HERSHEY_SIMPLEX, 0.5, (0, 0, 255), 1)
        e2 = cv.getTickCount()
        fps = cv.getTickFrequency() / (e2 - e1)
        cv.putText(frame, label + (" FPS: %.2f"%fps), (10, 50), cv.FONT_HERSHEY_SIMPLEX, 1.0, (0, 0, 255), 2)
        cv.imshow('face-detection-demo', frame)
        c = cv.waitKey(1)
        if c == 27:
            break
    cv.destroyAllWindows()


if __name__ == "__main__":
    video_detection()
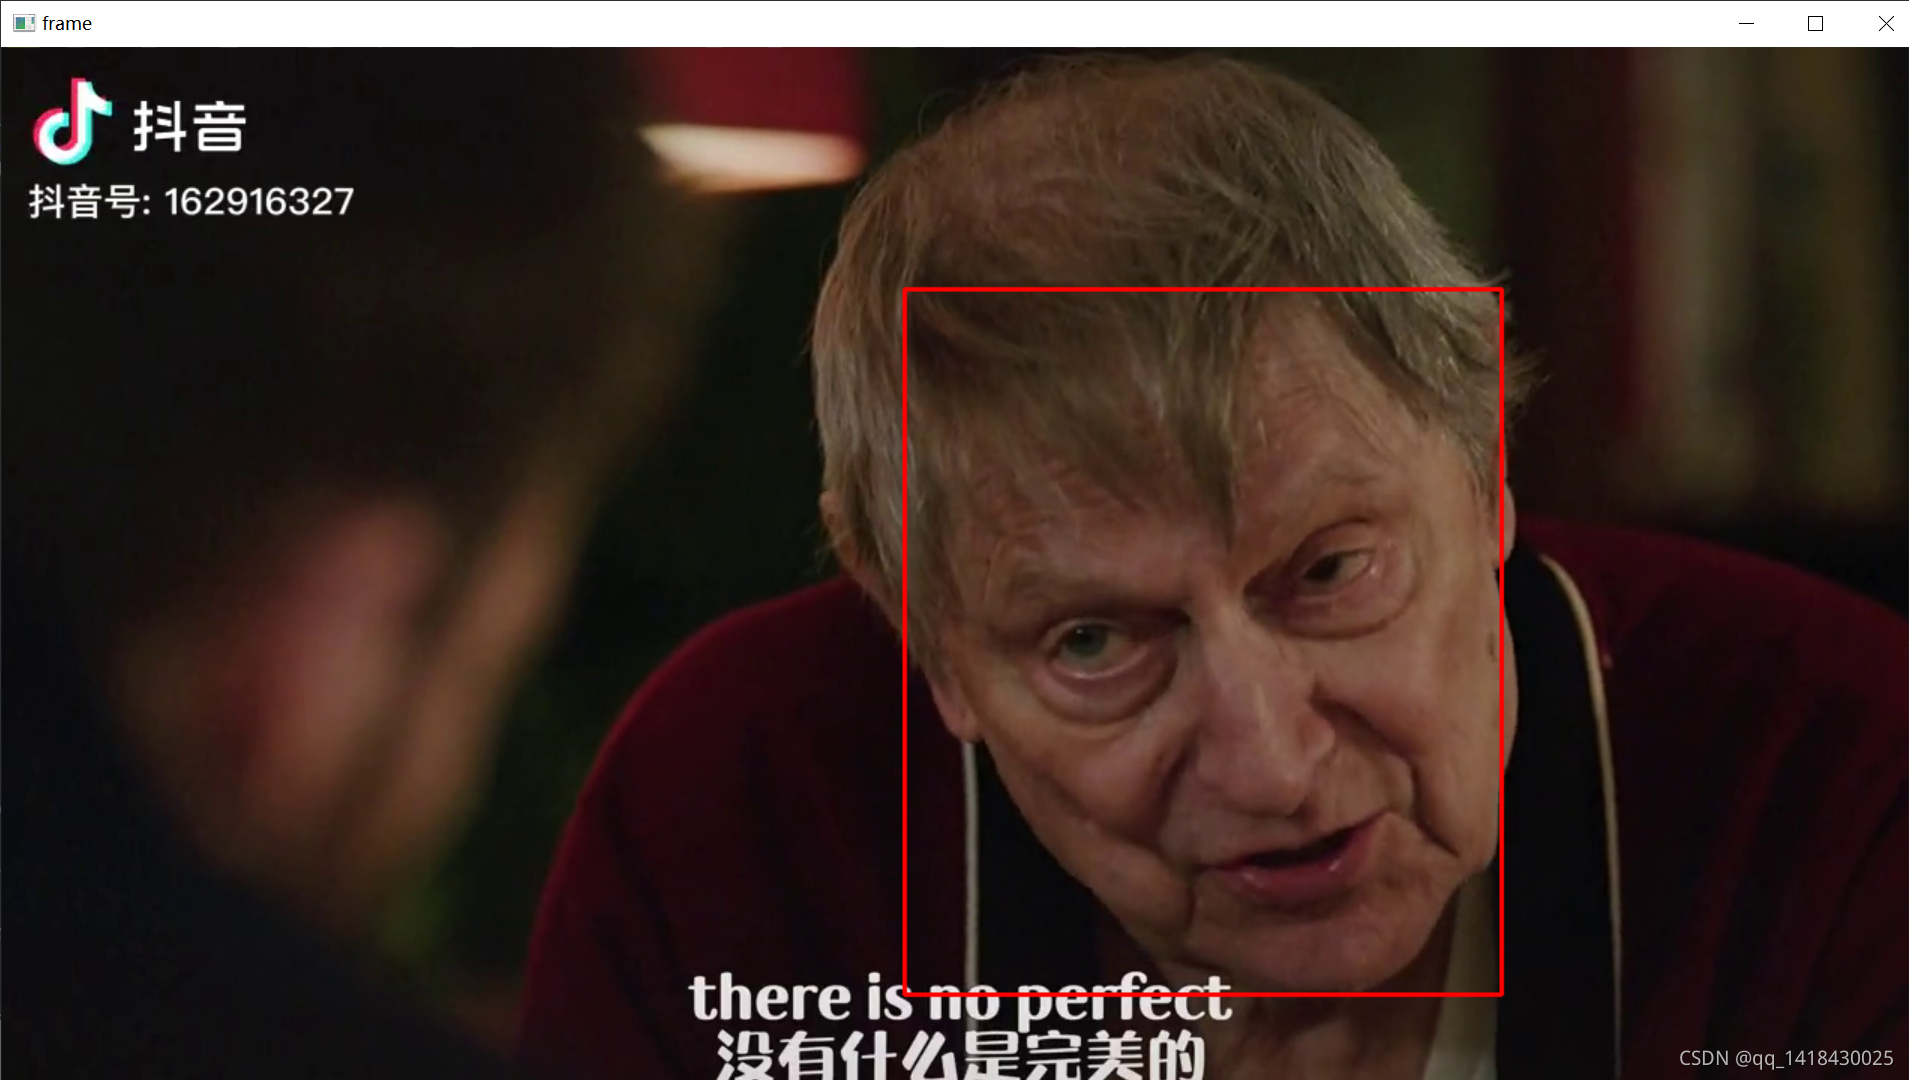
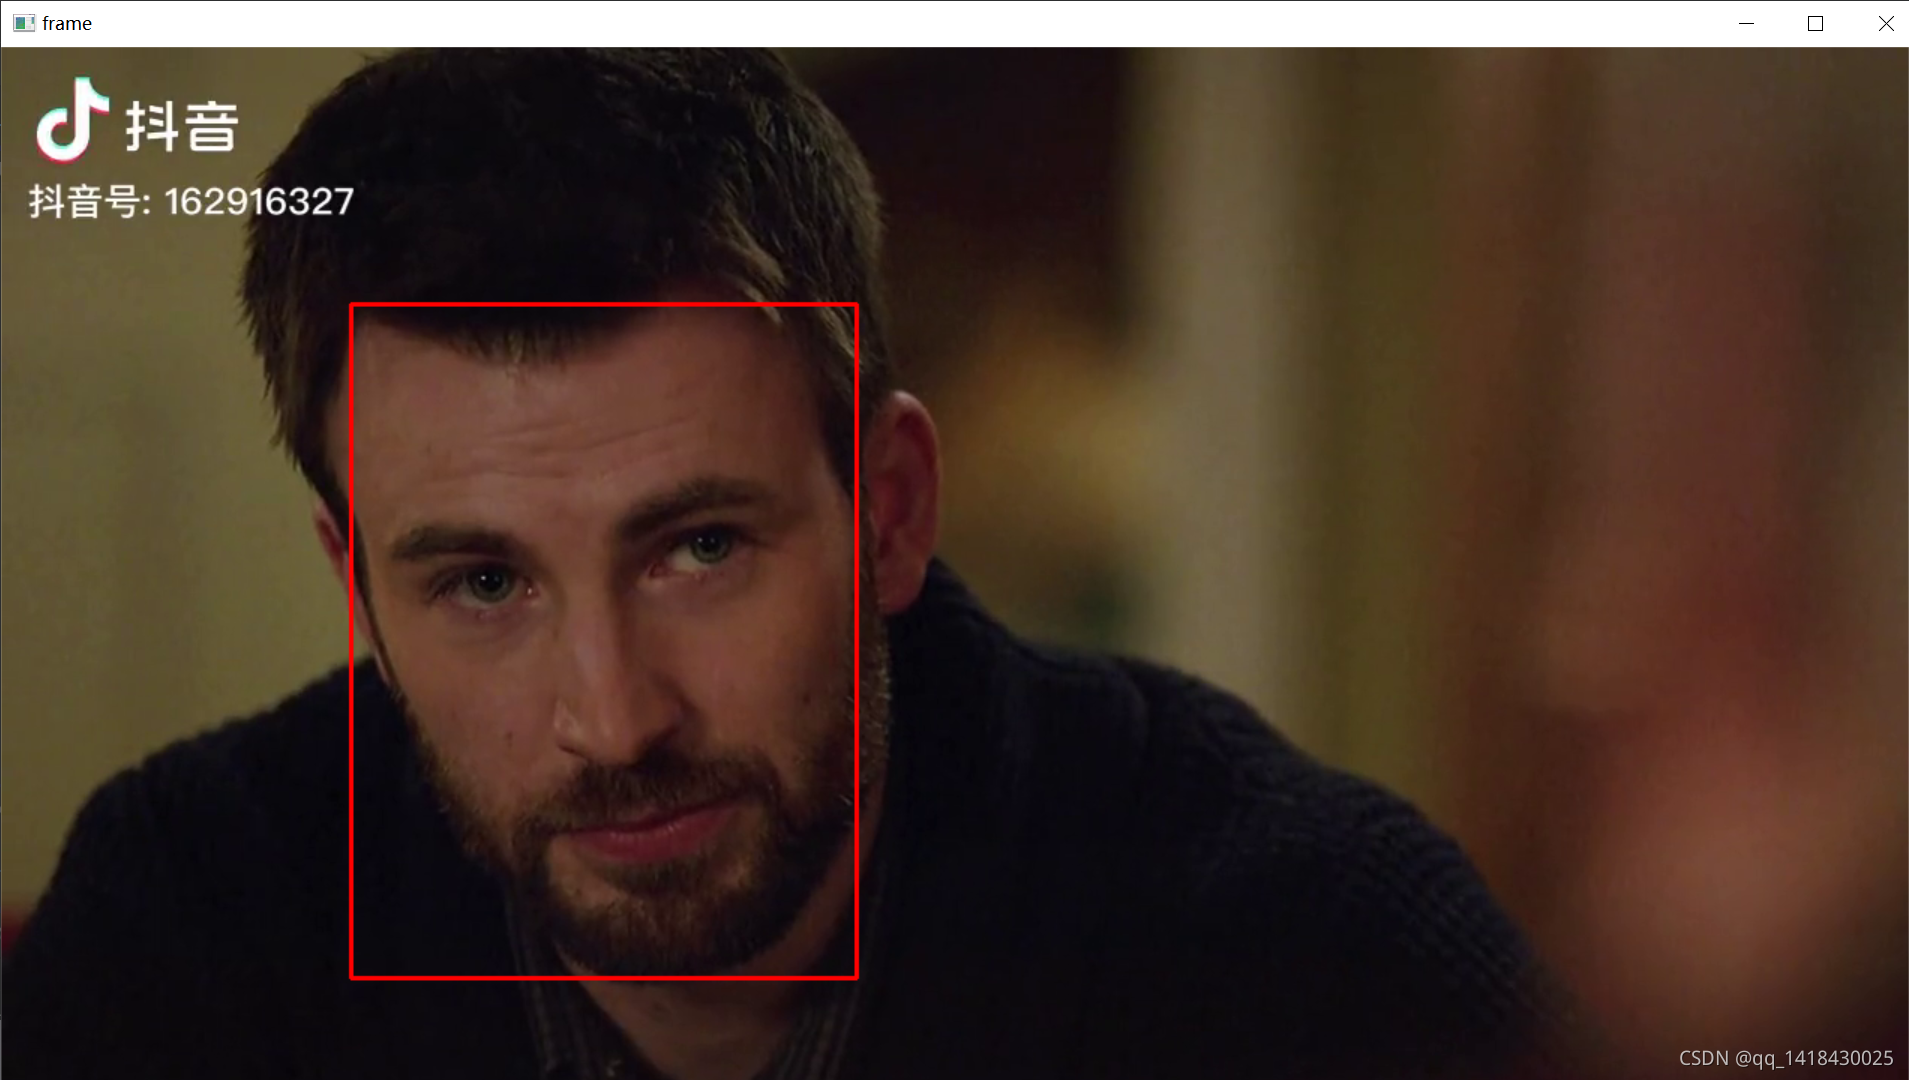
三、运行结果

总结
本文介绍了笔者学习Python-opencv第三十课:人脸识别,感谢bilibili贾老师的视频,完成了大作业一部分任务,giao!(代码资料来源于网络贾老师视频)


 5万+
5万+

 被折叠的 条评论
为什么被折叠?
被折叠的 条评论
为什么被折叠?
 到【灌水乐园】发言


