


 本文详细介绍了在Ubuntu和CentOS系统下安装Nginx的步骤,包括安装依赖包、指定安装目录、安装PCRE、zlib类库、openssl以及Nginx本身的过程,并提供了启动、关闭和重启Nginx的方法。
原文链接:Linux下安装Nginx详细步骤(ububtu+centos)
1、安装依赖包
##首先我们需要确保,已经安装gcc g++开发类库,一般默认已经安装
ububtu下的安装指令
apt-get install build-essential
apt-get install libtool
centos下编译环境使用指令,
安装make:
yum -y install gcc automake autoconf libtool make
安装g++:
yum install gcc gcc-c++
二、指定安装文件目录
cd /user/local
mkdir nginx
cd nginx
三、安装PCER类库
##类库包安装在nginx文件下
cd /usr/local/nginx
wget http://zlib.net/zlib-1.2.11.tar.gz
tar -zxvf zlib-1.2.11.tar.gz
cd zlib-1.2.11
./configure
make
make install
四、安装zlib类库
##类库包安装在nginx文件下
cd /usr/local/nginx
wget http://zlib.net/zlib-1.2.11.tar.gz
tar -zxvf zlib-1.2.11.tar.gz
cd zlib-1.2.11
./configure
make
make install
五、安装openssl
##类库包安装在nginx文件下
cd /usr/local/nginx
wget https://www.openssl.org/source/openssl-1.0.1t.tar.gz
tar -zxvf openssl-1.0.1t.tar.gz
六、安装nginx
cd /usr/local/nginx
wget http://nginx.org/download/nginx-1.1.10.tar.gz
tar -zxvf nginx-1.1.10.tar.gz
cd nginx-1.1.10
./configure
make
make install
注意:如果出现报错,请安装/
ubuntu指令:
apt-get install openssl
apt-get install libssl-dev
centos指令:
yum -y install openssl openssl-devel
七、启动nginx
vi /usr/local/nginx/conf/nginx.conf  ##这里进入修改,配置文件(可不修改)
server {
    listen 80; #监听的端口
    server_name localhost;  #修改localhost为将要访问的ip地址
    location / {
        root html;
        index index.html index.htm;
   }
   error_page 500 502 503 504 /50x.html;
    location = /50x.html {
        root html;
   }
}
注:至此已经马上安装完成。
启动nginx:
netstat -ano|grep 80 #监听80端口
sudo /usr/local/nginx/sbin/nginx
八、nginx关闭、校验、重启
关闭nginx:
[root@VM_0_8_centos conf]# ps -ef|grep nginx       ##查看进程
root 6291 1 0 09:52 ? 00:00:00 nginx: master process /usr/local/nginx/sbin/nginx
nobody 6292 6291 0 09:52 ? 00:00:00 nginx: worker process
root 8900 29848 0 10:23 pts/0 00:00:00 grep --color=auto nginx
[root@VM_0_8_centos conf]#

kill  -9  6291 1 0 ##杀死对应的进程号 [强制关闭]
重启
1、修改后配置文件,校验是否正确
方法1:
进入nginx安装目录文件下的sbin下,输入命名./nginx -t
[root@VM_0_8_centos sbin]# ./nginx -t
nginx: the configuration file /usr/local/nginx/conf/nginx.conf syntax is ok
nginx: configuration file /usr/local/nginx/conf/nginx.conf test is successful
[root@VM_0_8_centos sbin]#

出现以上test is successful,说明配置文件正确。
方法2:
或在启动命令前加-t
命令:
sudo /usr/local/nginx/sbin/nginx -
九、最终结果
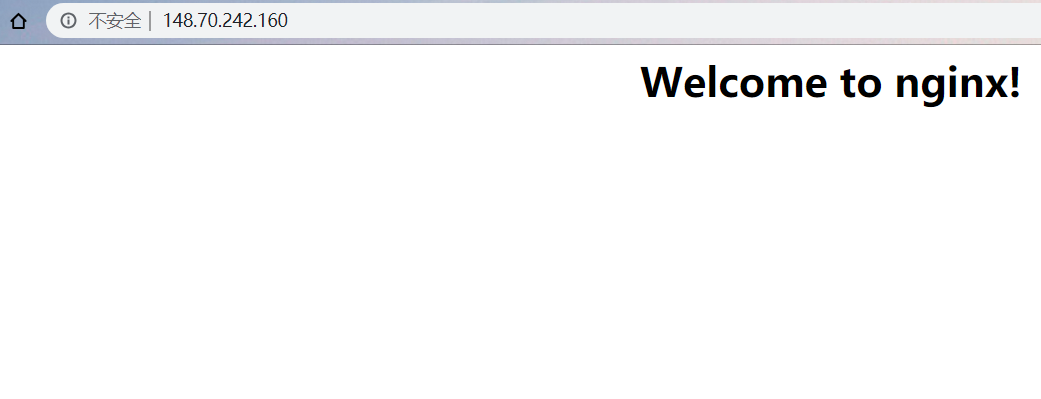
至此完成安装与启动。
面向开发过程,记录学习之路。


 1437
1437

 被折叠的 条评论
为什么被折叠?
被折叠的 条评论
为什么被折叠?
 到【灌水乐园】发言


