


 本文介绍了如何在Vue项目中使用nmi-sviewerjs创建图片预览功能,包括安装、元素挂载、图片列表动态加载以及自定义底部操作栏。重点展示了如何通过文件列表动态调整图片数组并利用ViewerJS实现图片查看。
1.安装
npm i -s viewerjs
2.挂载元素
<template>
  <!-- 挂载viewer到元素上,设置一个id,因为需求不需要展示图片,点击按钮时直接查看图片即可,所以v-show="false" -->
  <div id="viewerjs" v-show="false">
    <img :src="item" v-for="(item, index) in imgarr" :key="index" />
  </div>
  <!-- 点击展示viewer -->
  <el-button type="primary" @click="lookimg">
    查看图片
  </el-button>
</template>
3.导入
<script>
import Viewer from 'viewerjs';
import 'viewerjs/dist/viewer.css';
export default {
data() {
return {
// 后端返回的文件列表
fileList:[{fileBlob:'',fileName:''}],
imgarr: [
'https://fuss10.elemecdn.com/e/5d/4a731a90594a4af544c0c25941171jpeg.jpeg',
'https://fuss10.elemecdn.com/e/5d/4a731a90594a4af544c0c25941171jpeg.jpeg',
],
};
},
methods: {
lookimg() {
// 只需要修改imgarr中的图片列表,即可实现不同的图片查看,比如发起后端请求,赋值图片数组,就在这一步进行。
this.imgarr = this.fileList.map((item) => {
return 'data:image/jpeg;base64,' + item.fileBlob;
});
//更改了图片数组imgarr,并且图片列表使用v-for渲染,需要使用this.$nextTick获取更新后的dom
this.$nextTick(() => {
const viewerdom = document.getElementById('viewerjs');
const viewer = new Viewer(viewerdom, {
// 1表示一直显示,viewer.index为当前轮播的图片索引,第二个函数自定义显示内容
title: [
1,
(image, imageData) => {
return `${this.fileList[viewer.index].fileName} (${imageData.naturalWidth} × ${imageData.naturalHeight})`;
},
],
hide: () => {
viewer.destroy();
},
zIndex: 999,
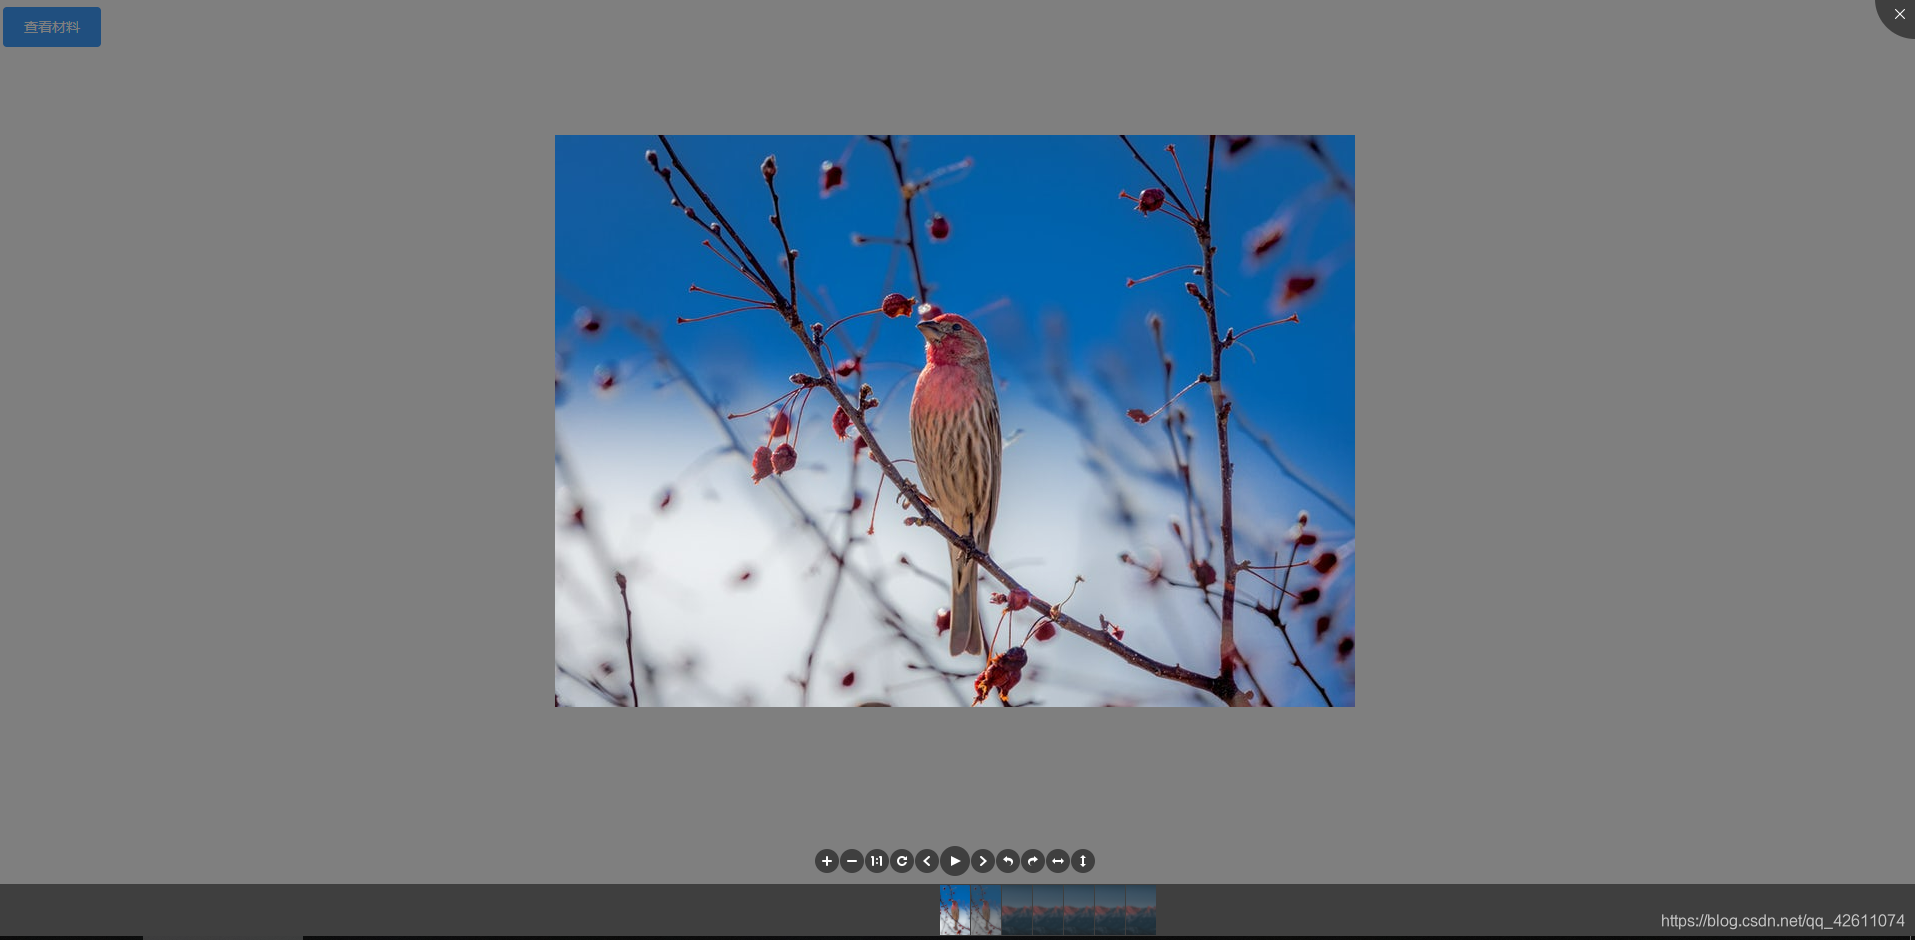
// 自定义底部操作栏
toolbar: {
zoomIn: true,
zoomOut: true,
oneToOne: true,
reset: true,
prev: true,
play: true,
next: true,
rotateLeft: true,
rotateRight: true,
flipHorizontal: true,
flipVertical: true,
// 自定义下载按钮
download: function() {
const a = document.createElement('a');
a.style.display = 'none';
a.href = viewer.image.src;
a.download = this.fileList[viewer.index].fileName;
document.body.appendChild(a);
a.click();
document.body.removeChild(a);
},
},
});
viewer.show();
});
},
},
};
</script>
4.新增tooltab底部操作栏图标
toolbar属性中新增函数,则会生成viewer-函数名的class,为这个class绑定图标样式即可
项目中有用到font-awesome图标库
import './assets/font-awesome.min.css';
比如上一节代码中自定义了一个download方法,加一下相应class
.viewer-download {
  color: #fff;
  font-family: FontAwesome, serif;
  font-size: 10px;
  line-height: 25px;
  text-align: center;
}

.viewer-download::before {
  content: '\f019';
}


 9923
9923

 被折叠的 条评论
为什么被折叠?
被折叠的 条评论
为什么被折叠?
 到【灌水乐园】发言


