


 本文介绍了如何在uni-app中创建APP服务协议和隐私政策页面。首先,需在项目的static目录下创建HTML文件,或者在hybrid/html文件夹内新建文件。确保在HTML头部添加必要代码以实现真机内容自动换行。此外,需在pages.json配置文件中启用原生导航栏。
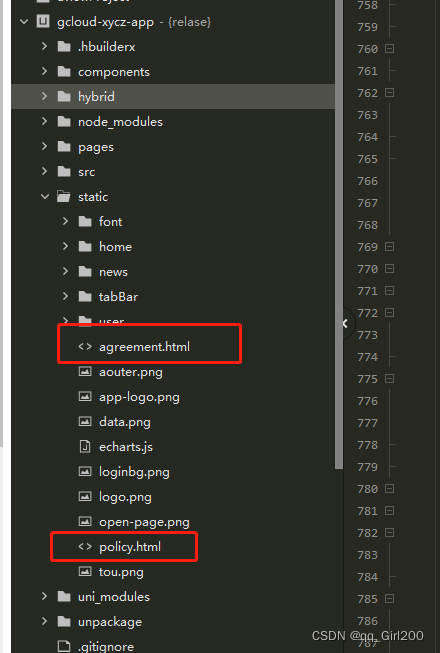
1.uniapp隐私政策和服务协议,在static下新建html文件,或者新建hybrid->html->文件名.html
在html中头信息加下面的代码,不然的话在真机下内容不能自动换行
<head>
		<meta http-equiv="Content-Type" content="text/html; charset=utf-8" />
		<meta http-equiv="Content-Style-Type" content="text/css" />
		<meta name="generator" content="Aspose.Words for .NET 15.1.0.0" />
		<!-- //禁止旋转缩放 -->
		<meta content="width=device-width,initial-scale=1.0,maximum-scale=1.0,user-scalable=no,minimal-ui" name="viewport">
		<!-- //删除默认的苹果工具栏和菜单栏 -->
		<meta content="yes" name="apple-mobile-web-app-capable">
		<!-- //状态栏黑色 -->
		<meta content="black" name="apple-mobile-web-app-status-bar-style">
		<!-- //手机号不能链接 -->
		<meta content="telephone=no" name="format-detection">
		<!-- //邮箱不能链接 -->
		<meta content="email=no" name="format-detection">
	</head>

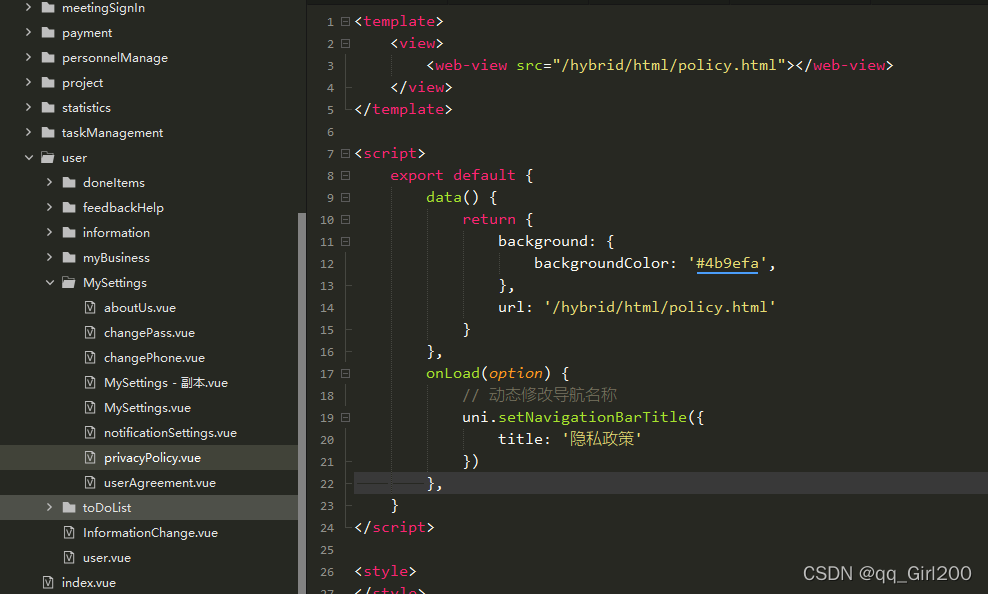
使用
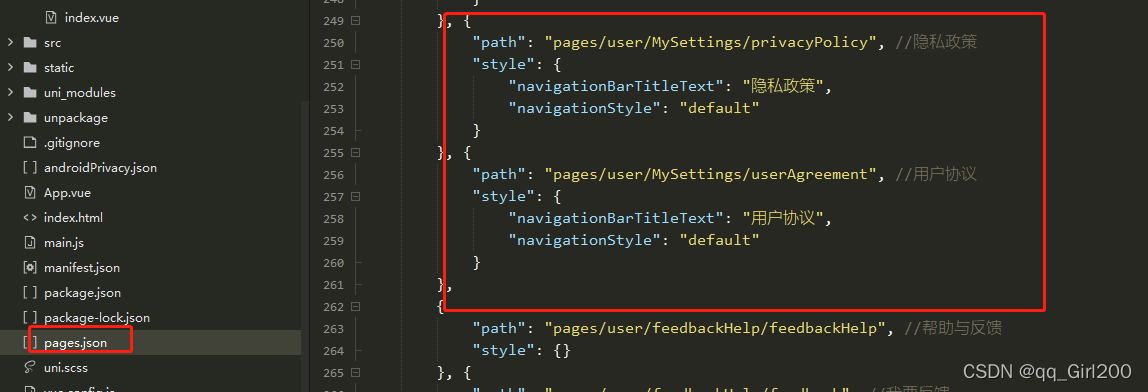
pages.json里需使用原生导航栏配置


 5289
5289

 被折叠的 条评论
为什么被折叠?
被折叠的 条评论
为什么被折叠?
 到【灌水乐园】发言


