


 本文详细介绍了单例设计模式的实现方式,包括饿汉式和懒汉式,并对比了两者的优缺点。此外,文章还深入探讨了线程间的通信机制,包括使用wait、notify和notifyAll方法实现多线程间的数据同步,以及如何利用ReentrantLock和Condition实现更高级的线程通信。
一丶单例设计模式
什么是单列设计模式?
就是让类只能创建一个。(保证类在内存中只有一个对象)
下面介绍两种方法:
1.饿汉式
class Singleton {
	//1,私有构造方法,其他类不能访问该构造方法了
	private Singleton(){}
	//2,创建本类对象
	private static Singleton s = new Singleton();
	//3,对外提供公共的访问方法
	public static Singleton getInstance() {				//获取实例
		return s;
	}
}
2.懒汉式
class Singleton {
	//1,私有构造方法,其他类不能访问该构造方法了
	private Singleton(){}
	//2,声明一个引用
	private static Singleton s ;
	//3,对外提供公共的访问方法
	public static Singleton getInstance() {				//获取实例
		if(s == null) {
			//线程1等待,线程2等待
			s = new Singleton();
		}

		return s;
	}
}
两者的区别
1,饿汉式是空间换时间,懒汉式是时间换空间
2,在多线程访问时,饿汉式不会创建多个对象,而懒汉式有可能会创建多个对象
推荐使用饿汉式
3.第三种格式
class Singleton {
	//1,私有构造方法,其他类不能访问该构造方法了
	private Singleton(){}
	//2,声明一个引用
	public static final Singleton s = new Singleton();

}
关于单列设计模式的小练习
```java
public class Main{
	public static void main(String args[]) {
		Single ss = Single.getInstance();
		ss.print();
		ss.print();

		Single sss =Single.getInstance();
		sss.print();

		Single ssss = Single.getInstance();
		ssss.print();
	}
}
class Single
{
	int a=100;
	private Single() {

	}
	private static Single s = new Single();

	public static Single getInstance()
	{
		return s ;
	}
	public void print()
	{
		a--;
		System.out.println(a);
	}
}

常用的单例设计模式的类
Runtime  运行时类
相当于dos控制台下的操作

```java
public class Main{
	public static void main(String args[]) throws IOException   {
		Runtime rt = Runtime.getRuntime();
//		rt.exec("shutdown -s -t 300");  //300s后注销计算机的指令
		rt.exec("shutdown -a");         //取消注销计算机的指令

	}
}
下面介绍Timer类
用法
1.创建TimerTask 类 执行相应的逻辑
2.创建Timer类 安排任务以及时间 以及重复次数
3.主线程休眠 每秒调用一次 执行相应的逻辑
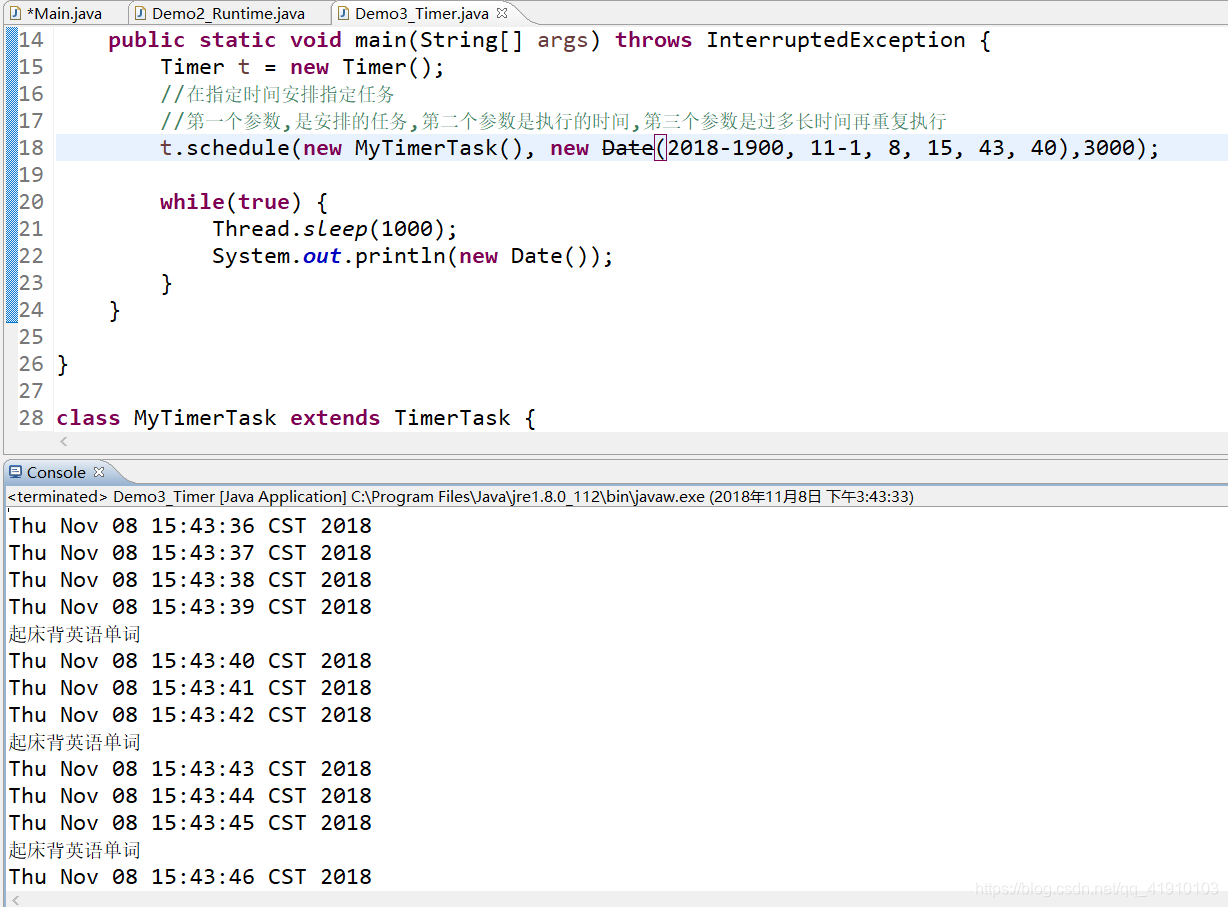
import java.util.Date;
import java.util.Timer;
import java.util.TimerTask;

public class Demo3_Timer {

	/**
	 * @param args
	 * @throws InterruptedException
	 */
	@SuppressWarnings("deprecation")
	public static void main(String[] args) throws InterruptedException {
		Timer t = new Timer();
		//在指定时间安排指定任务
		//第一个参数,是安排的任务,第二个参数是执行的时间,第三个参数是过多长时间再重复执行
		t.schedule(new MyTimerTask(), new Date(2018-1900, 11-1, 8, 15, 43, 40),3000);

		while(true) {
			Thread.sleep(1000);
			System.out.println(new Date());
		}
	}

}

class MyTimerTask extends TimerTask {

	@Override
	public void run() {
		System.out.println("起床背英语单词");
	}
}
线程之间的通信
两者之间的通信
public class Main{
	public static void main(String args[]) {
		final Printer p = new Printer();

		new Thread("线程1") {
			public void run() {
				while(true) {
					try {
						p.print1();
					} catch (InterruptedException e) {
						// TODO Auto-generated catch block
						e.printStackTrace();
					}
				}
			}
		}.start();

		new Thread("线程2") {
			public void run() {
				while(true) {
					try {
						p.print2();
					} catch (InterruptedException e) {
						// TODO Auto-generated catch block
						e.printStackTrace();
					}
				}
			}
		}.start();
	}
}
class Printer
{
	private int flag = 1;

	public void print1() throws InterruptedException {
		synchronized(this) {
			if(flag != 1) {
				this.wait();
			}
			System.out.print("黑");
			System.out.print("马");
			System.out.print("程");
			System.out.print("序");
			System.out.print("员");
			System.out.print("\r\n");
			flag = 2;
			this.notify();
		}
	}
	public void print2() throws InterruptedException {
		synchronized(this) {
			if(flag != 2) {
				this.wait();
			}
			System.out.print("传");
			System.out.print("智");
			System.out.print("播");
			System.out.print("客");
			System.out.print("\r\n");
			flag = 1;
			this.notify();
		}
	}
}
- 注意事项:
- 1,在同步代码块中,用哪个对象锁,就用哪个对象调用wait方法
- 2,为什么wait方法和notify方法定义在Object这类中?
- 因为锁对象可以是任意对象,Object是所有的类的基类,所以wait方法和notify方法需要定义在Object这个类中
- 3,sleep方法和wait方法的区别?
- a,sleep方法必须传入参数,参数就是时间,时间到了自动醒来
- wait方法可以传入参数也可以不传入参数,传入参数就是在参数的时间结束后等待,不传入参数就是直接等待
- b,sleep方法在同步函数或同步代码块中,不释放锁,睡着了也抱着锁睡
- wait方法在同步函数或者同步代码块中,释放锁
三者以上的线程通信
public class Main{
	public static void main(String args[]) {
		final Printer p = new Printer();

		new Thread("线程1") {
			public void run() {
				while(true) {
					try {
						p.print1();
					} catch (InterruptedException e) {
						// TODO Auto-generated catch block
						e.printStackTrace();
					}
				}
			}
		}.start();

		new Thread("线程2") {
			public void run() {
				while(true) {
					try {
						p.print2();
					} catch (InterruptedException e) {
						// TODO Auto-generated catch block
						e.printStackTrace();
					}
				}
			}
		}.start();

		new Thread("线程3") {
			public void run() {
				while(true) {
					try {
						p.print3();
					} catch (InterruptedException e) {
						// TODO Auto-generated catch block
						e.printStackTrace();
					}
				}
			}
		}.start();
	}
}
class Printer
{
	private int flag = 1;

	public void print1() throws InterruptedException {
		synchronized(this) {
			while(flag != 1) {
				this.wait();
			}
			System.out.print("黑");
			System.out.print("马");
			System.out.print("程");
			System.out.print("序");
			System.out.print("员");
			System.out.print("\r\n");
			flag = 2;
			this.notifyAll();
		}
	}
	public void print2() throws InterruptedException {
		synchronized(this) {
			while(flag != 2) {
				this.wait();
			}
			System.out.print("传");
			System.out.print("智");
			System.out.print("播");
			System.out.print("客");
			System.out.print("\r\n");
			flag = 3;
			this.notifyAll();
		}
	}
	public void print3() throws InterruptedException {
		synchronized(this) {
			while(flag != 3) {
				this.wait();
			}
			System.out.print("i");
			System.out.print("t");
			System.out.print("h");
			System.out.print("e");
			System.out.print("i");
			System.out.print("m");
			System.out.print("a");
			System.out.print("\r\n");
			flag = 1;
			this.notifyAll();
		}
	}
}
jdk1.5以后的互斥锁
import java.util.concurrent.locks.Condition;
import java.util.concurrent.locks.ReentrantLock;

public class Demo3_ReentrantLock {

	public static void main(String[] args) {
		final Printer3 p = new Printer3();

		new Thread() {
			public void run() {
				while(true) {
					try {
						p.print1();
					} catch (InterruptedException e) {

						e.printStackTrace();
					}
				}
			}
		}.start();

		new Thread() {
			public void run() {
				while(true) {
					try {
						p.print2();
					} catch (InterruptedException e) {

						e.printStackTrace();
					}
				}
			}
		}.start();

		new Thread() {
			public void run() {
				while(true) {
					try {
						p.print3();
					} catch (InterruptedException e) {

						e.printStackTrace();
					}
				}
			}
		}.start();
	}

}

class Printer3 {
	private ReentrantLock r = new ReentrantLock();
	private Condition c1 = r.newCondition();
	private Condition c2 = r.newCondition();
	private Condition c3 = r.newCondition();

	private int flag = 1;
	public void print1() throws InterruptedException {
		r.lock();								//获取锁
			if(flag != 1) {
				c1.await();
			}
			System.out.print("黑");
			System.out.print("马");
			System.out.print("程");
			System.out.print("序");
			System.out.print("员");
			System.out.print("\r\n");
			flag = 2;
			//this.notify();						//随机唤醒单个等待的线程
			c2.signal();
		r.unlock();								//释放锁
	}

	public void print2() throws InterruptedException {
		r.lock();
			if(flag != 2) {
				c2.await();
			}
			System.out.print("传");
			System.out.print("智");
			System.out.print("播");
			System.out.print("客");
			System.out.print("\r\n");
			flag = 3;
			//this.notify();
			c3.signal();
		r.unlock();
	}

	public void print3() throws InterruptedException {
		r.lock();
			if(flag != 3) {
				c3.await();
			}
			System.out.print("i");
			System.out.print("t");
			System.out.print("h");
			System.out.print("e");
			System.out.print("i");
			System.out.print("m");
			System.out.print("a");
			System.out.print("\r\n");
			flag = 1;
			c1.signal();
		r.unlock();
	}
}
线程组
public class Demo4_ThreadGroup {

	/**
	 * @param args
	 * ThreadGroup
	 */
	public static void main(String[] args) {
		//demo1();
		ThreadGroup tg = new ThreadGroup("我是一个新的线程组");		//创建新的线程组
		MyRunnable mr = new MyRunnable();						//创建Runnable的子类对象

		Thread t1 = new Thread(tg, mr, "张三");					//将线程t1放在组中
		Thread t2 = new Thread(tg, mr, "李四");					//将线程t2放在组中

		System.out.println(t1.getThreadGroup().getName());		//获取组名
		System.out.println(t2.getThreadGroup().getName());

		tg.setDaemon(true);
	}

	public static void demo1() {
		MyRunnable mr = new MyRunnable();
		Thread t1 = new Thread(mr, "张三");
		Thread t2 = new Thread(mr, "李四");

		ThreadGroup tg1 = t1.getThreadGroup();
		ThreadGroup tg2 = t2.getThreadGroup();

		System.out.println(tg1.getName());				//默认的是主线程
		System.out.println(tg2.getName());
	}

}

class MyRunnable implements Runnable {

	@Override
	public void run() {
		for(int i = 0; i < 1000; i++) {
			System.out.println(Thread.currentThread().getName() + "...." + i);
		}
	}

}
线程池
- A:线程池概述
- 程序启动一个新线程成本是比较高的,因为它涉及到要与操作系统进行交互。而使用线程池可以很好的提高性能,尤其是当程序中要创建大量生存期很短的线程时,更应该考虑使用线程池。线程池里的每一个线程代码结束后,并不会死亡,而是再次回到线程池中成为空闲状态,等待下一个对象来使用。在JDK5之前,我们必须手动实现自己的线程池,从JDK5开始,Java内置支持线程池
- B:内置线程池的使用概述
- JDK5新增了一个Executors工厂类来产生线程池,有如下几个方法
- public static ExecutorService newFixedThreadPool(int nThreads)
- public static ExecutorService newSingleThreadExecutor()
- 这些方法的返回值是ExecutorService对象,该对象表示一个线程池,可以执行Runnable对象或者Callable对象代表的线程。它提供了如下方法
- Future<?> submit(Runnable task)
- Future submit(Callable task)
- 使用步骤:
- 创建线程池对象
- 创建Runnable实例
- 提交Runnable实例
- 关闭线程池
- C:案例演示
- 提交的是Runnable
- JDK5新增了一个Executors工厂类来产生线程池,有如下几个方法
import java.util.concurrent.ExecutorService;
import java.util.concurrent.Executors;

public class Demo5_Executors {

	/**
	 * public static ExecutorService newFixedThreadPool(int nThreads)
	 * public static ExecutorService newSingleThreadExecutor()
	 */
	public static void main(String[] args) {
		ExecutorService pool = Executors.newFixedThreadPool(2);//创建线程池
		pool.submit(new MyRunnable());				//将线程放进池子里并执行
		pool.submit(new MyRunnable());

		pool.shutdown();							//关闭线程池
	}

}
第三种创建线程的方法
用的很少 了解即可
import java.util.concurrent.Callable;
import java.util.concurrent.ExecutionException;
import java.util.concurrent.ExecutorService;
import java.util.concurrent.Executors;
import java.util.concurrent.Future;

public class Demo6_Callable {

	/**
	 * @param args
	 * @throws ExecutionException
	 * @throws InterruptedException
	 */
	public static void main(String[] args) throws InterruptedException, ExecutionException {
		ExecutorService pool = Executors.newFixedThreadPool(2);//创建线程池
		Future<Integer> f1 = pool.submit(new MyCallable(100));				//将线程放进池子里并执行
		Future<Integer> f2 = pool.submit(new MyCallable(50));

		System.out.println(f1.get());
		System.out.println(f2.get());

		pool.shutdown();							//关闭线程池
	}

}

class MyCallable implements Callable<Integer> {
	private int num;
	public MyCallable(int num) {
		this.num = num;
	}
	@Override
	public Integer call() throws Exception {
		int sum = 0;
		for(int i = 1; i <= num; i++) {
			sum += i;
		}

		return sum;
	}

}


 被折叠的 条评论
为什么被折叠?
被折叠的 条评论
为什么被折叠?
 到【灌水乐园】发言


