


 本文介绍如何配置Nginx服务器以支持特定站点,并通过平滑重启方式更新配置。包括了配置文件的编辑、注释的去除、站点名称的设置、语法检查、重启服务、首页文件的创建及在浏览器中验证效果的过程。
[root@web01 ~]# cd /application/nginx/conf/ #进入nginx配置目录
[root@web01 conf]# diff nginx.conf nginx.conf.default #用diff比对发现conf下的所有文件都已经备份
[root@web01 conf]# egrep -v "^$|#" nginx.conf.default >nginx.conf #去除配置文件里面的$和#注释信息
[root@web01 conf]# vim nginx.conf #进入配置文件
server_name www.etiantian.org; #在12行配置站点
[root@web01 conf]# /application/nginx/sbin/nginx -t #检查语法
nginx: the configuration file /application/nginx-1.6.3//conf/nginx.conf syntax is ok
nginx: configuration file /application/nginx-1.6.3//conf/nginx.conf test is successful
[root@web01 conf]# /application/nginx/sbin/nginx -s reload #平滑重启
[root@web01 conf]# cd /application/nginx/html/
[root@web01 html]# rm -f index.html
[root@web01 html]#vim index.html
<html>
<head>
<title>ר1</title>
</head>
<body>
Ϊѧϰ
<table border=1>
<tr>
<td></td>
<td></td>
</tr>
<tr>
<td>001</td>
<td>1</td>
</tr>
<tr>
<td>002</td>
<td>2</td>
</tr>
</table>
<a href="https://blog.youkuaiyun.com/qq_41816540" target=_blank><img src="ceshi.jpg">ȷa>
</body>
</html>
###注:点击确认会跳转到https://blog.youkuaiyun.com/qq_41816540网页,<img src="ceshi.jpg”>插入的图片名,前题是图片已经上传到/application/nginx/html目录下
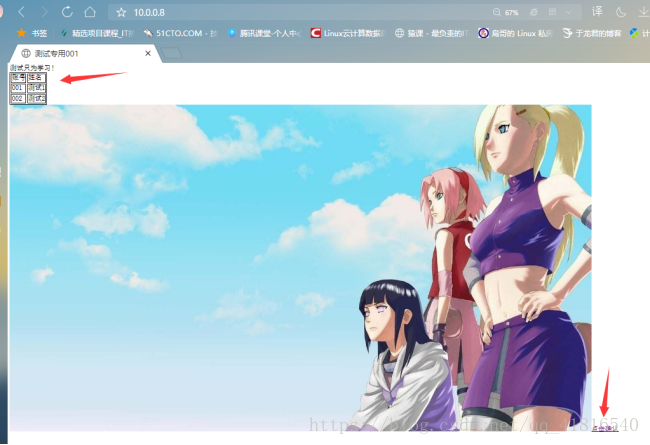
在客户端打开浏览器输入服务器端IP,查看效果
利用Windows系统解析服务器内容:
1. 运行-->drivers-->etc-->修改hosts文件-->10.0.0.8 www.etiantian.org #地址+域名(模拟局域网DNS)
2. 查看是否生效:运行-->cmd-->ping www.etiantian.org #查看地址是否是10.0.0.8
3. 浏览器访问:www.etiantian.org


 251
251

 被折叠的 条评论
为什么被折叠?
被折叠的 条评论
为什么被折叠?
 到【灌水乐园】发言


