


1、先下载安装运行
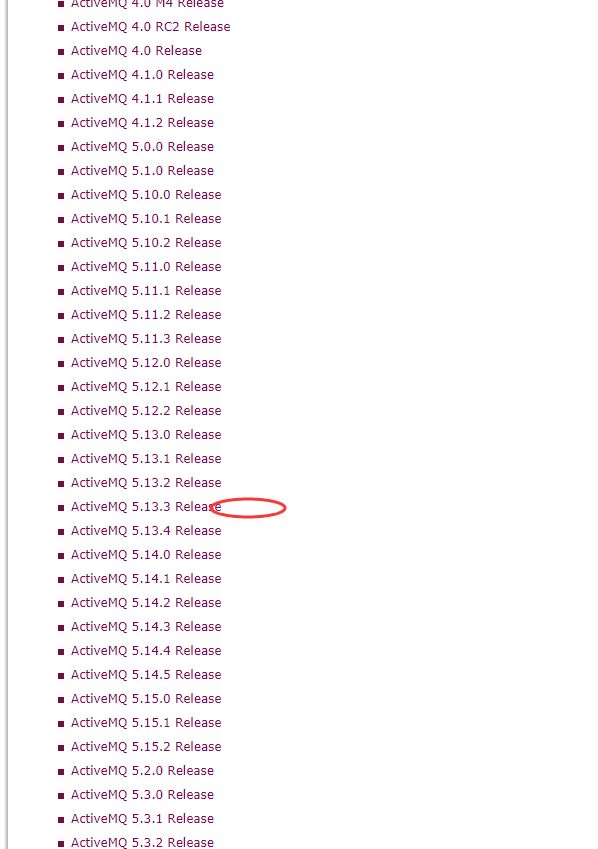
地址:http://activemq.apache.org/download-archives.html
选择一个版本 根据自己电脑上jdk版本 apache-activemq-5.15.0以后的是1.8以上版本
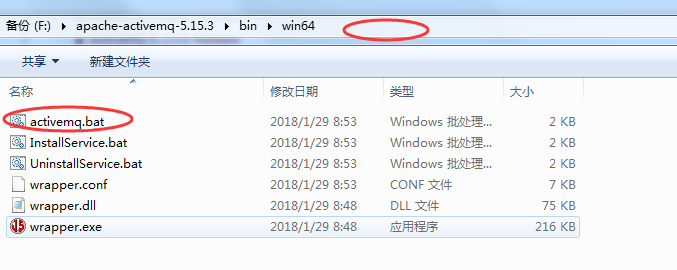
在压缩后的文件的bin目录下找对应自己的系统的文件 运行bat
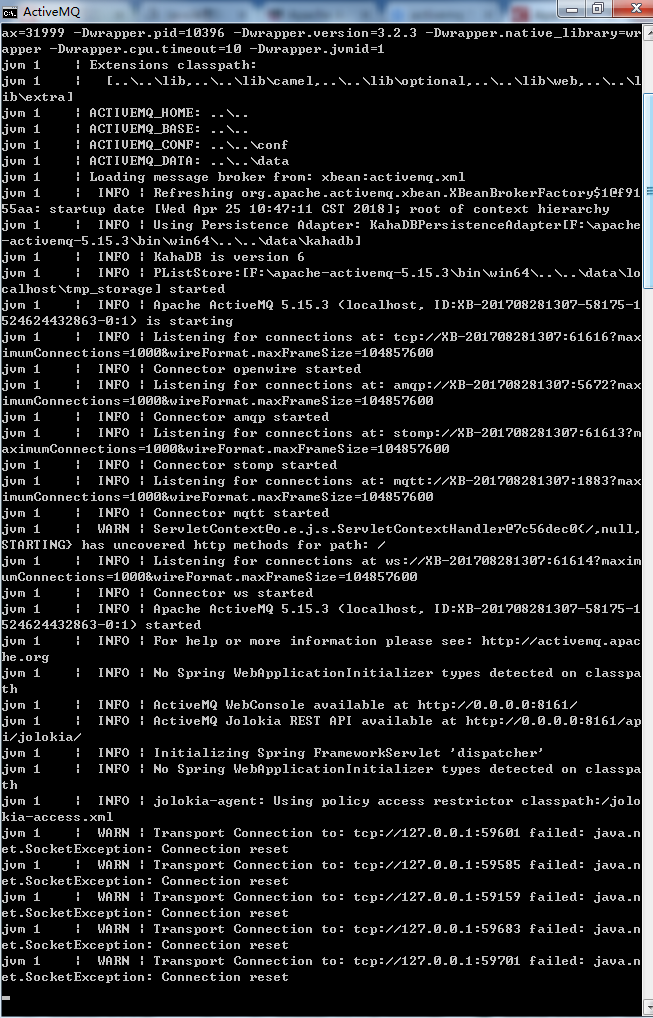
一般运行之后出现界面会像下面这样,如果出现系统找不到指定文件 jvm什么的 要么jdk没装 要么版本不匹配需要低一点的activemq或者高版本的jdk
运行http://localhost:8161出现界面如下
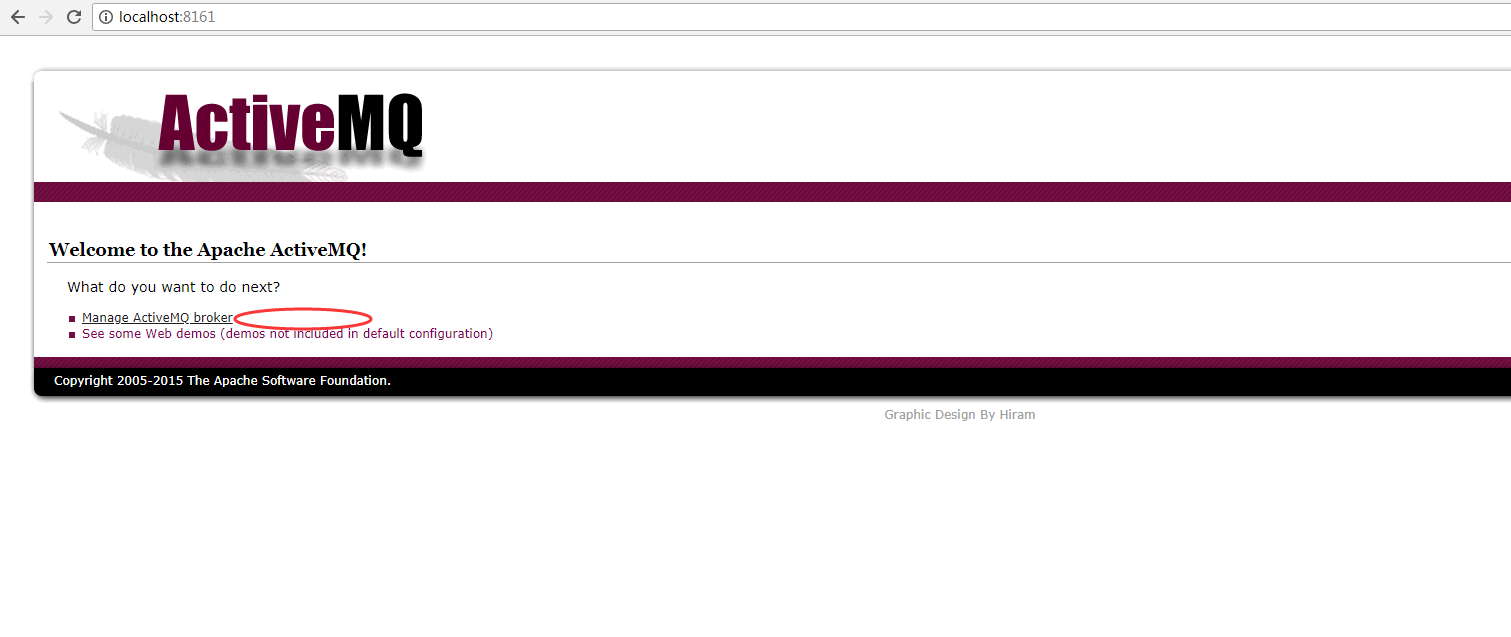
点击链接登录 会输入密码 初始用户名和密码 都是admin (可以改登录的用户名和密码,在conf文件夹activemq.xml里配置)
运作成功
2、使用
具体使用涉及到两个概念 生产者和消费者
最开始点击页面queues和Topics两个下面是空的

引入jar包
-
<dependency> -
<groupId>org.apache.activemq</groupId> -
<artifactId>activemq-client</artifactId> -
<version>5.14.3</version> -
</dependency>
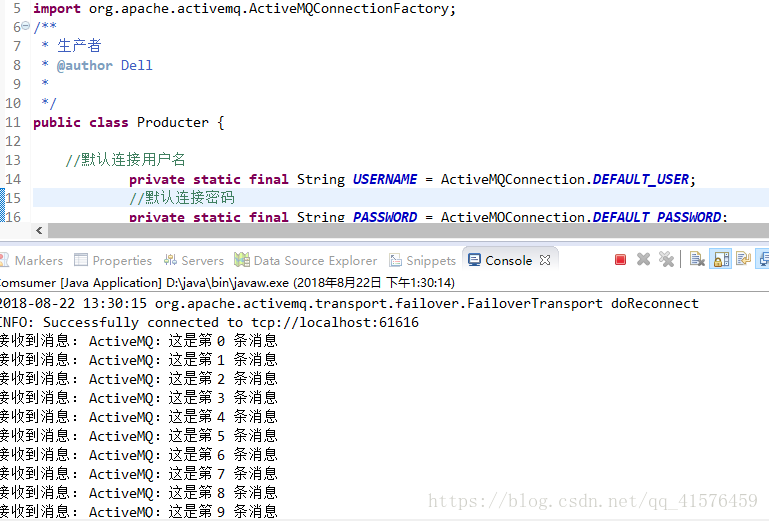
创建一个生产者类(注意引入的包不要错了)
-
package com.example.Test; -
import javax.jms.*; -
import org.apache.activemq.ActiveMQConnection; -
import org.apache.activemq.ActiveMQConnectionFactory; -
public class Producter { -
//默认连接用户名 -
private static final String USERNAME = ActiveMQConnection.DEFAULT_USER; -
//默认连接密码 -
private static final String PASSWORD = ActiveMQConnection.DEFAULT_PASSWORD; -
//默认连接地址 -
private static final String BROKER_URL = ActiveMQConnection.DEFAULT_BROKER_URL; -
public static void main(String[] args) { -
//连接工厂 -
ConnectionFactory connectionFactory = new ActiveMQConnectionFactory(USERNAME, PASSWORD, BROKER_URL); -
try { -
//连接 -
Connection connection = connectionFactory.createConnection(); -
//启动连接 -
connection.start(); -
//创建session -
Session session = connection.createSession(true, Session.AUTO_ACKNOWLEDGE); -
//消息目的地 -
Destination destination = session.createQueue("hello"); -
//消息生产者 -
MessageProducer producer = session.createProducer(destination); -
//设置不持久化,此处学习,实际根据项目决定 -
producer.setDeliveryMode(DeliveryMode.NON_PERSISTENT); -
//发送消息 -
for (int i = 0; i < 10; i++) { -
//创建一条文本消息 -
TextMessage message = session.createTextMessage("ActiveMQ:这是第 " + i + " 条消息"); -
//生产者发送消息 -
producer.send(message); -
} -
session.commit(); -
session.close(); -
connection.close(); -
} catch (JMSException e) { -
e.printStackTrace(); -
} -
} -
}
创建一个消费者类(这里的包也一样 不要引错)
-
package com.example.Test; -
import javax.jms.*; -
import org.apache.activemq.ActiveMQConnection; -
import org.apache.activemq.ActiveMQConnectionFactory; -
public class Comsumer { -
//默认连接用户名 -
private static final String USERNAME = ActiveMQConnection.DEFAULT_USER; -
//默认连接密码 -
private static final String PASSWORD = ActiveMQConnection.DEFAULT_PASSWORD; -
//默认连接地址 -
private static final String BROKER_URL = ActiveMQConnection.DEFAULT_BROKER_URL; -
public static void main(String[] args) { -
//连接工厂 -
ConnectionFactory connectionFactory = new ActiveMQConnectionFactory(USERNAME, PASSWORD, BROKER_URL); -
try { -
//连接 -
Connection connection = connectionFactory.createConnection(); -
//启动连接 -
connection.start(); -
//创建session -
Session session = connection.createSession(false, Session.AUTO_ACKNOWLEDGE); -
//消息目的地 -
Destination destination = session.createQueue("hello"); -
//消息消费者 -
MessageConsumer consumer = session.createConsumer(destination); -
while (true) { -
TextMessage message = (TextMessage) consumer.receive(); -
if (message != null) { -
System.out.println("接收到消息: " + message.getText()); -
} else { -
break; -
} -
} -
session.close(); -
connection.close(); -
} catch (JMSException e) { -
e.printStackTrace(); -
} -
} -
}
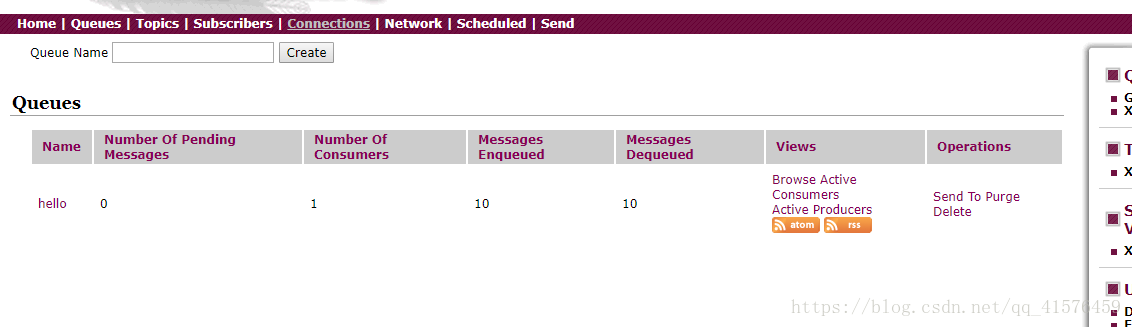
先运行生产者 查看页面Queues下面列表出现信息 Topics会有具体消费情况
再执行消费者 查看消费情况


 868
868

 被折叠的 条评论
为什么被折叠?
被折叠的 条评论
为什么被折叠?
 到【灌水乐园】发言


