


 本文分享了一款基于jQuery的自定义图片上传插件,解决了跨域问题,支持批量上传和响应式结果处理,适用于前端开发者。
关于js 图片上传插件 在网络上有很多,但是感觉对自己并不是很实用,于是自己就基于jquery 简单的封装了一款,之前网上找的总是一堆跨域问题,让我很蛋疼,下面是自己写的代码和截图,提供参考,需要的可以拿去。

图1

图2

图3
支持批量上传

响应后的结果
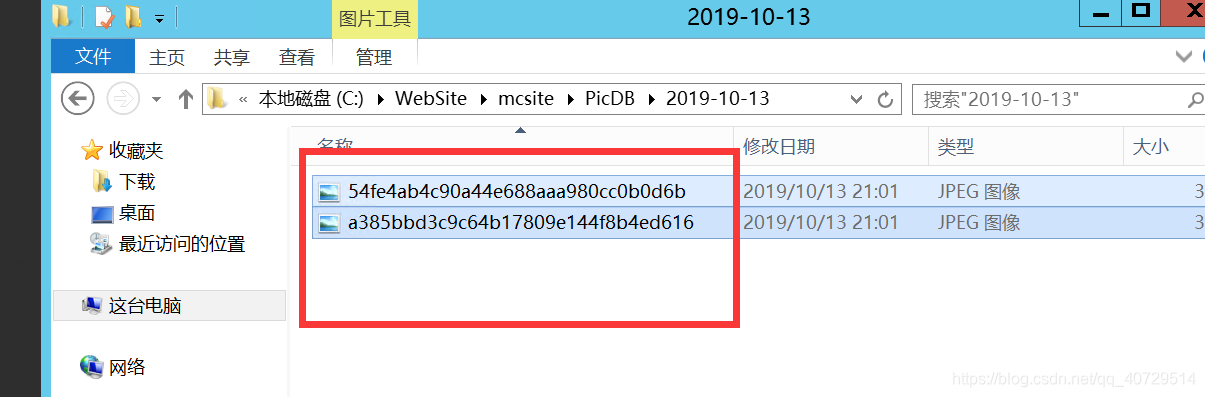
服务器上成功上传。代码如下:
前端代码:
<!DOCTYPE html>
<html lang="en">
<head>
<meta charset="UTF-8">
<title>Title</title>
<script src="https://cdn.bootcss.com/jquery/2.2.1/jquery.min.js"></script>
<script src="uploadImgJs.js"></script>
</head>
<style>
.divcss5 img {
border: 0;
width: 100%;
}
/* css注释说明:兼容ie6 支持标签使用hover */
.divcss5 {
position: relative;
width: 354px;
height: 206px;
text-align: center;
background-size: 100% 100%;
/*margin: 0 auto*/
}
.divcss5 a,
.divcss5 span {
display: none;
text-decoration: none;
}
.divcss5:hover {
cursor: pointer
}
.divcss5:hover a.now {
cursor: pointer;
position: absolute;
top: 0;
width: 100%;
height: 100%;
z-index: 100;
left: 0;
display: block;
}
.divcss5:hover span {
display: block;
position: absolute;
bottom: 0;
left: 0;
color: #FFF;
width: 354px;
/*height: 36px;*/
height: 206px;
z-index: 10;
line-height: 36px;
background: #000;
filter: alpha(opacity=60);
-moz-opacity: 0.5;
opacity: 0.5;
}
/* 设置显示文字定位位置,背景半透明 */
</style>
<body>
<br /><br /><br /><br /><br /><br />
<div id="head_img" class="divcss5" style="background-image: url(upload_img.png);">
<span style="line-height:206px;">点击上传图片</span>
<a href="#" class="now"> </a>
</div>
<!-- <div id="da">
<div id="tu">
<img src="" data-img="head_default.jpg" width="180px" height="210px" />
<span id="uploadTips">点击重新上传</span>
</div>
</div> -->
<script>
//点击上传图片
$("#head_img").click(function () {
$.uploads({
url: "http://xxxxxx.cn/upload/img",
fileName: 'filedata',
timeout: 30000,
dataType: 'json',
exten: [".png", ".jpg"],
onComplate: function (data, imageNmae) {
console.log(data);
if (data) {
$("#head_img").css("background-image", "url(http://m.merchantwords.cn" + data.data[0] + ")");
$("#head_img span").text("点击重新上传图片");
};
}
});
});
</script>
</body>
</html>
js 代码:
/*
图片上传Js
说明:支持多图片上传
作者:APan
时间:2019-10-13
博客地址:https://blog.youkuaiyun.com/qq_40729514
*/
(function ($) {
    var noop = function () {
        return true;
    };

    var guid = function () {

        return Math.random().toString(36).replace(".", "");
    }

    //参数
    $.uploadDefault = {
        url: '',//接口地址
        fileName: 'filedata',//file Input 名字
        formName: 'upload',//表单对象的名字
        dataType: 'json', //数据类型
        exten: [], //限定的图片类型
        timeout: 30000, //超时时间
        onComplate: noop //回调函数
    };

    $.uploads = function (options) {

        var opts = $.extend(jQuery.uploadDefault, options);
        if (opts.url == '') {
            return;
        }

        //$(":file[apanfile='true']")

        var fileId = guid();
        var fileHtml = '<input apanfile="true" type="file" id="' + fileId + '" name="' + opts.fileName + '" style="display: none;"  onchange="upFileAPan(this)" multiple>';
        $("body").append(fileHtml);
        var idStr = "#" + fileId;
        $(idStr).click();

        upFileAPan = function (sef) {

            //var imgName = sef.value;
            //console.log(imgName);

            var fileDom = $(sef);//将dom 对象转为jquery 对象
            var formData = new FormData(); //创建表单

            if (fileDom[0].files.length < 1) {

                fileDom.remove();
                return false;
            }

            for (var i = 0; i < fileDom[0].files.length; i++) {

                var imgName = fileDom[0].files[i].name;
                var extension = imgName.match(/\.[^\.]+$/)[0].toLowerCase(), ontest = false;
                if (options.exten !== undefined) {
                    for (var j = 0; j < options.exten.length; j++) {
                        if (extension === options.exten[j]) {
                            ontest = true;
                        };
                    };
                    if (!ontest) {
                        fileDom.remove();
                        alert("Tips: 图片格式错误,仅能为" + options.exten.join(",") + ",请重新选择!");
                        return false;
                    };
                };

                //添加到 formData 里面
                formData.append(opts.formName, fileDom[0].files[i]);
            }

            //console.log(formData.getAll(opts.formName));

            $.ajax({
                url: opts.url,
                type: "post",
                data: formData,
                contentType: false,
                processData: false,
                timeout: opts.timeout,
                mimeType: "multipart/form-data",
                success: function (data) {

                    callBackFun(data);
                },
                error: function (data) {

                    callBackFun(data);
                }
            });

            //回调函数
            callBackFun = function (data) {
                if (opts.dataType == "json") {

                    if (typeof data == "string" || typeof data == String)
                        data = JSON.parse(data);
                }

                opts.onComplate(data);
                fileDom.remove();
            }
        }
    }
})(jQuery);
对应的图片资源

需要的用户可以将上面的前端代码,js 代码和图片保存下来就可以运行了。封装的还是比较随意,可以自行修改,仅提供参考。


 1390
1390

 被折叠的 条评论
为什么被折叠?
被折叠的 条评论
为什么被折叠?
 到【灌水乐园】发言


