用springboot制作了个小demo,运行的时候,在浏览器输入localhost:8080才能访问到index.html,配置了Nginx就只需要输入localhost就能访问到放在指定位置的index.html

当输入域名的时候默认访问的是80端口,只需要监听80端口,再把80端口的请求转发到Tomcat开启的端口(默认是8080)
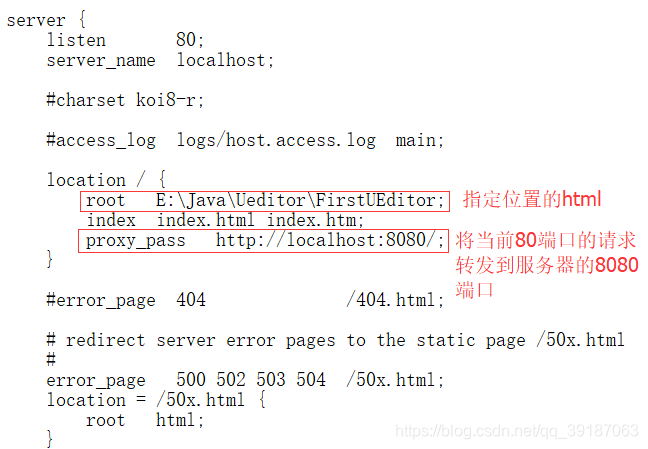
找到nginx.conf配置文件,找到监听80端口的配置,改写配置文件即可

-
server {
listen 80;
server_name localhost;#charset koi8-r; #access_log logs/host.access.log main; location / { root E:\Java\Ueditor\FirstUEditor; index index.html index.htm; proxy_pass http://localhost:8080/; } #error_page 404 /404.html; # redirect server error pages to the static page /50x.html # error_page 500 502 503 504 /50x.html; location = /50x.html { root html; }
如果把网站部署到服务器上,就可以实现只需要输入域名即可访问到index.html


 本文介绍如何使用Nginx配置SpringBoot项目,通过监听80端口并将请求转发到本地8080端口的Tomcat,实现直接通过域名访问index.html页面。文章详细展示了nginx.conf配置文件的修改过程。


 1874
1874

 被折叠的 条评论
为什么被折叠?


