


 本文介绍了WebSocket,它是HTML5新协议,实现浏览器与服务器全双工通信,对比了http与WebSocket的区别,前者是短连接,后者是长连接。还给出使用SpringBoot搭建Websocket项目实例,包括服务端搭建、配置及测试方法,如用测试工具网站和HTML页面测试。
定义
WebSocket 是HTML5一种新的协议。它实现了浏览器与服务器全双工通信(full-duplex)。一开始的握手需要借助HTTP请求完成。 WebSocket是真正实现了全双工通信的服务器向客户端推的互联网技术。 它是一种在单个TCP连接上进行全双工通讯协议。Websocket通信协议与2011年倍IETF定为标准RFC 6455,Websocket API被W3C定为标准。
全双工和单工的区别?
- 全双工(Full Duplex)是通讯传输的一个术语。通信允许数据在两个方向上同时传输,它在能力上相当于两个单工通信方式的结合。全双工指可以同时(瞬时)进行信号的双向传输(A→B且B→A)。指A→B的同时B→A,是瞬时同步的。
- 单工、半双工(Half Duplex),所谓半双工就是指一个时间段内只有一个动作发生,举个简单例子,一条窄窄的马路,同时只能有一辆车通过,当目前有两辆车对开,这种情况下就只能一辆先过,等到头儿后另一辆再开,这个例子就形象的说明了半双工的原理。早期的对讲机、以及早期集线器等设备都是基于半双工的产品。随着技术的不断进步,半双工会逐渐退出历史舞台。
http与websocket的区别
http
http协议是短连接,因为请求之后,都会关闭连接,下次重新请求数据,需要再次打开链接。
websocket
WebSocket协议是一种长链接,只需要通过一次请求来初始化链接,然后所有的请求和响应都是通过这个TCP链接进行通讯。
Demo
这里使用SpringBoot搭建Websocket项目实例
服务端
新建SpringBoot项目,修改pom.xml文件导入依赖坐标
<?xml version="1.0" encoding="UTF-8"?>
<project xmlns="http://maven.apache.org/POM/4.0.0"
         xmlns:xsi="http://www.w3.org/2001/XMLSchema-instance"
         xsi:schemaLocation="http://maven.apache.org/POM/4.0.0 http://maven.apache.org/xsd/maven-4.0.0.xsd">
    <modelVersion>4.0.0</modelVersion>

    <groupId>com.dustdawn</groupId>
    <artifactId>websocketDemo</artifactId>
    <version>1.0-SNAPSHOT</version>

    <!--springboot父级依赖
    当前的项目就是Spring Boot项目
    用来提供相关的Maven默认依赖。
    使用它之后,常用的包依赖可以省去version标签
    -->
    <parent>
        <groupId>org.springframework.boot</groupId>
        <artifactId>spring-boot-starter-parent</artifactId>
        <version>2.1.5.RELEASE</version>
        <relativePath/> <!-- lookup parent from repository -->
    </parent>


    <dependencies>
        <!--springboot 整合Web组件
        整合SpringMVC 就会把传统方式的SpringMVC依赖的jar
        全部给下载来 -->
        <dependency>
            <groupId>org.springframework.boot</groupId>
            <artifactId>spring-boot-starter-web</artifactId>
        </dependency>


		<!--热部署-->
        <dependency>
            <groupId>org.springframework.boot</groupId>
            <artifactId>spring-boot-devtools</artifactId>
            <version>2.0.1.RELEASE</version>
        </dependency>

        <dependency>
            <groupId>org.springframework.boot</groupId>
            <artifactId>spring-boot-starter-websocket</artifactId>
        </dependency>

        <!--导入模板引擎依赖-->
        <dependency>
            <groupId>org.springframework.boot</groupId>
            <artifactId>spring-boot-starter-thymeleaf</artifactId>
        </dependency>
    </dependencies>
</project>
新建SpringBoot启动类Application
package com.dustdawn;

import org.springframework.boot.SpringApplication;
import org.springframework.boot.autoconfigure.SpringBootApplication;
//springboot启动类注解
@SpringBootApplication
public class Application {
    public static void main(String[] args) {
        SpringApplication.run(Application.class);
    }
}
很简单,这个时候springboot项目就搭建好了
WebSocket配置
新建websocket配置类,实现WebSocketConfigurer接口,重写registerWebSocketHandlers方法,这是一个核心实现方法,配置websocket入口,允许访问的域、注册Handler、SockJs支持和拦截器。
package com.dustdawn.websocket;

import org.springframework.beans.factory.annotation.Autowired;
import org.springframework.context.annotation.Bean;
import org.springframework.context.annotation.Configuration;
import org.springframework.web.socket.WebSocketHandler;
import org.springframework.web.socket.config.annotation.EnableWebSocket;
import org.springframework.web.socket.config.annotation.WebSocketConfigurer;
import org.springframework.web.socket.config.annotation.WebSocketHandlerRegistry;

@Configuration
@EnableWebSocket
public class websocketconfig implements WebSocketConfigurer {

    @Autowired
    private MyHandshakeInterceptor myHandshakeInterceptor;
    @Override
    public void registerWebSocketHandlers(WebSocketHandlerRegistry webSocketHandlerRegistry) {
        webSocketHandlerRegistry.addHandler
                (myHandler(),"/ws").setAllowedOrigins("*").addInterceptors(myHandshakeInterceptor);
    }

    @Bean
    public WebSocketHandler myHandler() {
        return new MyHandler();
    }
}
- registry.addHandler注册和路由的功能,当客户端发起websocket连接,把/path交给对应的handler处理,而不实现具体的业务逻辑,可以理解为收集和任务分发中心。
- setAllowedOrigins(String[] domains),允许指定的域名或IP(含端口号)建立长连接,如果只允许自家域名访问,这里轻松设置。如果不限时使用"*"号,如果指定了域名,则必须要以http或https开头。
- addInterceptors,顾名思义就是为handler添加拦截器,可以在调用handler前后加入我们自己的逻辑代码。
Handler类和拦截器类如下
package com.dustdawn.websocket;
import org.springframework.web.socket.CloseStatus;
import org.springframework.web.socket.TextMessage;
import org.springframework.web.socket.WebSocketSession;
import org.springframework.web.socket.handler.TextWebSocketHandler;
import java.io.IOException;
//配置handler
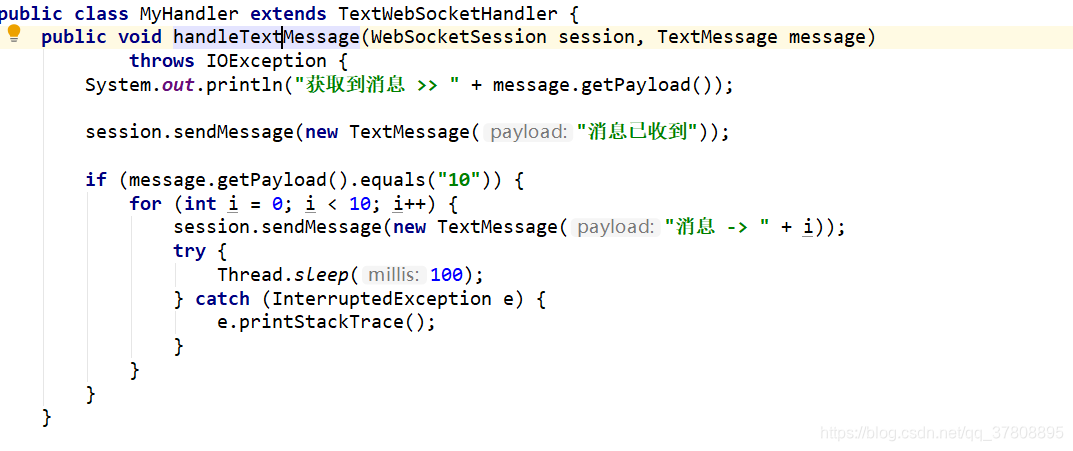
public class MyHandler extends TextWebSocketHandler {
public void handleTextMessage(WebSocketSession session, TextMessage message)
throws IOException {
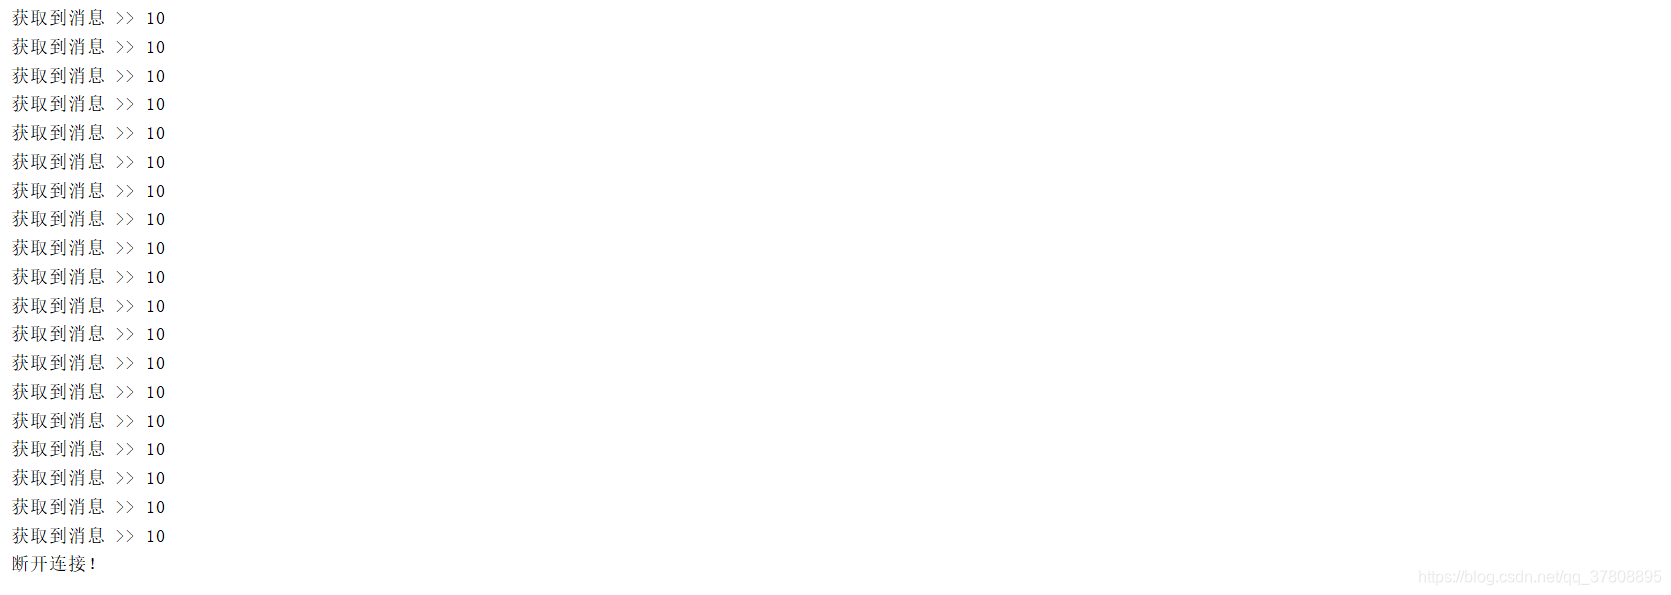
System.out.println("获取到消息 >> " + message.getPayload());
session.sendMessage(new TextMessage("消息已收到"));
if (message.getPayload().equals("10")) {
for (int i = 0; i < 10; i++) {
session.sendMessage(new TextMessage("消息 -> " + i));
try {
Thread.sleep(100);
} catch (InterruptedException e) {
e.printStackTrace();
}
}
}
}
@Override
public void afterConnectionEstablished(WebSocketSession session) throws
Exception {
session.sendMessage(new TextMessage("欢迎连接到ws服务"));
}
@Override
public void afterConnectionClosed(WebSocketSession session, CloseStatus status)
throws Exception {
System.out.println("断开连接!");
}
}
package com.dustdawn.websocket;

import org.springframework.http.server.ServerHttpRequest;
import org.springframework.http.server.ServerHttpResponse;
import org.springframework.stereotype.Component;
import org.springframework.web.socket.WebSocketHandler;
import org.springframework.web.socket.server.HandshakeInterceptor;

import java.util.Map;

/**
 * 配置拦截器
 */
@Component
public class MyHandshakeInterceptor implements HandshakeInterceptor {

    public boolean beforeHandshake(ServerHttpRequest request, ServerHttpResponse
            response, WebSocketHandler wsHandler, Map<String, Object> attributes) throws
            Exception {
        //将用户id放入socket处理器的会话(WebSocketSession)中
        attributes.put("uid", 1001);
        System.out.println("开始握手。。。。。。。");
        return true;
    }

    @Override
    public void afterHandshake(ServerHttpRequest request, ServerHttpResponse
            response, WebSocketHandler wsHandler, Exception exception) {
        System.out.println("握手成功啦。。。。。。");
    }
}
测试
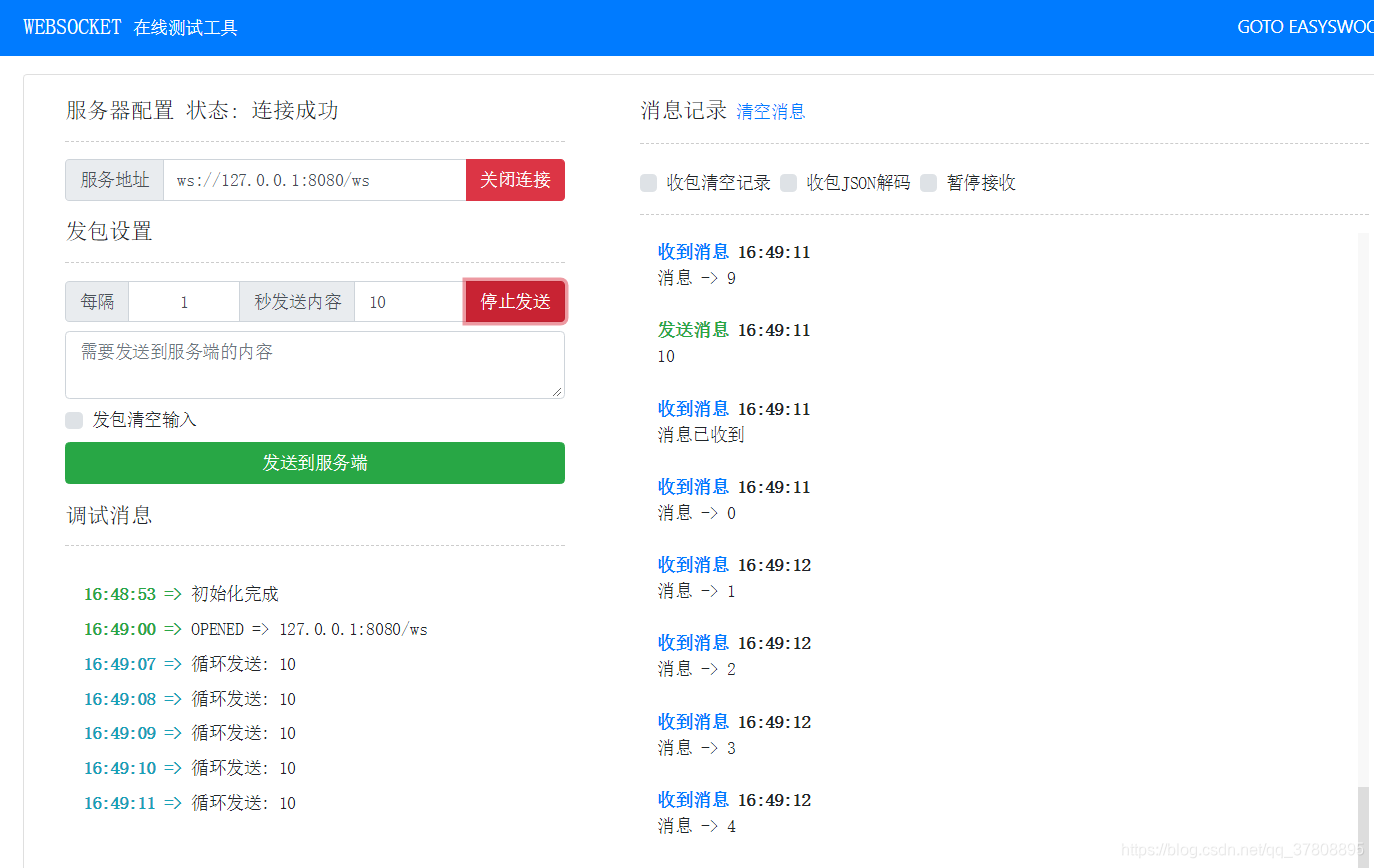
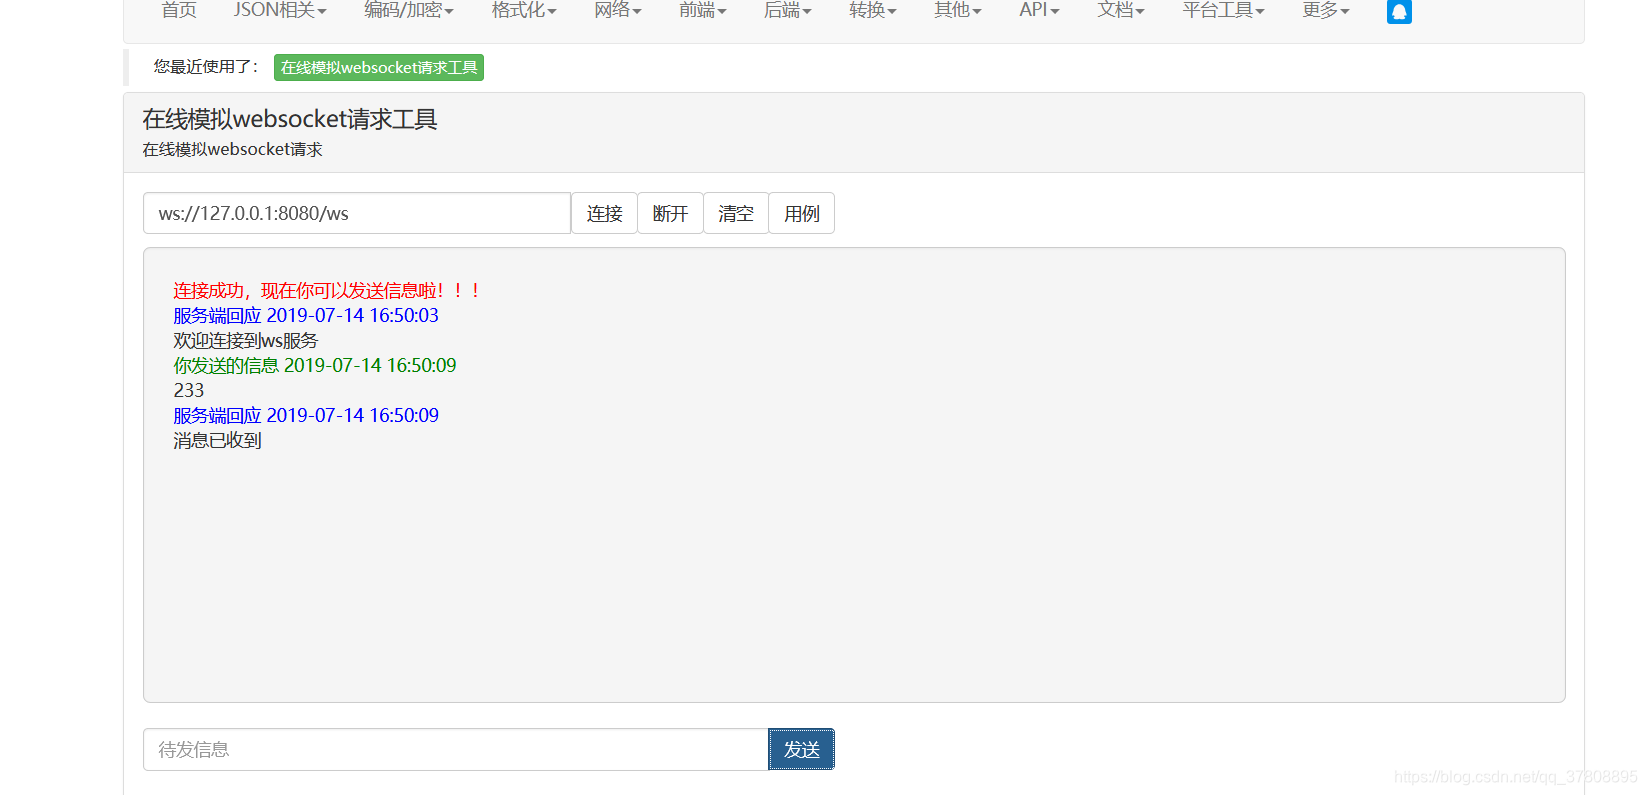
使用测试工具网站测试

使用HTML页面测试
因为springboot推荐使用模板引擎theymeleaf对静态资源进行访问,这里导入springboot整合theymeleaf的依赖后,在resource目录下新建templates目录
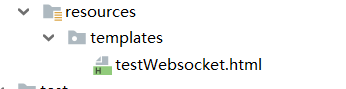
然后编写Controller跳转到我们的testWebsocket.html
package com.dustdawn.controller;

import org.springframework.stereotype.Controller;
import org.springframework.web.bind.annotation.RequestMapping;

@Controller
public class IndexController {
    @RequestMapping("/index")
    public String index() {
        return "testWebsocket";
    }
}
testWebsocket.html内容
<!DOCTYPE html>
<html>
<head>
<title>Java后端WebSocket的Tomcat实现</title>
<meta content='width=device-width, initial-scale=1, maximum-scale=1, user-scalable=no' name='viewport' />
<meta http-equiv="Content-Type" content="text/html; charset=utf-8" />
</head>
<body>
Welcome<br/><input id="text" type="text"/>
<button onclick="send()">发送消息</button>
<hr/>
<button onclick="closeWebSocket()">关闭WebSocket连接</button>
<hr/>
<div id="message"></div>
</body>
<script type="text/javascript">
var websocket = null;
//判断当前浏览器是否支持WebSocket
if ('WebSocket' in window) {
websocket = new WebSocket("ws://localhost:8080/ws");
}
else {
alert('当前浏览器 Not support websocket')
}
//连接发生错误的回调方法
websocket.onerror = function () {
setMessageInnerHTML("WebSocket连接发生错误");
};
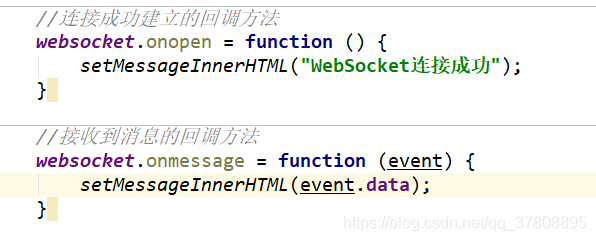
//连接成功建立的回调方法
websocket.onopen = function () {
setMessageInnerHTML("WebSocket连接成功");
}
//接收到消息的回调方法
websocket.onmessage = function (event) {
setMessageInnerHTML(event.data);
}
//连接关闭的回调方法
websocket.onclose = function () {
setMessageInnerHTML("WebSocket连接关闭");
}
//监听窗口关闭事件,当窗口关闭时,主动去关闭websocket连接,防止连接还没断开就关闭窗口,server端会抛异常。
window.onbeforeunload = function () {
closeWebSocket();
}
//将消息显示在网页上
function setMessageInnerHTML(innerHTML) {
document.getElementById('message').innerHTML += innerHTML + '<br/>';
}
//关闭WebSocket连接
function closeWebSocket() {
websocket.close();
}
//发送消息
function send() {
var message = document.getElementById('text').value;
websocket.send(message);
}
</script>
</html>
启动项目,地址导航http://localhost:8080/index
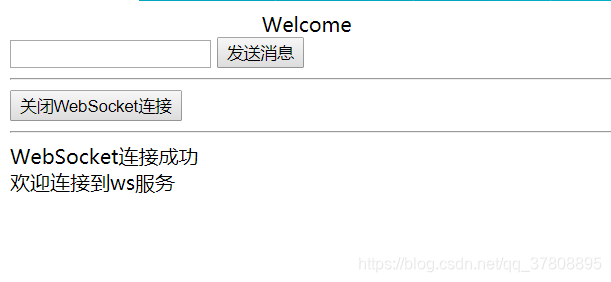
可以看到,通过Handler处理,在页面连接到websocket页面后,首先客户端打印出执行js的
websocket.onopen事件的回调函数后的内容,然后再收到服务端发送的消息,执行js中websocket.onmessage方法
点击发送后调用websocket.send方法,向服务端发送请求信息
服务端通过自定义的Handle中实现父类的基类接口(WebSocketHandler)中的handleTextMessage方法,其中的TextMessage对象取出接收到的信息进行处理。最后通过WebSocketSession对象的sendMessage方法发送到客户端请求方。


 674
674

 被折叠的 条评论
为什么被折叠?
被折叠的 条评论
为什么被折叠?
 到【灌水乐园】发言


