


 本文详细介绍如何使用Android中的Intent实现Activity间的跳转,并通过实例代码展示了从按钮点击到启动新Activity的全过程,包括必要的XML布局文件及Java代码配置。
这篇文章给大家简单的介绍一下intent的用法,即activity间跳转。
关键词:intent,跳转activity,logcat简单查看
下面代码有点乱,因为我是在其他项目上做的修改。建议觉得乱的同学去看我的上两篇记。
其实intent的准备工作并不多,主要是一个.xml文件(用于跳转后的layout的刷新),.java文件(用于layout的创建),一个button用于触发跳转事件。
先贴代码:
我的second.java文件:
public class Second extends AppCompatActivity {

    @Override
    protected void onCreate(@Nullable Bundle savedInstanceState) {
        super.onCreate(savedInstanceState);
        setContentView(R.layout.activity_second);
    }
}
我的activity_second.xml文件:
<?xml version="1.0" encoding="utf-8"?>
<LinearLayout xmlns:android="http://schemas.android.com/apk/res/android"
    android:layout_width="match_parent"
    android:layout_height="match_parent">


    <TextView
        android:text="welcome to second xml"
        android:layout_width="wrap_content"
        android:layout_height="wrap_content" />

</LinearLayout>
我的main.java文件:
public class MainActivity extends AppCompatActivity {

    public TextView textView;
    public Button button ;
    public int mCount ;

    public Button button_intent;//用于跳转界面的按钮

    public DisplayMetrics displayMetrics;
    @Override
    protected void onCreate(Bundle savedInstanceState) {
        super.onCreate(savedInstanceState);
        setContentView(R.layout.activity_main);

        button_intent = (Button) findViewById(R.id.bt_intent); // 绑定bt_intent按钮

        displayMetrics = new DisplayMetrics();//new 一个diaplayMetris 对象
        getWindowManager().getDefaultDisplay().getMetrics(displayMetrics);//调用getDefaultDisplay方法将取得的宽高维度存在displayMetrics中

        final int mColors[] = new int[]{
                Color.BLUE,Color.GREEN,Color.GRAY,Color.RED,Color.BLACK
        };

        mCount = 0;

        textView = (TextView) findViewById(R.id.tv_test);
        button = (Button) findViewById(R.id.bt_changed);

        textView.setText("分辨率:"+displayMetrics.widthPixels+"*"+displayMetrics.heightPixels+"屏幕像素:"+displayMetrics.density);//改变文本

        button.setOnClickListener(new View.OnClickListener() {
            @Override
            public void onClick(View v) {
                mCount%=4;
                textView.setTextColor(mColors[mCount]);
                mCount++;
            }
        });
        /*给button_intent设置监听器,new一个Intent对象用于跳转*/
        button_intent.setOnClickListener(new View.OnClickListener() {
            @Override
            public void onClick(View v) {
                Intent intent = new Intent(MainActivity.this,Second.class);
                startActivity(intent);
            }
        });

    }
}
我的activity_main.xml文件:
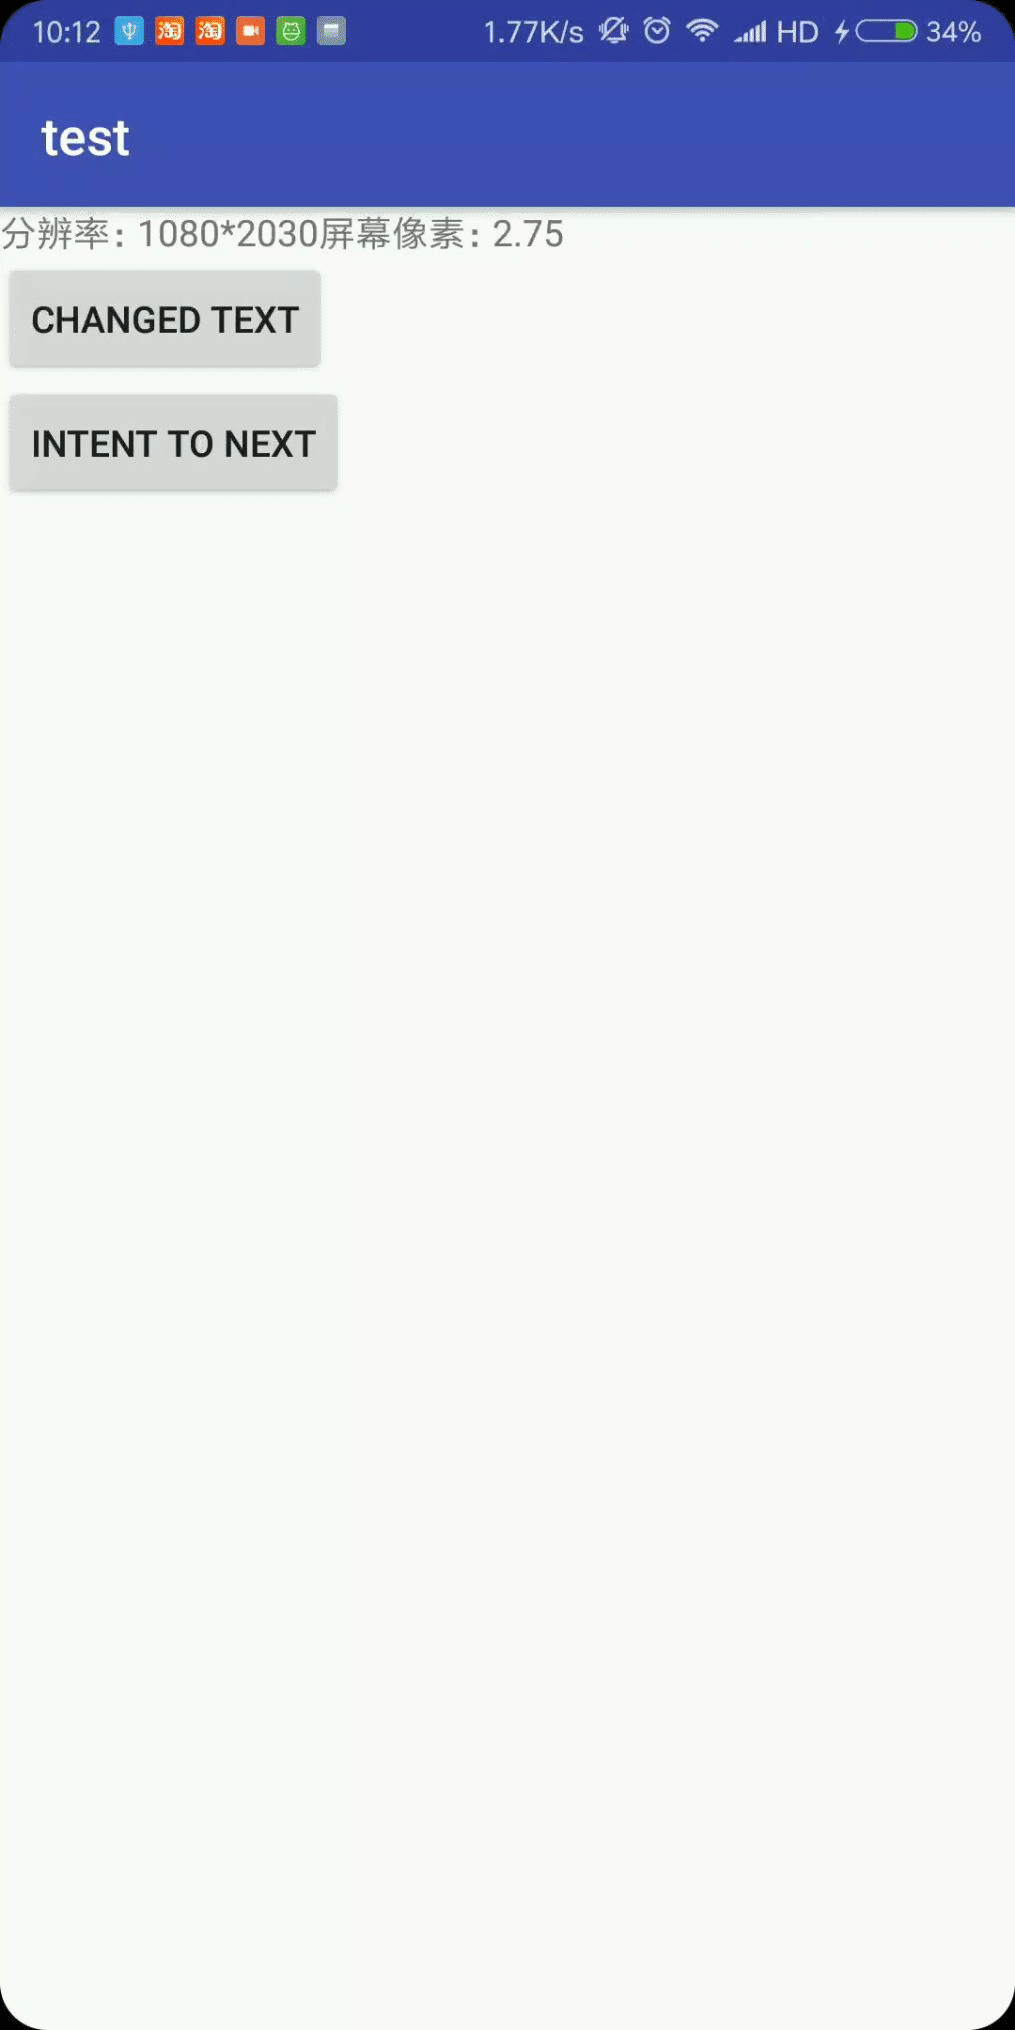
<?xml version="1.0" encoding="utf-8"?>
<LinearLayout xmlns:android="http://schemas.android.com/apk/res/android"
    xmlns:app="http://schemas.android.com/apk/res-auto"
    xmlns:tools="http://schemas.android.com/tools"
    android:layout_width="match_parent"
    android:orientation="vertical"
    android:layout_height="match_parent"
    tools:context=".MainActivity">

    <TextView
        android:id="@+id/tv_test"
        android:layout_width="wrap_content"
        android:layout_height="wrap_content"
        android:text="Hello World!"
        app:layout_constraintBottom_toBottomOf="parent"
        app:layout_constraintLeft_toLeftOf="parent"
        app:layout_constraintRight_toRightOf="parent"
        app:layout_constraintTop_toTopOf="parent" />

    <Button
        android:text="changed text"
        android:id="@+id/bt_changed"
        android:layout_width="wrap_content"
        android:layout_height="wrap_content" />

    <Button
        android:text="intent to next"
        android:id="@+id/bt_intent"
        android:layout_width="wrap_content"
        android:layout_height="wrap_content" />

</LinearLayout>
其实主要的文件就这四个,一个.java对应一个.xml,抛开其他乱七八糟的代码只关注button_intent这个按钮,你会发现跳转只需要一个Intent即可。intent中的参数第一个是当前layout的java,另一个是下一个layout的java文件。不清楚java文件如何刷新layout的可以去看https://blog.youkuaiyun.com/qq_36551426/article/details/80344023,这里面有介绍java如何与xml进行绑定的。
如果到这里,你试图去install你的app的话,你会发现下面的Logcat会报错!为什么呢,我带大家看看。

大部分的红字是看不懂怎么回事的,但是我们会发现,中间会有一行蓝字,点击他会锁定到第55行。这说明代码在这附近出现问题。我们继续往上翻,会看到有一行英文我们是大概能看懂的,我给大家贴下来。
android.content.ActivityNotFoundException: Unable to find explicit activity class {comr.example.administrator.test/comr.example.administrator.test.Second}; have you declared this activity in your AndroidManifest.xml?
出现了activityNotFoundException,无法找到对应的activity,你是否在manifest中声明(declared)了该activity?
所以错误找到了:我们没有在manifest中声明注册second.java!
<application
    android:allowBackup="true"
    android:icon="@mipmap/ic_launcher"
    android:label="@string/app_name"
    android:roundIcon="@mipmap/ic_launcher_round"
    android:supportsRtl="true"
    android:theme="@style/AppTheme">
    <activity android:name=".MainActivity">
        <intent-filter>
            <action android:name="android.intent.action.MAIN" />

            <category android:name="android.intent.category.LAUNCHER" />
        </intent-filter>
    </activity>

    <activity android:name=".Second"></activity>
</application>
倒数第二行大家看一下,只要写上之后就可以了!
最后给大家看一下gif效果;


 1416
1416

 被折叠的 条评论
为什么被折叠?
被折叠的 条评论
为什么被折叠?
 到【灌水乐园】发言


