


 本文通过启动项目展示了Spring Security的基本认证流程,用户需输入默认的user和密码进行认证。此外,还提到了使用basic认证的形式。文章核心围绕Spring Security的过滤器链工作机制,解释了绿色部分的配置可自定义,而其他部分则是固定位置的过滤器。
啥也不说先贴代码:
spring.datasource.driver-class-name = com.mysql.jdbc.Driver
spring.datasource.url = jdbc:mysql://127.0.0.1:3306/imooc-demo?useUnicode=yes&characterEncoding=UTF-8
spring.datasource.username = root
spring.datasource.password = 123456

spring.session.store-type = none

#这里关闭security的配置要注释掉
#security.basic.enabled = false

server.port = 8060
package com.imooc.security.browser;

import org.springframework.context.annotation.Configuration;
import org.springframework.security.config.annotation.web.builders.HttpSecurity;
import org.springframework.security.config.annotation.web.configuration.WebSecurityConfigurerAdapter;

@Configuration
public class BrowserSecurityConfig extends WebSecurityConfigurerAdapter{

	@Override
	protected void configure(HttpSecurity http) throws Exception {

		http.formLogin()//认证
		.and()
		.authorizeRequests()//授权
		.anyRequest()
		.authenticated();
	}

}
启动项目:会看到一个默认密码: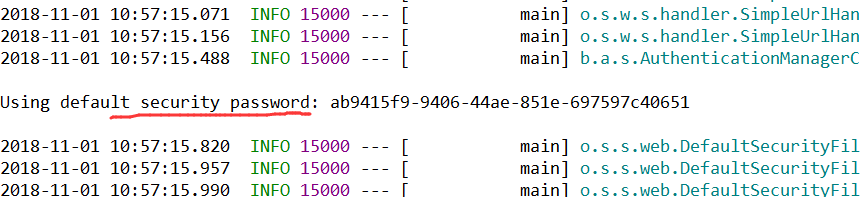
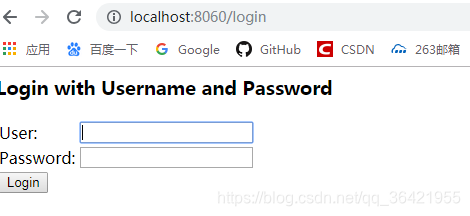
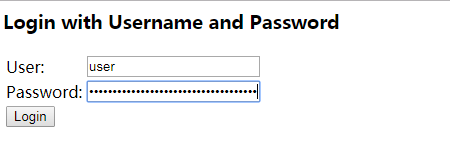
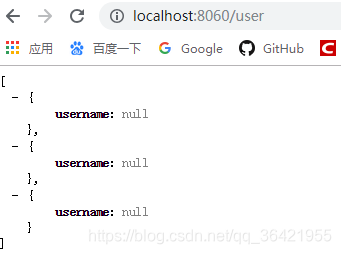
然后访问一个请求会让你输入认证,默认 user和控制台默认密码 看上图,然后认证成功返回响应。
当然也可以使用最经典的basic形式进行认证:
@Override
	protected void configure(HttpSecurity http) throws Exception {

//		http.formLogin()//认证
		http.httpBasic()
		.and()
		.authorizeRequests()//授权
		.anyRequest()
		.authenticated();
	}
好了请看原理图:
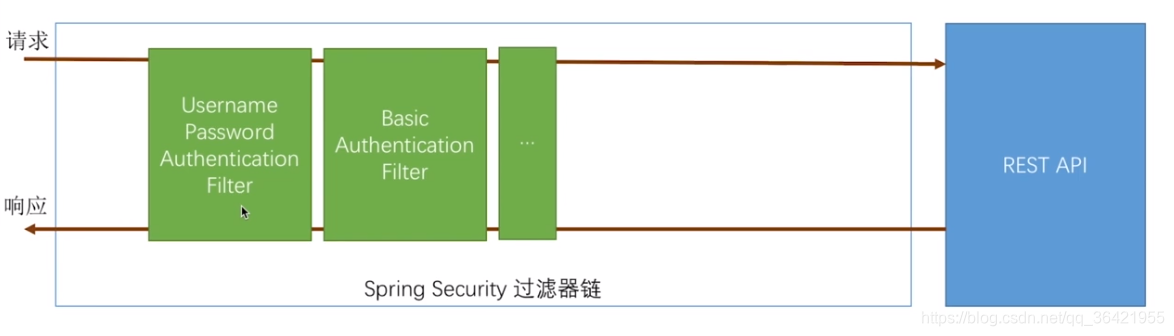
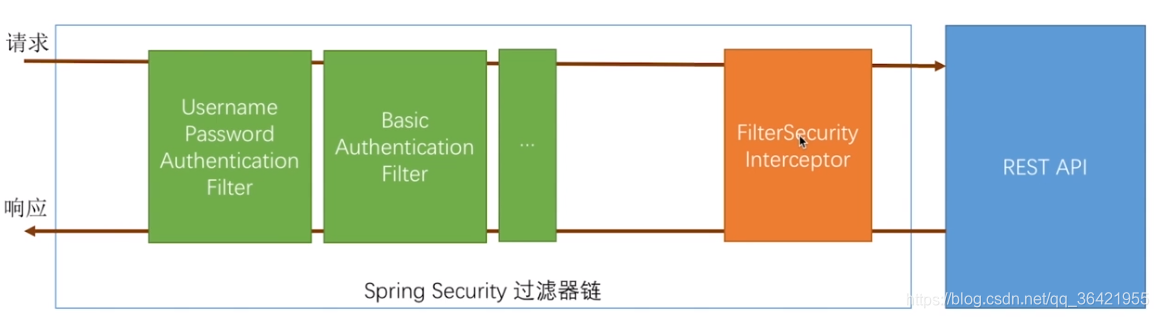
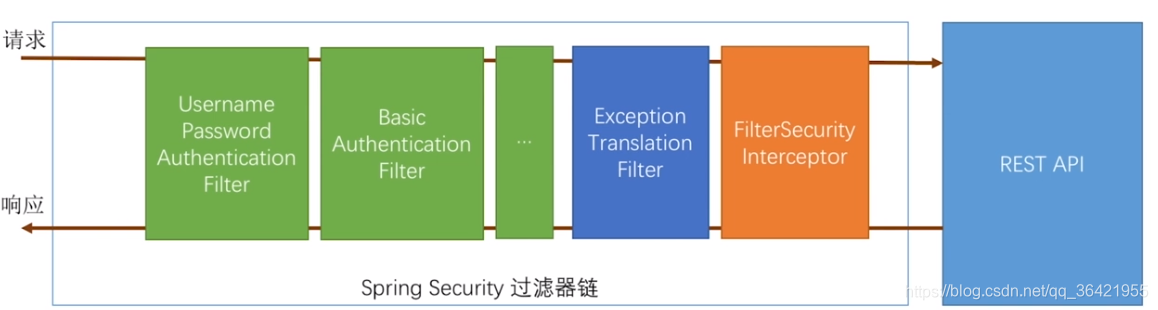
图中绿色部分是可以通过配置生效的,其他颜色过滤器不能设置的 它们一定在指定的位置上。


 5万+
5万+

 被折叠的 条评论
为什么被折叠?
被折叠的 条评论
为什么被折叠?
 到【灌水乐园】发言


