


 本文介绍如何在服务器上部署Harbor私有Docker仓库,包括安装步骤、配置域名及SSL证书,以及通过Nginx进行反向代理的详细过程。
一、准备
准备好一台服务器,假设外网IP为 192.168.1.1,配置最好带宽要够,不然上传下载会很慢;
准备好域名,如 docker.test.com,同时需要相应的域名证书
二、安装
首先从github上下载最新版本,我这边用的是2.4.1版本
wget https://github.com/goharbor/harbor/releases/download/v2.4.1/harbor-offline-installer-v2.4.1.tgz将下载好的包移动到/opt目录,解压缩得到harbor
mv harbor-offline-installer-v2.4.1.tgz /opt
cd /opt
tar xf harbor-offline-installer-v2.4.1.tgz
进入harbor目录查看内容
[root@xxx harbor]# cd /
[root@xxx /]# cd /opt/harbor/
[root@xxx harbor]# ll
total 602232
drwxr-xr-x 3 root root      4096 Dec 22 17:08 common
-rw-r--r-- 1 root root      3361 Dec 16 12:22 common.sh
-rw-r--r-- 1 root root      5876 Dec 22 17:08 docker-compose.yml
-rw-r--r-- 1 root root      5889 Dec 22 14:29 docker-compose.yml_back
-rw-r--r-- 1 root root 616006217 Dec 16 12:23 harbor.v2.4.1.tar.gz
-rw-r--r-- 1 root root      9086 Dec 22 17:07 harbor.yml
-rw-r--r-- 1 root root      8999 Dec 16 12:22 harbor.yml.tmpl
-rwxr-xr-x 1 root root      2500 Dec 16 12:22 install.sh
-rw-r--r-- 1 root root     11347 Dec 16 12:22 LICENSE
-rwxr-xr-x 1 root root      1881 Dec 16 12:22 prepare
复制harbor.yml.tmpl 为 harbor.yml,然后编辑harbor.yml,初始如下图配置
cp harbor.yml.tmpl harbor.yml
vim harbor.yml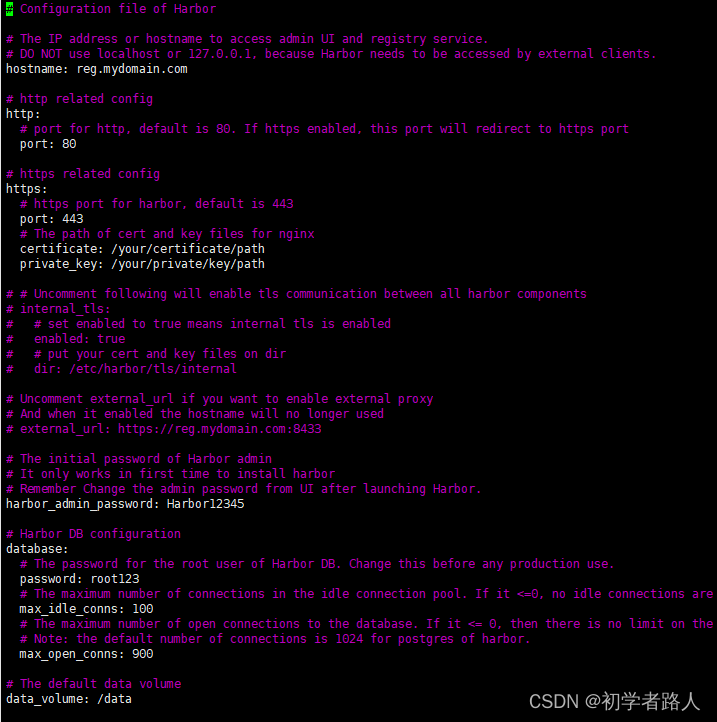
我们只需修改如下几个配置,
# Configuration file of Harbor

# The IP address or hostname to access admin UI and registry service.
# DO NOT use localhost or 127.0.0.1, because Harbor needs to be accessed by external clients.
hostname: 192.168.1.1  #这里修改你的服务器ip

# http related config
http:
  # port for http, default is 80. If https enabled, this port will redirect to https port
  port: 9999 #这里修改你的端口号,我们用的nginx反向代理,这里不使用默认的80端口

# https related config
#注释掉下面的https配置,因为我们使用nginx反向代理,这里不做配置
#https:
  # https port for harbor, default is 443
#  port: 443
  # The path of cert and key files for nginx
#  certificate: /your/certificate/path
#  private_key: /your/private/key/path
external_url: https://docker.test.com #增加一个external_url 配置你的域名
# # Uncomment following will enable tls communication between all harbor components
# internal_tls:
#   # set enabled to true means internal tls is enabled
#   enabled: true
#   # put your cert and key files on dir
#   dir: /etc/harbor/tls/internal

# Uncomment external_url if you want to enable external proxy
# And when it enabled the hostname will no longer used
# external_url: https://reg.mydomain.com:8433

# The initial password of Harbor admin
# It only works in first time to install harbor
# Remember Change the admin password from UI after launching Harbor.
harbor_admin_password: Harbor12345 #这里设置Harbor初始密码

# Harbor DB configuration
database:
  # The password for the root user of Harbor DB. Change this before any production use.
  password: root123
  # The maximum number of connections in the idle connection pool. If it <=0, no idle connections are retained.
  max_idle_conns: 100
  # The maximum number of open connections to the database. If it <= 0, then there is no limit on the number of open connections.
  # Note: the default number of connections is 1024 for postgres of harbor.
  max_open_conns: 900

# The default data volume
data_volume: /opt/data #这里配置你的数据存放目录
配置好后执行install.sh 完成安装
./install.sh三、配置nginx反向代理
nginx 做如下配置
#配置http重定向到https
server {
    listen 80;
    server_name docker.test.com;
    return  301 https://$server_name$request_uri;
}

server {
        listen       443 ssl;
        server_name  docker.test.com;
        ssl_certificate #配置你的域名证书 xxx.pem;
        ssl_certificate_key #配置你的域名证书 xxx.key;
        ssl_session_timeout 5m;
        ssl_protocols TLSv1 TLSv1.1 TLSv1.2;
        ssl_ciphers AESGCM:ALL:!DH:!EXPORT:!RC4:+HIGH:!MEDIUM:!LOW:!aNULL:!eNULL;
        ssl_prefer_server_ciphers on;
        access_log  logs/hub.kingboyworld.com.access.log;
        error_log   logs/hub.kingboyworld.com.error.log;
        location / {
                    proxy_pass http://192.168.1.1:9999; #这里配置你的服务器ip和harbor端口号
                    proxy_set_header HOST $HOST;
                    proxy_set_header        X-Real-IP $remote_addr;
                    proxy_set_header        X-Forwarded-For $proxy_add_x_forwarded_for;
                    proxy_set_header        X-Forwarded-Proto "https";
                    client_max_body_size 1G;
                    proxy_connect_timeout 3000;
                    proxy_send_timeout 3000;
                    proxy_read_timeout 3000;
                    proxy_buffering    off;
                    tcp_nodelay        on;
            chunked_transfer_encoding on;
        }
}
之后重启nginx
nginx -t
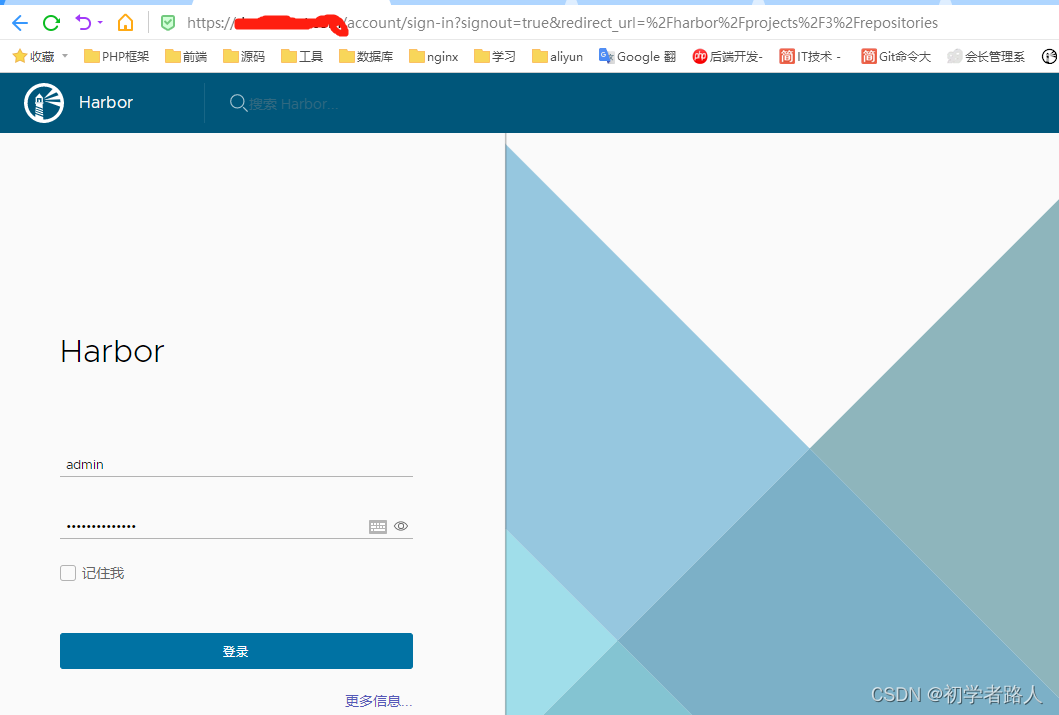
nginx -s reload然后你就可以正常访问你的 Harbor


 514
514

 被折叠的 条评论
为什么被折叠?
被折叠的 条评论
为什么被折叠?
 到【灌水乐园】发言


