


 本文介绍如何在SpringBoot项目中集成RabbitMQ,并通过示例代码演示消息的发送与接收过程。主要内容包括:创建SpringBoot项目、引入RabbitMQ依赖、配置RabbitMQ参数、实现消息发送与接收功能等。
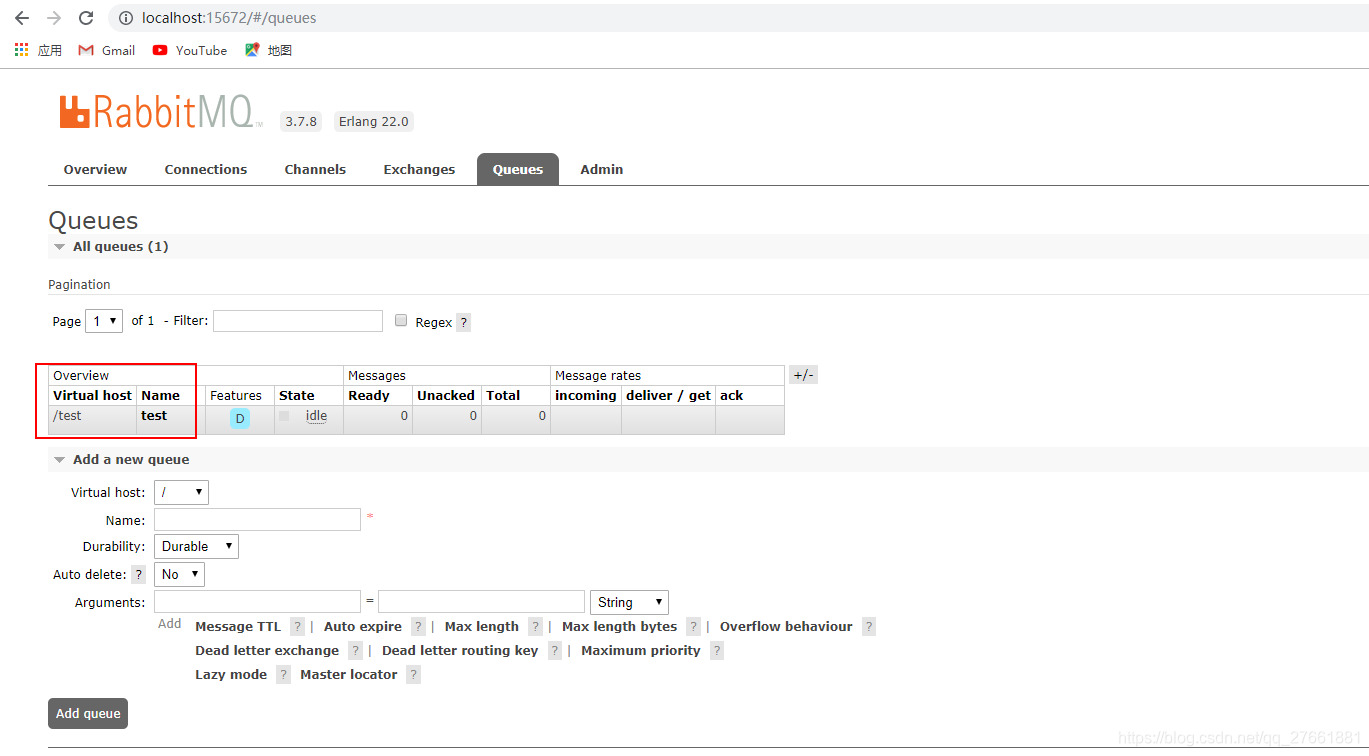
rabbitmq的配置
设置名为/test的vhost与名为test的queue绑定
Springboot集成rabbitmq
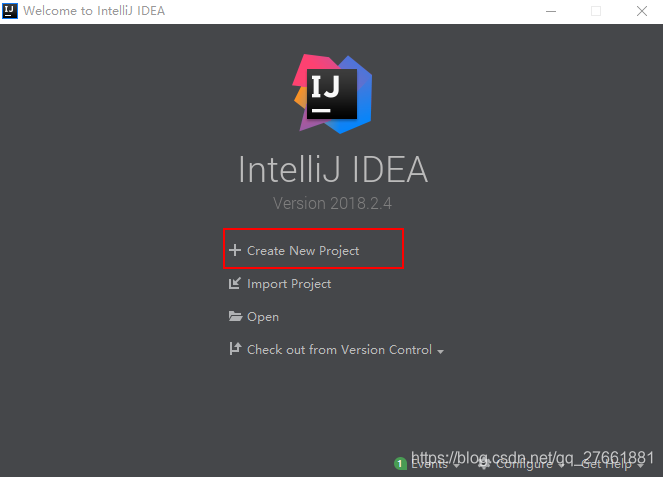
1、使用idea新建springboot工程
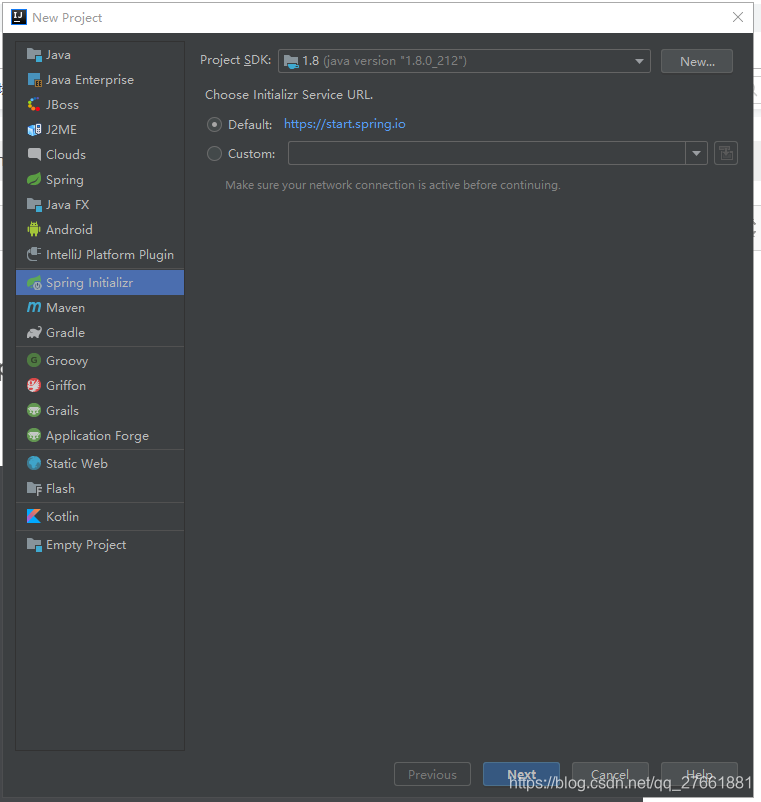
后面一路next
2、创建好project之后,引入关于rabbitmq的maven依赖
<dependency>
    <groupId>org.springframework.boot</groupId>
    <artifactId>spring-boot-starter-amqp</artifactId>
</dependency>
springboot中只要引入这一个依赖就够了,因为rabbitmq是遵循amqp规范的,amqp规定了一系列接口
springboot中有各种starter,这些starter就是将相关的依赖合成一个依赖
3、修改application.properties文件
server.servlet.context-path=/test
server.port=8080
spring.rabbitmq.host=localhost
spring.rabbitmq.port=5672
spring.rabbitmq.username=cord2
spring.rabbitmq.password=123456
# 消息发送确认(用来确认生产者将消息发送给交换器,交换器传递给队列的过程中,消息是否成功投递)
spring.rabbitmq.publisher-confirms=true
#选择broker中的某个虚拟主机
spring.rabbitmq.virtual-host=/
4、rabbitmq生产者的code
package com.example.demo.rabbitmq;

import org.springframework.amqp.core.AmqpTemplate;
import org.springframework.beans.factory.annotation.Autowired;
import org.springframework.stereotype.Component;

import java.util.Date;

/**
 * 生产者
 */
@Component
public class Sender {

    @Autowired
    private AmqpTemplate amqpTemplate;

    public void send(){
        String content = "hello" + new Date();
        System.out.println("向mq发送消息"+content);
        amqpTemplate.convertAndSend("test",content);
    }
}
package com.example.demo.rabbitmq;

import org.springframework.amqp.core.AmqpTemplate;
import org.springframework.beans.factory.annotation.Autowired;
import org.springframework.stereotype.Component;

import java.util.Date;

@Component
public class Sender {

    @Autowired
    private AmqpTemplate amqpTemplate;

    public void send(){
        String content = "hello" + new Date();
        System.out.println("向mq发送消息"+content);
        amqpTemplate.convertAndSend("test",content);
    }
}
5、rabbitmq消费者的code
package com.example.demo.rabbitmq;

import org.springframework.amqp.rabbit.annotation.RabbitHandler;
import org.springframework.amqp.rabbit.annotation.RabbitListener;
import org.springframework.stereotype.Component;

@Component
@RabbitListener(queues = "test")
public class Receiver {
    @RabbitHandler
    public void receive(String msg){
        System.out.println("收到消息"+msg);
    }
}
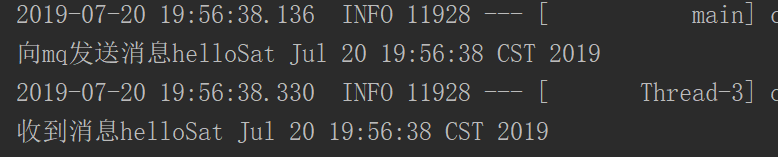
6、rabbitmq收发消息的验证
package com.example.demo;

import com.example.demo.rabbitmq.Sender;
import org.junit.Test;
import org.junit.runner.RunWith;
import org.springframework.beans.factory.annotation.Autowired;
import org.springframework.boot.test.context.SpringBootTest;
import org.springframework.test.context.junit4.SpringRunner;

@RunWith(SpringRunner.class)
@SpringBootTest
public class DemoApplicationTests {

    @Autowired
    private Sender sender;
    @Test
    public void contextLoads() {
        sender.send();
    }

}
成功运行


 50万+
50万+

 被折叠的 条评论
为什么被折叠?
被折叠的 条评论
为什么被折叠?
 到【灌水乐园】发言


