下载地址:https://www.mongodb.com/try/download/community

mongodb-linux-x86_64-rhel70-6.0.1.tgz
2、上传安装包

cd /usr/local/src/
tar -zxvf mongodb-linux-x86_64-rhel70-6.0.1.tgz

mv mongodb-linux-x86_64-rhel70-6.0.1 /home/soft
cd /home/soft/


mv mongodb-linux-x86_64-rhel70-6.0.1/ mongodb
cd /home/soft/mongodb


mkdir -p /home/soft/mongodb/data /home/soft/mongodb/logs /home/soft/mongodb/conf/
执行cd conf命令进入配置目录,执行vi mongodb.conf命令编写配置,在文件中写入:
systemLog:
   destination: file
   # 配置日志输出路径
   path: "/home/soft/mongodb/logs/mongodb.log"
   logAppend: true
storage:
   # 开启日志
   journal:
      enabled: true
net:
   # 设定对外暴露的 IP 和 端口
   bindIp: 0.0.0.0
   port: 27017
storage:
   # 数据存储路径
   dbPath: "/home/soft/mongodb/data/db"
operationProfiling:
   # 记录日志的慢查询阈值
   slowOpThresholdMs: 30
   # 模式 : on  off  slowOp
   mode: slowOp
security:
   # 关闭权限校验
   authorization: disabled
执行vi mongodb.service命令编写服务配置,在文件中写入:
[Unit]

Description=mongodb
After=network.target remote-fs.target nss-lookup.target

[Service]
ExecStart=/home/soft/mongodb/bin/mongod -f /home/soft/mongodb/conf/mongodb.conf
ExecReload=/bin/kill -s HUP
ExecStop=/home/soft/mongodb/bin/mongod --shutdown -f /home/soft/mongodb/conf/mongodb.conf
PrivateTmp=true

[Install]
WantedBy=multi-user.target
chmod 755 mongodb.service
执行cp mongodb.service /lib/systemd/system命令把服务配置文件拷贝到系统目录
执行systemctl daemon-reload 命令重新加载配置文件
执行systemctl start mongodb启动mongodb
执行systemctl enable mongodb.service命令把mongodb添加到启动项

服务启动
# 启动服务:
systemctl start mongodb.service

#停止服务:
systemctl stop mongodb.service

#开机启动:
systemctl enable mongodb.service
设置防火墙
firewall-cmd --add-port=27017/tcp --permanent
firewall-cmd --reload
下载mongosh
https://www.mongodb.com/try/download/shell

安装 rpm -i mongodb-mongosh-1.6.0.x86_64.rpm
mongosh "mongodb://127.0.0.1:27017"

创建管理账号:

首先看看mongodb内置角色:

    1. 数据库用户角色:read、readWrite;
    2. 数据库管理角色:dbAdmin、dbOwner、userAdmin;
    3. 集群管理角色:clusterAdmin、clusterManager、clusterMonitor、hostManager;
    4. 备份恢复角色:backup、restore;
    5. 所有数据库角色:readAnyDatabase、readWriteAnyDatabase、userAdminAnyDatabase、dbAdminAnyDatabase
    6. 超级用户角色:root
    7. 内部角色:__system
use admin
db.createUser({user:"testAdmin",pwd:"秘密",roles:[{role:"userAdminAnyDatabase",db:"admin"}]})
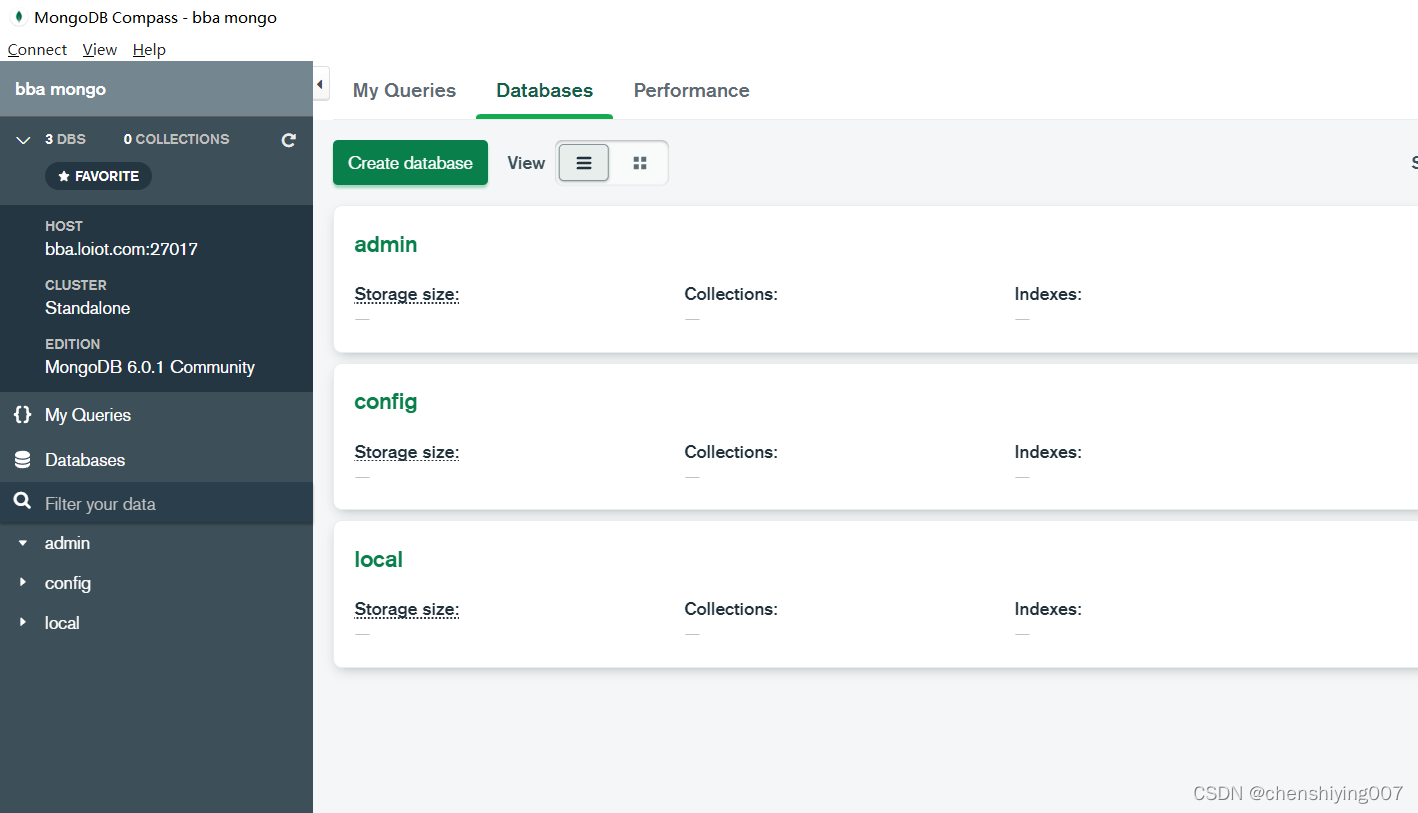
mongdb 可视化客户端安装 compass
https://www.mongodb.com/try/download/compass

创建数据库和用户
use admin
db.auth("testAdmin","密码")

创建appoper用户,并为它指定数据库为applicationoper。
db.createUser({user: "appoper",pwd: "密码",roles: [ { role: "readWrite", db: "applicationoper" } ]} )
切换认证用户
db.auth("appoper","密码")

切换至applicationoper数据库
use applicationoper

显示数据库
show dbs


 本文档详细介绍了在 CentOS 7 上安装 MongoDB 6.x 的步骤,包括从官方下载地址获取安装包,配置服务文件,启动与管理MongoDB服务,设置防火墙规则,安装mongosh以及MongoDB可视化工具Compass,并创建数据库和用户。


 459
459

 被折叠的 条评论
为什么被折叠?


