


接入流程详见微信公众平台
可用测试号进行开发测试
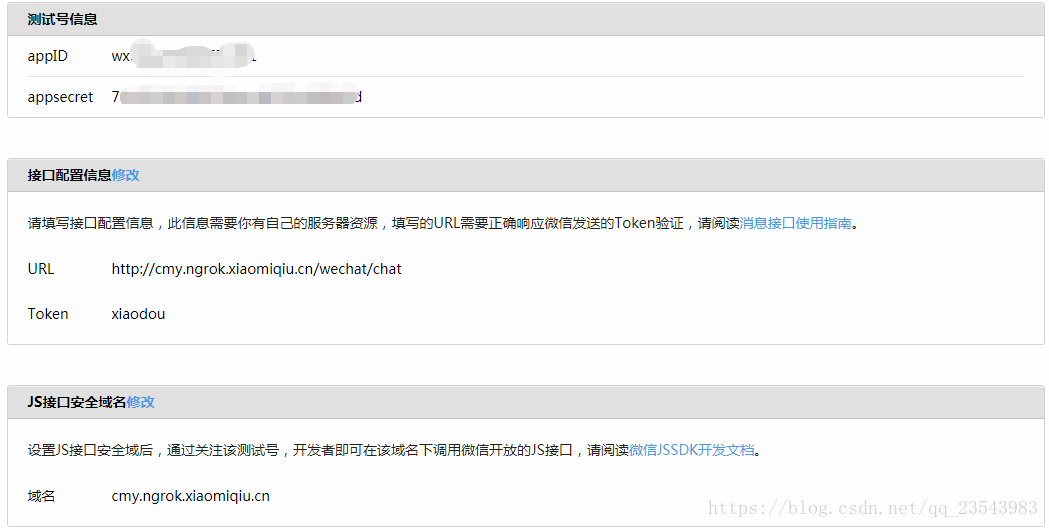
1.填写服务器配置(我使用测试号进行开发的),如下图所示
2.验证消息来自微信服务器
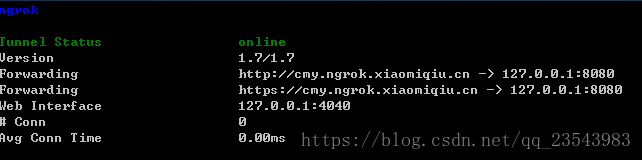
发送请求,请求地址:http://cmy.ngrok.xiaomiqiu.cn/wechat/chat (自己在微信中配置的URL地址,微信公众号接口必须以http://或https://开头,分别支持80端口和443端口)可进行内网穿透,具体可百度(我使用的小米球,测试完全ok)
具体验证请求代码如下:
@Controller
@RequestMapping("/wechat")
public class WxController {

    private final static String MEDIATYPE_CHARSET_JSON_UTF8 = MediaType.APPLICATION_JSON_VALUE + ";charset=UTF-8";
    @RequestMapping(value = "/chat", method = {RequestMethod.GET, RequestMethod.POST}, produces = MEDIATYPE_CHARSET_JSON_UTF8)
    public void get(HttpServletRequest request, HttpServletResponse response) throws Exception {
        //如果为get请求,则为开发者模式验证
        if ("get".equals(request.getMethod().toLowerCase())) {
            String signature = request.getParameter("signature");
            String timestamp = request.getParameter("timestamp");
            String nonce = request.getParameter("nonce");
            String echostr = request.getParameter("echostr");
            PrintWriter out = response.getWriter();
            if (CheckUtil.checkSignature(signature, timestamp, nonce)) {
                //如果校验成功,将得到的随机字符串原路返回
                out.print(echostr);
            }
        }else{
            doPost();//具体代码之后文章会有讲解
        }
    }
}
验证工具类CheckUtil.java
public class CheckUtil {
public static final String token = "xiaodou"; //开发者自行定义Token
public static boolean checkSignature(String signature,String timestamp,String nonce){
//1.定义数组存放tooken,timestamp,nonce
String[] arr = {token,timestamp,nonce};
//2.对数组进行排序
Arrays.sort(arr);
//3.生成字符串
StringBuffer sb = new StringBuffer();
for(String s : arr){
sb.append(s);
}
//4.sha1加密,网上均有现成代码
String temp = getSha1(sb.toString());
//5.将加密后的字符串,与微信传来的加密签名比较,返回结果
return temp.equals(signature);
}
public static String getSha1(String str){
if(str==null||str.length()==0){
return null;
}
char hexDigits[] = {'0','1','2','3','4','5','6','7','8','9',
'a','b','c','d','e','f'};
try {
MessageDigest mdTemp = MessageDigest.getInstance("SHA1");
mdTemp.update(str.getBytes("UTF-8"));
byte[] md = mdTemp.digest();
int j = md.length;
char buf[] = new char[j*2];
int k = 0;
for (int i = 0; i < j; i++) {
byte byte0 = md[i];
buf[k++] = hexDigits[byte0 >>> 4 & 0xf];
buf[k++] = hexDigits[byte0 & 0xf];
}
return new String(buf);
} catch (Exception e) {
// TODO: handle exception
return null;
}
}
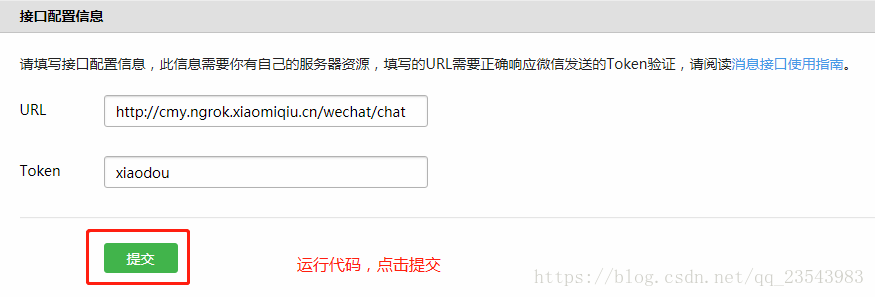
}运行代码,在测试号输入对应的URL和Token,点击提交。
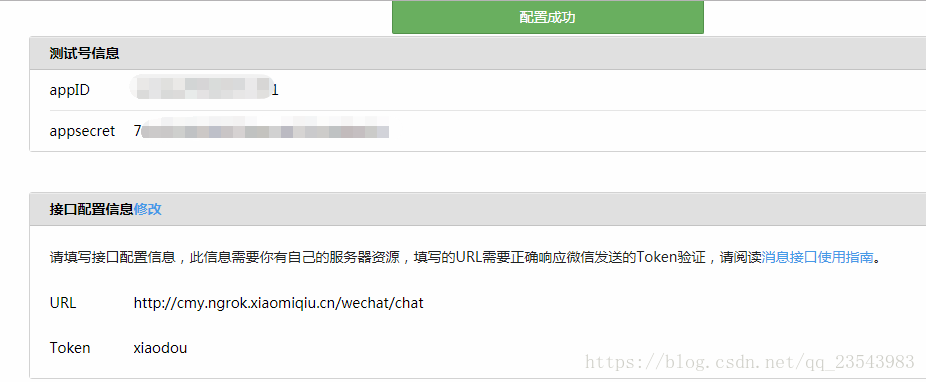
出现配置成功字样,则表明已进入开发者模式,可以开始开发了。


 79
79

 被折叠的 条评论
为什么被折叠?
被折叠的 条评论
为什么被折叠?
 到【灌水乐园】发言


