


 本文详细介绍了如何在Spring Boot 2.0.2项目中整合Redis 2.0.7,包括添加依赖、配置@EnableCaching、启动Redis服务、测试基本使用,以及解决乱码问题和缓存管理。通过自定义序列化、缓存管理器和缓存key策略,确保了数据的正确存储和读取。同时,文章讨论了@Cacheable、@CachePut和@CacheEvict注解的使用方法,并总结了整合过程中可能遇到的问题及其解决方案。
前言
之前做的项目的后端使用的Spring Boot + Mybatis + Shiro。后面根据需求需要添加Redis,以下内容是我在整合Redis时的重点的步骤以及遇到的坑。
1、POM文件添加依赖
<dependency>
    <groupId>org.springframework.boot</groupId>
    <artifactId>spring-boot-starter-data-redis</artifactId>
</dependency>
2、Spring配置文件
#Redis配置
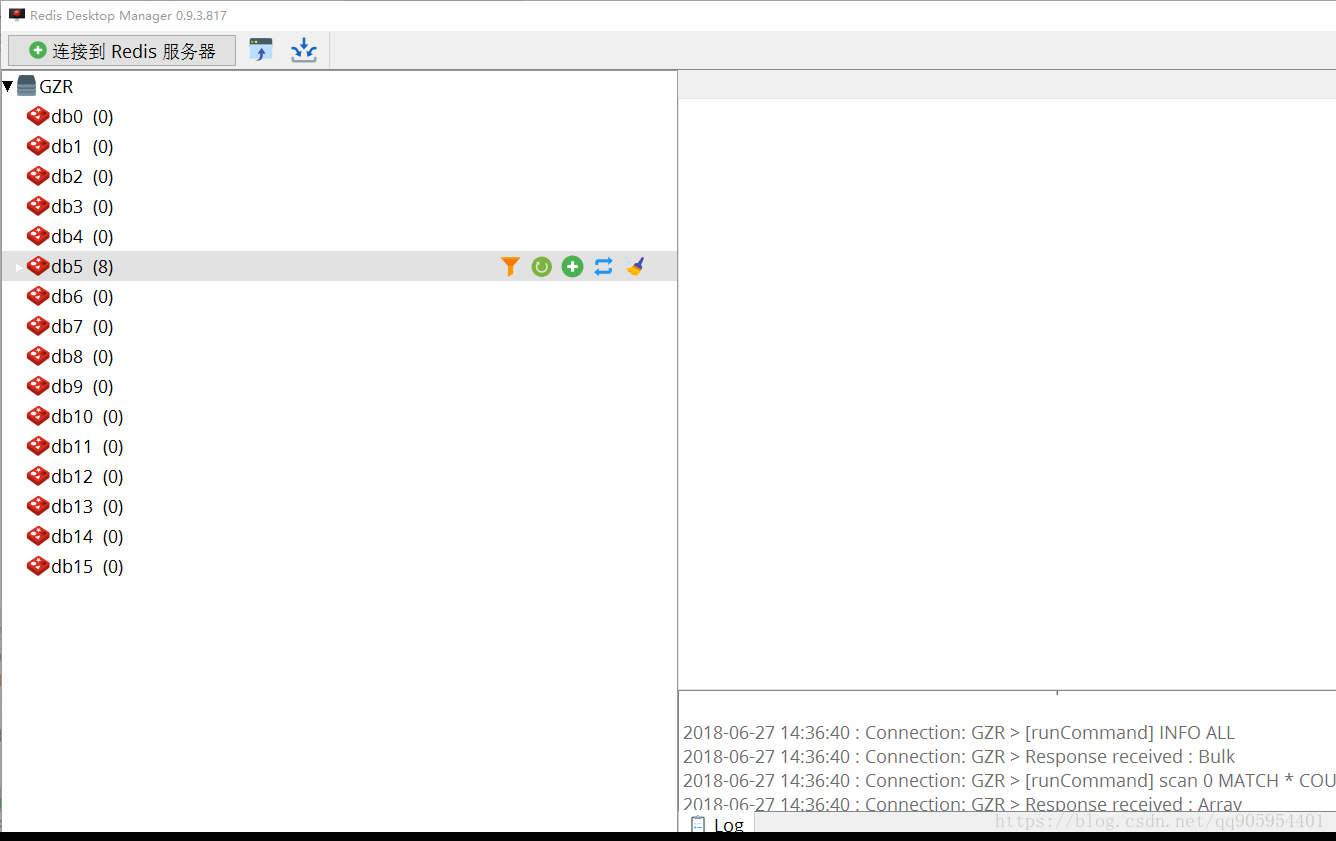
spring.redis.database=5
spring.redis.host=127.0.0.1
spring.redis.port=6379
# Redis服务器连接密码(默认为空)
spring.redis.password=
#lettuce专有配置
#连接池最大连接数,负数表示不限制
spring.redis.lettuce.pool.max-active=8
#连接池最大空闲连接数,负数表示不限制
spring.redis.lettuce.pool.max-idle=8
#等待可用连接的最大时间,负数不限制
spring.redis.lettuce.pool.max-wait=-1ms
#连接池最小空闲连接数
spring.redis.lettuce.pool.min-idle=0
#超时时间
spring.redis.lettuce.shutdown-timeout=100ms
#jedis专有配置
#spring.redis.jedis.pool.max-active=8
#spring.redis.jedis.pool.max-idle=8
#spring.redis.jedis.pool.max-wait=-1ms
#spring.redis.jedis.pool.min-idle=0
#spring.redis.jedis.shutdown-timeout=100ms添加@EnableCaching注解
@SpringBootApplication
@EnableCaching
public class GreenspaceApplication {
public static void main(String[] args) {
SpringApplication.run(GreenspaceApplication.class, args);
}
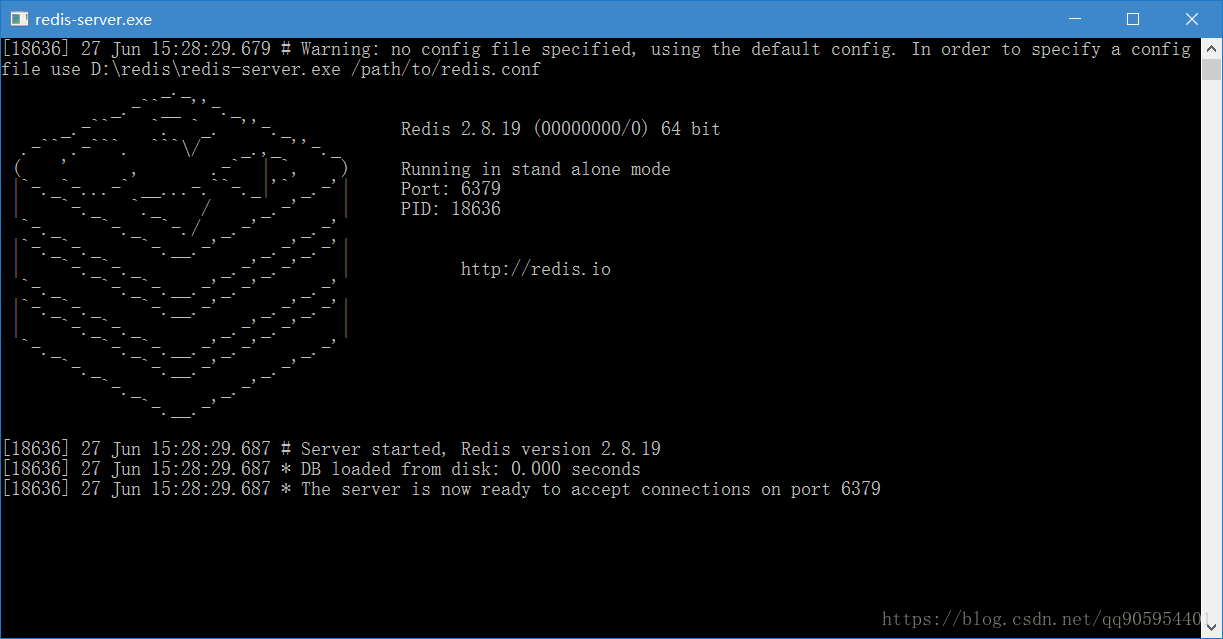
}3、启动redis-server.exe
这个从百度下载,建议配合可视化工具Redis Desktop Manager使用。
4、测试
这时就已经可以简单使用了。
使用之前需要AutoWired StringRedisTemplate和RedisTemplate,前者是存储<String, String>,后者可以存储<Object, Object>,下面是在单元测试中演示使用的具体方式。
package com.greenspace;

import org.junit.Test;
import org.junit.runner.RunWith;
import org.springframework.beans.factory.annotation.Auto
最低0.47元/天 解锁文章


 558
558

 被折叠的 条评论
为什么被折叠?
被折叠的 条评论
为什么被折叠?
 到【灌水乐园】发言


