


目录
一.config模块的使用
1.beego使用config解析
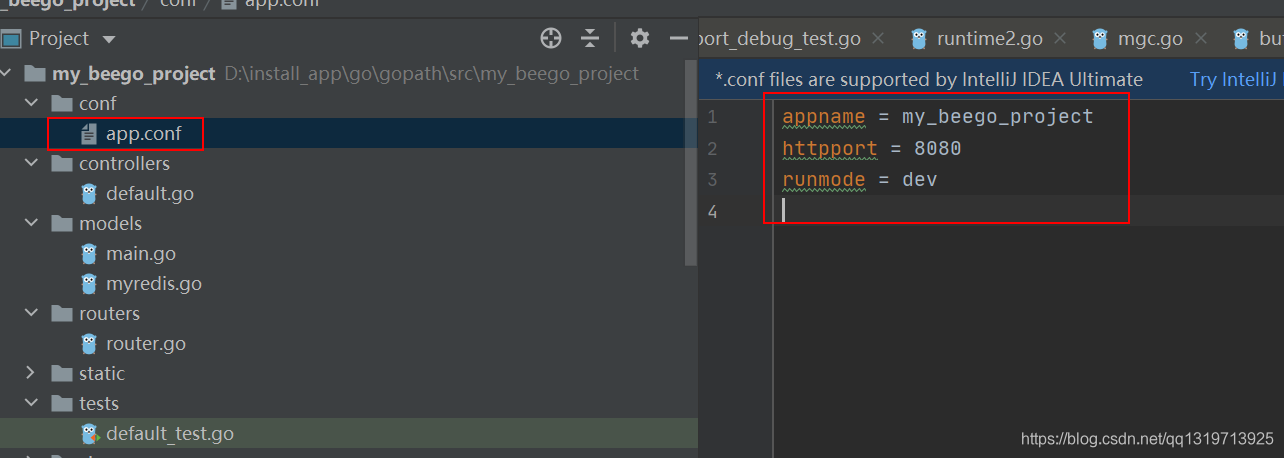
beego使用自身的config模块,一般就是再目录结构conf下,创建一个app.conf文件,如上图所示,然后配置各个选项即可。
那么我们代码中,如何获取配置文件中对应的值呢?
通过下面的方式即可获取:
func main() {
	appName :=beego.AppConfig.String("appname")
	beego.Debug("app name is:", appName)
	beego.Run()
}
2.自由使用beego的config模块
我们也可以自由定义其他配置文件,然后使用config模块
func main() {
	mycfg, err := config.NewConfig("json", "./config.json")
	if err != nil {
		beego.Error("new config err:", err)\
		return
	}
	mytestData := mycfg.String("mytest")
	beego.Debug("my test data is:", mytestData)
}
我们可以使用很多格式的配置文件:env,xml,yaml,ini,json等。
二:beego使用beego的config模块源码解析
我们在使用的时候一般都是在conf下搞一个app.conf的配置文件,对beego进行配置,beego就能加载这个配置文件,最后在使用时生效。
今天就来梳理这个beego配置到生效的过程。
看到beego/config.go有初始化的配置
func init() {
	BConfig = newBConfig()
	var err error
	if AppPath, err = filepath.Abs(filepath.Dir(os.Args[0])); err != nil {
		panic(err)
	}
	workPath, err := os.Getwd()
	if err != nil {
		panic(err)
	}
	var filename = "app.conf"
	if os.Getenv("BEEGO_RUNMODE") != "" {
		filename = os.Getenv("BEEGO_RUNMODE") + ".app.conf"
	}
	appConfigPath = filepath.Join(workPath, "conf", filename)
	if !utils.FileExists(appConfigPath) {
		appConfigPath = filepath.Join(AppPath, "conf", filename)
		if !utils.FileExists(appConfigPath) {
			AppConfig = &beegoAppConfig{innerConfig: config.NewFakeConfig()}
			return
		}
	}
	if err = parseConfig(appConfigPath); err != nil {
		panic(err)
	}
}
BConfig结构如下
type Config struct {
	AppName             string //Application name
	RunMode             string //Running Mode: dev | prod
	RouterCaseSensitive bool
	ServerName          string
	RecoverPanic        bool
	RecoverFunc         func(*context.Context)
	CopyRequestBody     bool
	EnableGzip          bool
	MaxMemory           int64
	EnableErrorsShow    bool
	EnableErrorsRender  bool
	Listen              Listen
	WebConfig           WebConfig
	Log                 LogConfig
}
type Listen struct {
	Graceful          bool // Graceful means use graceful module to start the server
	ServerTimeOut     int64
	ListenTCP4        bool
	EnableHTTP        bool
	HTTPAddr          string
	HTTPPort          int
	AutoTLS           bool
	Domains           []string
	TLSCacheDir       string
	EnableHTTPS       bool
	EnableMutualHTTPS bool
	HTTPSAddr         string
	HTTPSPort         int
	HTTPSCertFile     string
	HTTPSKeyFile      string
	TrustCaFile       string
	EnableAdmin       bool
	AdminAddr         string
	AdminPort         int
	EnableFcgi        bool
	EnableStdIo       bool // EnableStdIo works with EnableFcgi Use FCGI via standard I/O
}

// WebConfig holds web related config
type WebConfig struct {
	AutoRender             bool
	EnableDocs             bool
	FlashName              string
	FlashSeparator         string
	DirectoryIndex         bool
	StaticDir              map[string]string
	StaticExtensionsToGzip []string
	TemplateLeft           string
	TemplateRight          string
	ViewsPath              string
	EnableXSRF             bool
	XSRFKey                string
	XSRFExpire             int
	Session                SessionConfig
}

// SessionConfig holds session related config
type SessionConfig struct {
	SessionOn                    bool
	SessionProvider              string
	SessionName                  string
	SessionGCMaxLifetime         int64
	SessionProviderConfig        string
	SessionCookieLifeTime        int
	SessionAutoSetCookie         bool
	SessionDomain                string
	SessionDisableHTTPOnly       bool // used to allow for cross domain cookies/javascript cookies.
	SessionEnableSidInHTTPHeader bool // enable store/get the sessionId into/from http headers
	SessionNameInHTTPHeader      string
	SessionEnableSidInURLQuery   bool // enable get the sessionId from Url Query params
}

// LogConfig holds Log related config
type LogConfig struct {
	AccessLogs       bool
	EnableStaticLogs bool   //log static files requests default: false
	AccessLogsFormat string //access log format: JSON_FORMAT, APACHE_FORMAT or empty string
	FileLineNum      bool
	Outputs          map[string]string // Store Adaptor : config
}
BConfig结构全是运行时有关的配置项。也即所有支持的配置项全在这个结构中了,后面我们在文件中配合的,都需要设置到这个配置对象中才行。首先初始化的时候都会会给一个默认的值。
那么我们配置文件在哪里加载?看代码
func init() {
	BConfig = newBConfig()
	var err error
	if AppPath, err = filepath.Abs(filepath.Dir(os.Args[0])); err != nil {
		panic(err)
	}
	workPath, err := os.Getwd()
	if err != nil {
		panic(err)
	}
	var filename = "app.conf"
	if os.Getenv("BEEGO_RUNMODE") != "" {
		filename = os.Getenv("BEEGO_RUNMODE") + ".app.conf"
	}
	appConfigPath = filepath.Join(workPath, "conf", filename)
	if !utils.FileExists(appConfigPath) {
		appConfigPath = filepath.Join(AppPath, "conf", filename)
		if !utils.FileExists(appConfigPath) {
			AppConfig = &beegoAppConfig{innerConfig: config.NewFakeConfig()}
			return
		}
	}
	if err = parseConfig(appConfigPath); err != nil {
		panic(err)
	}
}
在上面的代码中可以看到
先找运行时的路径下的conf/app.conf,如果找不到再找程序所在目录下的conf/app.conf,如果还找不到,那么就给一个空的对象。
如果上面两个路径找到文件了,继续解析。。。咱们继续看代码。
func parseConfig(appConfigPath string) (err error) {
	AppConfig, err = newAppConfig(appConfigProvider, appConfigPath)
	if err != nil {
		return err
	}
	return assignConfig(AppConfig)
}
继续。。。。
func assignConfig(ac config.Configer) error {
	for _, i := range []interface{}{BConfig, &BConfig.Listen, &BConfig.WebConfig, &BConfig.Log, &BConfig.WebConfig.Session} {
		assignSingleConfig(i, ac)
	}


    ....
	// set the run mode first
	if envRunMode := os.Getenv("BEEGO_RUNMODE"); envRunMode != "" {
		BConfig.RunMode = envRunMode
	} else if runMode := ac.String("RunMode"); runMode != "" {
		BConfig.RunMode = runMode
	}
    ...
}
注意了,重点到了:这里函数前3行,将配置的结构体,都转为interface{}切片,然后遍历调用了assignSingleConfig,很明显,这个函数,就是要将配置文件中的内容ac,替换到全局配置对象BConfig中,这个函数是替换单个结构体中的各个字段,不能递归替换字段中的字段,所以将BConfig中的所有结构体都单独拿出来。
而这三行后面的其他代码是做啥?阅读代码可看到,函数中后我...省略的代码,也是解析BConfig中的配置项,那么为什么不在assignSingleConfig中一起解析?因为这些单独解析的配置项有自己的优先级,如上面单独拿出来的RunMode,首先从环境变量中获取该配置,如果没有菜从配置文件中获取。
那么,现在我们继续探索assignSingleConfig函数
func assignSingleConfig(p interface{}, ac config.Configer) {
    // 获取type
	pt := reflect.TypeOf(p)
	if pt.Kind() != reflect.Ptr {
		return
	}
    // 因为是指针,所以需要获取结构体
	pt = pt.Elem()
	if pt.Kind() != reflect.Struct {
		return
	}

    // 获取value
	pv := reflect.ValueOf(p).Elem()

    // 获取字段
	for i := 0; i < pt.NumField(); i++ {
		pf := pv.Field(i)
		if !pf.CanSet() {
			continue
		}
		name := pt.Field(i).Name

        // 根据字段类型获取配置文件中的对应的配置项
		switch pf.Kind() {
		case reflect.String:
			pf.SetString(ac.DefaultString(name, pf.String()))
		case reflect.Int, reflect.Int64:
			pf.SetInt(ac.DefaultInt64(name, pf.Int()))
		case reflect.Bool:
			pf.SetBool(ac.DefaultBool(name, pf.Bool()))
		case reflect.Struct:
		default:
			//do nothing here
		}
	}

}
这下可就明白了!
三:config模块源码解析
config采用工厂模式来实现的,
config.go文件中定义了一个接口,然后其他文件中来实现这个接口。并通过函数
func Register(name string, adapter Config) 注册到其中。最后我们可直接通过
func NewConfig(adapterName, filename string) (Configer, error)函数来直接实例化一个对象。
然后直接使用这定义的接口中的方法。
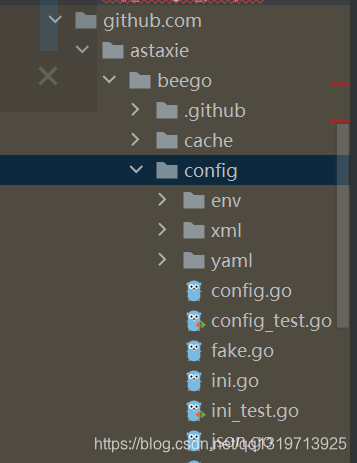
首先看文件
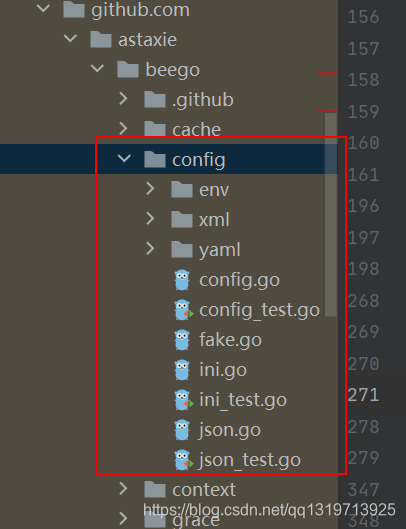
选择同名文件config.go进入,可看到定义了一个接口
type Configer interface {
	Set(key, val string) error   //support section::key type in given key when using ini type.
	String(key string) string    //support section::key type in key string when using ini and json type; Int,Int64,Bool,Float,DIY are same.
	Strings(key string) []string //get string slice
	Int(key string) (int, error)
	Int64(key string) (int64, error)
	Bool(key string) (bool, error)
	Float(key string) (float64, error)
	DefaultString(key string, defaultVal string) string      // support section::key type in key string when using ini and json type; Int,Int64,Bool,Float,DIY are same.
	DefaultStrings(key string, defaultVal []string) []string //get string slice
	DefaultInt(key string, defaultVal int) int
	DefaultInt64(key string, defaultVal int64) int64
	DefaultBool(key string, defaultVal bool) bool
	DefaultFloat(key string, defaultVal float64) float64
	DIY(key string) (interface{}, error)
	GetSection(section string) (map[string]string, error)
	SaveConfigFile(filename string) error
}
注册到其中的方法:其实就是维护一个map而已
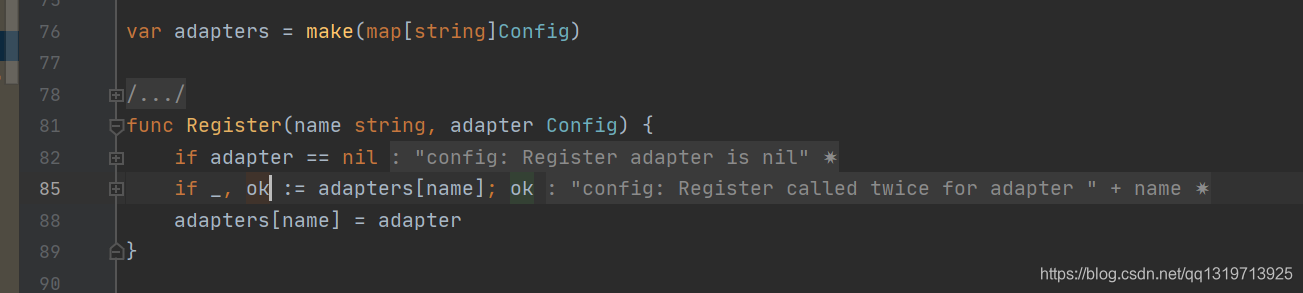
看其他实现的结构,使用该函数注册到其中
ini的

json的
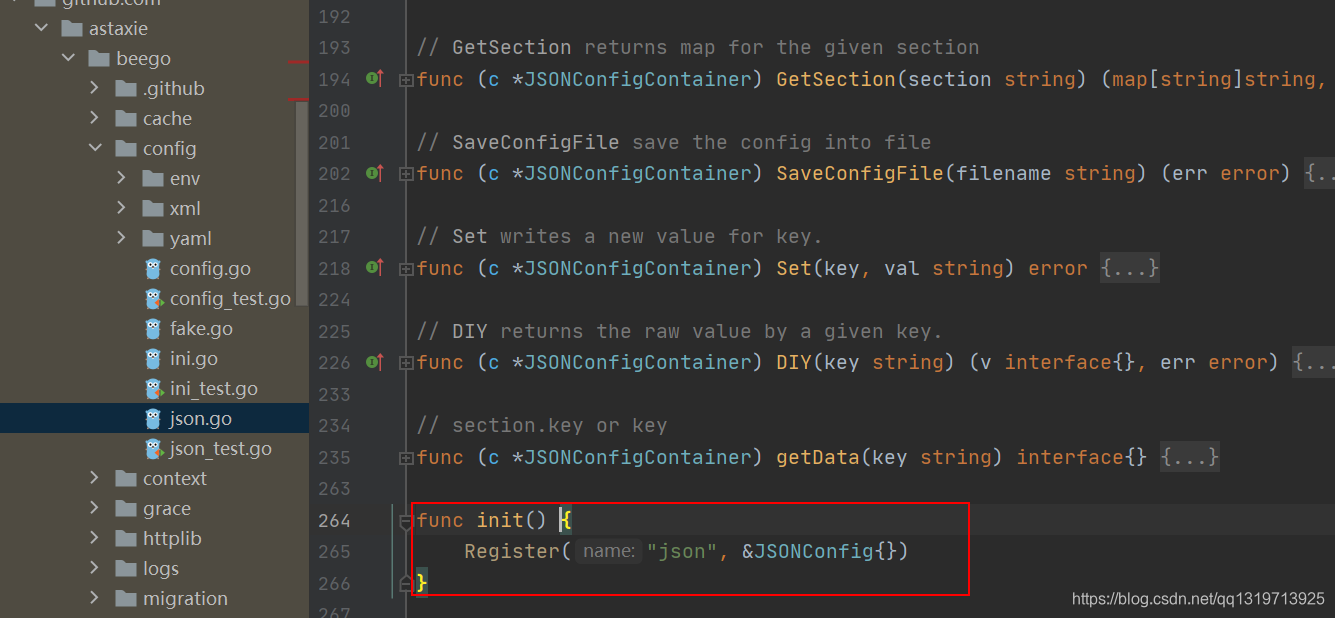
其他的也都不用看了,非常简单


 972
972

 被折叠的 条评论
为什么被折叠?
被折叠的 条评论
为什么被折叠?
 到【灌水乐园】发言


