


-------------------------------------资源来源于网络,仅供自学使用,如有侵权,联系我必删.
第一:
有名管道 fifo
• 无名管道只能用于有亲缘关于的进程通信,有名管道可以实现无亲缘关系的通信
• 有名管道fifo 给文件系统提供一个路径,这个路径和管道关联,只要知道这个管道路径,就可以进行文件访问,fifo 是指先进先出,也就是先写入的数据,先读出来
• 有名管道的读写速度非常快
使用 man 学习 mkfifo 函数
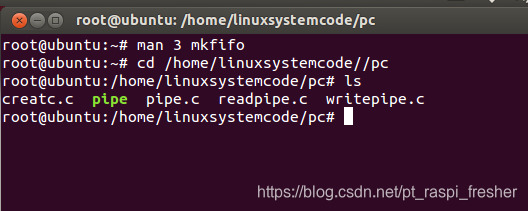
1)如下图所示,使用命令“man 3 mkfifo”

2)如下图所示,mkfifo 函数

3)接着注意一下相关的函数,如下图所示,可以发现下面的相关函数大多数都已经学习过了

4)接着介绍一下 mkfifo 的用法
int mkfifo(const char *pathname, mode_t mode)
– 参数*pathname:路径名,管道名称
– 参数mode:管道的权限
– 返回值:成功返回0,错误返回-1
第二:
mkfifo 函数例程
1)编写简单的 creatc.c 文件测试 mkfifo 函数。
#include <stdio.h>
#include <unistd.h>
#include <string.h>
#include <sys/types.h>
#include <sys/stat.h>
#include <fcntl.h>

void filecopy(FILE *,char *);

int main(void)
{
	FILE *fp1;
	long int i = 100000;
	char buf[] = "I want to study Linux!\n";
	char *file1 = "data.txt";

	printf("begin!\n");

	if((fp1 = fopen(file1,"a+")) == NULL ){
			printf("can't open %s\n",file1);
	}
	while(i--)
	filecopy(fp1,buf);

	fclose(fp1);

	printf("over!\n");

	return 0;
}

void filecopy(FILE *ifp,char *buf)
{
	char c;
	int i,j;
	j = 0;
	i = strlen(buf)-1;
	while(i--){
		putc(buf[j],ifp);
		j++;
	}
	putc('\n',ifp);
}
2)编写简单的 readpipe.c 文件测试对有名管道的读
#include <unistd.h>
#include <stdlib.h>
#include <stdio.h>
#include <fcntl.h>
#include <sys/types.h>
#include <sys/stat.h>
#include <limits.h>
#include <string.h>

int main()
{
    const char *fifo_name = "my_fifo";
    int pipe_fd = -1;
    int data_fd = -1;
    int res = 0;
    int open_mode = O_RDONLY;
    char buffer[PIPE_BUF + 1];
    int bytes_read = 0;
    int bytes_write = 0;
    //清空缓冲数组
    memset(buffer, '\0', sizeof(buffer));

    printf("Process %d opening FIFO O_RDONLY\n", getpid());
    //以只读阻塞方式打开管道文件,注意与fifowrite.c文件中的FIFO同名
    pipe_fd = open(fifo_name, open_mode);
    //以只写方式创建保存数据的文件
    data_fd = open("DataFormFIFO.txt", O_WRONLY|O_CREAT, 0644);
    printf("Process %d result %d\n",getpid(), pipe_fd);

    if(pipe_fd != -1)
    {
        do
        {
            //读取FIFO中的数据,并把它保存在文件DataFormFIFO.txt文件中
            res = read(pipe_fd, buffer, PIPE_BUF);
            bytes_write = write(data_fd, buffer, res);
            bytes_read += res;
        }while(res > 0);
        close(pipe_fd);
        close(data_fd);
    }
    else
        exit(EXIT_FAILURE);

    printf("Process %d finished, %d bytes read\n", getpid(), bytes_read);
    exit(EXIT_SUCCESS);
}
3)编写简单的 writepipe.c 文件测试对有名管道的写
#include <unistd.h>
#include <stdlib.h>
#include <fcntl.h>
#include <limits.h>
#include <sys/types.h>
#include <sys/stat.h>
#include <stdio.h>
#include <string.h>

int main()
{
    const char *fifo_name = "my_fifo";
	char *file1 = "data.txt";
    int pipe_fd = -1;
    int data_fd = -1;
    int res = 0;
    const int open_mode = O_WRONLY;
    int bytes_sent = 0;
    char buffer[PIPE_BUF + 1];

    if(access(fifo_name, F_OK) == -1)
    {
        //管道文件不存在
        //创建命名管道
        res = mkfifo(fifo_name, 0777);
        if(res != 0)
        {
            fprintf(stderr, "Could not create fifo %s\n", fifo_name);
            exit(EXIT_FAILURE);
        }
    }

    printf("Process %d opening FIFO O_WRONLY\n", getpid());
    //以只写阻塞方式打开FIFO文件,以只读方式打开数据文件
    pipe_fd = open(fifo_name, open_mode);
    data_fd = open(file1, O_RDONLY);
    printf("Process %d result %d\n", getpid(), pipe_fd);

    if(pipe_fd != -1)
    {
        int bytes_read = 0;
        //向数据文件读取数据
        bytes_read = read(data_fd, buffer, PIPE_BUF);
        buffer[bytes_read] = '\0';
        while(bytes_read > 0)
        {
            //向FIFO文件写数据
            res = write(pipe_fd, buffer, bytes_read);
            if(res == -1)
            {
                fprintf(stderr, "Write error on pipe\n");
                exit(EXIT_FAILURE);
            }
            //累加写的字节数,并继续读取数据
            bytes_sent += res;
            bytes_read = read(data_fd, buffer, PIPE_BUF);
            buffer[bytes_read] = '\0';
        }
        close(pipe_fd);
        close(data_fd);
    }
    else
        exit(EXIT_FAILURE);

    printf("Process %d finished\n", getpid());
    exit(EXIT_SUCCESS);
}
第三:
编译运行测试
1)在 Ubuntu 系统下,如下图所示,进入前面实验创建的目录
“/home/linuxsystemcode/pc”,将源码 creatc.c,readpipe.c,writepipe.c 拷贝进去,如下图所示。
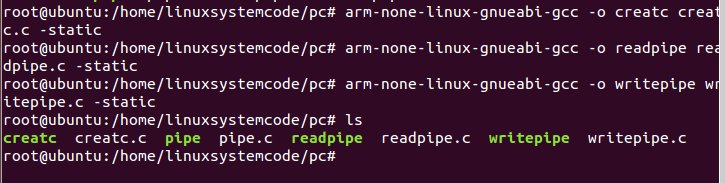
2)使用命令
“arm-none-linux-gnueabi-gcc -o creatc creatc.c -static”编译 creatc 文件,
“arm-none-linux-gnueabi-gcc -o readpipe readpipe.c -static”编译 readpipe 文件,
“arm-none-linux-gnueabi-gcc -o writepipe writepipe.c -static”编译 writepipe 文件,
如下图所示,使用命令“ls”可以看到生成了 creatc,readpipe,writepipe 可执行文件。
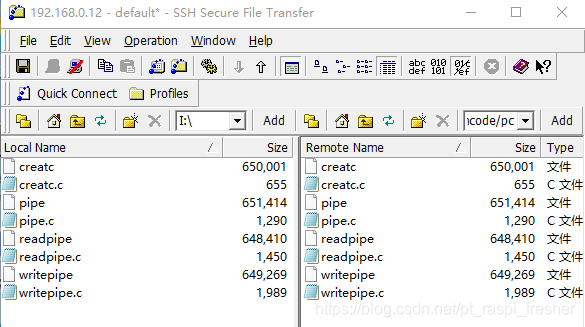
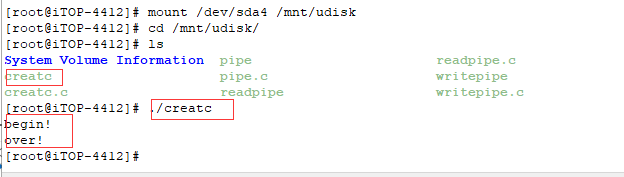
3)将编译成的可执行文件 creatc,readpipe,writepipe,拷贝到 U 盘,启动开发板,插入
U 盘,加载 U 盘,运行程序如下。先使用“./mnt/udisk/creatc ”命令,创建文本文件
4)如下图所示,多了 data.txt 文本

5)接着看一下新建的 data.txt 文件,其实是重复的“I want to study Linux!”
![]()
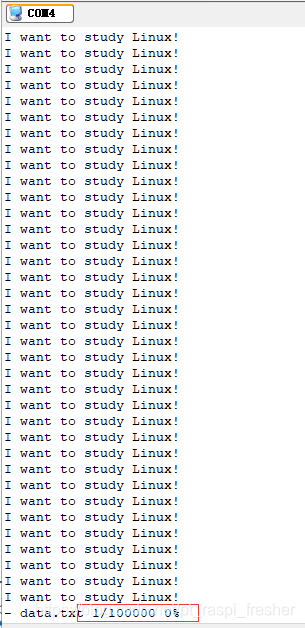
如上图所示,其中有 100000 行,管道一次传输不了这么多数据。
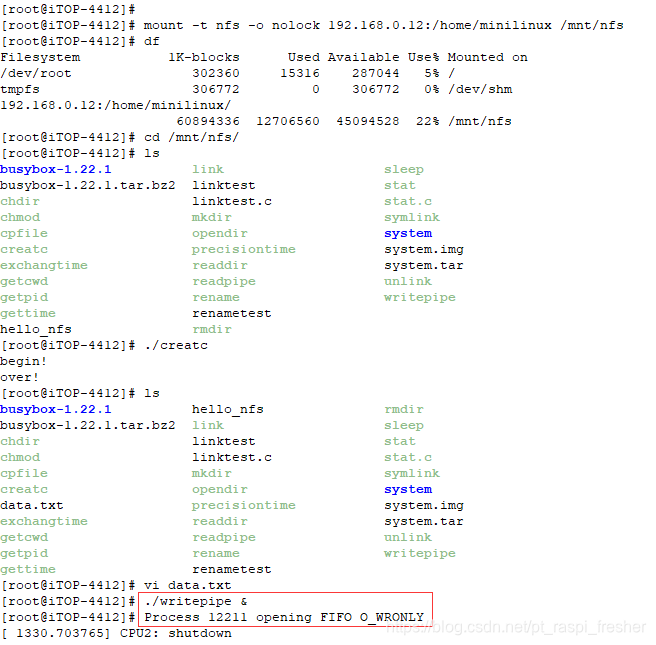
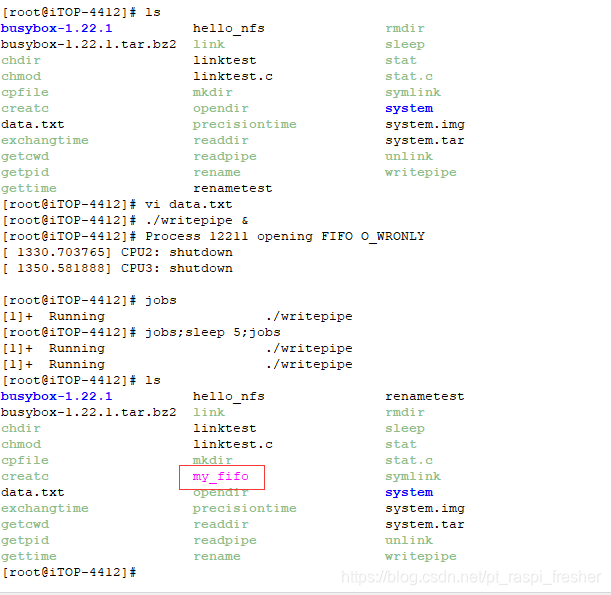
6)退出如上图所示的 vi 文本编辑器,使用命令“./mnt/udisk/writepipe &”后台运行管道写的程序 writepipe。


很明显用U盘玩,失败了!莫慌,我换NFS挂载试试,发现成功了!
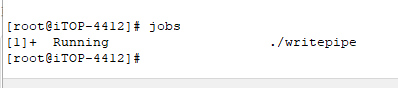
7)接着如下图所示,使用 linux 命令“jobs”查看程序是否在运行。
8)接着 5 秒延时看看这个 writepipe 是不是执行完了,使用 linux 命令“jobs;sleep 5;jobs”。
运行中需要等待 5 秒,如下图所示。
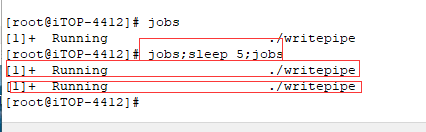
9)如上图所示,5 秒之后这个程序仍然在执行,说明是阻塞在管道写哪里,没有读就处于阻
塞状态。如下图所示,可以看到 my_fifo 管道被创立了
10)接着使用命令“time ./mnt/udisk/readpipe”运行并计时从管道读数据需要多长时间。
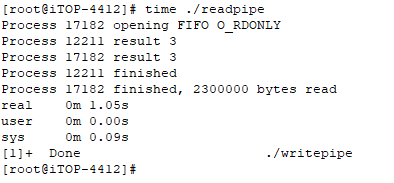
如上图所示,可以看到一共花费时间1.14 秒。
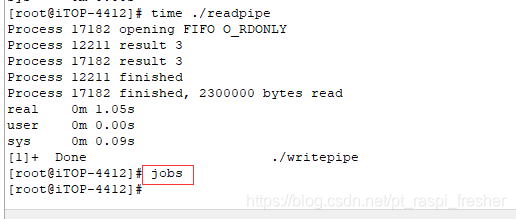
11)接着使用命令“jobs”,写程序已经结束。
12)接着使用命令“ls -la”,如下图所示,可以看到通过 FIFO 管道的数据大小为 2.3M。
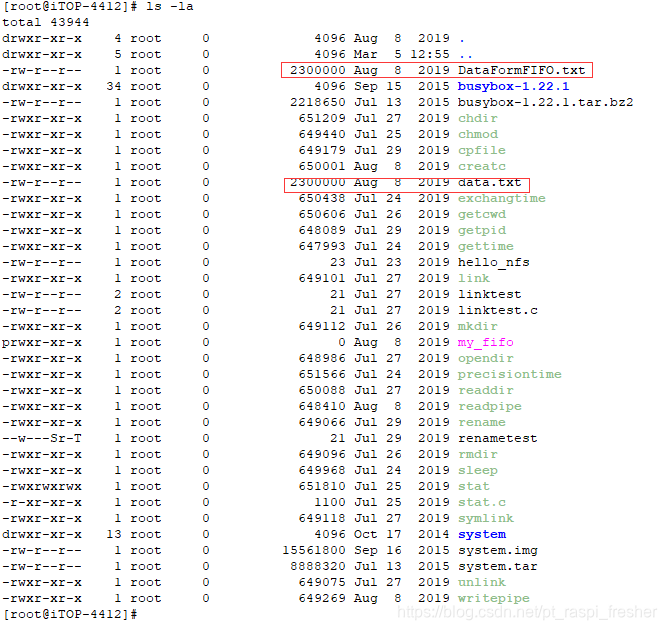
例如,2.3M 除于 0.26S,接近 10M/s。可见通过有名管道实现进程的通信速度非常快。


 被折叠的 条评论
为什么被折叠?
被折叠的 条评论
为什么被折叠?
 到【灌水乐园】发言


