


 本文档详细介绍了如何在Linux系统上进行服务器配置,包括关闭防火墙和selinux,安装Apache、MySQL以及PHP,实现网页服务。接着,安装了FTP服务vsftpd并进行了相关设置。最后,升级了PHP版本从5.4到5.6,并成功搭建了一个WordPress博客,通过winscp连接虚拟机上传文件,完成了博客的初步建设。
****1、先将防火墙、selinux关闭
syetemctl stop firewalld ----关闭防火墙
systemctl status firewall -------查看防火墙的状态(此时应该是关闭状态)
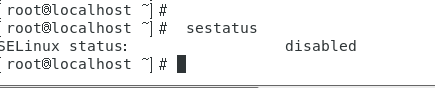
sestatus-----查看selinux的状态
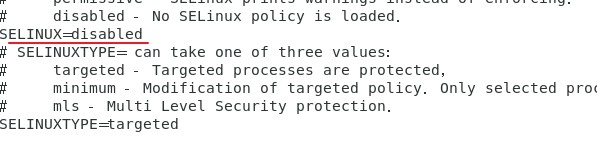
vi /etc/sysconfig/selinux -----对selinux文本进行编辑
sestatus
systemctl disable firewall -----将防火墙退出启动项,防止开机自启
reboot ----重启系统
此时可以在本地浏览器中访问虚拟机的IP进行访问
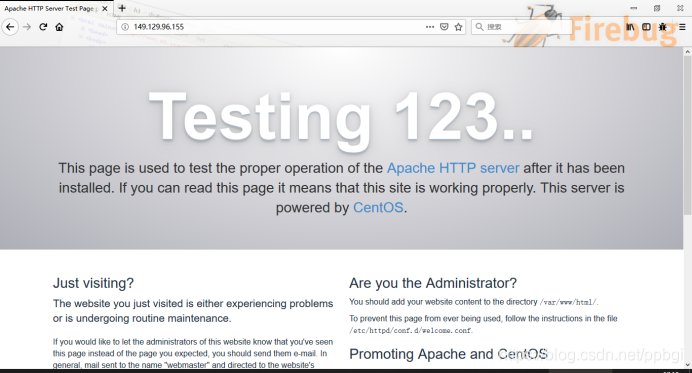
****2、进行apache 的安装
yum install httpd httpd-devel —进行安装
systemctl start httpd ---------------启动http服务
systemctl enable httpd -----------加入启动项
systemctl status httpd -----------查看http的状态
****3、进行Mysql的安装
yum install mariadb mariadb-server mariadb-libs mariadb-devel ----进行安装
systemctl start mariadb----启动服务
systemctl status mariadb----查看状态
systemctl enable mariadb—加入启动项
mysql_secure_installation-----数据库的安全性设置
(除了下图选择n,其余的是y)

****4、安装php
yum -y install php ----进行安装
yum install php-mysql—将php与mysql进行关联
yum install -y php-gd php-ldap php-odbc php-pear php-xmlrpc php-mbstring php-snmp curl curl-devel php-bcmath----安装php的常用的模块

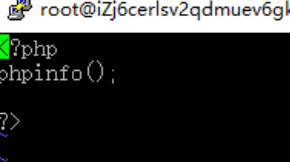
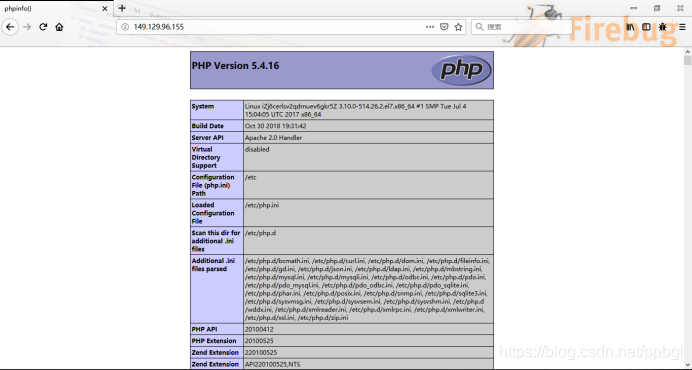
进行php解析测试
systemctl restart httpd----重启服务
在本地IP进行查看
****5、进行ftp服务的安装
yum install -y vsftpd —进行安装
systemctl start vsftpd.service —开启服务
systemctl enable vsftpd.service —加入启动项
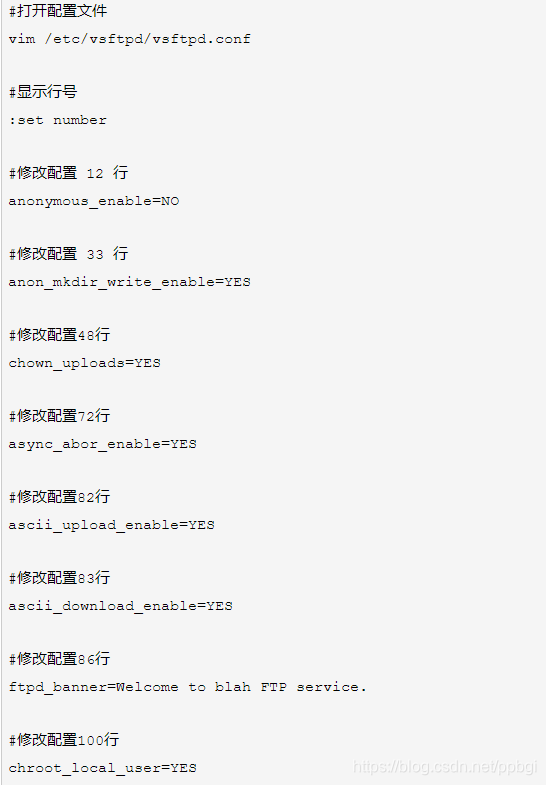
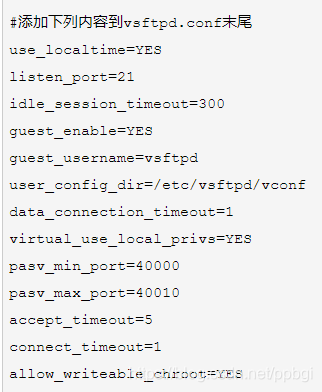
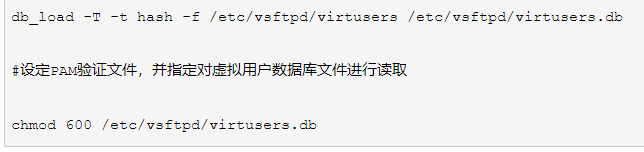
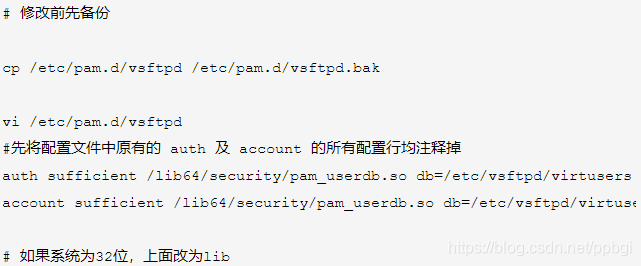
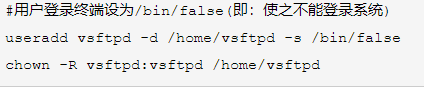
然后进行
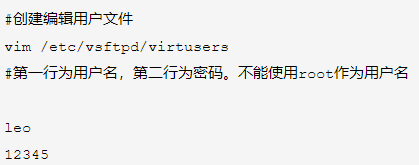
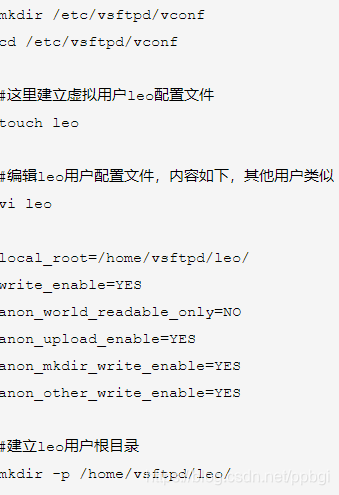
完成上述操作后,进行
systemctl restart vsftpd.service -----重启服务
6、进行php版本的升级(升级php5.4 到php5.6)
yum provides php ----查看现有版本
rpm -Uvh https://mirror.webtatic.com/yum/el7/epel-release.rpm
rpm -Uvh https://mirror.webtatic.com/yum/el7/webtatic-release.rpm -----进行源文件的安装
yum remove php-common -y ----删除旧的php
yum install -y php56w php56w-opcache php56w-xml php56w-mcrypt php56w-gd php56w-devel php56w-mysql php56w-intl php56w-mbstring----安装依赖包
php -v -----版本变为5.6
7、进行winscp433 的安装
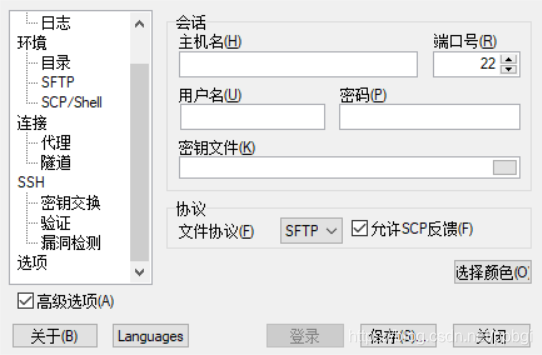
进行连接虚拟机
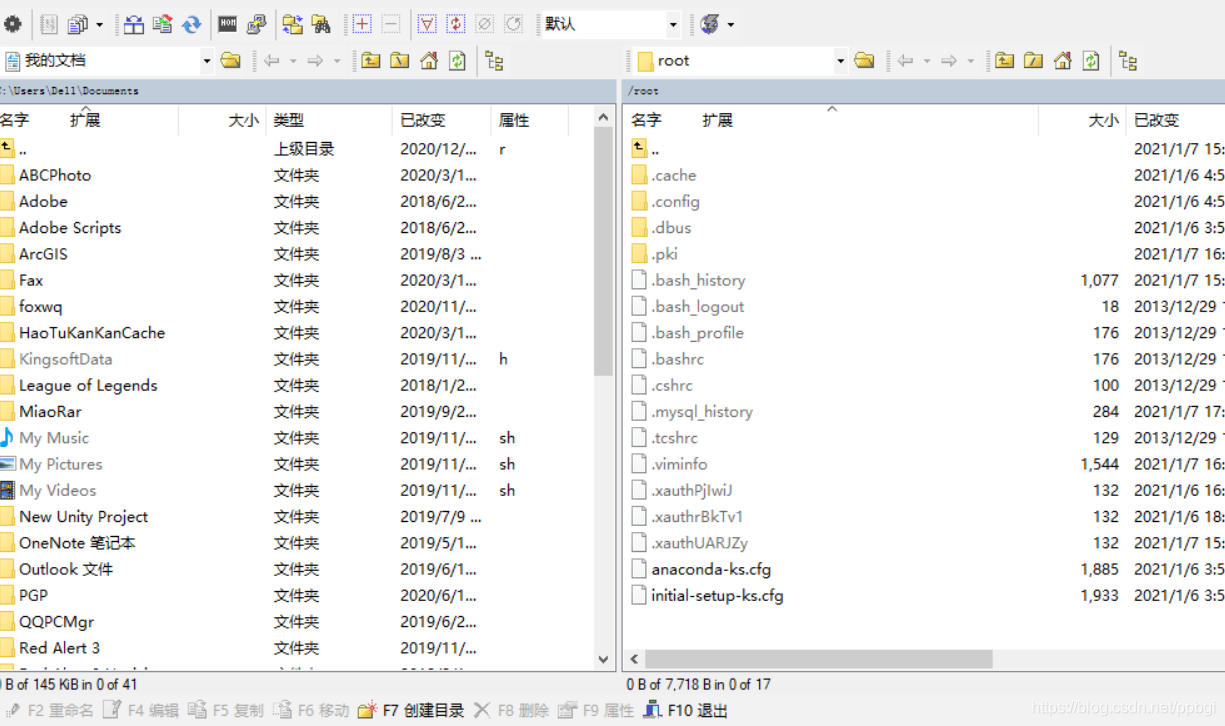
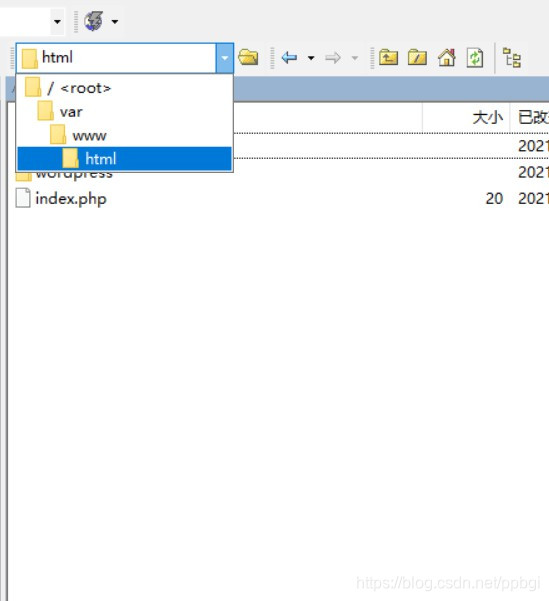
将wordpress放入html目录下
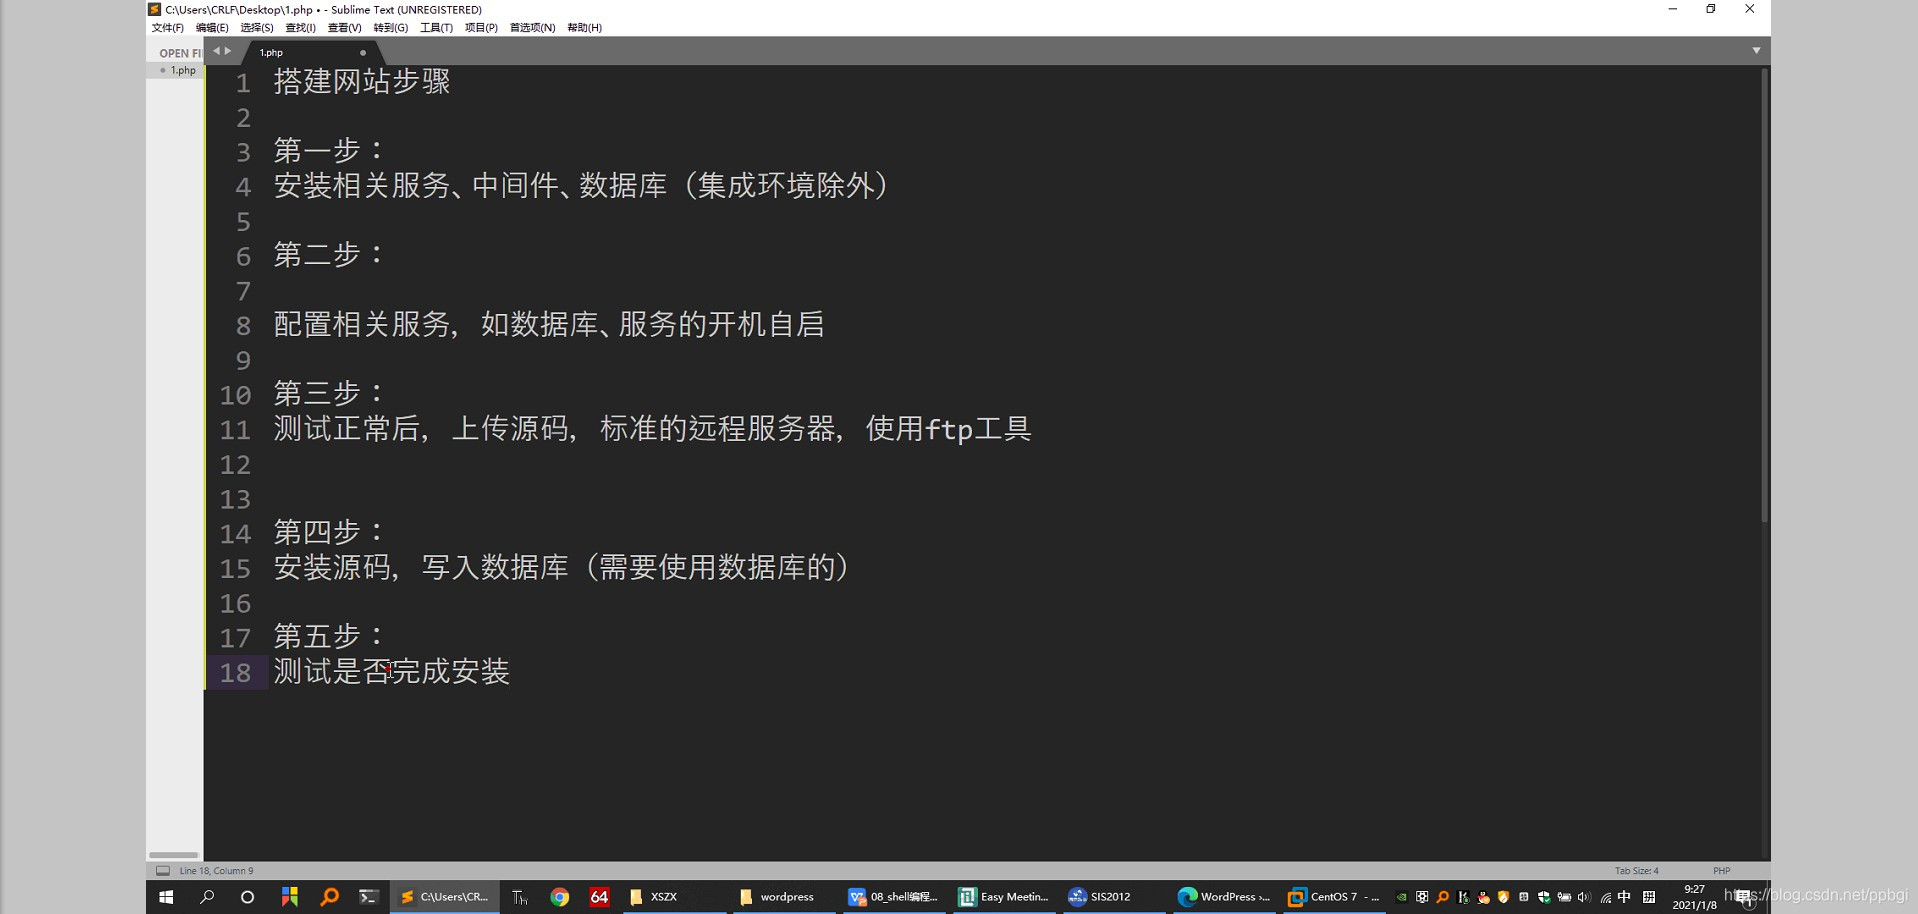
8、进行博客的搭建
先进性数据库的撞创建
mysql -uroot -p -----进入数据库
create database + 数据库名;----创建数据库
show databases ; -----查看数据库
exit ------退出
然后在本地进行访问 : IP/wordpress
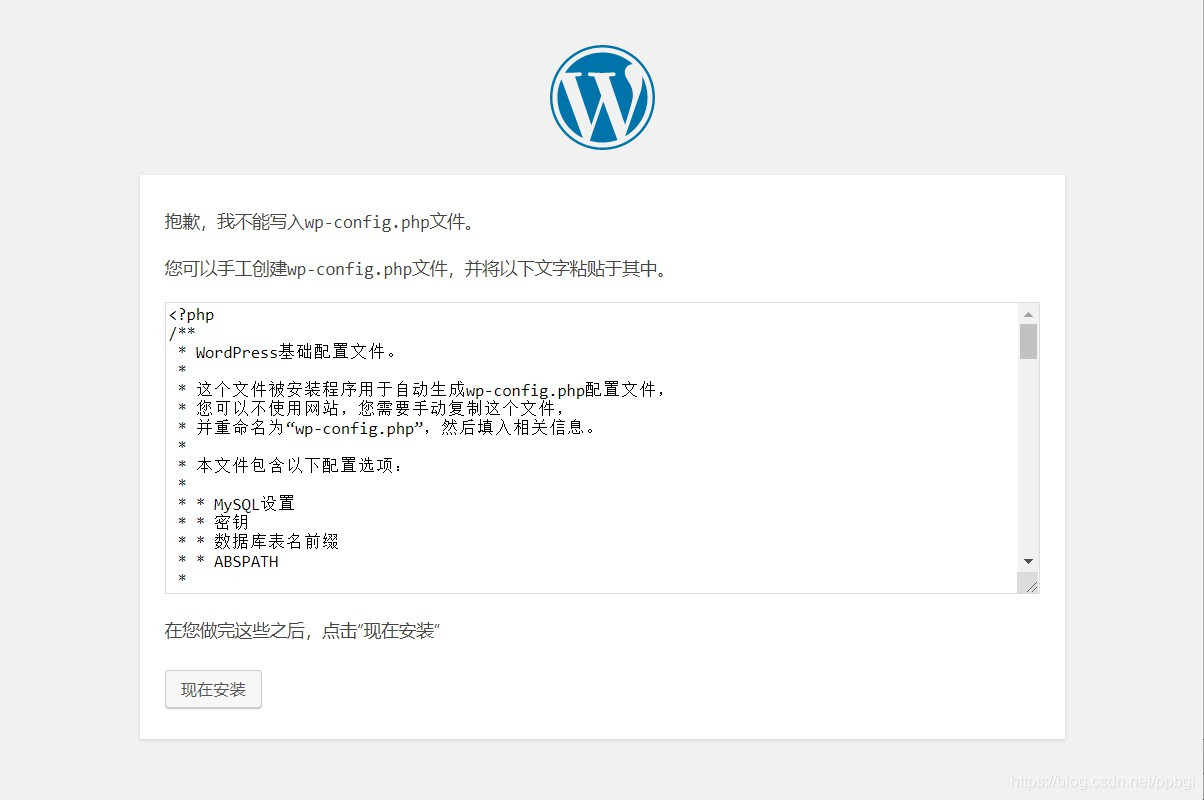
进行wp-config.php的创建
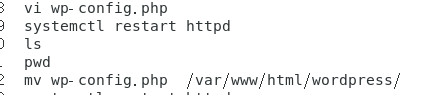
wp-config.php是属于wordpress下的目录,放在wordpress的根目录下*
再在本地进行访问,此时会进入博客的界面!


 190
190

 被折叠的 条评论
为什么被折叠?
被折叠的 条评论
为什么被折叠?
 到【灌水乐园】发言


