


源码获取:俺的博客首页 "资源" 里下载!
环境需要
1.运行环境:最好是java jdk 1.8,我们在这个平台上运行的。其他版本理论上也可以。
2.IDE环境:IDEA,Eclipse,Myeclipse都可以。推荐IDEA;
3.硬件环境:windows 7/8/10 1G内存以上;或者 Mac OS;
4.数据库:MySql 5.7/8.0版本均可;
5.是否Maven项目:是;
技术栈
后端:SpringBoot+Mybaits
前端:Vue + elementui
使用说明
项目运行:
1. 使用Navicat或者其它工具,在mysql中创建对应sql文件名称的数据库,并导入项目的sql文件;
2. 使用IDEA/Eclipse/MyEclipse导入项目,导入成功后请执行maven clean;maven install命令;
3. 将项目中application.yml配置文件中的数据库配置改为自己的配置;
4. 运行项目,在浏览器中输入地址:
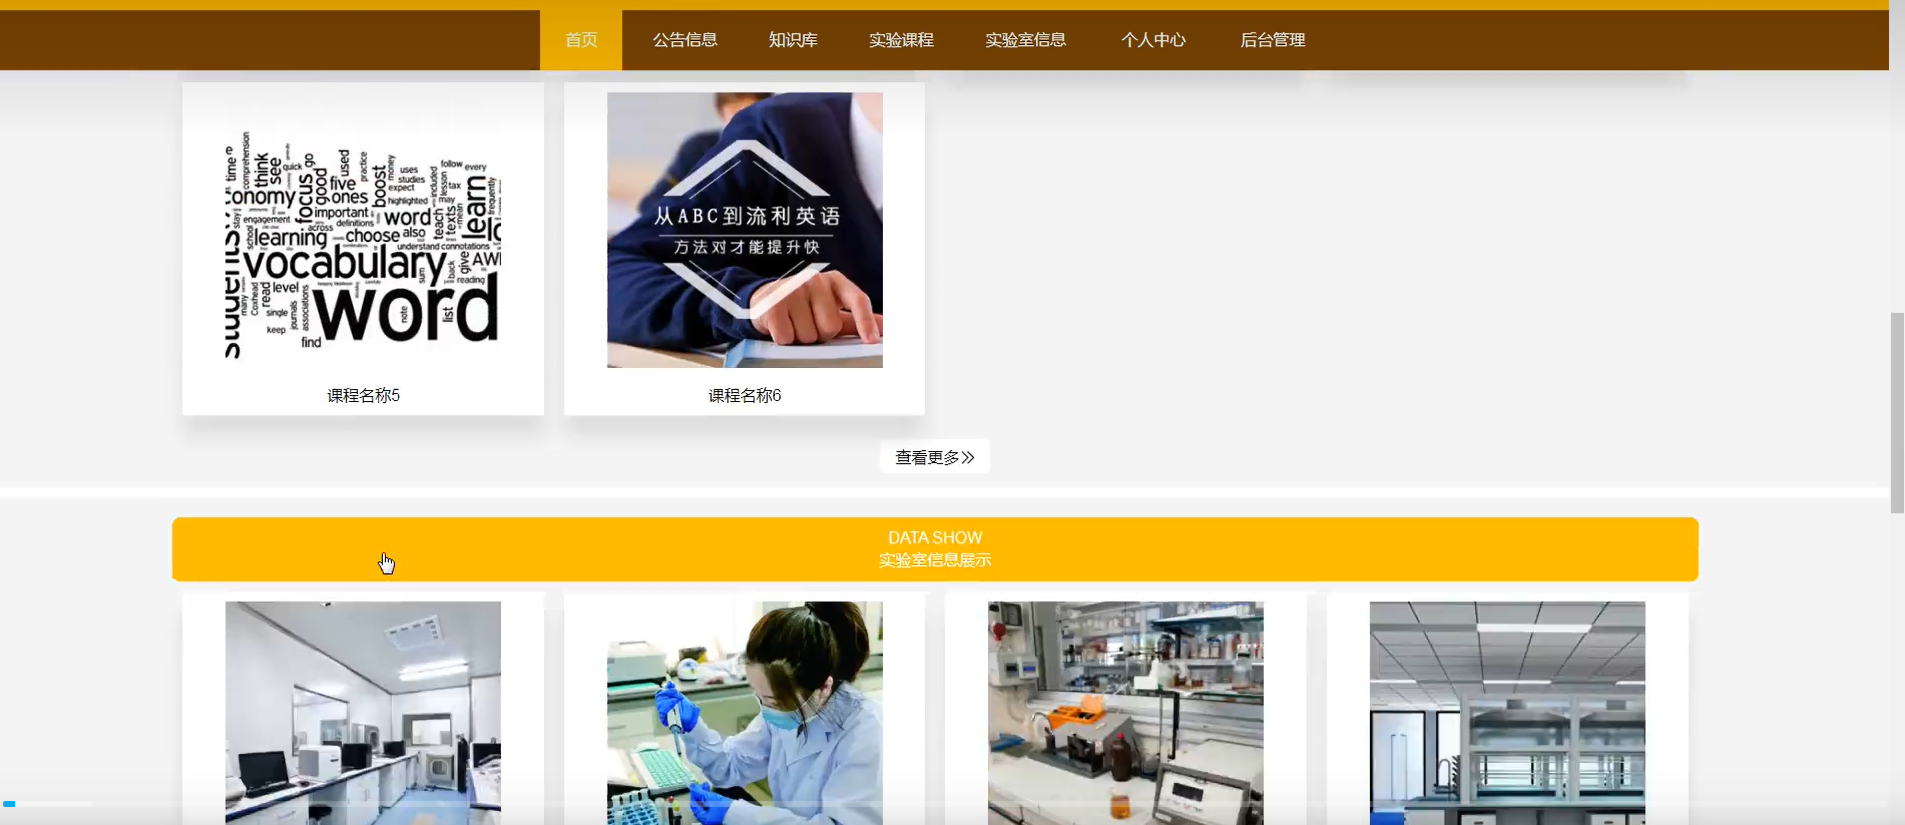
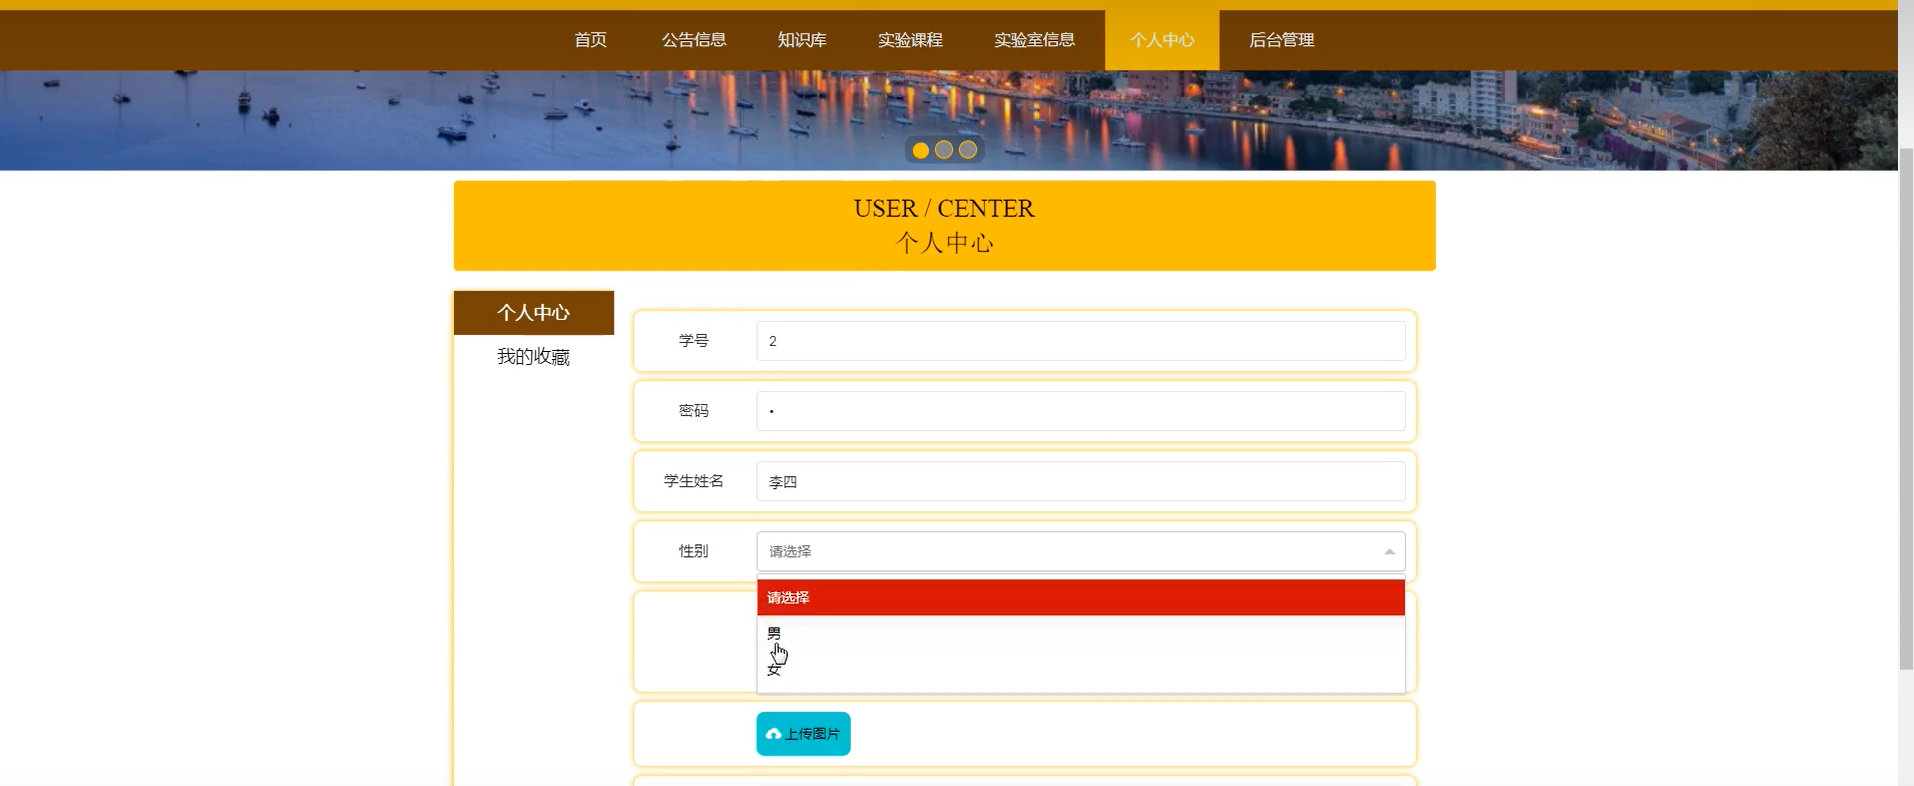
前台地址:http://localhost:8080/springbootrpj39/front/index.html
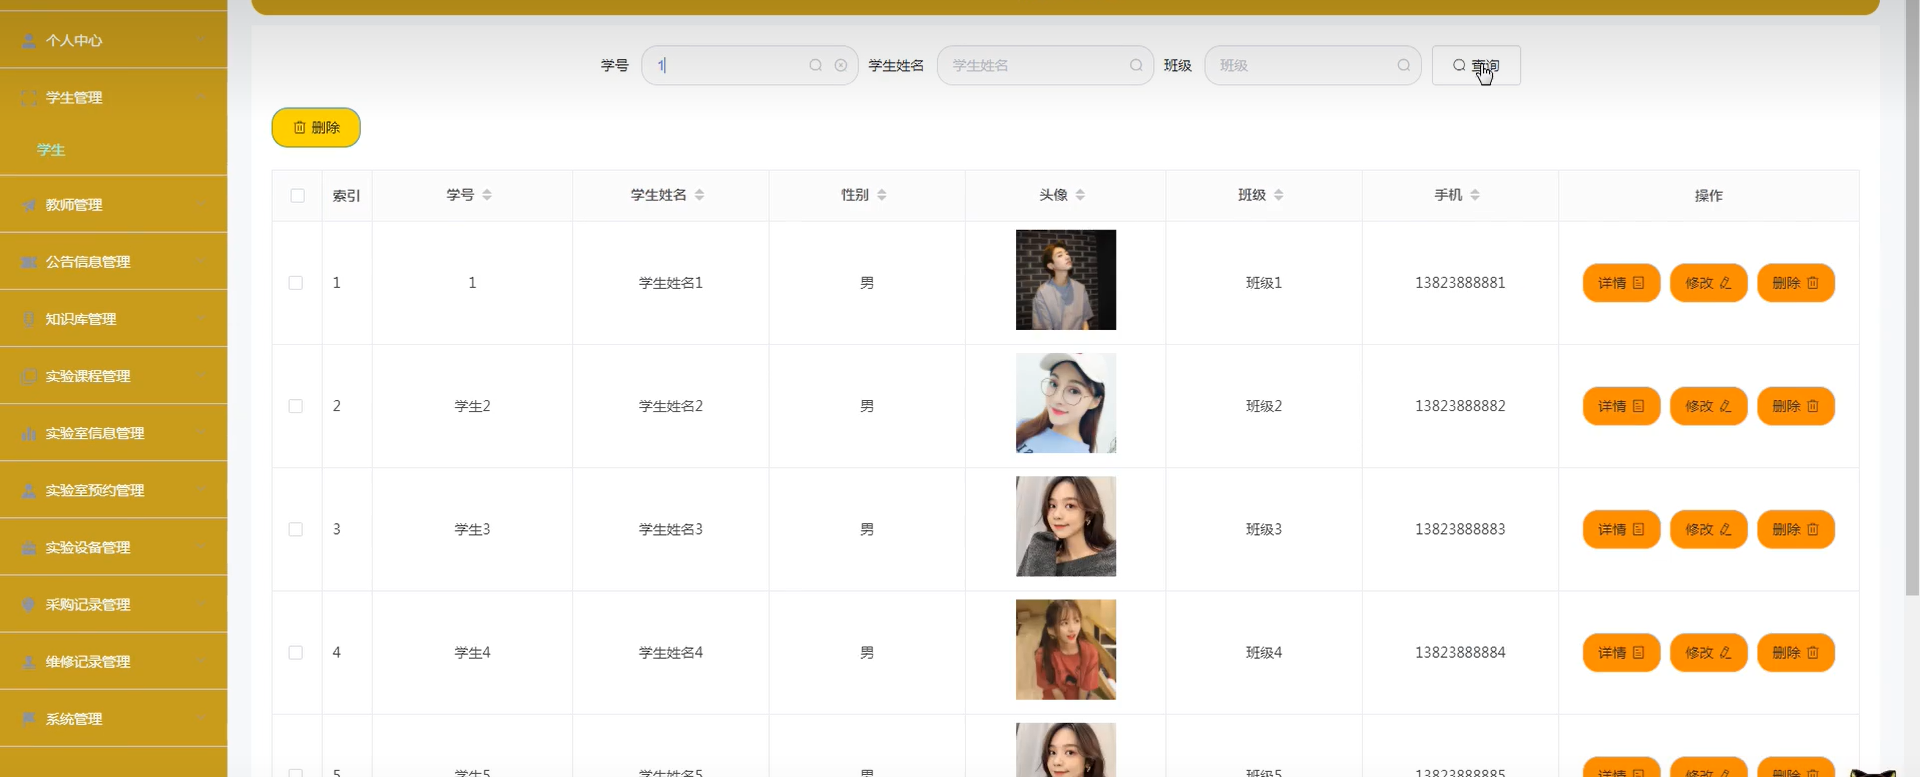
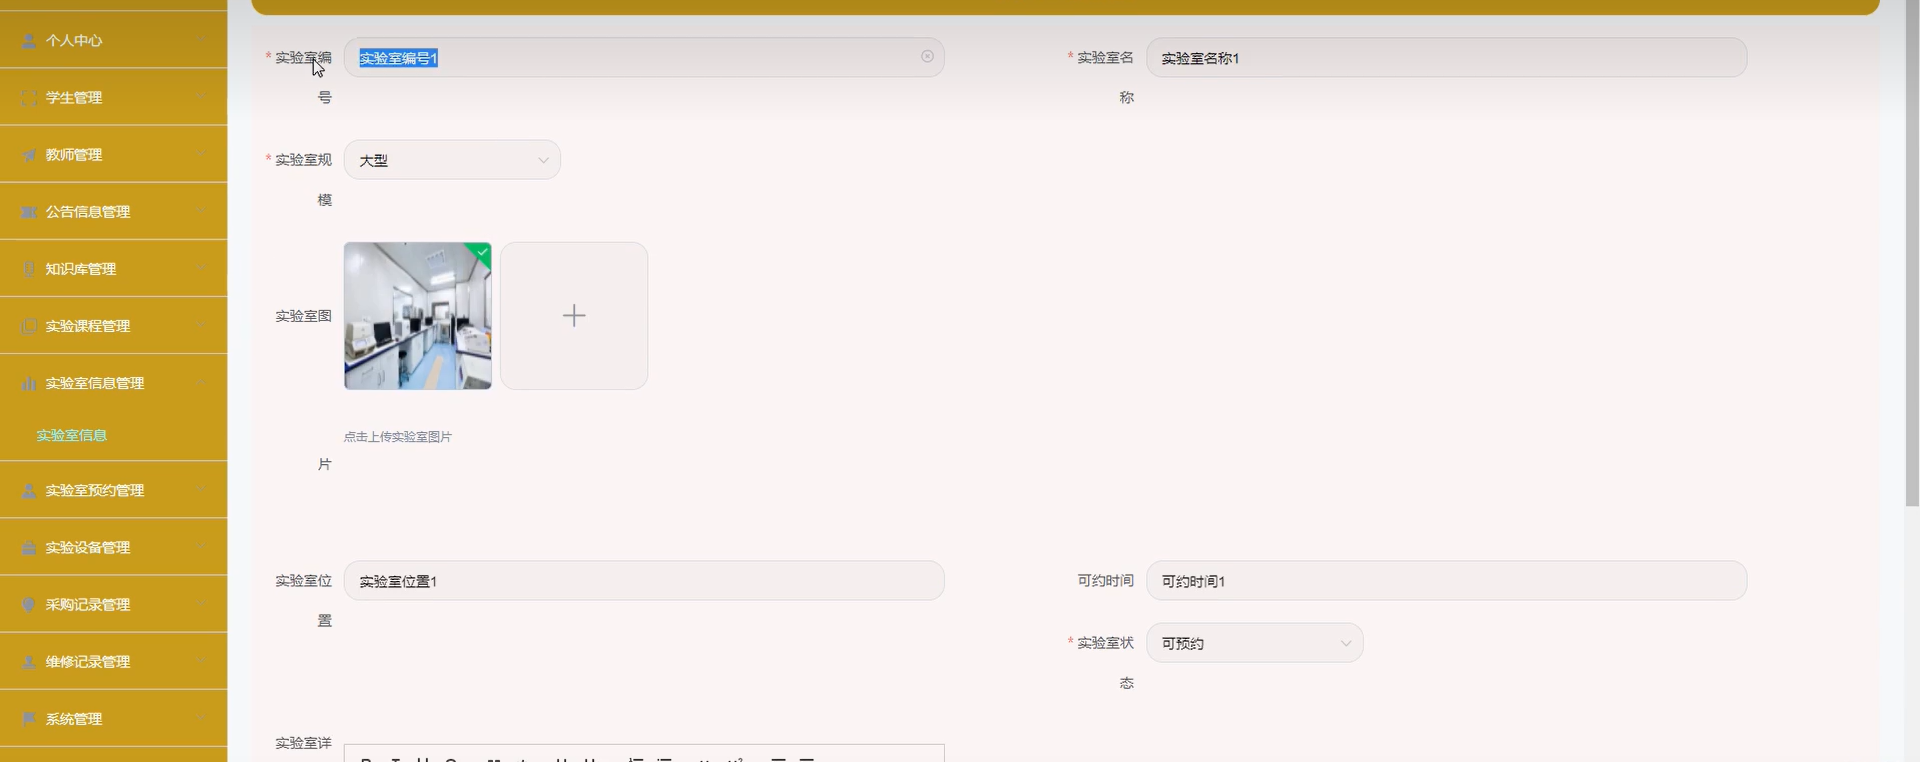
后台地址:http://localhost:8080/springbootrpj39/admin/dist/index.html
管理员 abo 密码 abo
用户:用户1 密码: 123456
注意项目文件路径中不能含有中文、空格、特殊字符等,否则图片会上传不成功。


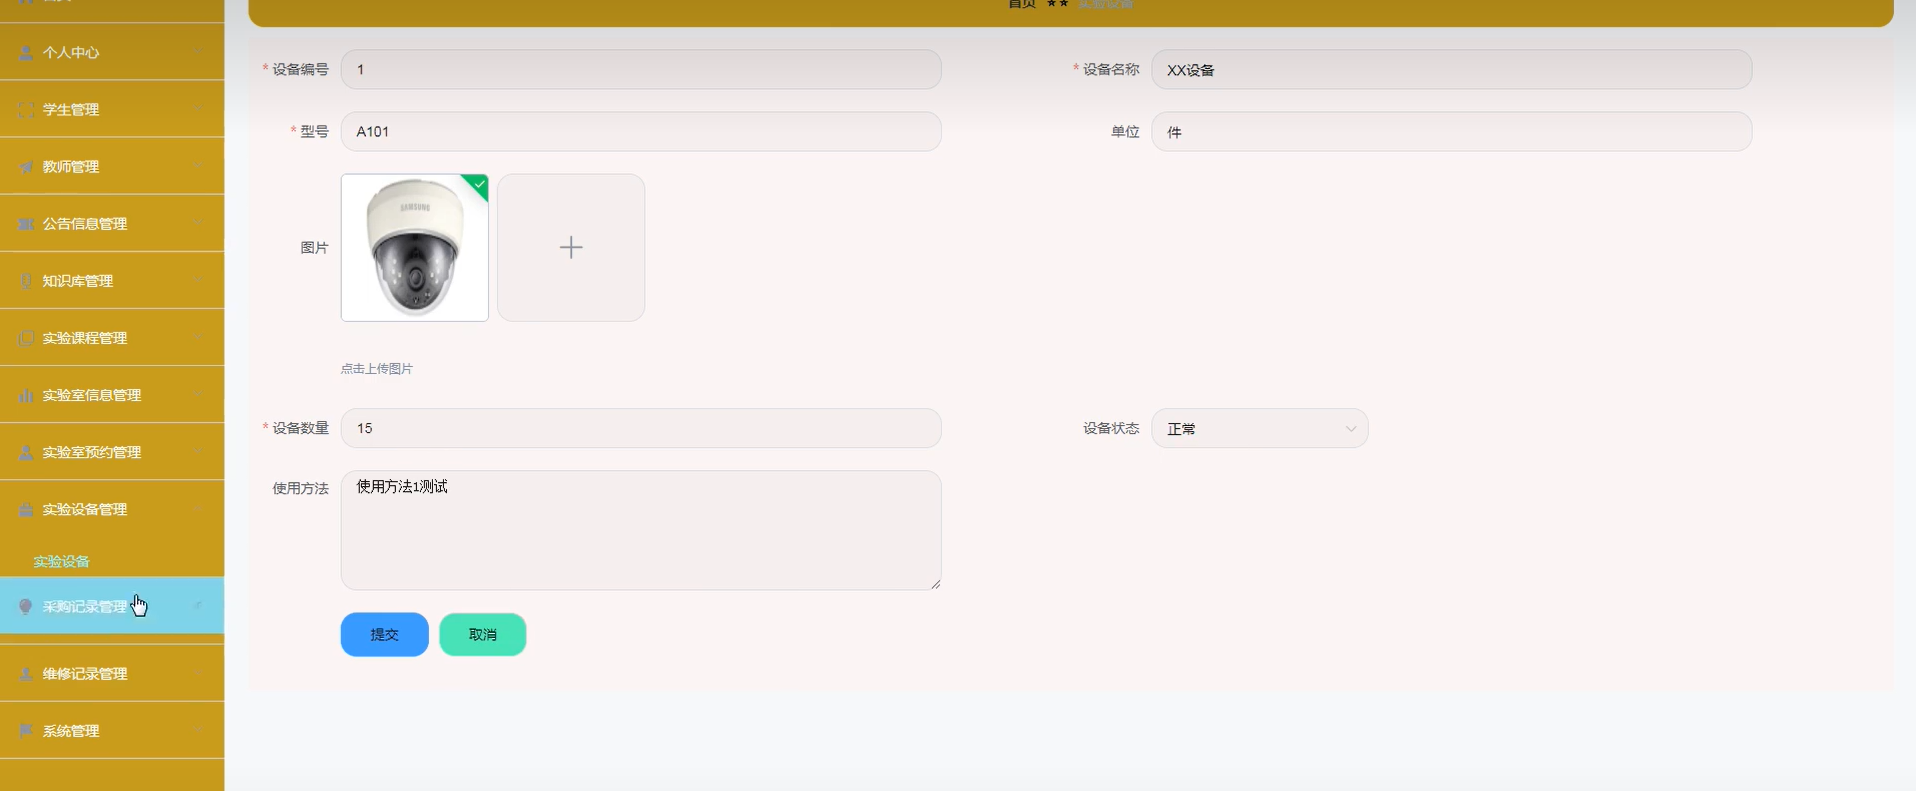

设备信息管理控制层:
@Controller
@RequestMapping("/baseInfos")
public class BaseInfoController {

    @Autowired
    private BaseInfoService baseInfoService;
    @Autowired
    private LogService logService;

    /**
     * 获取所有设备类型信息
     * @param map
     * @return
     */
    @RequestMapping("/type/list")
    public String listDeviceType(ModelMap map){
        List<DeviceType> typeList = baseInfoService.listDeviceType();
        map.put("typeList",typeList);
     return "deviceTypes::table-refresh";
    }

    /**
     * 添加设备类型
     * @param deviceType
     * @return
     */
    @PostMapping("/type")
    @ResponseBody
    public int addtDeviceType(DeviceType deviceType){
        return baseInfoService.addtDeviceType(deviceType);
    }

    /**
     * 删除设备类型
     * @param typeId
     * @return
     */
    @DeleteMapping("/type/{typeId}")
    @ResponseBody
    public int delteDeviceTypByid(@PathVariable("typeId") String typeId){
        return baseInfoService.deleteDeviceTypeById(typeId);
    }

    /**
     * 修改设备类型
     * @param deviceType
     * @return
     */
    @PutMapping("/type")
    @ResponseBody
    public int updateDeviceType(DeviceType deviceType){
        return baseInfoService.updateDeviceType(deviceType);
    }

    /**
     * 获取所有设备品牌信息
     * @param map
     * @return
     */
    @RequestMapping("/brand/list")
    public String listDeviceBrand(ModelMap map){
        List<DeviceBrand> brandList = baseInfoService.listDeviceBrand();
        map.put("brandList",brandList);
        return "deviceBrands::table-refresh";
    }

    /**
     * 添加设备品牌
     * @param deviceBrand
     * @return
     */
    @PostMapping("/brand")
    @ResponseBody
    public int addtDeviceBrand(DeviceBrand deviceBrand){
        return baseInfoService.addtDeviceBrand(deviceBrand);
    }

    /**
     * 删除设备品牌
     * @param brandId
     * @return
     */
    @DeleteMapping("/brand/{brandId}")
    @ResponseBody
    public int delteDeviceBrandByid(@PathVariable("brandId") String brandId){
        return baseInfoService.deleteDeviceBrandById(brandId);
    }

    /**
     * 修改品牌
     * @param deviceBrand
     * @return
     */
    @PutMapping("/brand")
    @ResponseBody
    public int updateDeviceBrand(DeviceBrand deviceBrand){
        return baseInfoService.updateDeviceBrand(deviceBrand);
    }


    /**
     * 获取系统日志
     * @param map
     * @return
     */
    @RequestMapping("/log")
    public String listLog(ModelMap map, HttpServletRequest request){
        String startTime = request.getParameter("startTime");
        String endTime = request.getParameter("endTime");
        List<SystemLog> logs = logService.listLogsByDate(startTime,endTime);
        map.put("logList",logs);
        return "system::logList-refresh";
    }


}
管理员管理控制层:
@Controller
@RequestMapping("/account")
public class AccountController {
    //自动注入服务类
    @Autowired
    private AccountService accountService;

    /**
     * 管理员账户信息
     * @return
     */
    @GetMapping("/admins")
    public String listAdmins(ModelMap map){
        List<AccountDTO> adminList = accountService.listAccountByLevel(2);
        List<AccountDTO> superAdminList = accountService.listAccountByLevel(1);
        adminList.addAll(superAdminList);
        map.put("adminsList", adminList);
        return "system::table-refresh";
    }

    /**
     * 获取所有账户信息
     * @param map
     * @return
     */
    @GetMapping("/list")
    public String listAccounts(ModelMap map){
       List<AccountDTO> accountList = accountService.listAccount();
        map.put("accountDTOList", accountList);
        return "account::table-refresh";
    }

    /**
     * 通过用户名称搜索用户
     * @param map
     * @param userName
     * @return
     */
    @GetMapping("/list/{userName}")
    public String listAccountsByUserName(ModelMap map,@PathVariable("userName")String userName){
       List<AccountDTO> accountList = accountService.listAccountByName(userName);
        map.put("accountDTOList", accountList);
        return "account::table-refresh";
    }
    /**
     * 添加管理员页面
     * @param map
     * @return
     */
    @GetMapping("/users")
    public String listUsers(ModelMap map){
        List<AccountDTO> accountList = accountService.listAccountByLevel(3);
        map.put("usersDTOList", accountList);
        return "system::list-refresh";
    }

    /**
     * 获取设备使用人信息
     * @param map
     * @param devId
     * @return
     */
    @GetMapping("/ownerList")
    public String getOwnerList(ModelMap map, String devId){
        Map resMap  = accountService.listOwenrByDevId(devId);
        map.put("ownerMap", resMap);
        return "allotDevice::list-refresh";
    }

    /**
     * 添加账户
     * @param account
     * @return
     */
    @PostMapping
    @ResponseBody
    public int addAccount(Account account){
        return accountService.addAccount(account);
    }

    /**
     * 根据uuid删除账户
     * @param uuid
     * @return
     */
    @DeleteMapping("/{uuid}")
    @ResponseBody
    public int deleteAccount(@PathVariable("uuid")String uuid){
        return accountService.deleteAccountById(uuid);
    }

    /**
     * 修改账户密码
     * @param uuid
     * @param password
     * @return
     */
    @PutMapping("/password")
    @ResponseBody
    public int updatePassword(String uuid, String password){
        return accountService.updatePasswordByid(uuid,password);
    }

    /**
     * 修改账户状态
     * @param uuid
     * @param status
     * @return
     */
    @PutMapping("/status")
    @ResponseBody
    public int updateStatus(String uuid,int status){
        return accountService.updateStatusByid(uuid,status);
    }

    /**
     * 更改管理员
     * @return
     */
    @PutMapping("/admins")
    @ResponseBody
    public int updateDevOwner(HttpServletRequest request){
        String[] groups = request.getParameter("groups").split(",");
        int level = Integer.parseInt(request.getParameter("level"));
        return  accountService.updateAccountLevel(level,groups);
    };

}
登录管理控制层:
@Controller
public class LoginController {

    @RequestMapping("/login")
    public String login(HttpServletRequest request, Model mv) {
        String e = (String) request.getAttribute("shiroLoginFailure");
        if (e != null) {
            if (e.contains("org.apache.shiro.authc.UnknownAccountException")) {
                mv.addAttribute("msg", "账号不存在");
            } else if (e.contains("org.apache.shiro.authc.IncorrectCredentialsException")) {
                mv.addAttribute("msg", "密码错误");
            } else if (e.contains("org.apache.shiro.authc.LockedAccountException")) {
                mv.addAttribute("msg", "账户已停用");
            }
        }
        return "login";
    }

}
源码获取:俺的博客首页 "资源" 里下载!


 1003
1003

 被折叠的 条评论
为什么被折叠?
被折叠的 条评论
为什么被折叠?
 到【灌水乐园】发言


