


1.设置nginx缓存
[root@server1 conf]# vim nginx.conf
proxy_cache_path /usr/local/nginx/cache/first levels=1:2 keys_zone=first:20m max_size=1G;
#path 表示存放目录
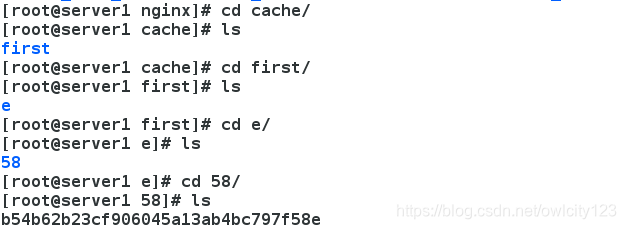
#levels 表示指定该缓存空间有两层hash目录,第一层目录为1个字母,第二层目录为2个字母,
保存的文件名会类似/usr/local/nginx/cache/first/c/29/XXXXXX ;
#keys_zone参数用来为这个缓存区起名.
#20m 指内存缓存空间大小为20MB
#max_size的1g是指硬盘缓存空间为1G
upstream westos{
server 172.25.66.2:80;
server 172.25.66.3:80;
}
server {
listen 80;
server_name www.westos.org;
add_header X_Cache '$upstream_cache_status from $server_addr';
#自己添加头部信息X_Cache,用于方便查看缓存情况
#charset koi8-r;
#access_log logs/host.access.log main;
location / {
# root html;
# index index.html index.htm;
proxy_cache first;
proxy_cache_valid 200 10m; #设置200页面缓存10min
proxy_pass http://westos;
}
配置完成后,重新加载配置文件出现报错,我们需要创建目录
[root@server1 nginx]# nginx -t
nginx: the configuration file /usr/local/nginx/conf/nginx.conf syntax is ok
nginx: [emerg] mkdir() "/usr/local/nginx/cache/first" failed (2: No such file or directory)
nginx: configuration file /usr/local/nginx/conf/nginx.conf test failed
[root@server1 nginx]# mkdir -pv /usr/local/nginx/cache/first
mkdir: created directory `/usr/local/nginx/cache'
mkdir: created directory `/usr/local/nginx/cache/first'
[root@server1 nginx]# nginx -t
nginx: the configuration file /usr/local/nginx/conf/nginx.conf syntax is ok
nginx: configuration file /usr/local/nginx/conf/nginx.conf test is successful
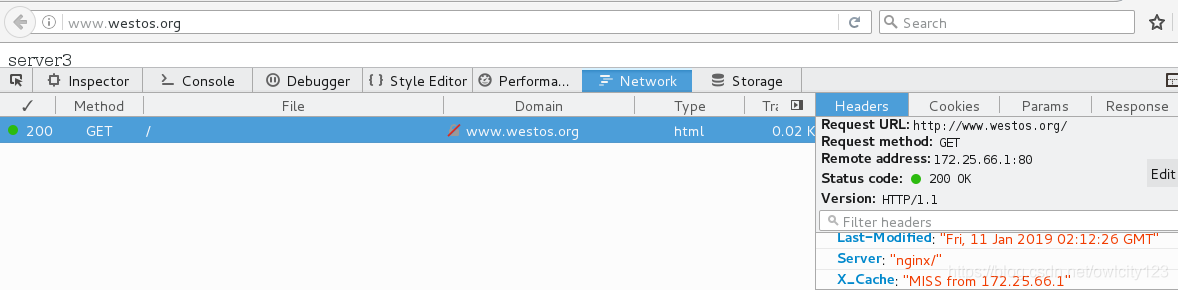
在浏览器中进行测试
按F12可以查看头部信息,我们发现第一次时,X_Cache显示Miss from 172.25.66.1,说明没有缓存
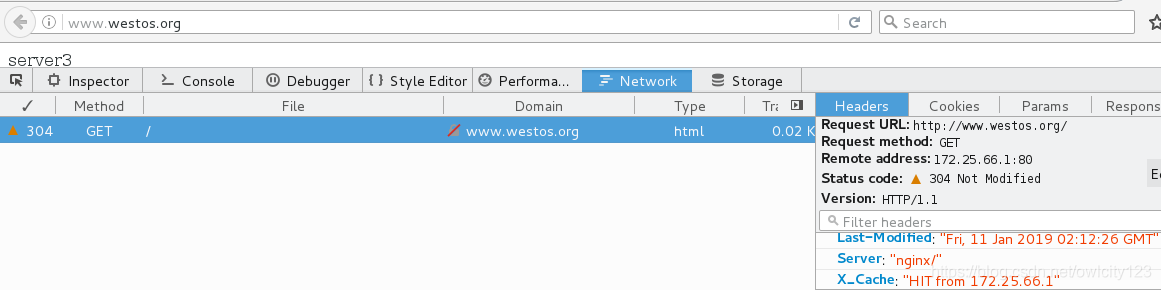
重新刷新,在查看,X_Cache显示HIT from 172.25.66.1,说明缓存成功
查看缓存文件:
2.创建虚拟主机

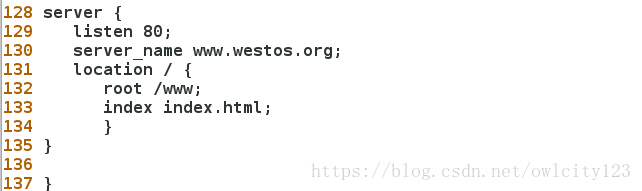
mkdir /www
vim index.html

nginx -s reload
真机测试:
vim /etc/hosts
写入 172.25.66.3 server3 www.westos.org #解析

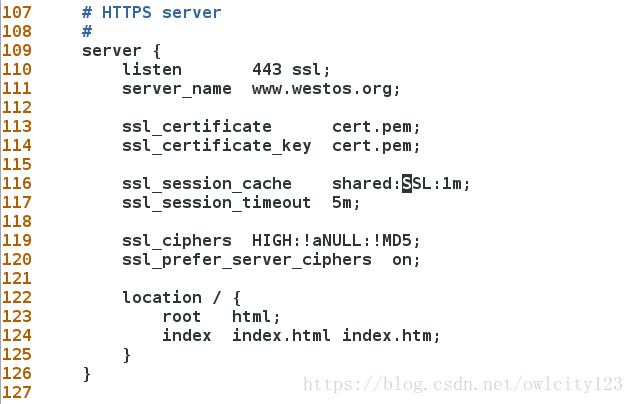
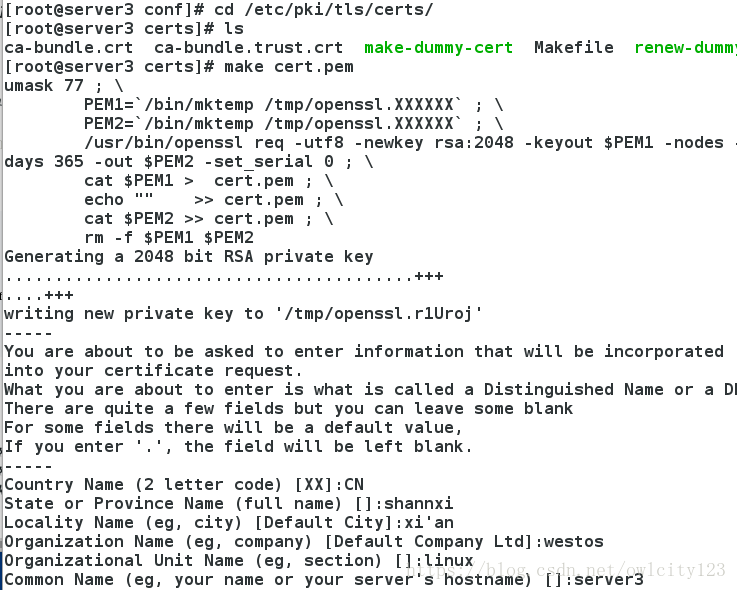
3.开启443端口加密
cd /usr/local/lnmp/nginx/conf
vim nginx.conf
nginx -t
nginx -s reload
浏览器中测试:

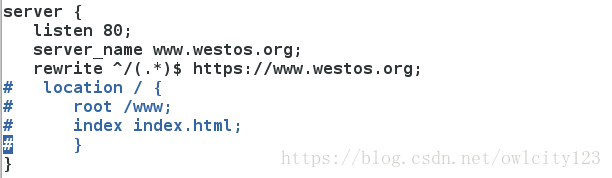
4.nginx页面重定向
(1)当访问www.westos.org后的url时,临时重定向到加密后的
vim nginx.conf
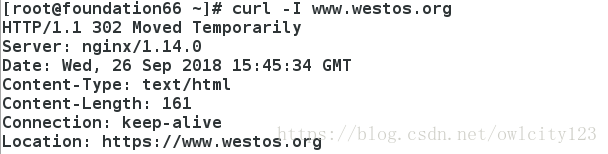
测试:
(2)当访问www.westos.org后的url时,永久重定向到加密后的
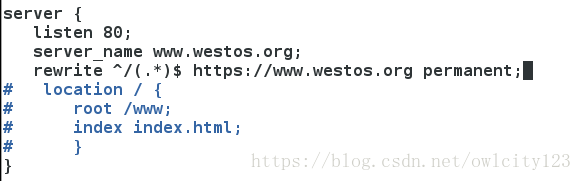
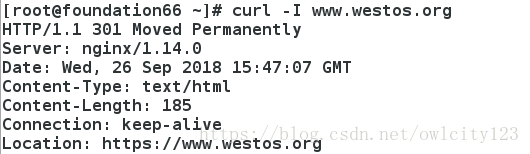
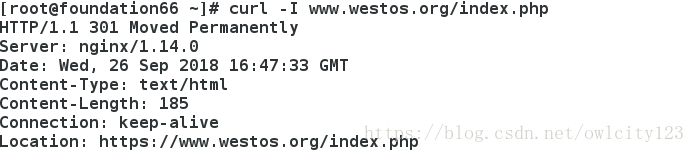
(3)当访问www.westos.org 后的url时,定向到加密后的

测试:
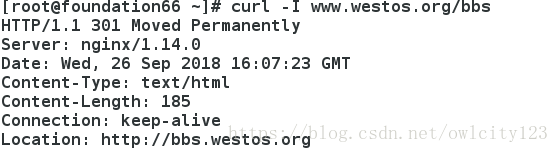
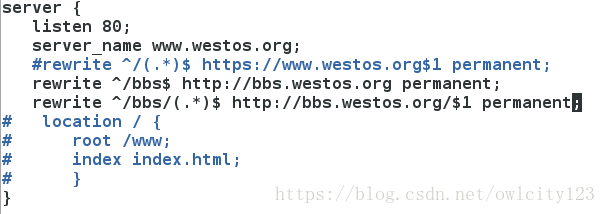
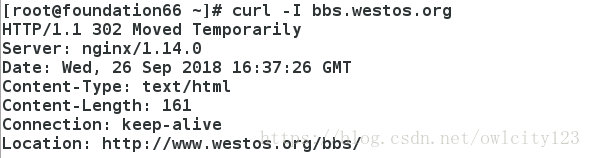
(4).当访问www.westos.org/bbs时,重定向到http://bbs.westos.org
.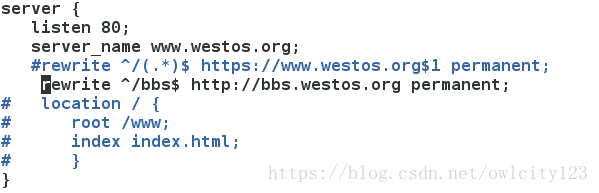
测试:
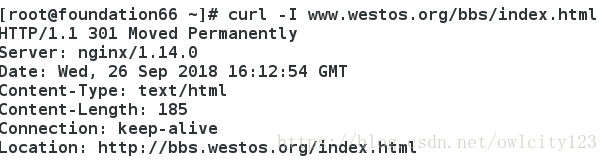
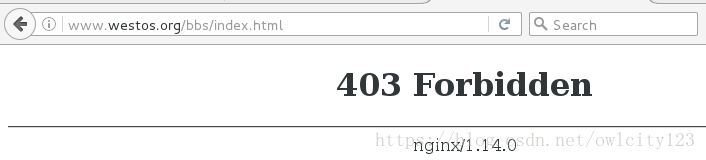
(5)当访问www.westos.org/bbs后还有url时,定向到http://bbs.westos.org/index.html
.
测试:
(6)nginx的反向重定向
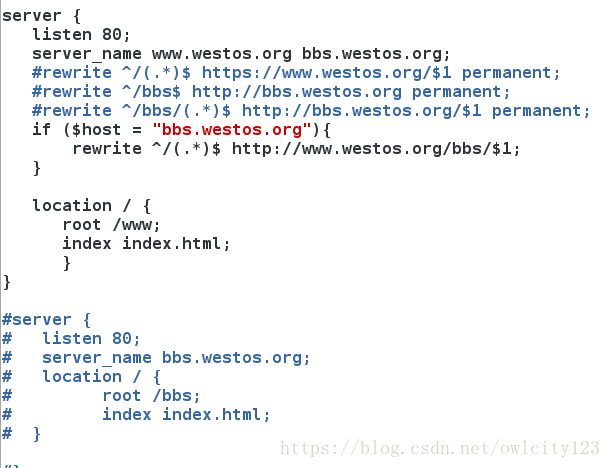


测试:

5.访问控制:
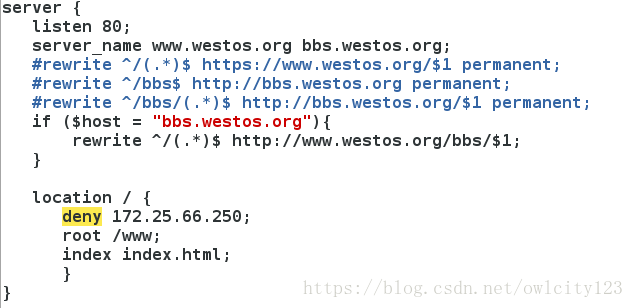
测试:
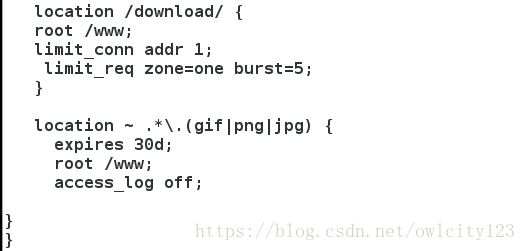
6.nginx设置限制参数
vim nginx.conf
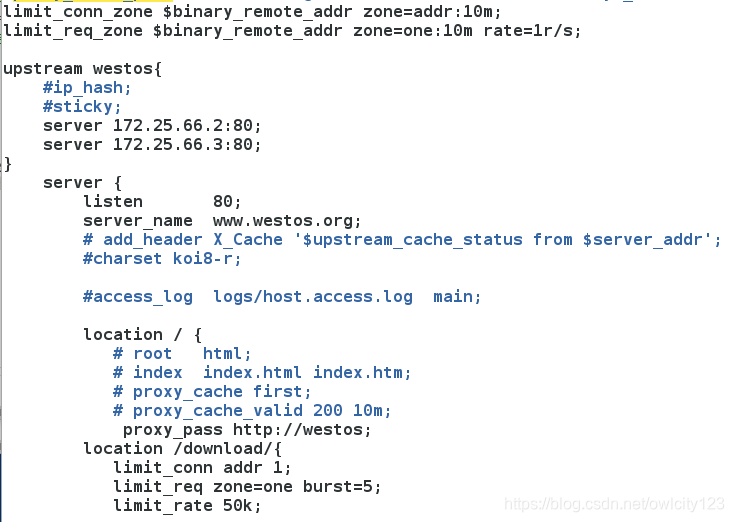
在真机中做压測:
ab -c1 -n 10 http://172.25.3.5/download/index.html 并发数为1时,全部访问成功
然后查看日志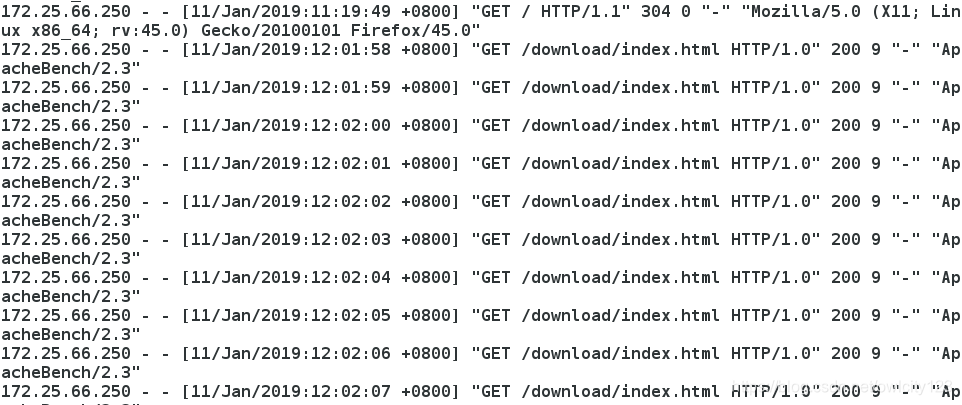
ab -c10 -n 10 http://172.25.3.1/download/index.html ###并发数为10时

检测速率限制:(在真机)
time wget http://172.25.3.1/download/mysql-boost-5.7.17.tar.gz

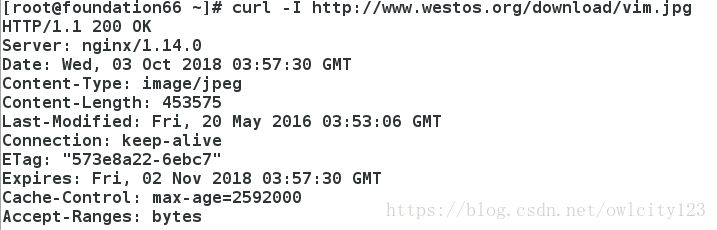
7.设置过期时间:
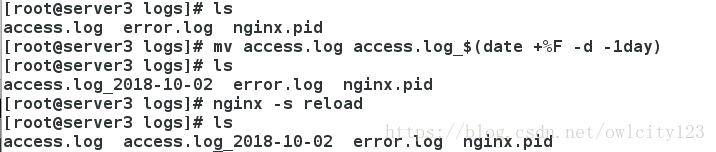
8.备份日志:
9.防止域名恶意解析
什么是恶意域名解析
一般情况下,要使域名能访问到网站需要两步,第一步,将域名解析到网站所在的主机,第二步,在web服务器中将域名与相应的网站绑定。但是,如果通过主机 IP能直接访问某网站,那么把域名解析到这个IP也将能访问到该网站,而无需在主机上绑定,也就是说任何人将任何域名解析到这个IP就能访问到这个网站。

在浏览器中测试:172.25.66.1

10.防盗链:
server3:被盗链主机
server4:盗链主机
server4主机:
安装httpd服务
vim /var/www/html/index.html
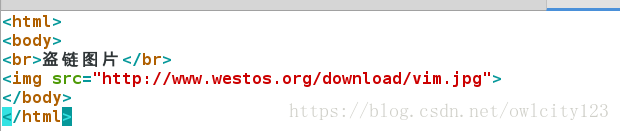
/etc/init.d/httpd start
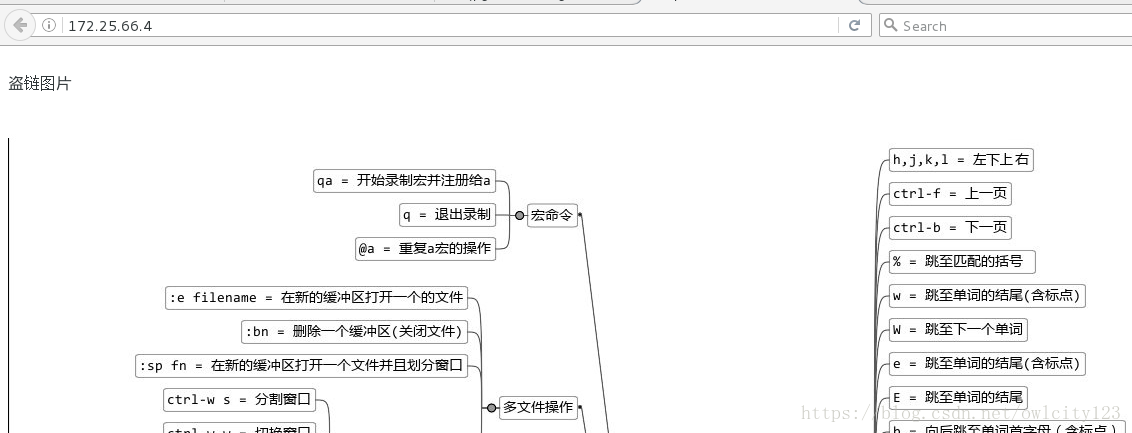
我们发现:通过server4主机的http服务看到的页面图片实则为server3主机的图片,server3的资源被盗用,并且给服务器造成了额外负担,我们需要给server3主机进行以下配置:
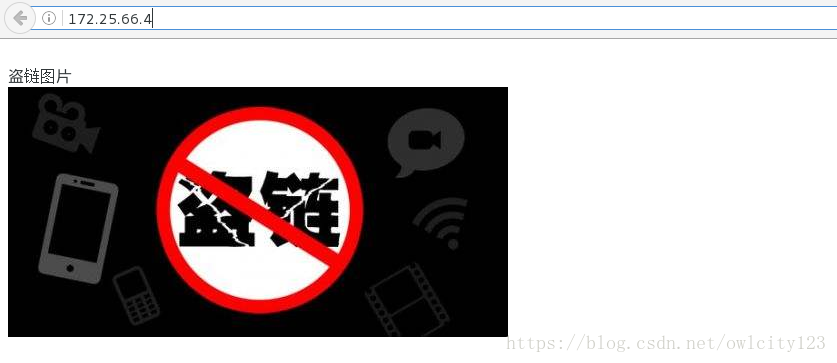
server3:
vim nginx.conf
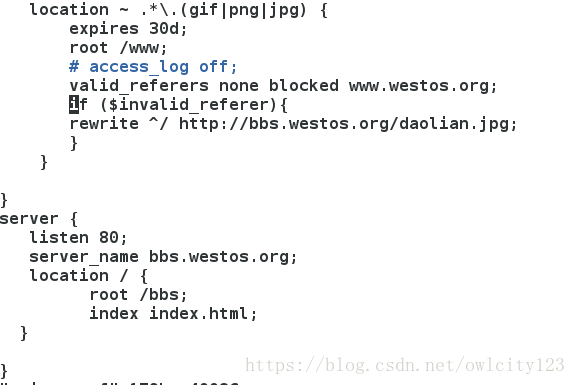

测试:


 1458
1458

 被折叠的 条评论
为什么被折叠?
被折叠的 条评论
为什么被折叠?
 到【灌水乐园】发言


