目录
一、编写简单模块化代码
1.在src下创建hello.js文件,编写代码
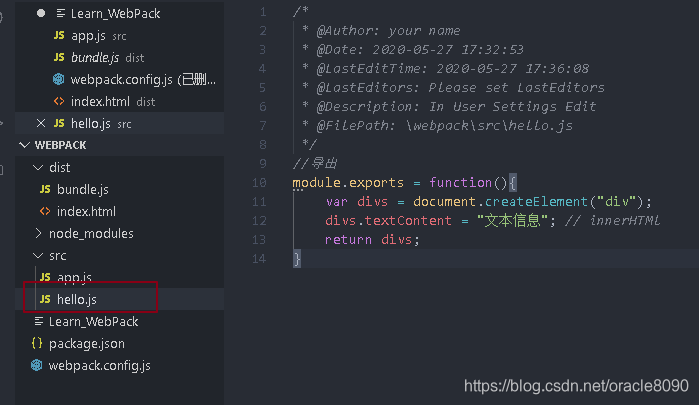
module.exports = function(){
    var divs = document.createElement("div");
    divs.textContent = "文本信息"; // innerHTMl
    return divs;
}
2. 在app.js中引用hello.js

var hello =require("./hello.js");
//获取body节点添加子节点
document.getElementsByTagName("body")[0].appendChild(hello())
3.调整index.html引入文件的代码

<!DOCTYPE html>
<html lang="en">
<head>
    <meta charset="UTF-8">
    <meta name="viewport" content="width=device-width, initial-scale=1.0">
    <title>Document</title>
</head>
<body>
    <script src="./bundle.js"></script> <!--引入js文件-->
</body>
</html>
4.执行webpack命令
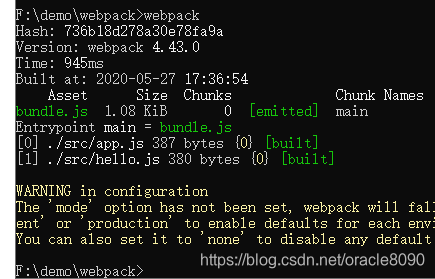
5.访问index.html页面

二、配置mode模型
1.可以看到在执行webpack的时候会有警告信息

WARNING in configuration
The 'mode' option has not been set, webpack will fallback to 'production' for this value. Set 'mode' option to 'development' or 'production' to enable defaults for each environment.
You can also set it to 'none' to disable any default behavior. Learn more: https://webpack.js.org/configuration/mode/
2.参考文档 https://www.webpackjs.com/concepts/mode/
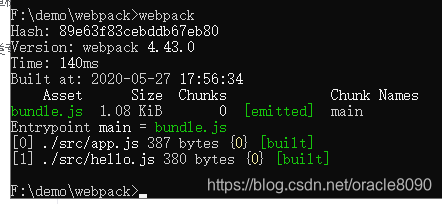
在webpack.config.js 中添加mode: 'production',先手动写死,后面会讲到如何动态设置

再执行webpack命令发现警告消失
mode: 'production'
mode: 'development'

三、 快捷执行方案的配置
打开 package.json 文件
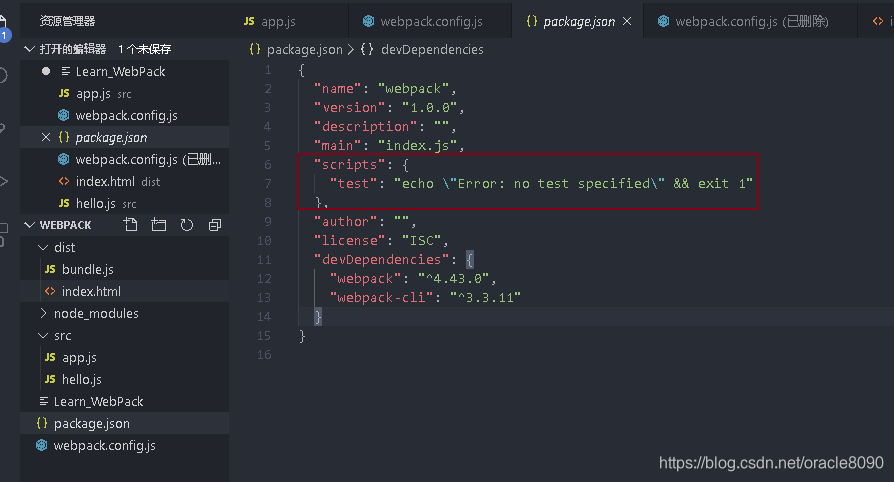
在script中添加参数:作用是
1.用这两个命令替代webpack命令
2. 改变运行方案:
npm run build
npm start
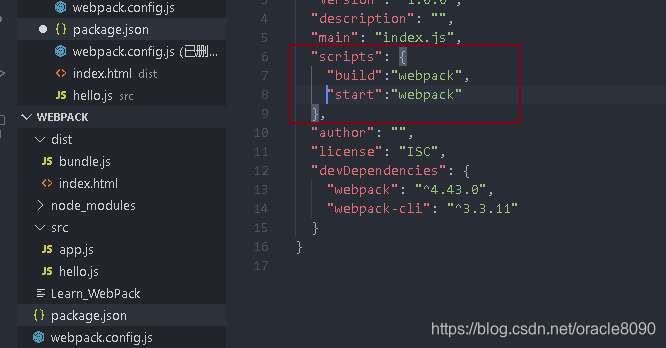
 "scripts": {
            "build":"webpack",
            "start":"webpack"
        }
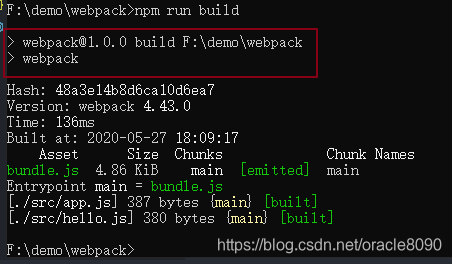
执行npm run build命令,实际相当于执行webpack命令
四.错误调试信息配置
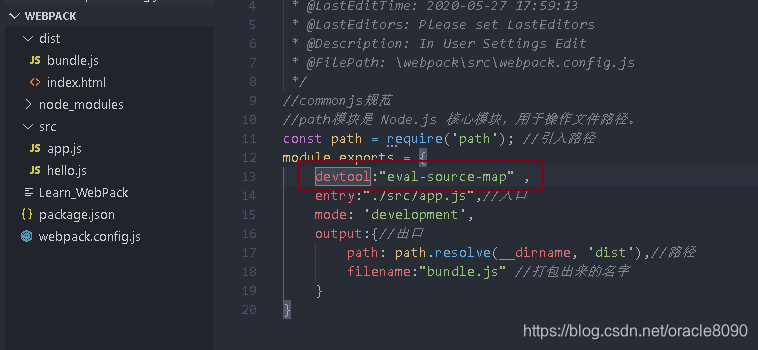
生成错误信息文件, 配置webpack.config.js文件,添加devtool:"eval-source-map"
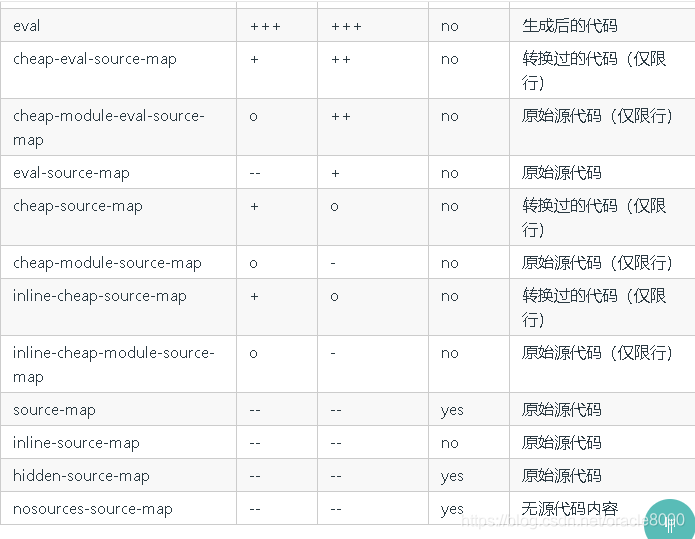
参数参考 https://www.webpackjs.com/configuration/devtool/ 根据自己需求添加


 本文详细介绍Webpack的基本使用,包括模块化代码编写、配置模式、快捷执行方案及错误调试信息配置。适合初学者快速上手。


 294
294

 被折叠的 条评论
为什么被折叠?


