


 本文详细指导了如何在CentOS 7环境中通过yum安装和配置Nginx,创建并配置多个站点,包括修改hosts文件实现域名解析,并处理可能出现的访问问题如404和403。
文章目录
系统环境
主机IP:10.0.0.7
主机名:web01
[root@web01 tools]# uname -r
3.10.0-862.el7.x86_64
[root@web01 tools]# cat /etc/redhat-release
CentOS Linux release 7.5.1804 (Core)
1)安装和启动nginx(yum安装)
首先更新nginx官方yum源
[root@web01 tools]# cat /etc/yum.repos.d/nginx.repo
[nginx-stable]
name=nginx stable repo
baseurl=http://nginx.org/packages/centos/$releasever/$basearch/
gpgcheck=1
enabled=1
gpgkey=https://nginx.org/keys/nginx_signing.key
然后调用命令
yum install -y nginx
再启动和开机自启动nginx服务
systemctl start nginx
systemctl enable nginx
2)修改配置文件
[root@web01 conf.d]# cat www.conf
server {
       listen        80;
       server_name   www.oldboy.com;
       location  / {
         root  /html/www;
         index index.html;
       }
}

[root@web01 conf.d]# cat bbs.conf
server {
   listen        80;
   server_name   bbs.oldboy.com;
   location  / {
     root  /html/bbs;
     index index.html;
   }
}

[root@web01 conf.d]# cat blog.conf
server {
   listen        80;
   server_name   blog.oldboy.com;
   location  / {
     root  /html/blog;
     index index.html;
   }
}
最后记得要重启nginx服务,因为涉及了地址的修改
systemctl reload nginx
3)创建站点目录和站点目录首页文件
[root@web01 conf.d]# mkdir /html/{www,bbs,blog} -p
[root@web01 conf.d]# for name in {www,bbs,blog};do echo "10.0.0.7 $name.oldboy.com" >/html/$name/index.html  ;done

[root@web01 conf.d]# for name in {www,bbs,blog};do cat /html/$name/index.html  ;done
10.0.0.7 www.oldboy.com
10.0.0.7 bbs.oldboy.com
10.0.0.7 blog.oldboy.com
4)编写Linux的hosts解析文件并测试
[root@web01 conf.d]# vim /etc/hosts
172.16.1.7      web01   www.oldboy.com  bbs.oldboy.com  blog.oldboy.com

[root@web01 conf.d]# curl www.oldboy.com
10.0.0.7 www.oldboy.com
[root@web01 conf.d]# curl bbs.oldboy.com
10.0.0.7 bbs.oldboy.com
[root@web01 conf.d]# curl blog.oldboy.com
10.0.0.7 blog.oldboy.com
5)修改windows的hosts文件并测试
windows系统的hosts文件路径:C:\Windows\System32\drivers\etc\hosts
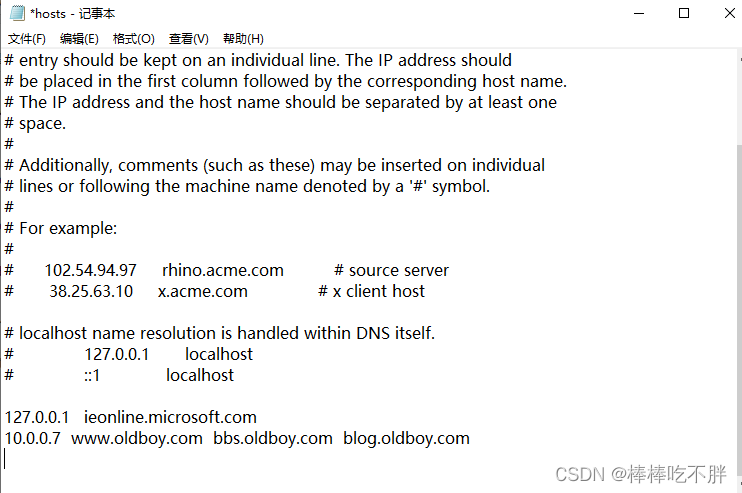
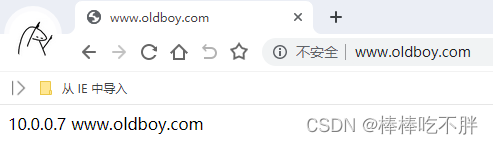
最后在浏览器上输入域名,测试成功
补充说明:
如果在Linux系统上测试可以访问,然而在浏览器上结果却是白屏(超时)。 检查防火墙是否关闭。
systemctl status firewalld
getenforce
如果出现404 错误
解决方法一: 修改nginx配置文件—location
解决方法二: 在站点目录中创建相应目录或文件数据信息
如果出现403 错误
解决方法一: 不要禁止访问
解决方法二: 因为没有首页文件


 1万+
1万+

 被折叠的 条评论
为什么被折叠?
被折叠的 条评论
为什么被折叠?
 到【灌水乐园】发言


