


 本文详细介绍了如何在Linux环境下安装和配置LAMP(Linux、Apache、MySQL、PHP)堆栈,包括各组件的安装步骤、基本配置及简单的测试方法。
一、安装mysql
1.下载MySQL Yum仓库的RPM安装包
# wget https://dev.mysql.com/get/mysql57-community-release-el7-11.noarch.rpm
2.安装mysql yum源
# yum localinstall mysql57-community-release-el7-11.noarch.rpm
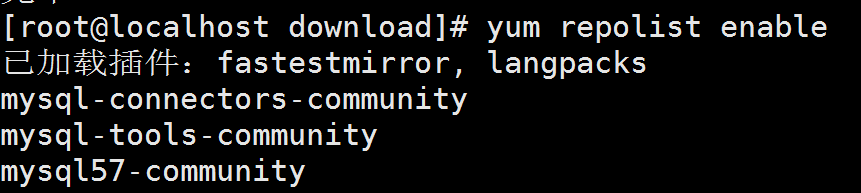
3. 查看yum源是否安装成功
4.安装mysql server
# yum install mysql-community-server
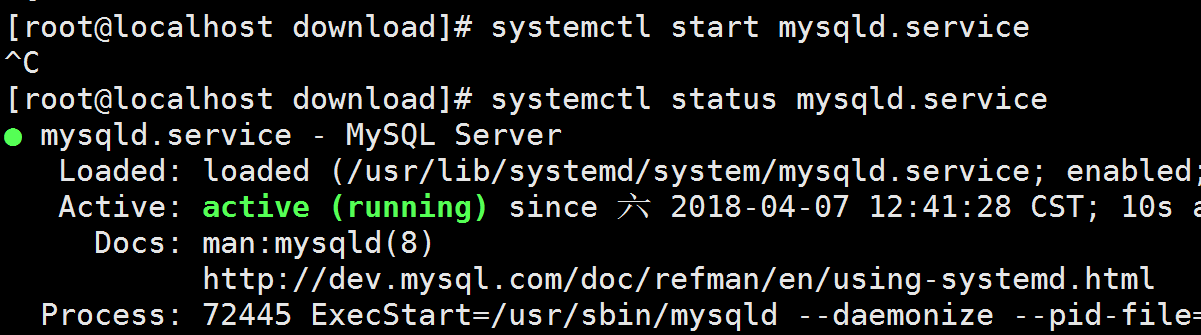
5.启动mysql
# systemctl start mysqld.service
# systemctl status mysqld.service
6.完成初始化
初始密码:

# mysql_secure_installation
NOTE: RUNNING ALL PARTS OF THIS SCRIPT IS RECOMMENDED FOR ALL MySQL
      SERVERS IN PRODUCTION USE!  PLEASE READ EACH STEP CAREFULLY!
In order to log into MySQL to secure it, we'll need the current
password for the root user.  If you've just installed MySQL, and
you haven't set the root password yet, the password will be blank,
so you should just press enter here.
Enter current password for root (enter for none): 此处只需按下回车键
OK, successfully used password, moving on...
Setting the root password ensures that nobody can log into the MySQL
root user without the proper authorisation.
Set root password? [Y/n] y (要为root管理员设置数据库的密码)
New password: 输入要为root管理员设置的数据库密码
Re-enter new password: 再输入一次密码
Password updated successfully!
Reloading privilege tables..
 ... Success!
By default, a MySQL installation has an anonymous user, allowing anyone
to log into MySQL without having to have a user account created for
them.  This is intended only for testing, and to make the installation
go a bit smoother.  You should remove them before moving into a
production environment.
Remove anonymous users? [Y/n] y (删除匿名账户)
 ... Success!
Normally, root should only be allowed to connect from 'localhost'.  This
ensures that someone cannot guess at the root password from the network.
Disallow root login remotely? [Y/n] y (禁止root管理员从远程登录)
 ... Success!
By default, MySQL comes with a database named 'test' that anyone can
access.  This is also intended only for testing, and should be removed
before moving into a production environment.
Remove test database and access to it? [Y/n] y (删除test数据库并取消对其的访问权限)
 - Dropping test database...
 ... Success!
 - Removing privileges on test database...
 ... Success!
Reloading the privilege tables will ensure that all changes made so far
will take effect immediately.
Reload privilege tables now? [Y/n] y (刷新授权表,让初始化后的设定立即生效)
 ... Success!
All done!  If you've completed all of the above steps, your MySQL
installation should now be secure.
Thanks for using MySQL!
Cleaning up...
二、安装php
1.安装php、php扩展、php依赖
# yum -y install php php-cli php-common php-gd php-xml php-mbstring php-ldap php-pear php-xmlrpc php-fpm php-mysql libjpeg* php-imap php-odbc php-mcrypt php-bcmath php-mhash libmcrypt
2.配置php
禁止PHP的危险函数,可以根据自己的实际情况定义。
# vim php.ini
………………省略部分输出信息………………
300
301 ; This directive allows you to disable certain functions for security reasons.
302 ; It receives a comma-delimited list of function names. This directive is
303 ; *NOT* affected by whether Safe Mode is turned On or Off.
304 ; http://php.net/disable-functions
305 disable_functions = passthru,exec,system,chroot,scandir,chgrp,chown,shell_exec,proc_open,proc_get_status,ini_alter,ini_alter,ini_restor e,dl,openlog,syslog,readlink,symlink,popepassthru,stream_socket_server,escapeshellcmd,dll,popen,disk_free_space,checkdnsrr,checkdnsrr,g etservbyname,getservbyport,disk_total_space,posix_ctermid,posix_get_last_error,posix_getcwd,posix_getegid,posix_geteuid,posix_getgid,po six_getgrgid,posix_getgrnam,posix_getgroups,posix_getlogin,posix_getpgid,posix_getpgrp,posix_getpid,posix_getppid,posix_getpwnam,posix_ getpwuid,posix_getrlimit,posix_getsid,posix_getuid,posix_isatty,posix_kill,posix_mkfifo,posix_setegid,posix_seteuid,posix_setgid,posix_ setpgid,posix_setsid,posix_setuid,posix_strerror,posix_times,posix_ttyname,posix_uname
306
………………省略部分输出信息………………
# systemctl start php-fpm.service
# systemctl status php-fpm.service

三、安装Apache
1.安装httpd
# yum -y install httpd httpd-manual mod_ssl mod_perl mod_auth_mysql
2.启动httpd
# systemctl start httpd.service
# systemctl status httpd.service

3.测试lamp环境
a.重启httpd和mysql
# systemctl restart httpd.service
# systemctl restart mysqld.service
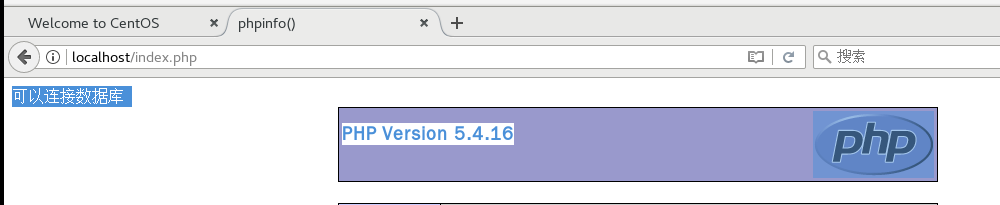
b.在/var/www/html下编写index.php文件
<?php
    $con = mysql_connect(localhost,root,hantao);
    if($con){
        echo "可以连接数据库";
        phpinfo();
    }
?>
c.在浏览器里面访问
4.配置
四、安装nginx
1.安装nginx
a.添加nginx的yum
b.安装nginx和
先停止apache:
# systemctl stop httpd.service
# yum -y install nginx
2.关联php,配置php-fpm
a.先添加一个用户
# groupadd www
# useradd www -g www
b.修改php-fpm配置文件

# vim /etc/php-fpm.conf,将第20行修改如下

c.修改nginx配置文件
# vim /etc/nginx/conf.d/default.conf,将30~36行注释打开,然后修改34行如下

# vim /etc/nginx/nginx.conf

3.启动nginx和测试lnmp环境
a.重启nginx和php-fpm
# systemctl restart nginx.service
# systemctl restart php-fpm.service
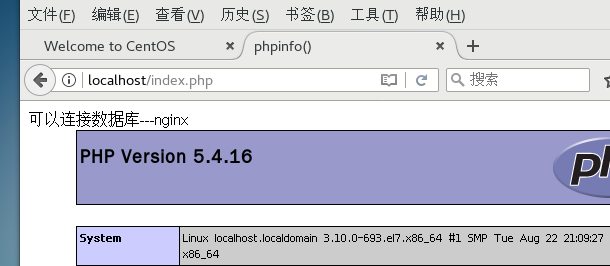
b.编写测试脚本
# vim /usr/share/nginx/html/index.php
<?php
    header("Content-type: text/html; charset=utf-8");
    $con = mysql_connect(localhost,root,hantao);
    if($con){
        echo "可以连接数据库---nginx";
        phpinfo();
    }
?>
c.浏览器访问
4.配置


 6203
6203

 被折叠的 条评论
为什么被折叠?
被折叠的 条评论
为什么被折叠?
 到【灌水乐园】发言


