


Linux 系统安装 Elasticsearch
Elasticsearch是基于Apache Lucene构建的分布式搜索和分析引擎、可扩展数据存储和向量数据库。它针对生产规模工作负载的速度和相关性进行了优化。使用Elasticsearch近乎实时地搜索、索引、存储和分析所有形状和大小的数据。
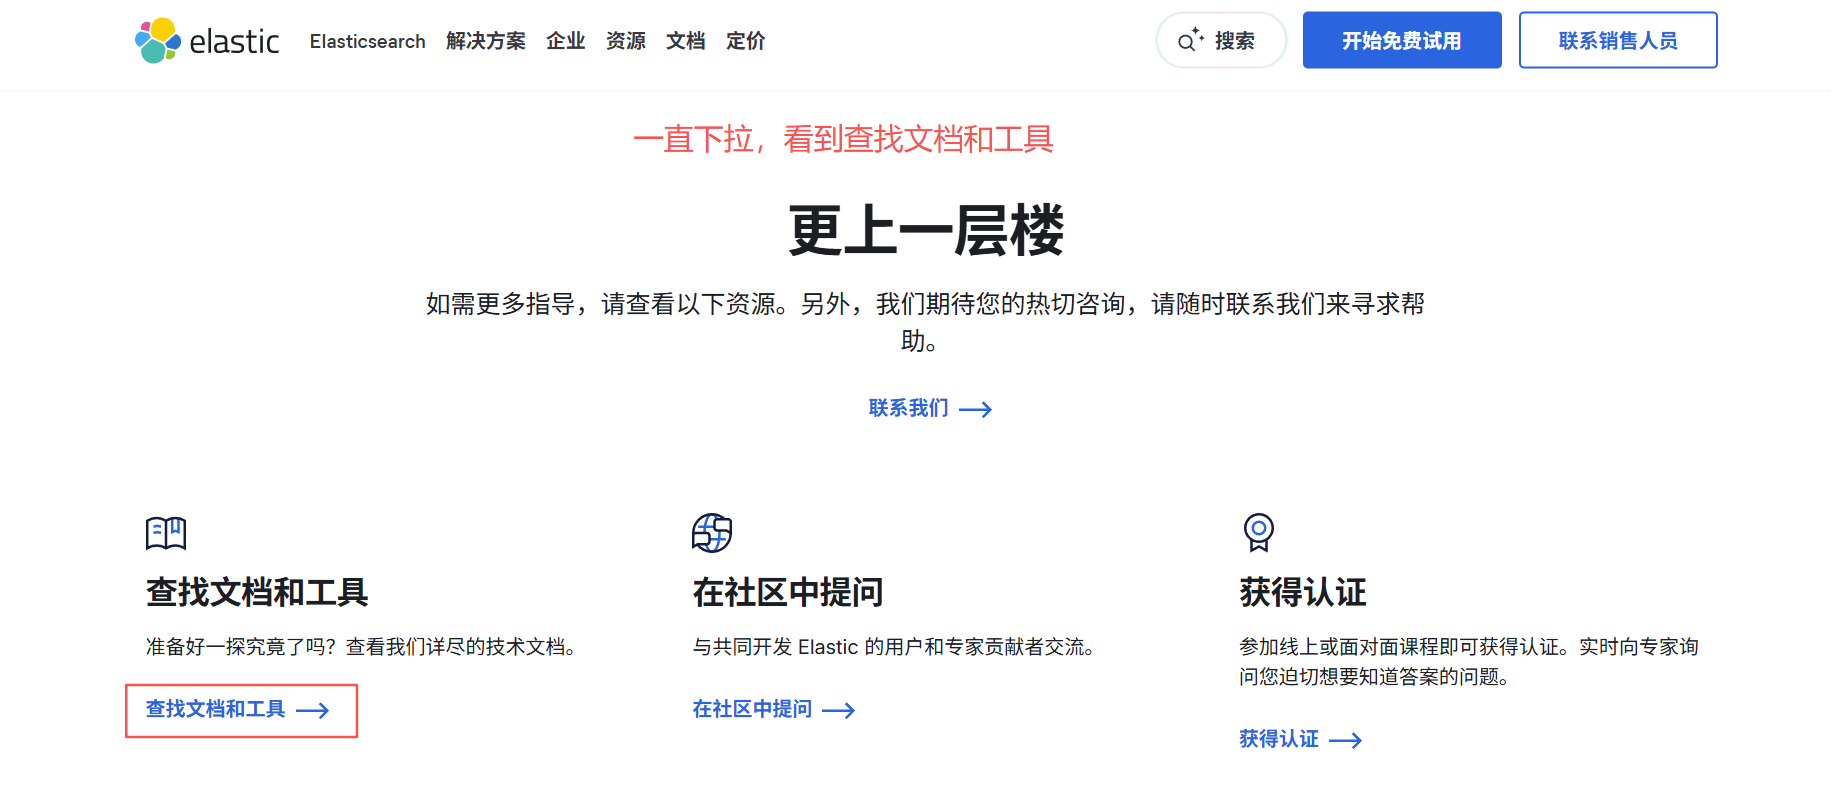
官网下载
Elasticsearch 官网:www.elastic.co
官网本地下载
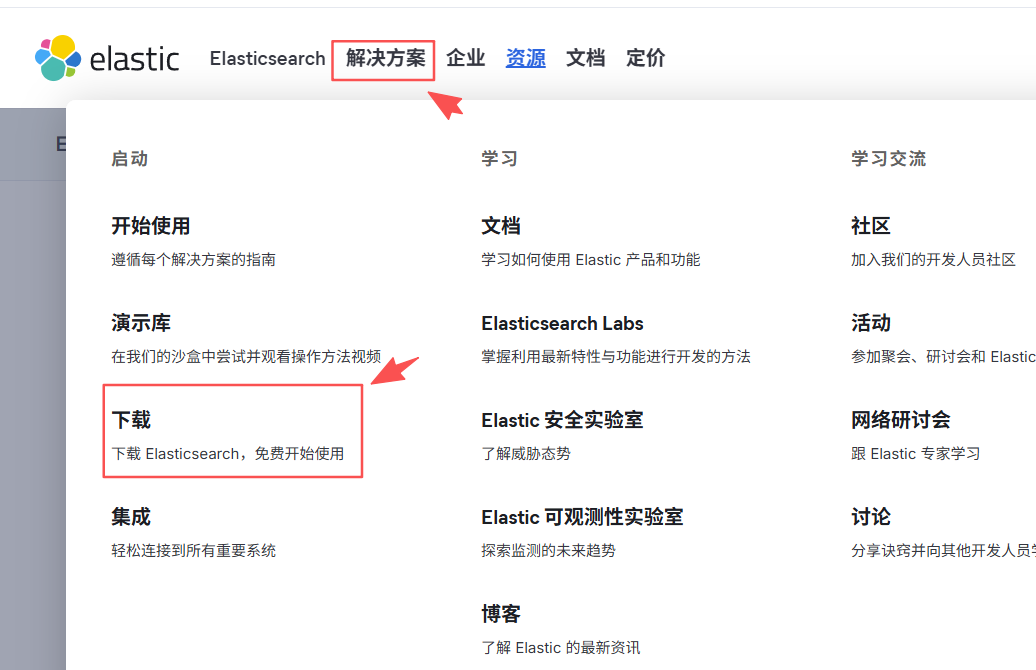
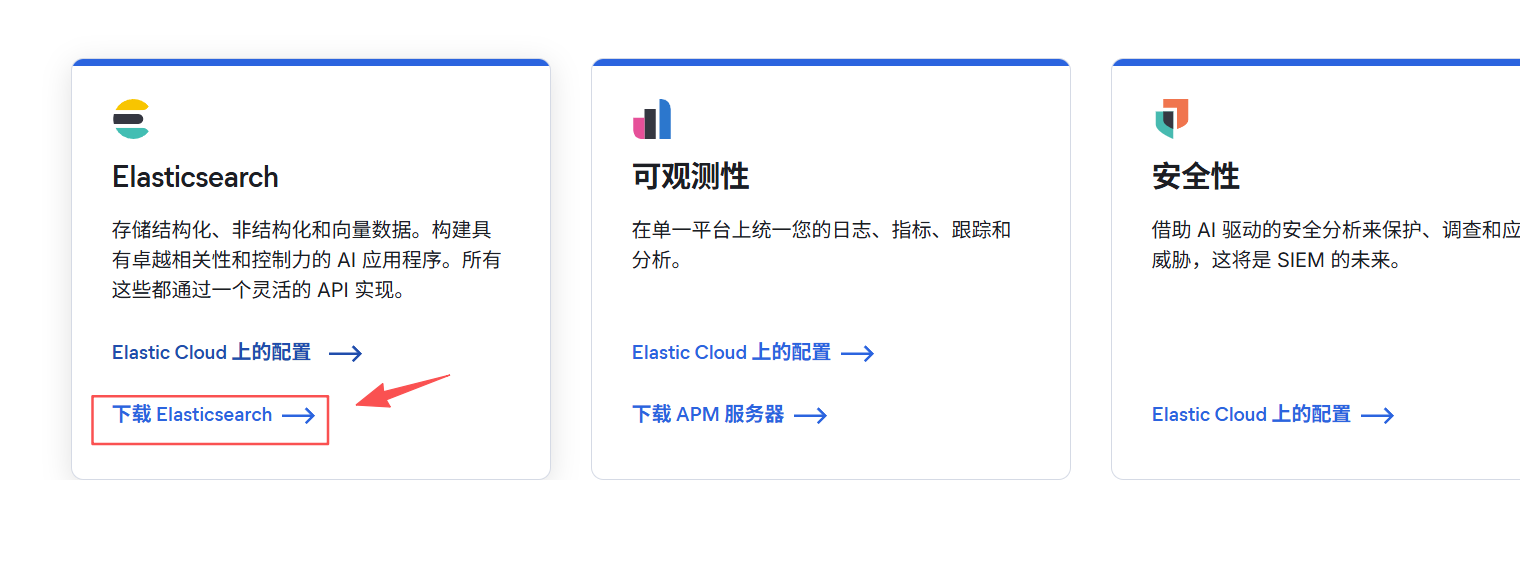
在这里插入图片描述
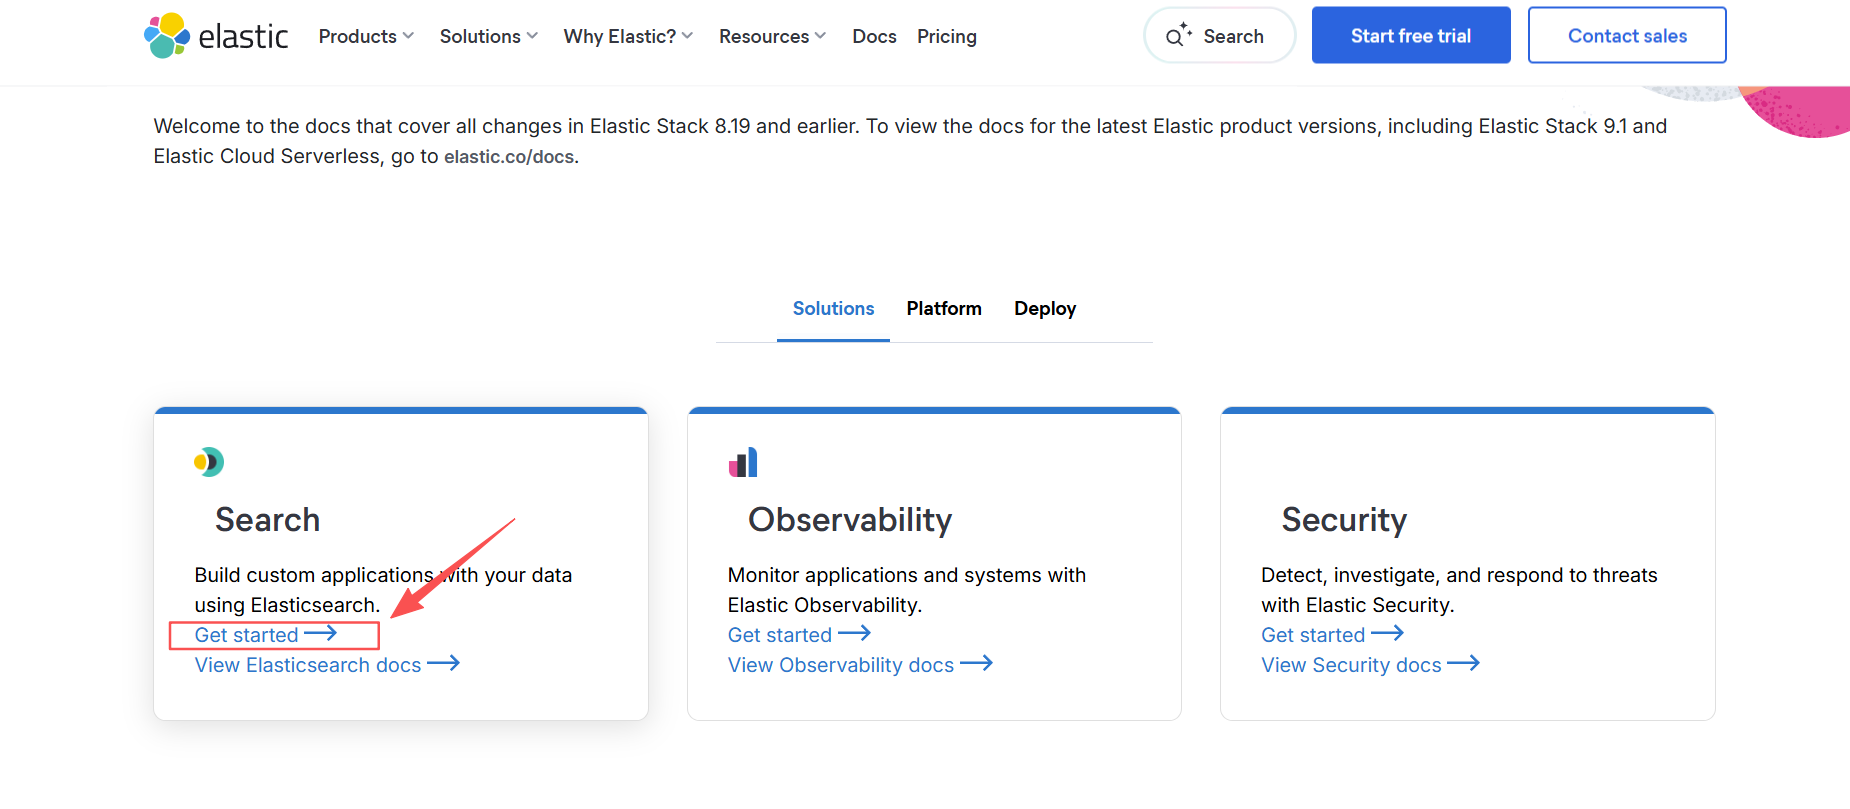
查看 Document 文档
通过 Document 文档安装 Elasticsearch
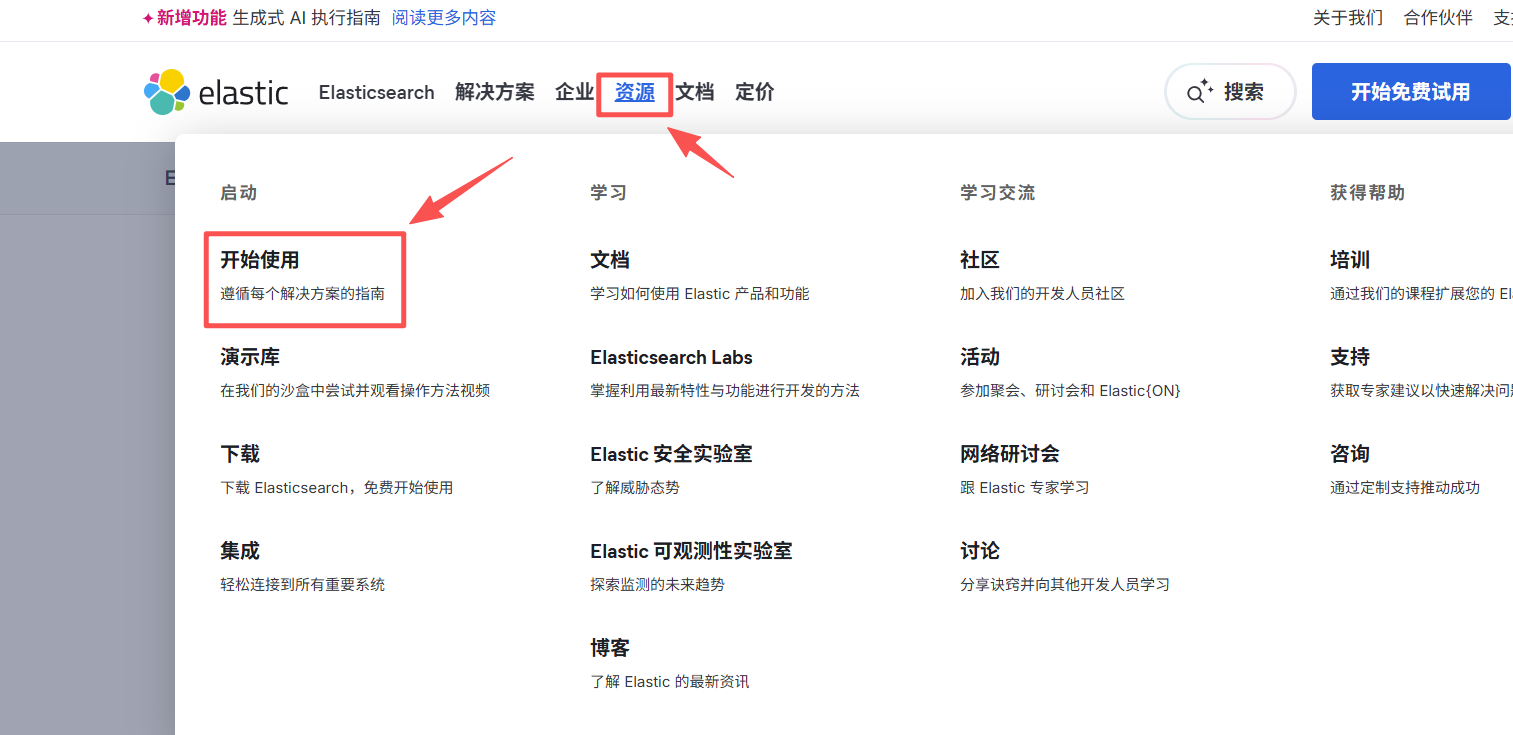
开始安装 GetStart
编辑 文件的命令
- install
快捷键ins 或者字母i
左下角会显示INSTALL字样 - 保存
Esc 加
:加wq
esc 退出编辑模式
:操作
w 写入
q 退出
!q 强行退出
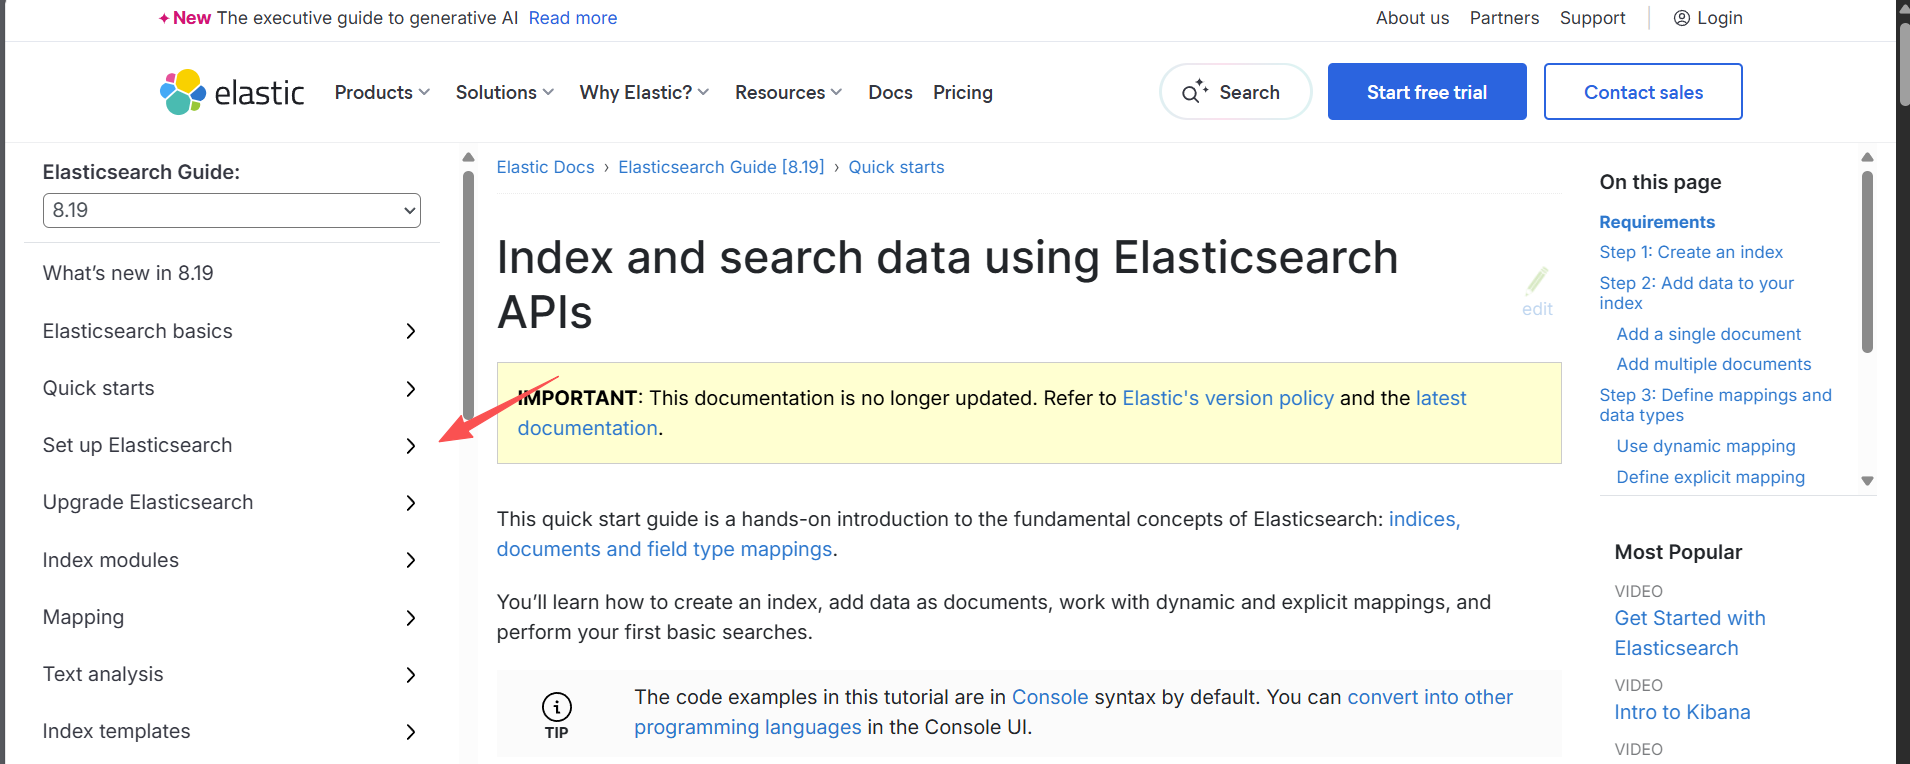
install Elasticsearch
这是安装文档,根据文档安装也可以,小白的智商不太在线,感觉文档的安装挺乱的。
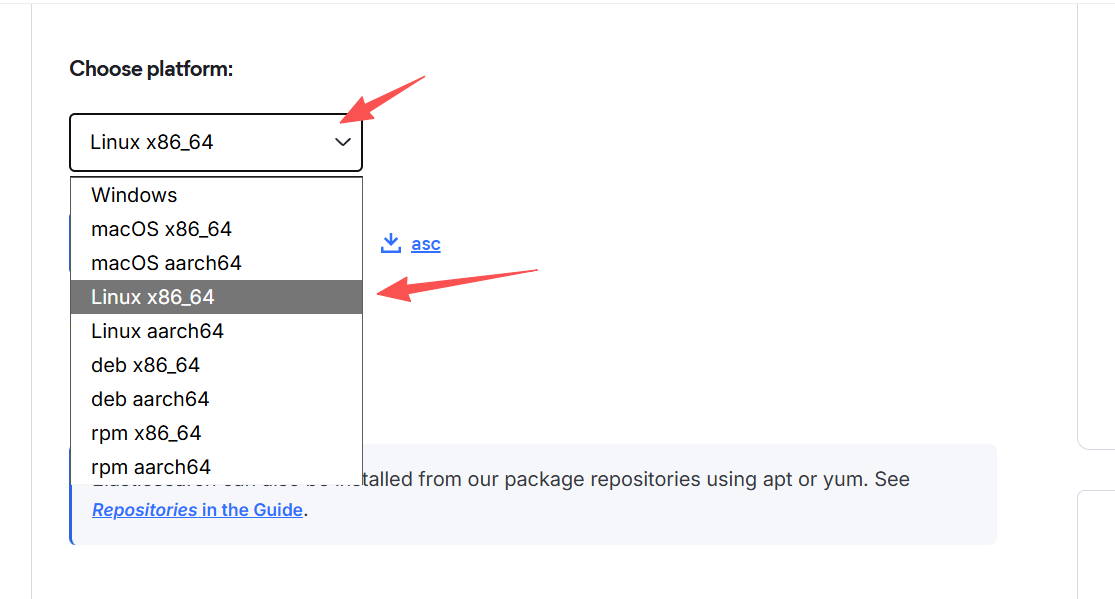
小白使用的是wget下载
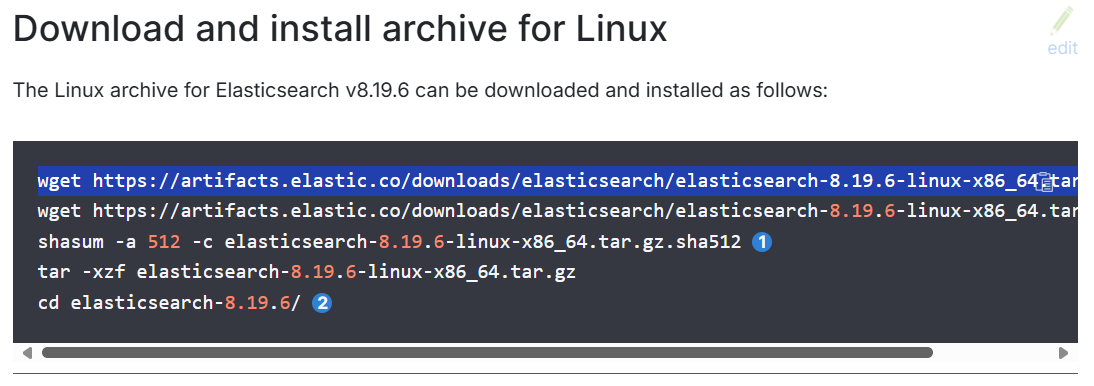
wget https://artifacts.elastic.co/downloads/elasticsearch/elasticsearch-8.19.6-linux-x86_64.tar.gz
下载并解压文件
[root@ITcat ~]# wget https://artifacts.elastic.co/downloads/elasticsearch/elasticsearch-8.19.6-linux-x86_64.tar.gz
--2025-10-24 15:32:11--  https://artifacts.elastic.co/downloads/elasticsearch/elasticsearch-8.19.6-linux-x86_64.tar.gz
Resolving artifacts.elastic.co (artifacts.elastic.co)... 198.18.0.212
Connecting to artifacts.elastic.co (artifacts.elastic.co)|198.18.0.212|:443... connected.
HTTP request sent, awaiting response... 200 OK
Length: 666391265 (636M) [application/x-gzip]
Saving to: ‘elasticsearch-8.19.6-linux-x86_64.tar.gz’

elasticsearch-8.19.6-l 100%[=========================>] 635.52M  5.15MB/s    in 2m 19s

2025-10-24 15:34:31 (4.58 MB/s) - ‘elasticsearch-8.19.6-linux-x86_64.tar.gz’ saved [666391265/666391265]
## 查看当前文件
[root@ITcat ~]# ls
anaconda-ks.cfg  elasticsearch-8.19.6-linux-x86_64.tar.gz
## 进入etc文件夹
[root@ITcat ~]# cd /usr/local/etc/
## 查看 etc文件夹
[root@ITcat etc]# ls
## 创建es文件夹
[root@ITcat etc]# mkdir es
[root@ITcat etc]# ls
es
[root@ITcat etc]# cd es
## 创建 data logs 文件夹
[root@ITcat es]# mkdir data logs
[root@ITcat es]# ls
data  logs
## 进入到 root文件夹
[root@ITcat es]# cd ~
[root@ITcat ~]# ls
anaconda-ks.cfg  elasticsearch-8.19.6-linux-x86_64.tar.gz
## 解压到指定文件夹
[root@ITcat ~]# tar -zxvf elasticsearch-8.19.6-linux-x86_64.tar.gz -C /usr/local/etc/es
创建普通用户
该用户用于ES 而创建的,因为ES不能使用root权限用户启动
- 创建用户
useradd es
- 创建es密码
passwd es
两次输入密码
- 删除用户
userdel es
- 切换用户
su es
配置elasticsearch.yml文件
给es下的文件夹赋权最高权限
# 第一个es: 用户
# 第二个es: 组
chown -R es:es /usr/local/etc/es/
编辑 elasticsearch配置文件
编辑elasticsearch,yml文件
vi /usr/local/etc/es/elasticsearch-8.19.6/config/elasticsearch.yml
#cluster.name: my-application
#
#集群名称
cluster.name: ITcat
#network.host: 192.168.0.1
#
# 网络主机 (0.0.0.0 为任意主机)
network.host: 0.0.0.0
#http.port: 9200
#
# http 端口
http.port: 9200
# transport 端口
transport.profiles.default.port: 9300
#discovery.seed_hosts: ["host1", "host2"]

#cluster.initial_master_nodes: ["node-1", "node-2"]
#
# 集群初始化
cluster.initial_master_nodes:
  - master-node

# --------------------------------------------------------------------------------

# Enable security features
xpack.security.enabled: true

xpack.security.enrollment.enabled: true

# Enable encryption for HTTP API client connections, such as Kibana, Logstash, and Agents
xpack.security.http.ssl:
  enabled: true
  keystore.path: certs/http.p12

# Enable encryption and mutual authentication between cluster nodes
xpack.security.transport.ssl:
  enabled: true
  verification_mode: certificate
# 这是证书路径,先不配置
  keystore.path: certs/transport.p12
  truststore.path: certs/transport.p12
控制面板
[2025-10-31T22:31:35,098][INFO ][o.e.t.TransportService   ] [master-node] publish_address {192.168.23.11:9300}, bound_addresses {[::]:9300}
[2025-10-31T22:31:35,178][INFO ][o.e.b.BootstrapChecks    ] [master-node] bound or publishing to a non-loopback address, enforcing bootstrap checks
[2025-10-31T22:31:35,181][ERROR][o.e.b.Elasticsearch      ] [master-node] node validation exception
[1] bootstrap checks failed. You must address the points described in the following [1] lines before starting Elasticsearch. For more information see [https://www.elastic.co/guide/en/elasticsearch/reference/8.19/bootstrap-checks.html]
bootstrap check failure [1] of [1]: max virtual memory areas vm.max_map_count [65530] is too low, increase to at least [262144]; for more information see [https://www.elastic.co/guide/en/elasticsearch/reference/8.19/bootstrap-checks-max-map-count.html]
[2025-10-31T22:31:35,186][INFO ][o.e.n.Node               ] [master-node] stopping ...
ERROR: Elasticsearch did not exit normally - check the logs at /usr/local/etc/es/logs/ITcat.log
[2025-10-31T22:31:35,236][INFO ][o.e.n.Node               ] [master-node] stopped
[2025-10-31T22:31:35,236][INFO ][o.e.n.Node               ] [master-node] closing ...
[2025-10-31T22:31:35,249][INFO ][o.e.n.Node               ] [master-node] closed
[2025-10-31T22:31:35,250][INFO ][o.e.x.m.p.NativeController] [master-node] Native controller process has stopped - no new native processes can be started

ERROR: Elasticsearch died while starting up, with exit code 78
问题
bootstrap check failure [1] of [1]: max virtual memory areas vm.max_map_count [65530] is too low, increase to at least [262144]; for more information see [https://www.elastic.co/guide/en/elasticsearch/reference/8.19/bootstrap-checks-max-map-count.html]
解决问题
vi /etc/sysctl.conf
编辑
# sysctl settings are defined through files in
# /usr/lib/sysctl.d/, /run/sysctl.d/, and /etc/sysctl.d/.
#
# Vendors settings live in /usr/lib/sysctl.d/.
# To override a whole file, create a new file with the same in
# /etc/sysctl.d/ and put new settings there. To override
# only specific settings, add a file with a lexically later
# name in /etc/sysctl.d/ and put new settings there.
#
# For more information, see sysctl.conf(5) and sysctl.d(5).
# 最大内存
vm.max_map_count=262144
sysctl -p
防火墙开发端口
添加端口号
# 编辑防火墙
firewall-cmd
# 添加端口号 TCP
--add-port=9200/tcp
# 永久
--permanent
# 重新加载
--reload
# 查看端口
--list-port
firewall-cmd --add-port=9200/tcp --permanent
firewall-cmd --add-port=9300/tcp --permanent
firewall-cmd --reload
firewall-cmd --list-port
启动 ES 初始化
- 启动es
# 切换用户
su es
# 启动elasticsearch
/usr/local/etc/es/elasticsearch-8.19.6/bin/elasticsearch
- 控制面板
[2025-11-10T17:34:57,028][INFO ][o.e.c.r.a.AllocationService] [master-node] current.health="GREEN" message="Cluster health status changed from [RED] to [GREEN]
- 访问 ES服务器
https:// 服务器ip 地址:9200/
因为没有进行安全方面的设置所以当前访问为不安全
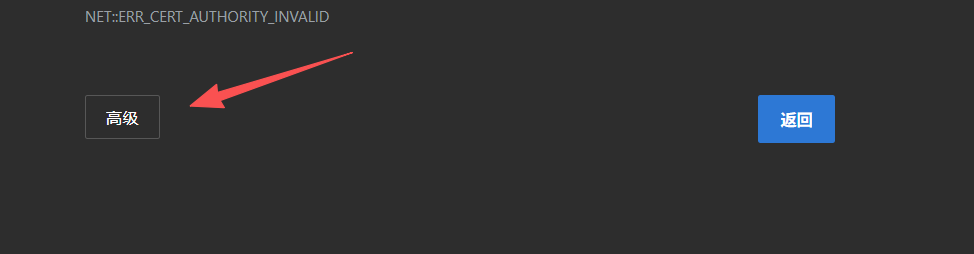

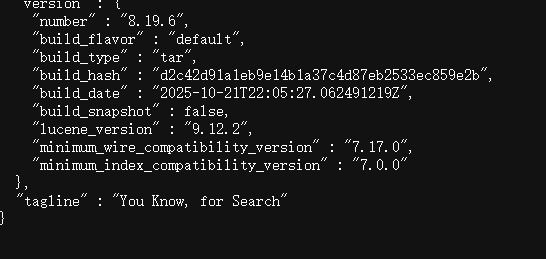
好的说明服务器已经能够成功的访问了
Ctrl+C关闭服务器,因为不是后台启动,可以这样关闭
如果想要访问页面只能关闭安全功能
在elasticsearch.yml文件中,只能在启动一次的情况下才能显示,要不就要自己配置,小白比较懒,展示
vi /usr/local/etc/es/elasticsearch-8.19.6/config/elasticsearch.yml
# Enable security features default true
# if false xpack security  disenable
xpack.security.enabled: false
同时访问将改成http://服务器ip地址:9200/
重置elastic 密码
step 1:
就是启动elasticsearch
哈哈哈哈,对头
su es
/usr/local/etc/es/elasticsearch-8.19.6/bin/elasticsearch
[2025-11-13T15:56:12,903][INFO ][o.e.c.r.a.AllocationService] [master-node] current.health="GREEN" message="Cluster health status changed from [RED] to [GREEN] (reason: [shards started [[.ds-ilm-history-7-2025.11.10-000001][0], [.security-7][0]]])." previous.health="RED" reason="shards started [[.ds-ilm-history-7-2025.11.10-000001][0], [.security-7][0]]"
[2025-11-13T15:56:41,804][WARN ][o.e.h.AbstractHttpServerTransport] [master-node] caught exception while handling client http traffic, closing connection Netty4HttpChannel{localAddress=/192.168.23.242:9200, remoteAddress=/192.168.23.1:49889}io.netty.handler.codec.DecoderException: javax.net.ssl.SSLHandshakeException: (certificate_unknown) Received fatal alert: certificate_unknown
step 2:
就是换个窗口编辑命令Ha !
小白这里直接使用 cmd 命令窗口了
ssh root@你虚拟机的ip地址
# 然后输入密码 哦了!
重置elastic密码
su es
/usr/local/etc/es/elasticsearch-8.19.6/bin/elasticsearch-reset-password -u elastic -interactive
warning: ignoring JAVA_HOME=/usr/local/etc/es/elasticsearch-8.19.6/jdk; using bundled JDK
This tool will reset the password of the [elastic] user.
You will be prompted to enter the password.
Please confirm that you would like to continue [y/N]y
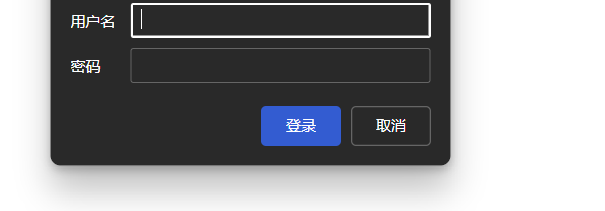
Enter password for [elastic]: 输入你的密码就好了
然后再重新访问并登录就行了
这是单机的Ha!不是集群搭建,集群还要生成证书什么的


 746
746

 被折叠的 条评论
为什么被折叠?
被折叠的 条评论
为什么被折叠?
 到【灌水乐园】发言


