


- 新建springboot工程
我使用的是idea 直接新建springboot工程
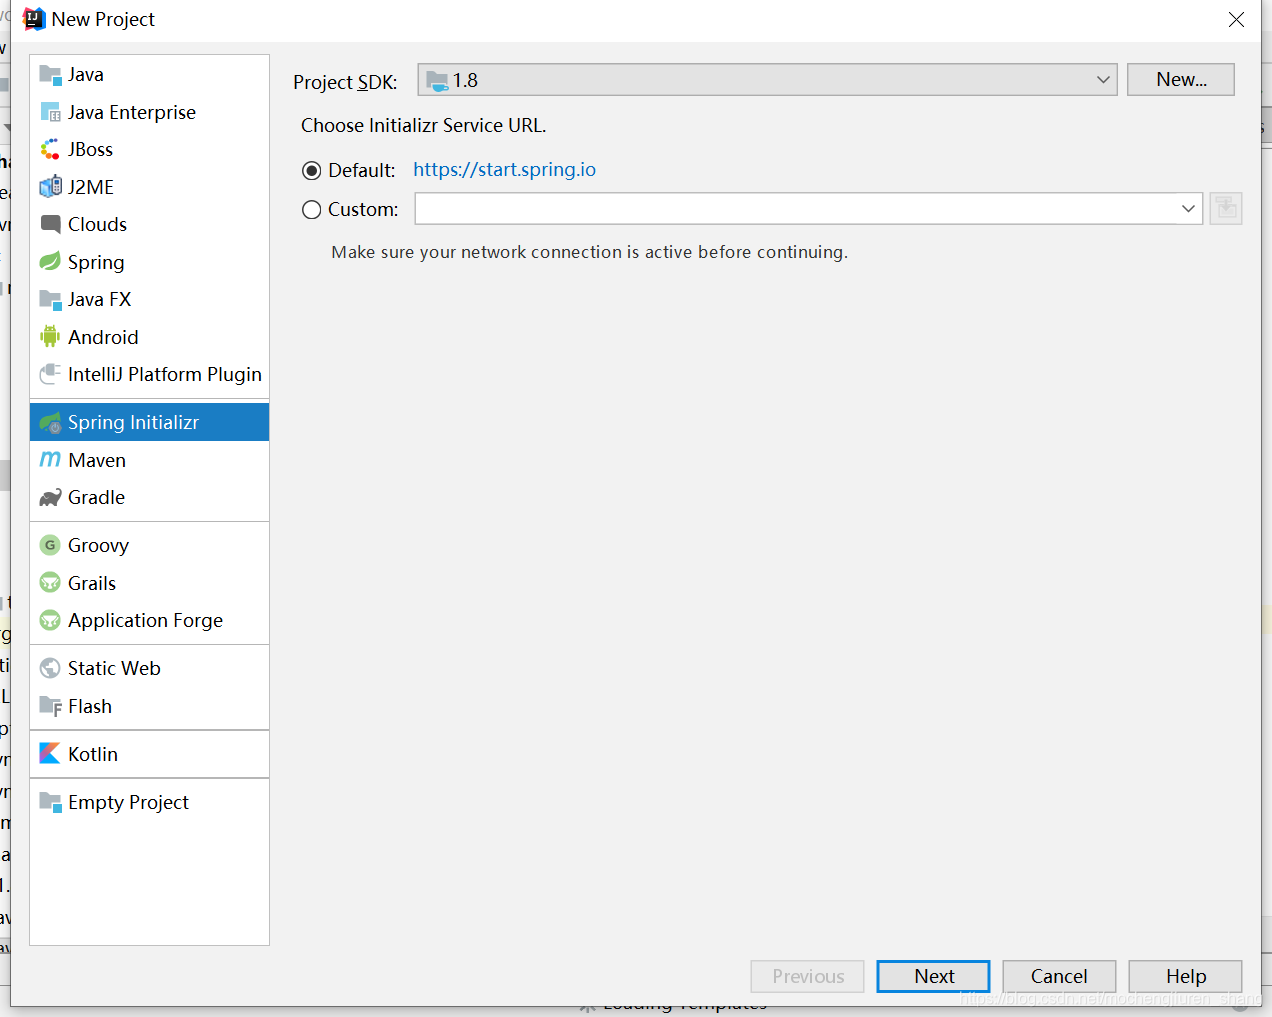
选择 new 新建工程,选择Spring Initlalizr ,点击next
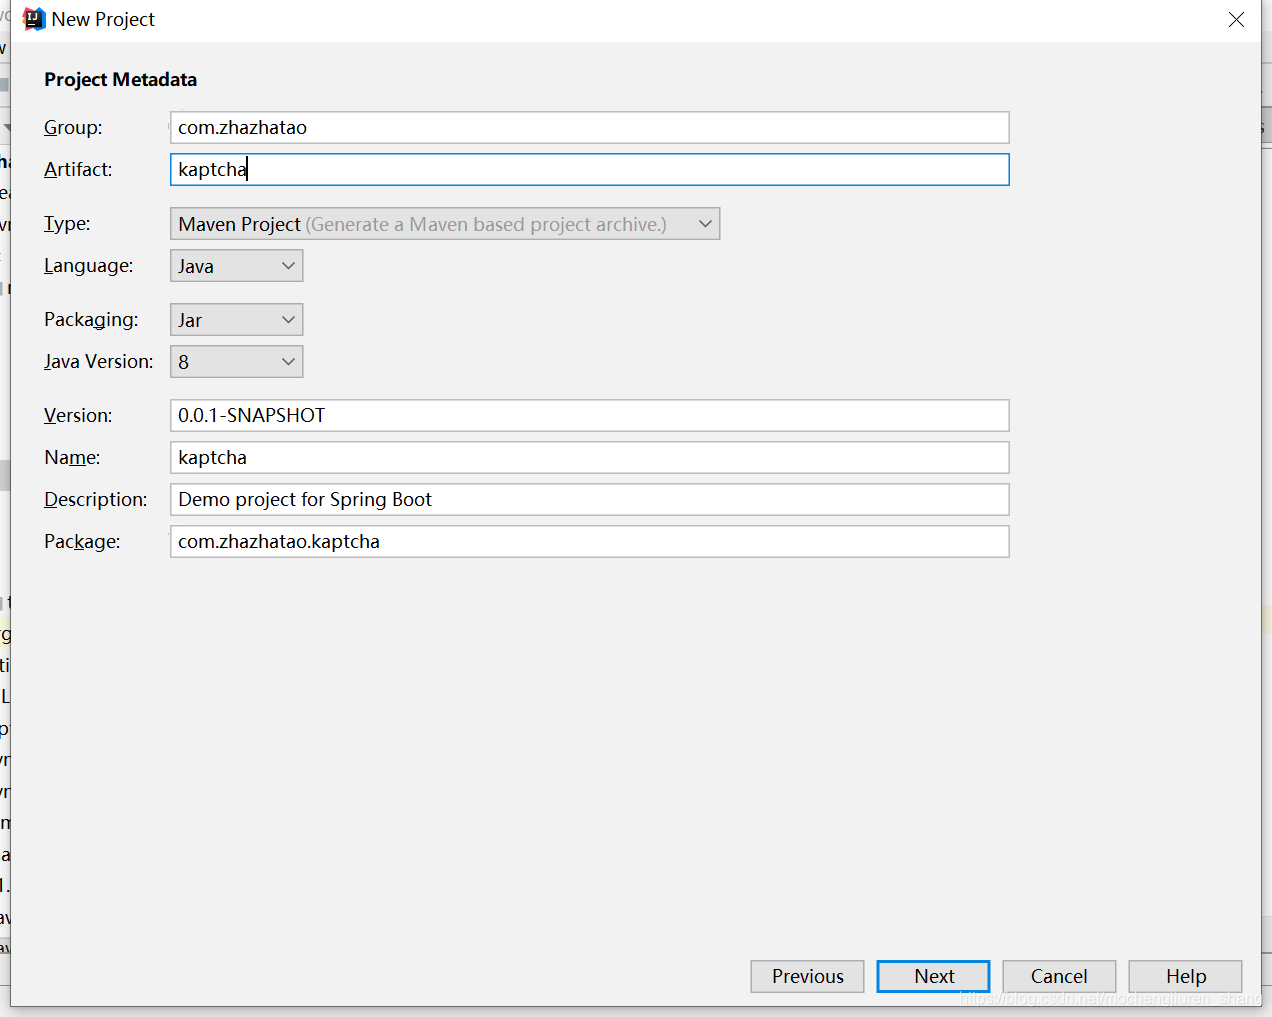
修改自己的Group和artifact,点击next
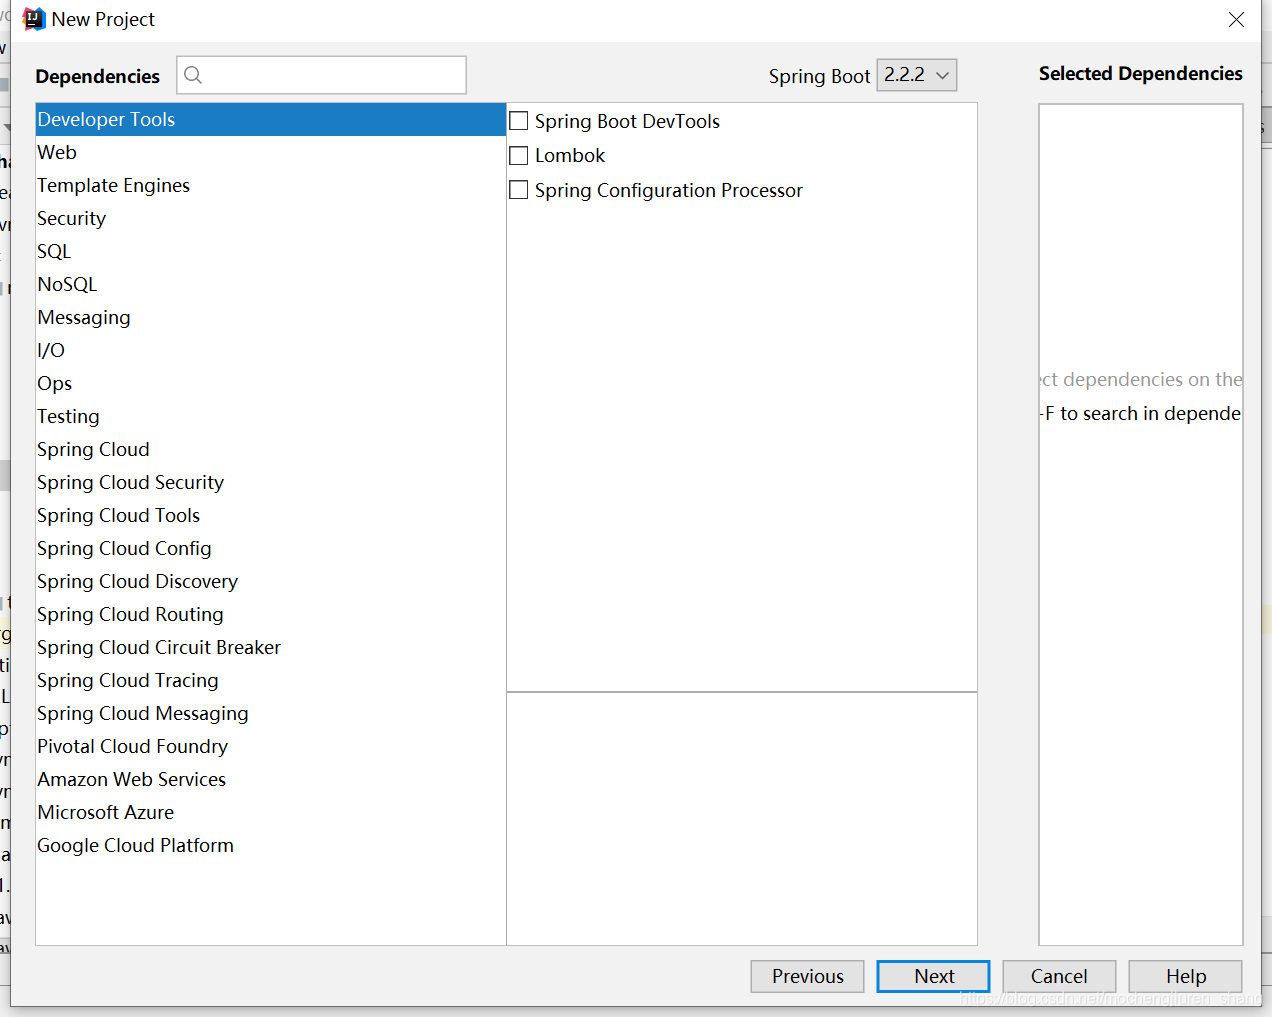
这里选择需要的jar包模块(路过的大佬请指教一下这个的官方名称),不用选,直接next
基本上不需要改,可以修改一下存放的位置,记得选对文件夹哦,最后点击finish

- 引入kaptcha所需jar包
<dependency>
    <groupId>com.github.penggle</groupId>
    <artifactId>kaptcha</artifactId>
    <version>2.3.2</version>
</dependency>
- 将bean 引入IOC容器
import com.google.code.kaptcha.impl.DefaultKaptcha;
import com.google.code.kaptcha.util.Config;
import org.springframework.context.annotation.Bean;
import org.springframework.context.annotation.Configuration;
import org.springframework.web.servlet.config.annotation.WebMvcConfigurer;

import java.util.Arrays;
import java.util.List;
import java.util.Properties;

@Configuration
public class WebConfig implements WebMvcConfigurer {
    /**
     * 验证码生成相关
     */
    @Bean
    public DefaultKaptcha kaptcha() {
        Properties properties = new Properties();
        properties.put("kaptcha.border", "no");
        properties.put("kaptcha.border.color", "105,179,90");
        properties.put("kaptcha.textproducer.font.color", "blue");
        properties.put("kaptcha.image.width", "125");
        properties.put("kaptcha.image.height", "45");
        properties.put("kaptcha.textproducer.font.size", "45");
        properties.put("kaptcha.session.key", "code");
        properties.put("kaptcha.textproducer.char.length", "4");
        properties.put("kaptcha.textproducer.font.names", "宋体,楷体,微软雅黑");
        Config config = new Config(properties);
        DefaultKaptcha defaultKaptcha = new DefaultKaptcha();
        defaultKaptcha.setConfig(config);
        return defaultKaptcha;
    }
}
- 写controller
import com.google.code.kaptcha.Constants;
import com.google.code.kaptcha.Producer;
import org.springframework.beans.factory.annotation.Autowired;
import org.springframework.stereotype.Controller;
import org.springframework.web.bind.annotation.RequestMapping;

import javax.imageio.ImageIO;
import javax.servlet.ServletOutputStream;
import javax.servlet.http.HttpServletRequest;
import javax.servlet.http.HttpServletResponse;
import javax.servlet.http.HttpSession;
import java.awt.image.BufferedImage;
import java.io.IOException;

@Controller
@RequestMapping("/kaptcha")
public class KaptchaController {
    @Autowired
    private Producer producer;

    /**
     * 生成验证码
     */
    @RequestMapping("")
    public void index(HttpServletRequest request, HttpServletResponse response) {
        HttpSession session = request.getSession();

        response.setDateHeader("Expires", 0);

        // Set standard HTTP/1.1 no-cache headers.
        response.setHeader("Cache-Control", "no-store, no-cache, must-revalidate");

        // Set IE extended HTTP/1.1 no-cache headers (use addHeader).
        response.addHeader("Cache-Control", "post-check=0, pre-check=0");

        // Set standard HTTP/1.0 no-cache header.
        response.setHeader("Pragma", "no-cache");

        // return a jpeg
        response.setContentType("image/jpeg");

        // create the text for the image
        String capText = producer.createText();

        // store the text in the session
        session.setAttribute(Constants.KAPTCHA_SESSION_KEY, capText);

        // create the image with the text
        BufferedImage bi = producer.createImage(capText);
        ServletOutputStream out = null;
        try {
            out = response.getOutputStream();
        } catch (IOException e) {
            e.printStackTrace();
        }

        // write the data out
        try {
            ImageIO.write(bi, "jpg", out);
        } catch (IOException e) {
            e.printStackTrace();
        }
        try {
            try {
                out.flush();
            } catch (IOException e) {
                e.printStackTrace();
            }
        } finally {
            try {
                out.close();
            } catch (IOException e) {
                e.printStackTrace();
            }
        }
    }
}
- 运行工程,访问

访问127.0.0.1:8080/kaptcha
就可以看到验证码了

6. 验证码使用
在html 使用
<img src ='127.0.0.1:8080/kaptcha'>
查看验证码
后台通过
((HttpServletRequest)Objects.requireNonNull(HttpContext.getRequest())).getSession().getAttribute(Constants.KAPTCHA_SESSION_KEY)
获取验证码


 20万+
20万+

 被折叠的 条评论
为什么被折叠?
被折叠的 条评论
为什么被折叠?
 到【灌水乐园】发言


