


首先说一下参考博文:
文章标题“VScode 调试教程 tasks.json和launch.json的设置(超详细)”
地址:https://blog.youkuaiyun.com/qq_59084325/article/details/125662393
官方文档太官方,其他人的文档也看过,单独都理解了,两个配置搭配就是没能启动调试,原来是相对路径的问题,今天看了一个超详细图片说明,加上C/C++的编译和使用的时间长了一点,就可以配置并调试了。
linux下的环境
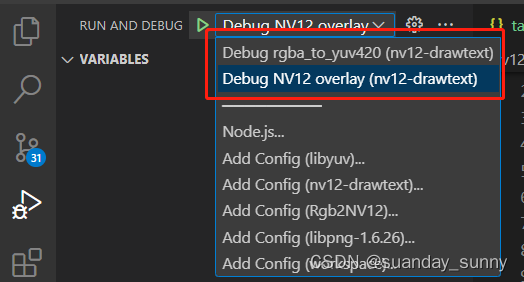
- launch.json用于调试的启动,多个配置在启动处有下拉列表的
- task.json是编译配置,launch之前先自动编译
举例,配置两个调试
task.json
{
    "tasks": [
        {
            "type": "cppbuild",
            "label": "build rgba_to_yuv420.c",
            "command": "/usr/bin/gcc",
            "args": [
                "-fdiagnostics-color=always",
                "-g",
                "${fileDirname}/rgba_to_yuv420.c",
                "-I.",
                "-Iinclude",
                "-Llib",
                "-lyuv",
                "-o",
                "test-rgba_to_yuv420"
            ],
            "options": {
                "cwd": "${fileDirname}"
            },
            "problemMatcher": [
                "$gcc"
            ],
            "group": {
                "kind": "build",
                "isDefault": true
            },
            "detail": "Task generated by Debugger."
        },
        {
            "type": "cppbuild",
            "label": "build NV12 OVERLAY",
            "command": "/usr/bin/g++",
            "args": [
                "-fdiagnostics-color=always",
                "-g",
                "${fileDirname}/pixel_format_nv12_overlay.cpp",
                "${fileDirname}/pixel_format_nv12_overlay-test.cpp",
                "${fileDirname}/rgb_to_nv12.cpp",
                "-I.",
                "-o",
                "test-nv12_overlay"
            ],
            "options": {
                "cwd": "${fileDirname}"
            },
            "problemMatcher": [
                "$gcc"
            ],
            "group": {
                "kind": "build",
                "isDefault": true
            },
            "detail": "Task generated by Debugger."
        }
    ],
    "version": "2.0.0"
}
task.json主要就是配置编译命令。
launch.json
{
    // Use IntelliSense to learn about possible attributes.
    // Hover to view descriptions of existing attributes.
    // For more information, visit: https://go.microsoft.com/fwlink/?linkid=830387
    "version": "0.2.0",
    "configurations": [
        {
            "type": "cppdbg",
            "request": "launch",
            "name": "Debug rgba_to_yuv420",
            "program": "${workspaceFolder}/test-rgba_to_yuv420",
            "args": [],
            "cwd": "${workspaceFolder}",
            "preLaunchTask": "build rgba_to_yuv420.c",
            "MIMode": "gdb"
        },
        {
            "type": "cppdbg",
            "request": "launch",
            "name": "Debug NV12 overlay",
            "program": "${workspaceFolder}/test-nv12_overlay",
            "args": [],
            "cwd": "${workspaceFolder}",
            "preLaunchTask": "build NV12 OVERLAY",
            "MIMode": "gdb"
        },
    ]
}
launch.json用于启动调试
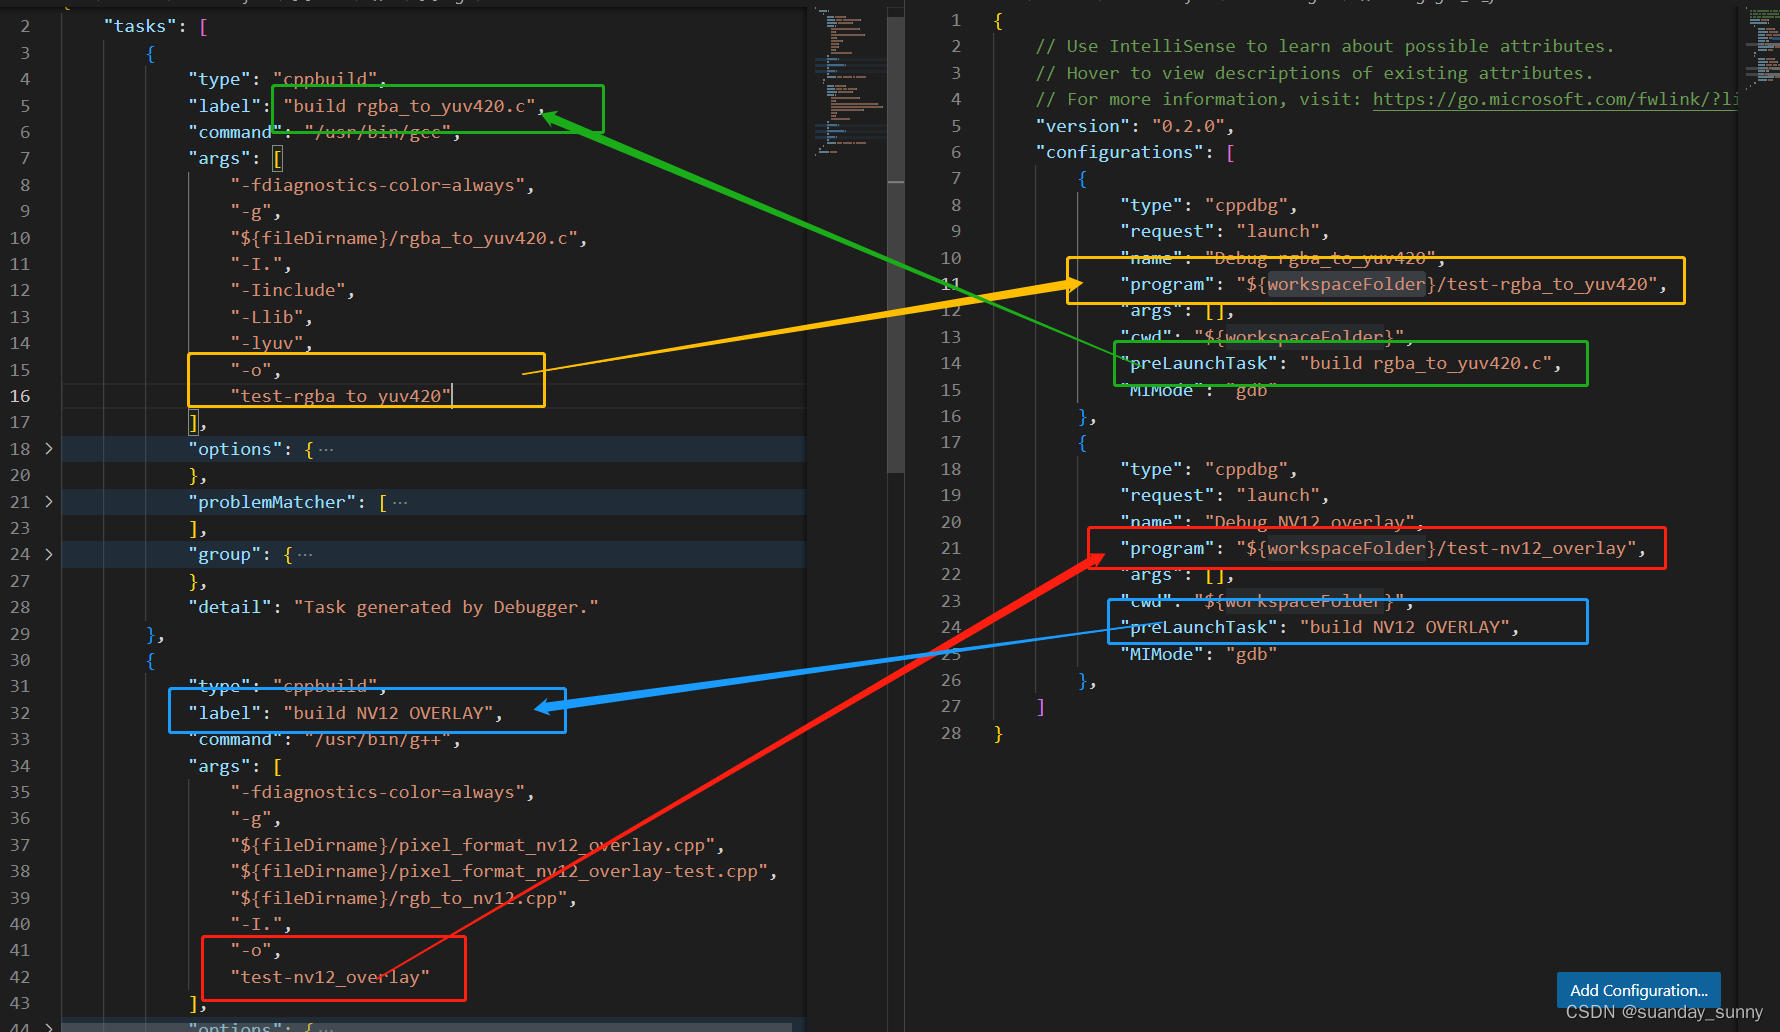
配置文件中使用了内置变量,${fileDirname},${workspaceFolder}等等,因为涉及文件和路径,所以调试的时候注意相对路径。
在上面两个配置文件中,workspaceFolder与${fileDirname}的实际路径是一致。
源代码文件都位于项目的根目录。
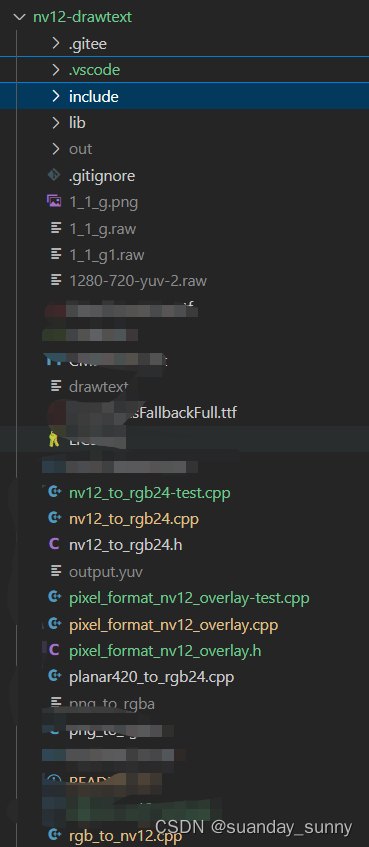
所以调试启动时,当前打开文件或者左侧目录树中选中的文件需要是项目跟目录文件,才能正确启动编译和调试。
两个文件要相互依赖


 1296
1296

 被折叠的 条评论
为什么被折叠?
被折叠的 条评论
为什么被折叠?
 到【灌水乐园】发言


