


 博客围绕微服务部署展开,因用Tomcat部署部分服务启动慢,考虑加快启动速度。先探讨热部署,发现对项目行不通,后尝试用Jetty部署,介绍了下载、在IDE中添加等步骤,还提及部署中遇到的指定启动模块、修改端口号等问题,不过最终未实现加快启动速度的目的。
各位读者,五一快乐!
我们微服务用Tomcat部署,部分服务比如bdc服务部署起来非常慢,至少要2-4分钟吧。如果你修复Bug效率不是很高,DEbug几下,每次都要重新部署,非常忧心啊…目的:加快启动速度。
目录
一、为何不热部署?
二、如何用Jetty部署?
三、总结
一、为何不热部署?
怎么办呢?
1、热部署
2、换一种方式部署——Jetty.
热部署:热部署,有的项目行得通,我们的项目基本行不通。不是行不通,只是这么做带来的问题还不如重启呢。在Idea中如何实现所谓的“热部署”这里不再赘述,无非就是:
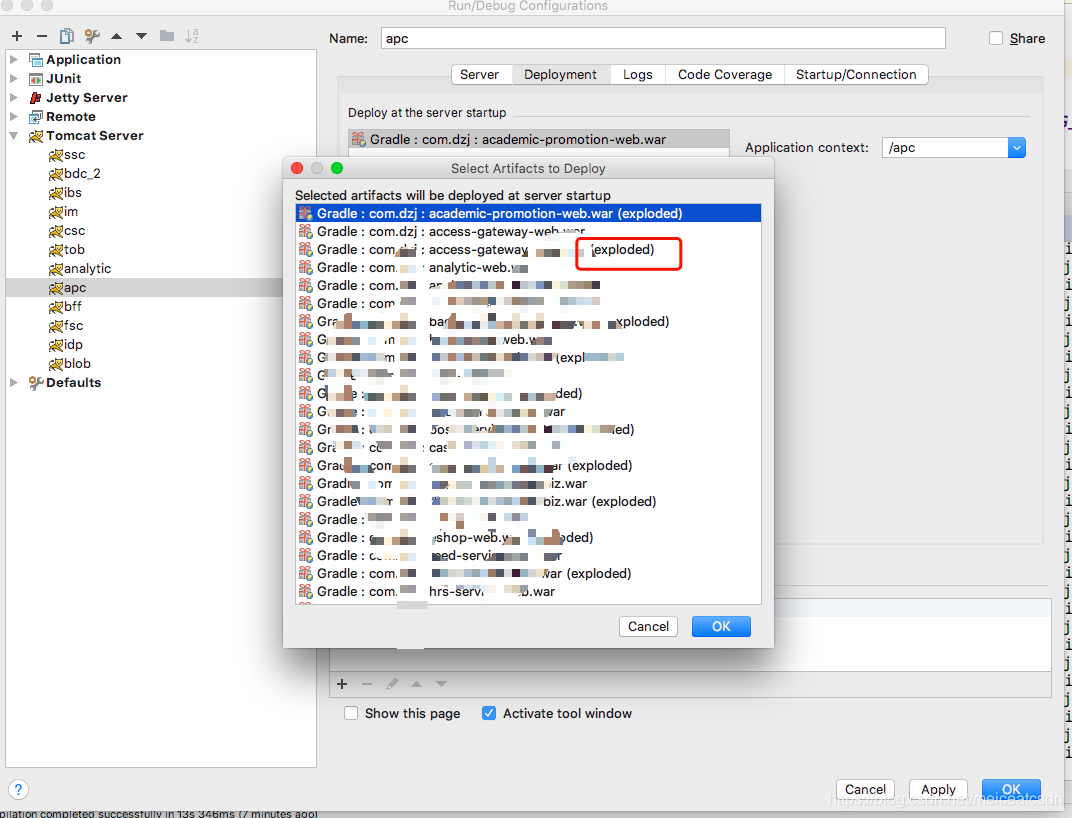
1)不部署.war包,而是部署.war(explored);
2)配置页选择:upload classes and resources
实践证明这么做,对于我们的项目行不通。采访了架构师、经理以及同样适用IDEA的小伙伴们,大家也都没有采用热部署。架构师说了,我们的项目使用热部署不合适,会有其他细节问题。建议我采用Jetty部署。
二、如何用Jetty部署?
使用Jetty热部署,主要是加快服务启动速度,修复一个NPE问题不到1分钟,启动4分钟,不是很头疼嘛?尤其在前端看着你修改的前提下…
我们先不纠结什么是Jetty,为什么用它,它和Tomcat的区别?后期会做详细介绍,这里先用起来再说。
大体还是要知道Jetty是什么的,官网这么说:
Jetty is an open-source project providing an HTTP server, HTTP client, and javax.servlet container.
所以很明白了,部署方式和Tomcat类似。
1)下载Jetty,就类似下载Tomcat一样。
在下使用的是:jetty-9.4.16
目录结构如下:
dzjdeMacBook-Air:jetty-9.4.16 dzj$ ls -l
total 1552
-rw-r--r--    1 dzj  admin    1637  4 18 14:37 README.TXT
-rw-r--r--    1 dzj  admin  517811  4 18 14:37 VERSION.txt
drwxr-xr-x    3 dzj  admin      96  5  2 22:29 bin
drwxr-xr-x    7 dzj  admin     224  4 18 14:37 demo-base
drwxr-xr-x    4 dzj  admin     128  5  2 10:20 dubbo-registry
-rw-r--r--    1 dzj  admin   56246  5  3 09:21 dzj.log
drwxr-xr-x   60 dzj  admin    1920  4 18 14:37 etc
drwxr-xr-x   51 dzj  admin    1632  4 18 14:37 lib
-rw-r--r--    1 dzj  admin   30012  4 18 14:37 license-eplv10-aslv20.html
drwxr-xr-x    3 dzj  admin      96  4 18 14:37 logs
drwxr-xr-x  136 dzj  admin    4352  5  2 22:27 modules
-rw-r--r--@   1 dzj  admin    6262  4 18 14:37 notice.html
drwxr-xr-x    2 dzj  admin      64  4 18 14:37 resources
-rw-r--r--    1 dzj  admin    5469  5  2 10:17 start.ini
-rw-r--r--    1 dzj  admin  160627  4 18 14:37 start.jar
drwxr-xr-x    3 dzj  admin      96  5  2 22:31 webapps
结构蛮简单。start.ini是初始化配置文件,类似MySQL的初始化文件,都是.ini结尾。
start.jar可以直接在command行运行(参考官方文档)
java -jar start.jar
运行后,如果端口冲突就去start.ini中修改端口号即可。
demo-base:中放了一些案例。
其他目录一看即懂,不在赘述。
2)在IDE中添加Jetty Server
我用的是:IDEA。
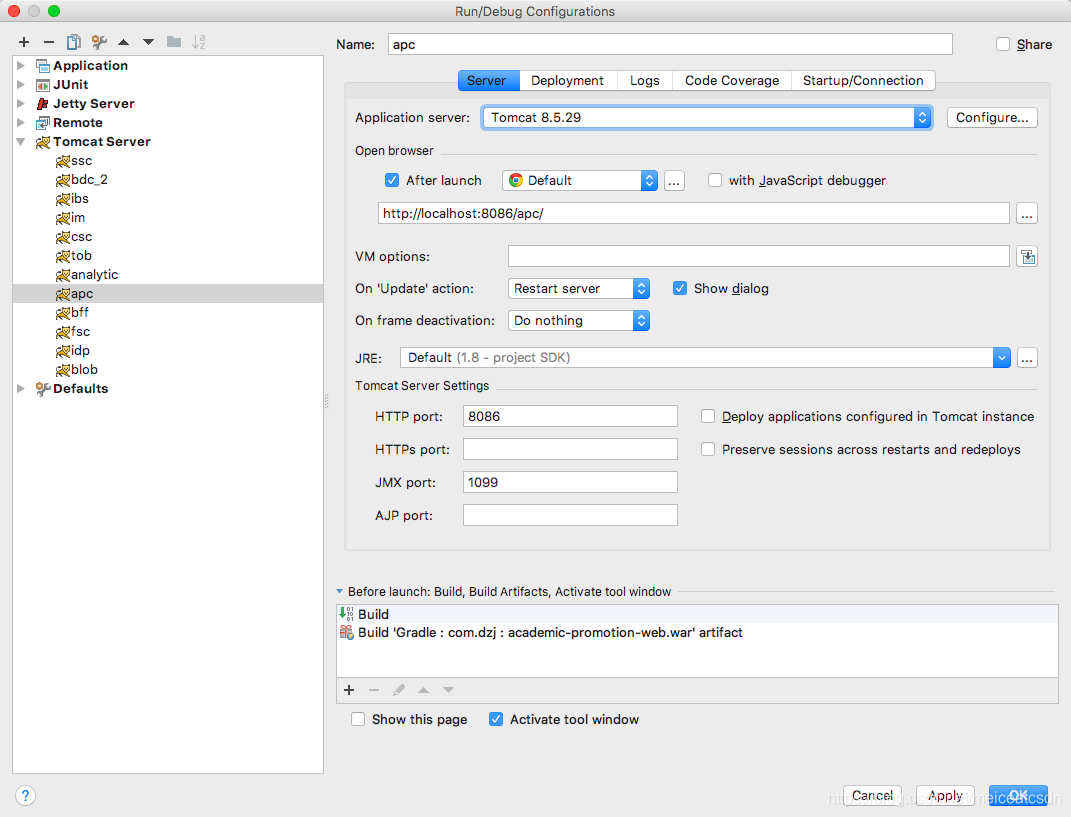
Run ==》 Edit Configurations ==>+
3)接下来基本和Tomcat一模一样。添加Local。网上资料很多,不在赘述。
遇到的问题是:
1、需要指定启动的module
在start.ini中增加一行:
--module=jmx
或者通过命令行方式:
$ cd ${jetty.base}
$ java -jar {$jetty.home}/start.jar --add-to-start=jmx
为什么这么指定呢?
官网说的很清楚:
https://www.eclipse.org/jetty/documentation/current/jmx-chapter.html
1、JMX很重要
The Java Management Extensions (JMX) API is a standard API for managing and monitoring resources such as applications, devices, services, and the Java virtual machine.

Typical uses of the JMX technology include:

Consulting and changing application configuration
Accumulating and making available statistics about application behavior
Notifying of state changes and erroneous conditions
The JMX API includes remote access, so a remote management program can interact with a running application for these purposes.

2、JMX在架构中必不可少,是所有运行的基础


Jetty’s architecture is based on POJO components (see Jetty Architecture). These components are organized in a tree and each component may have a lifecycle that spans the Server lifetime, or a web application lifetime, or even shorter lifetimes such as that of a TCP connection.

Every time a component is added or removed from the component tree, an event is emitted, and Container.Listener implementations can listen to those events and perform additional actions.

One such Container.Listener is MBeanContainer that uses ObjectMBean to create an MBean from an arbitrary POJO, and register/unregister the MBean to/from the platform MBeanServer.

Jetty components are annotated with Jetty JMX Annotations and provide specific JMX details so that ObjectMBean can build a more precise representation of the JMX metadata associated with the component POJO.
Standalone Jetty Server
JMX is not enabled by default in the Jetty distribution. To enable JMX in the Jetty distribution run the following, where {$jetty.home} is the directory where you have the Jetty distribution installed, and ${jetty.base} is the directory where you have your Jetty configuration (see the documentation for Jetty base vs. home examples):
$ cd ${jetty.base}
$ java -jar {$jetty.home}/start.jar --add-to-start=jmx
Running the above command will append the available configurable elements of the jmx module to the {$jetty.base}/start.ini file, or create the ${jetty.base}/start.d/jmx.ini file.
用命令行模式追加好处在哪里呢?
因为命令行模式很标准。让100000个人操作的结果都是一样的,当时你说修改文档,那么很多人:
1)不知道该加到哪里
2)有可能一不小心动了别的地方,对不对?
2、无法再GUI界面修改Jetty端口号
即便在VM Options中指定-Djetty.port=xxxx也不顶用。
结论:通过这种方式指定端口号不生效。
所以,很简单了,去stat.ini中修改端口号,方法类似修改tomcat的server.xml。
我们都知道Tomcat默认有3个端口:一个关闭端口,一个AJP端口,一个HTTP端口,默认8080,修改这个即可。同理,start.ini中修改HTTP端口即可。
jetty.http.port=8081
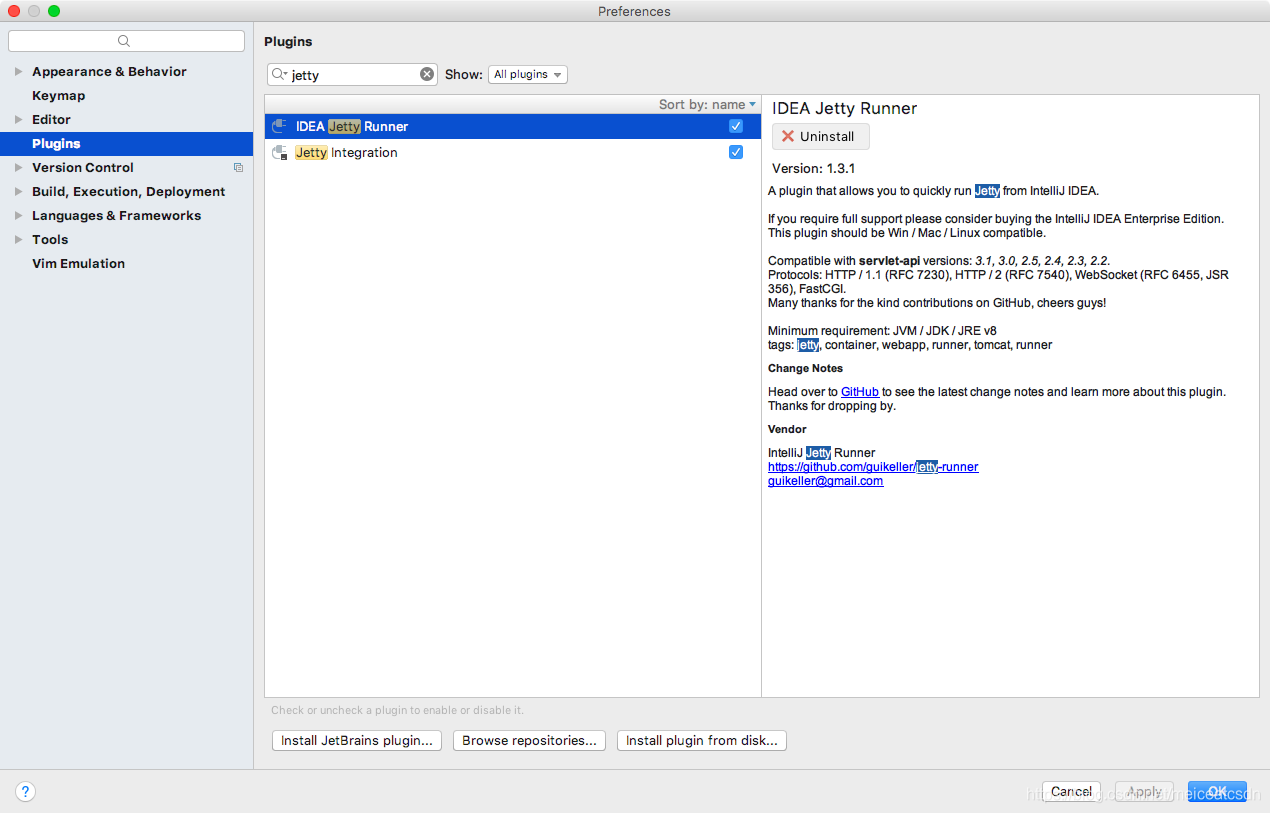
3、需要插件么?
网上说需要给Idea安装Jetty插件,安装了感觉没卵用。
4、服务启动速度并没有加快。
这无疑是最遗憾的了。看了这么多文档,却没有一个骄傲的结果。
| Tomcat | Jettty |
|---|---|
| 4min | 4min |
我希望Jetty可以在1min中内启动,然而…,所有能想到影响启动的地方都改进了:去除了所有的Break Points等等,为什么没能加快启动速度?暂且搁置。
好了,到这里了,童鞋们,下课休息一会。下一篇:我们该思考,Jetty和Tomcat区别?各自应用场景?到底怎么用才能感受到彼此差别?有非常明确的案例么?


 3338
3338

 被折叠的 条评论
为什么被折叠?
被折叠的 条评论
为什么被折叠?
 到【灌水乐园】发言


