


 本文详细介绍了如何使用Spring Boot快速搭建一个完整的Web应用项目,并演示了如何通过Thymeleaf模板引擎显示数据。
1). 新建工程 -> Creat New Project

图1.png
2). 选择模板
- Project SDK:点击New...选择jdk
- Choose Initializr Service URL 选择Custom, 链接选用
http://start.spring.io/,据说不带s的快 图2.png
3). 配置

图3.png
4). 选择Web -> web, (非必须选择)Template Engines -> Thymeleaf(用来替换jsp模板引擎)
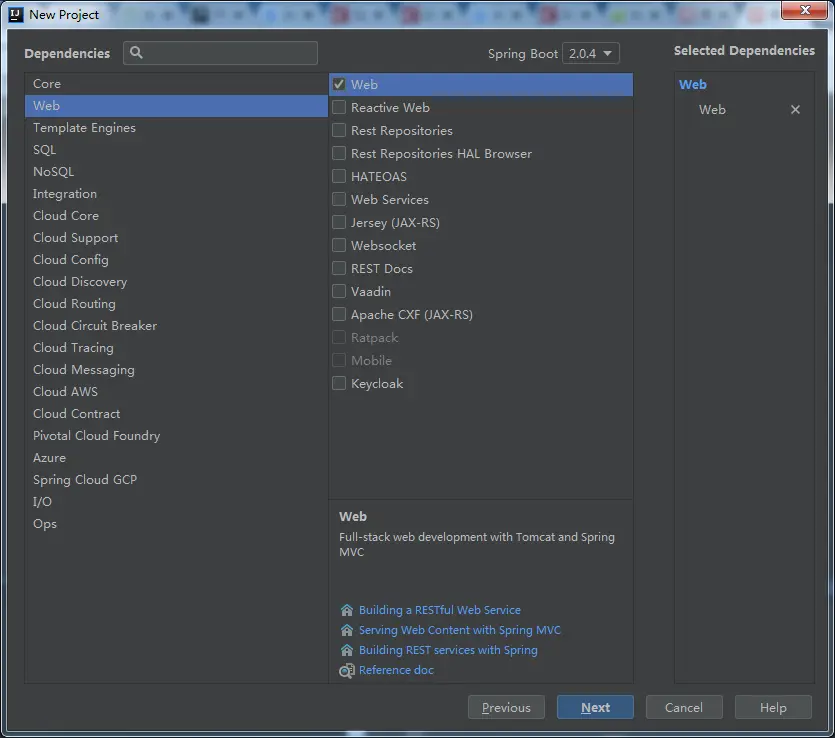
图4.png
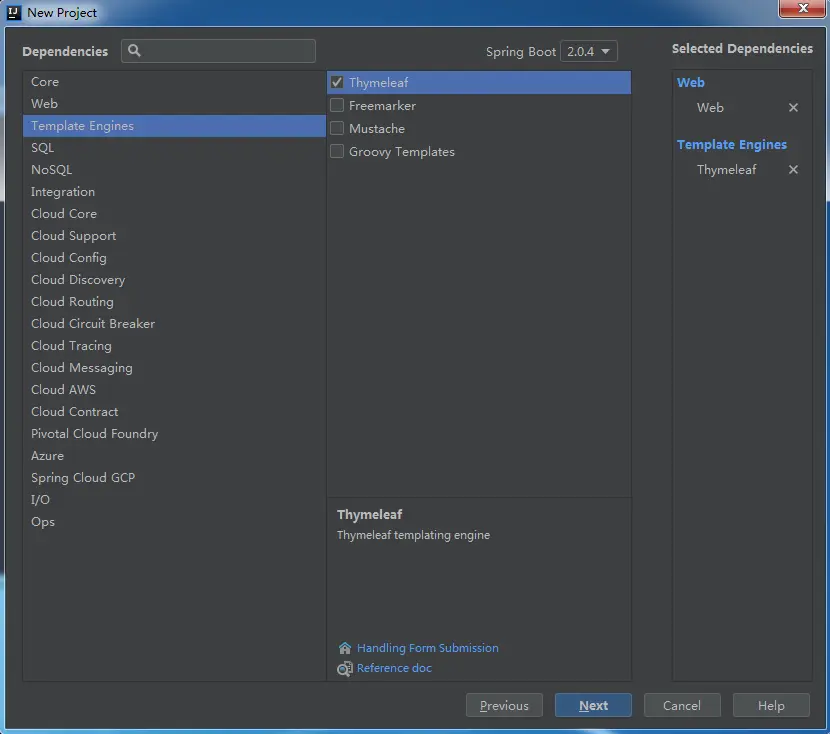
图5.png
5). 选择工程名和路径
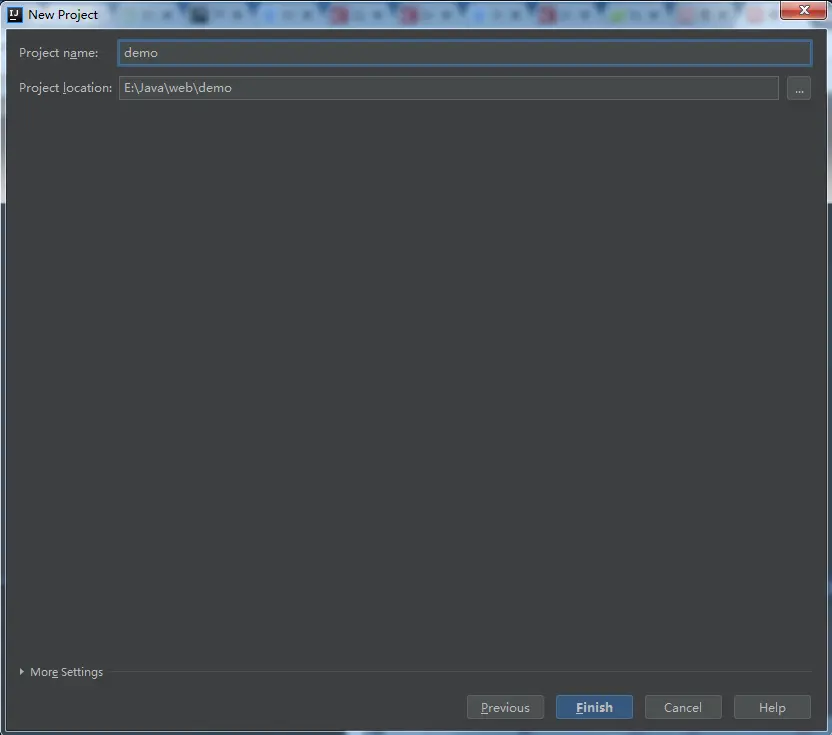
图6.png
6). 运行(点击绿色的三角按钮)
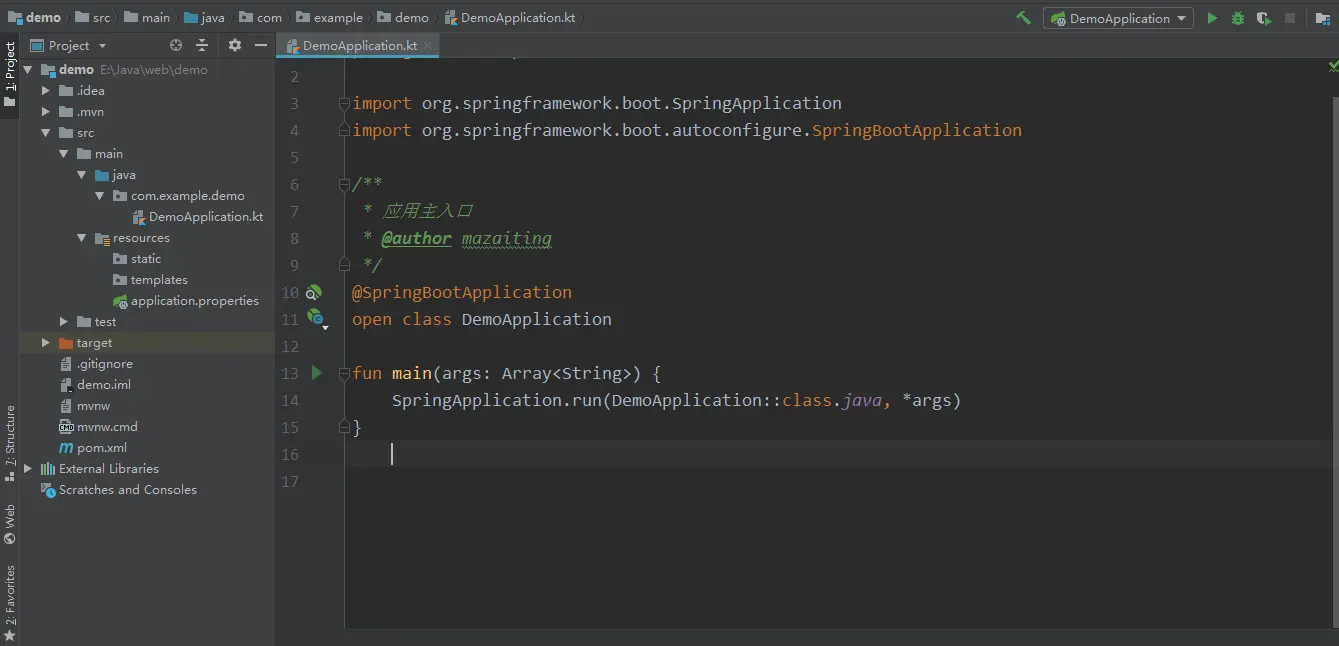
图7.png
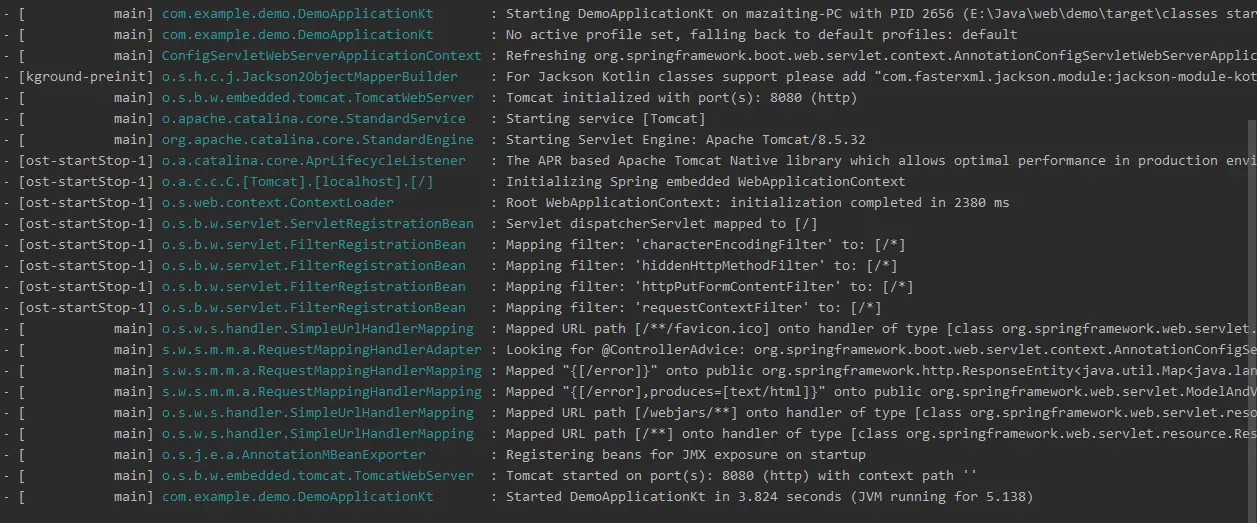
图8.png
7). 浏览器打开http://localhost:8080

图9.png
原因
项目中没有静态页面及控制器.
8). 创建控制器
- HelloController.kt
@Controller
@EnableAutoConfiguration
class HelloController {

    @RequestMapping("/")
    @ResponseBody
    fun index(): String {
        return "Hello World!"
    }
}
访问http://localhost:8080/
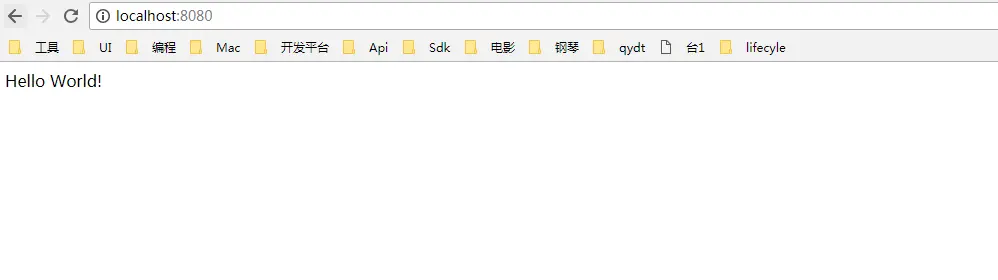
图10.png
9). 返回页面
- index.html
<!DOCTYPE html>
<html lang="en">
<head>
    <meta charset="UTF-8">
    <title>首页</title>
</head>
<body>
    首页内容
</body>
</html>
- HelloController.kt
@Controller
@EnableAutoConfiguration
class HelloController {

    @RequestMapping("/index.html")
    fun index() : String {
        return "index"
    }
}
访问http://localhost:8080/index.html

图10.png
10). 刷新配置
- 修改pom.xml文件
<dependency>
   <groupId>org.springframework.boot</groupId>
   <artifactId>spring-boot-devtools</artifactId>
   <optional>true</optional>
   <scope>true</scope>
</dependency>
<build>
   <plugins>
      <plugin>
         <groupId>org.springframework.boot</groupId>
         <artifactId>spring-boot-maven-plugin</artifactId>
         <configuration>
            <fork>true</fork>
         </configuration>
      </plugin>
   </plugins>
</build>
-
修改idea
I. Ctrl+Alt+S. Build,Execution,Deployment -> Compiler, 勾选Build project automatically. 图11.png
II. Ctrl+Shift+Alt+ /
 图12.png
 图13.png
 - 重新部署项目即可实现修改html刷新重载,修改kotlin代码重新部署
11). 使用模板引擎
- 数据类Student
/**
 * 数据类
 */
data class Student (
        val name: String,
        val age: Int
)
- 控制器Controller
@Controller
class HelloController {
    @RequestMapping("/students.html")
    fun students(map: MutableMap<String, Any>): String {
        val list = ArrayList<Student>()
        for (i in 0..9) {
            list.add(Student("张三$i", 23+i))
        }
        // 返回给页面的数据
        map["sList"] = list
        return "students"
    }
}
- students.html
<!DOCTYPE html>
<html lang="en" xmlns:th="http://www.thymeleaf.org">
<head>
    <meta charset="UTF-8">
    <title>学生</title>
</head>
<body>
    所有学生
    <ul th:each="stu,stuSta:${sList}">
        <li>
            序号:<span th:text="${stuSta.index}"></span><br>
            姓名:<th:block th:text="${stu.name}"/><br>
            年龄:<div th:text="${stu.age}"></div><br>
        </li>
    </ul>
</body>
</html>
写完之后html代码报红线,使用Alt+Enter修复即可,也可不修复。(此为编辑器的问题)

图14.png
-
效果
 图15.png


 1524
1524

 被折叠的 条评论
为什么被折叠?
被折叠的 条评论
为什么被折叠?
 到【灌水乐园】发言


