


 本文详细介绍了Java进阶过程中SSM(Spring、SpringMVC、MyBatis)框架的整合过程,包括配置文件的编写、数据库连接、日志记录、事务管理以及Service和Mapper的实现。通过实例演示了如何保存和列出账户信息,为读者提供了一个完整的SSM整合示例。
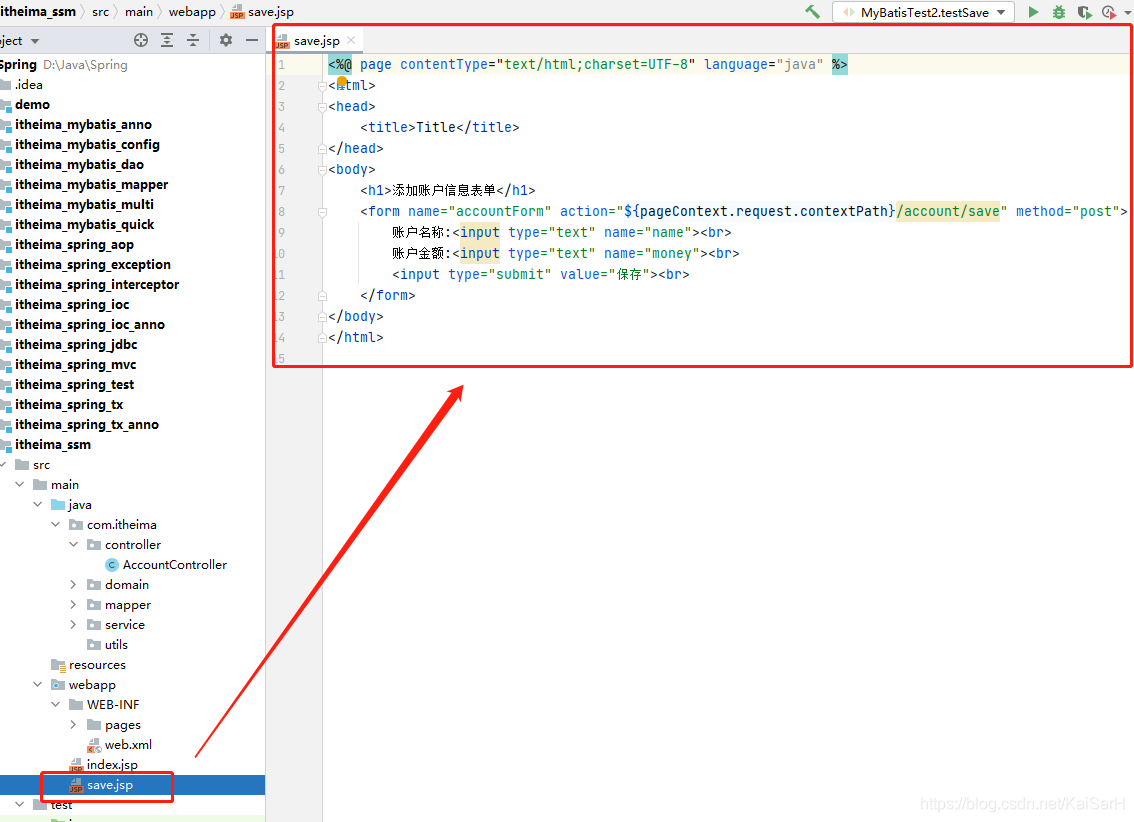
<%@ page contentType=“text/html;charset=UTF-8” language=“java” %>
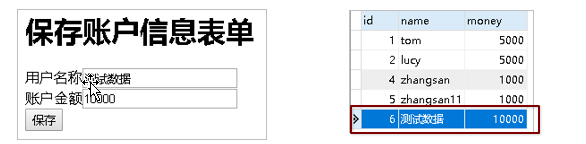
保存账户信息表单
用户名称
账户金额
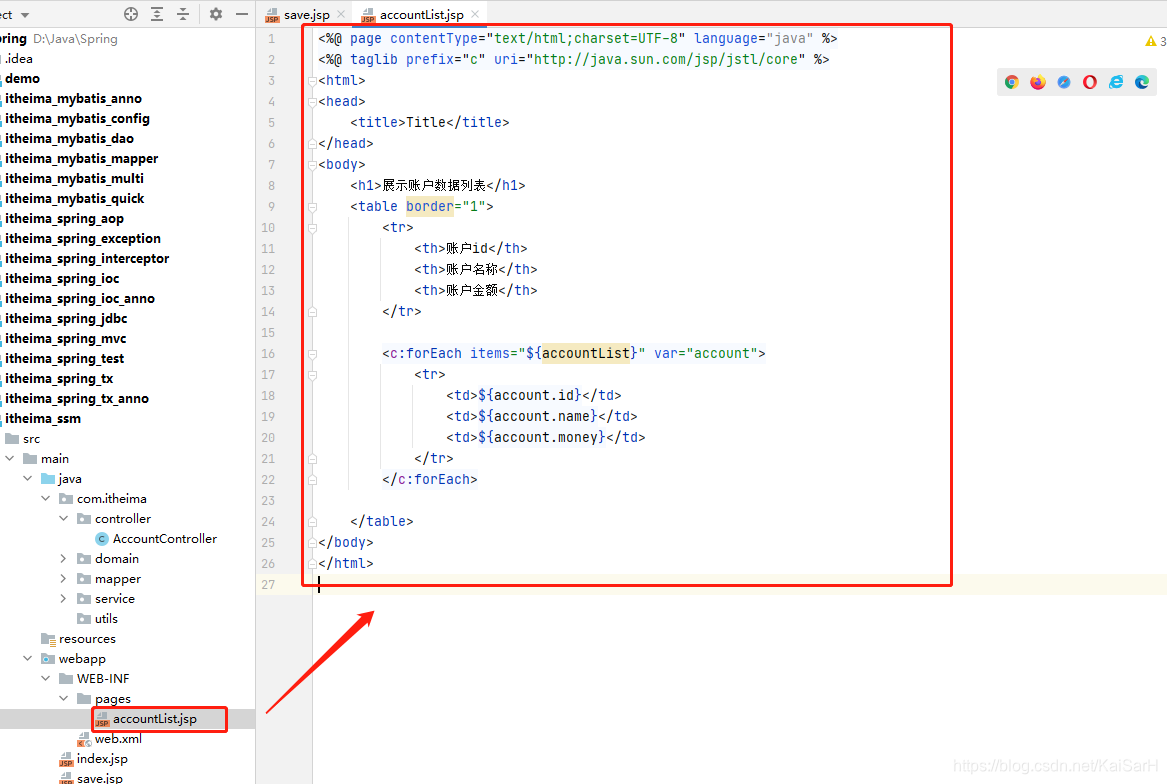
[](()10. 编写列表页面
<c:forEach items=“${accountList}” var=“account”>
${account.id} ${account.name} ${account.money}</c:forEach>
[](()11. 编写相应配置文件(文件参考目录:素材/配置文件)
-
Spring配置文件:
applicationContext.xml -
SprngMVC配置文件:
spring-mvc.xml -
MyBatis映射文件:
AccountMapper.xml -
MyBatis核心文件:
sqlMapConfig.xml -
数据库连接信息文件:
jdbc.properties -
Web.xml文件:
web.xml -
日志文件:
log4j.properties
- jdbc.properties:存储数据库连接信息
jdbc.driver=com.mysql.jdbc.Driver
jdbc.url=jdbc:mysql://localhost:3306/test?useUnicode=true & characterEncoding=UTF-8 & serverTimezone=Asia/Shanghai
jdbc.username=root
jdbc.password=131415

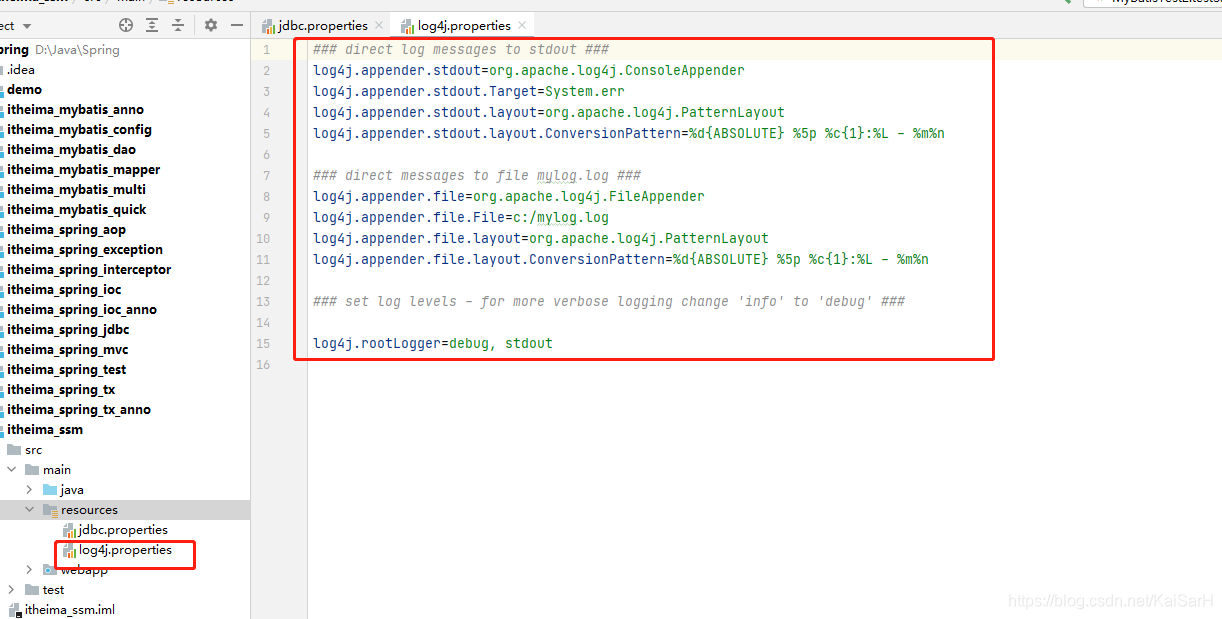
- log4j.properties:日志记录
direct log messages to stdout
log4j.appender.stdout=org.apache.log4j.ConsoleAppender
log4j.appender.stdout.Target=System.err
log4j.appender.stdout.layout=org.apache.log4j.PatternLayout
log4j.appender.stdout.layout.ConversionPattern=%d{ABSOLUTE} %5p %c{1}:%L - %m%n
direct messages to file mylog.log
log4j.appender.file=org.apache.log4j.FileAppender
log4j.appender.file.File=c:/mylog.log
log4j.appender.file.layout=org.apache.log4j.PatternLayout
log4j.appender.file.layout.ConversionPattern=%d{ABSOLUTE} %5p %c{1}:%L - %m%n
set log levels - for more verbose logging change ‘info’ to ‘debug’
log4j.rootLogger=debug, stdout
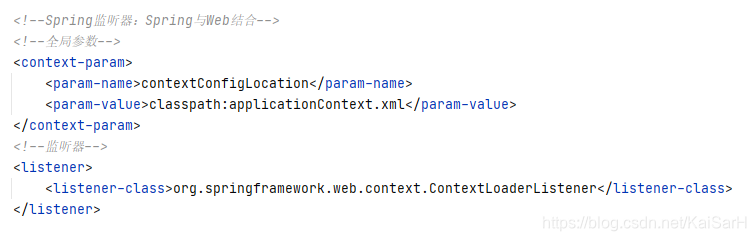
- web.xml
<web-app xmlns=“http://xmlns.jcp.org/xml/ns/javaee”
xmlns:xsi=“http://www.w3.org/2001/XMLSchema-instance”
xsi:schemaLocation=“http://xmlns.jcp.org/xml/ns/javaee http://xmlns.jcp.org/xml/ns/javaee/web-app_4_0.xsd”
version=“4.0”>
contextConfigLocation
classpath:applicationContext.xml
org.springframework.web.context.ContextLoaderListener
DispatcherServlet
org.springframework.web.servlet.DispatcherServlet
contextConfigLocation
classpath:spring-mvc.xml
1
DispatcherServlet
/
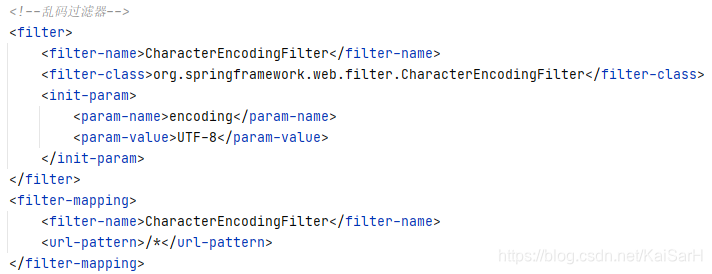
CharacterEncodingFilter
org.springframework.web.filter.CharacterEncodingFilter
encoding
UTF-8
CharacterEncodingFilter
/*
① Spring监听器:Spring与Web结合
② SpringMVC前端控制器:SpringMVC与Web结合

③ 乱码过滤器
- applicationContext.xml:Spring配置文件
<beans xmlns=“http://www.springframework.org/schema/beans”
xmlns:aop=“http://www.springframework.org/schema/aop”
xmlns:tx=“http://www.springframework.org/schema/tx”
xmlns:context=“http 《一线大厂Java面试题解析+后端开发学习笔记+最新架构讲解视频+实战项目源码讲义》无偿开源 威信搜索公众号【编程进阶路】 😕/www.springframework.org/schema/context”
xmlns:xsi=“http://www.w3.org/2001/XMLSchema-instance”
xsi:schemaLocation="
http://www.springframework.org/schema/beans http://www.springframework.org/schema/beans/spring-beans.xsd
http://www.springframework.org/schema/aop http://www.springframework.org/schema/aop/spring-aop.xsd
http://www.springframework.org/schema/tx http://www.springframework.org/schema/tx/spring-tx.xsd
http://www.springframework.org/schema/context http://www.springframework.org/schema/context/spring-context.xsd
">
<context:component-scan base-package=“com.itheima”>
<context:exclude-filter type=“annotation”
expression=“org.springframework.stereotype.Controller”/>
</context:component-scan>
<context:property-placeholder location=“classpath:jdbc.properties”/>
<tx:advice id=“txAdvice”>
tx:attributes
<tx:method name=“*”/>
</tx:attributes>
</tx:advice>
aop:config
<aop:advisor advice-ref=“txAdvice” pointcut=“execution(* com.itheima.service.impl..(…))”/>
</aop:config>
组件扫描,主要是扫描service和mapper。要排除掉controller,因为controller主要是springMVC来控制扫描。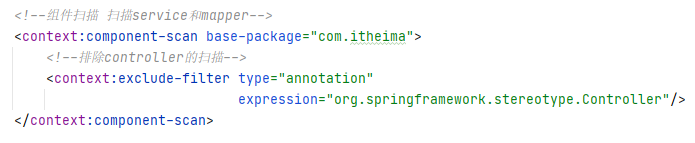
- spring-mvc.xml:SprngMVC配置文件
<beans xmlns=“http://www.springframework.org/schema/beans”
xmlns:mvc=“http://www.springframework.org/schema/mvc”
xmlns:context=“http://www.springframework.org/schema/context”
xmlns:xsi=“http://www.w3.org/2001/XMLSchema-instance”
xsi:schemaLocation="
http://www.springframework.org/schema/beans http://www.springframework.org/schema/beans/spring-beans.xsd
http://www.springframework.org/schema/mvc http://www.springframework.org/schema/mvc/spring-mvc.xsd
http://www.springframework.org/schema/context http://www.springframework.org/schema/context/spring-context.xsd
">
<context:component-scan base-package=“com.itheima.controller”/>
mvc:annotation-driven/
mvc:default-servlet-handler/
① 组件扫描——扫描controller

② 配置MVC注解驱动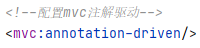
③ 配置内部资源视图解析器,设置资源前后缀
④ 开放静态资源访问权限
- AccountMapper.xml:MyBatis映射文件
insert into account
values (#{id}, #{name}, #{money})
select *
from account
- sqlMapConfig.xml:MyBatis核心文件
[](()12. 测试添加账户
[](()13. 测试账户列表

[](()1.2 Spring整合MyBatis
[](()1. 整合思路

[](()2. 将SqlSessionFactory配置到Spring容器中
<context:property-placeholder location=“classpath:jdbc.properties”/>
[](()3. 扫描Mapper,让Spring容器产生Mapper实现类
[](()4. 配置声明式事务控制
<tx:advice id=“txAdvice” transaction-manager=“transacionManager”>
tx:attributes
<tx:method name=“*”/>
</tx:attributes>
</tx:advice>
aop:config
<aop:pointcut id=“txPointcut” expression=“execution(* com.itheima.service.impl..(…))”/>
<aop:advisor advice-ref=“txAdvice” pointcut-ref=“txPointcut”/>
</aop:config>
[](()5. 修改Service实现类代码
@Service(“accountService”)
public class AccountServiceImpl implements AccountService {
@Autowired
private AccountMapper accountMapper;
public void save(Account account) {
accountMapper.save(account);
}
public List findAll() {
return accountMapper.findAll();
}
}


 363
363

 被折叠的 条评论
为什么被折叠?
被折叠的 条评论
为什么被折叠?
 到【灌水乐园】发言


