


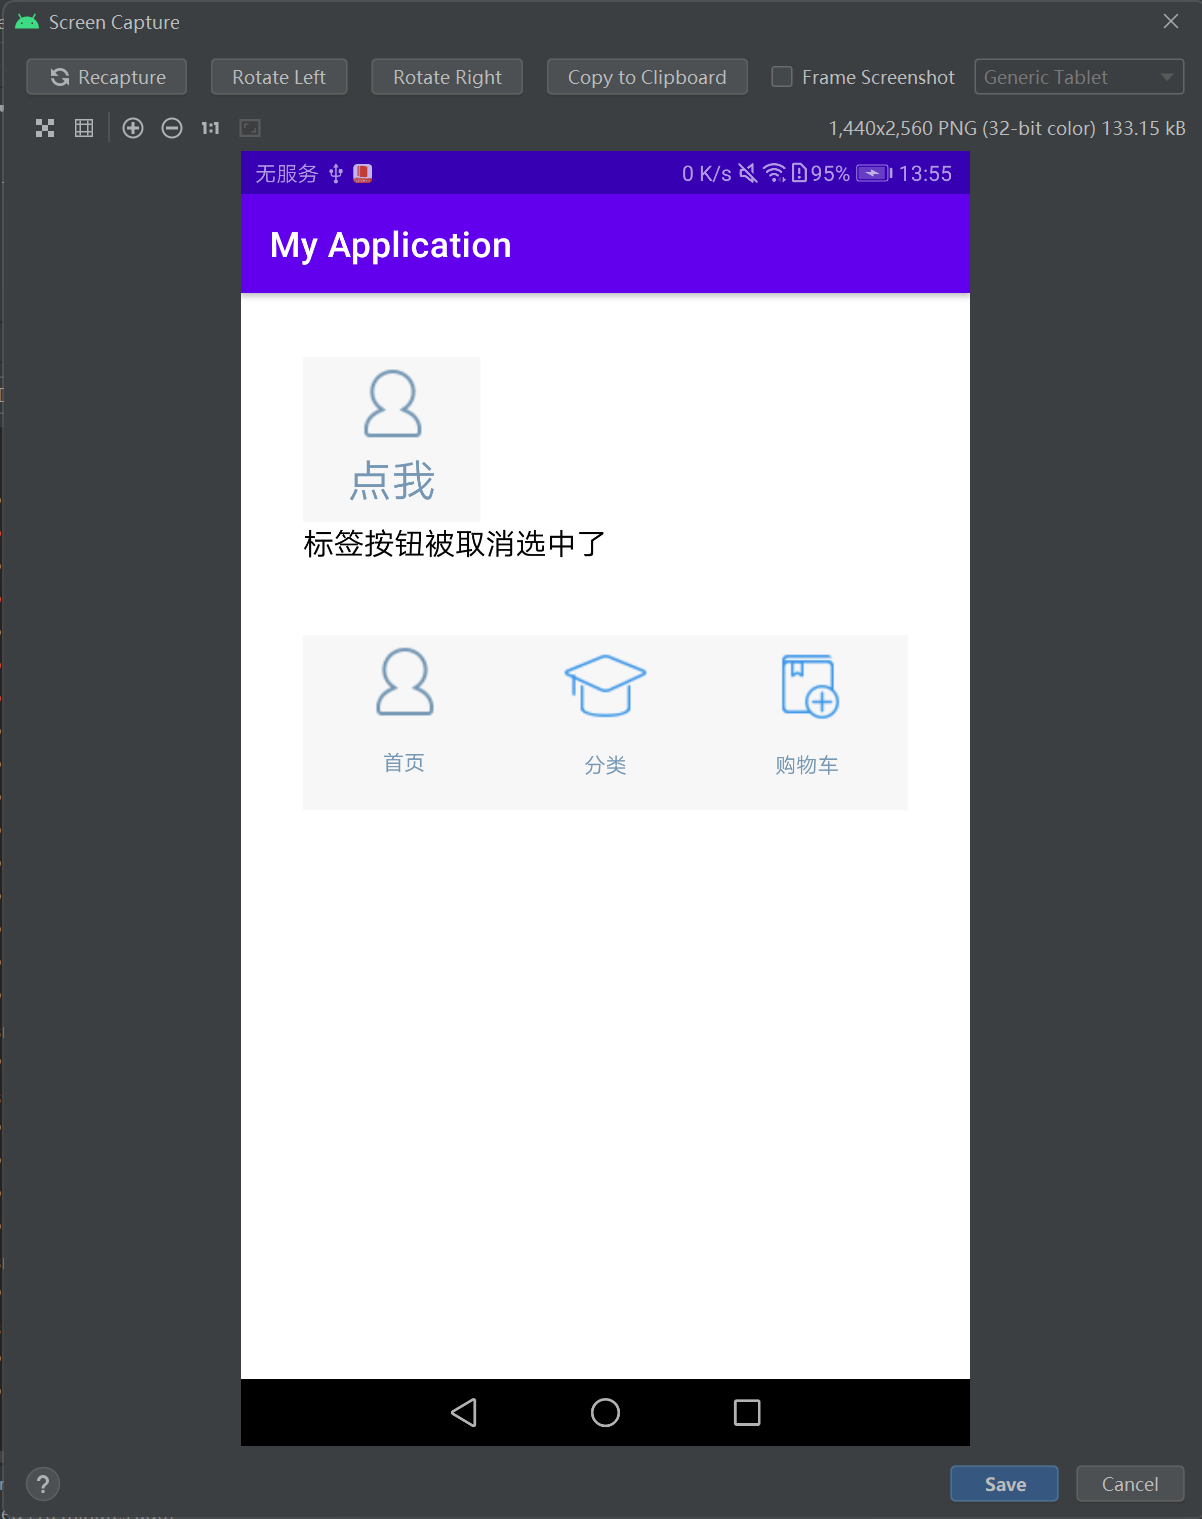
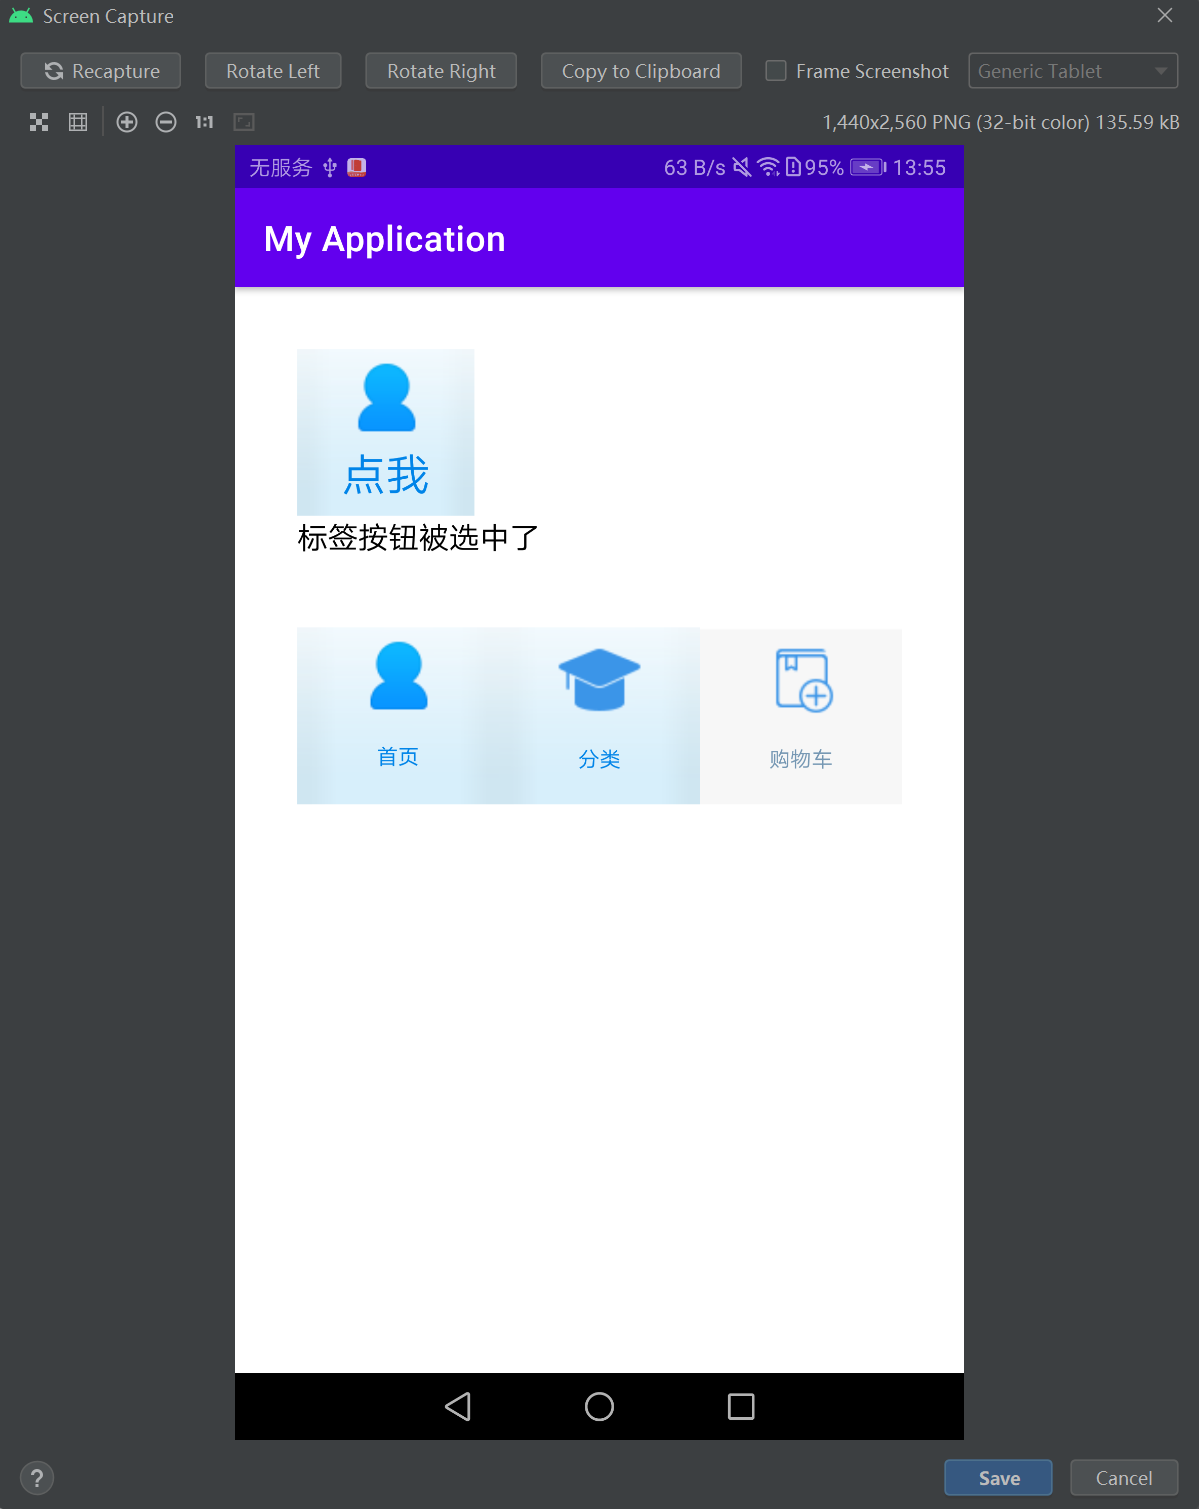
 这篇博客介绍了如何在Android中创建自定义的复选框,包括通过XML定义状态图形文件来展示选中和未选中状态,以及在布局和Java代码中设置背景、图标和文本颜色。同时,通过设置复选框的勾选监听器来响应选中和取消选中的事件,更新界面显示。
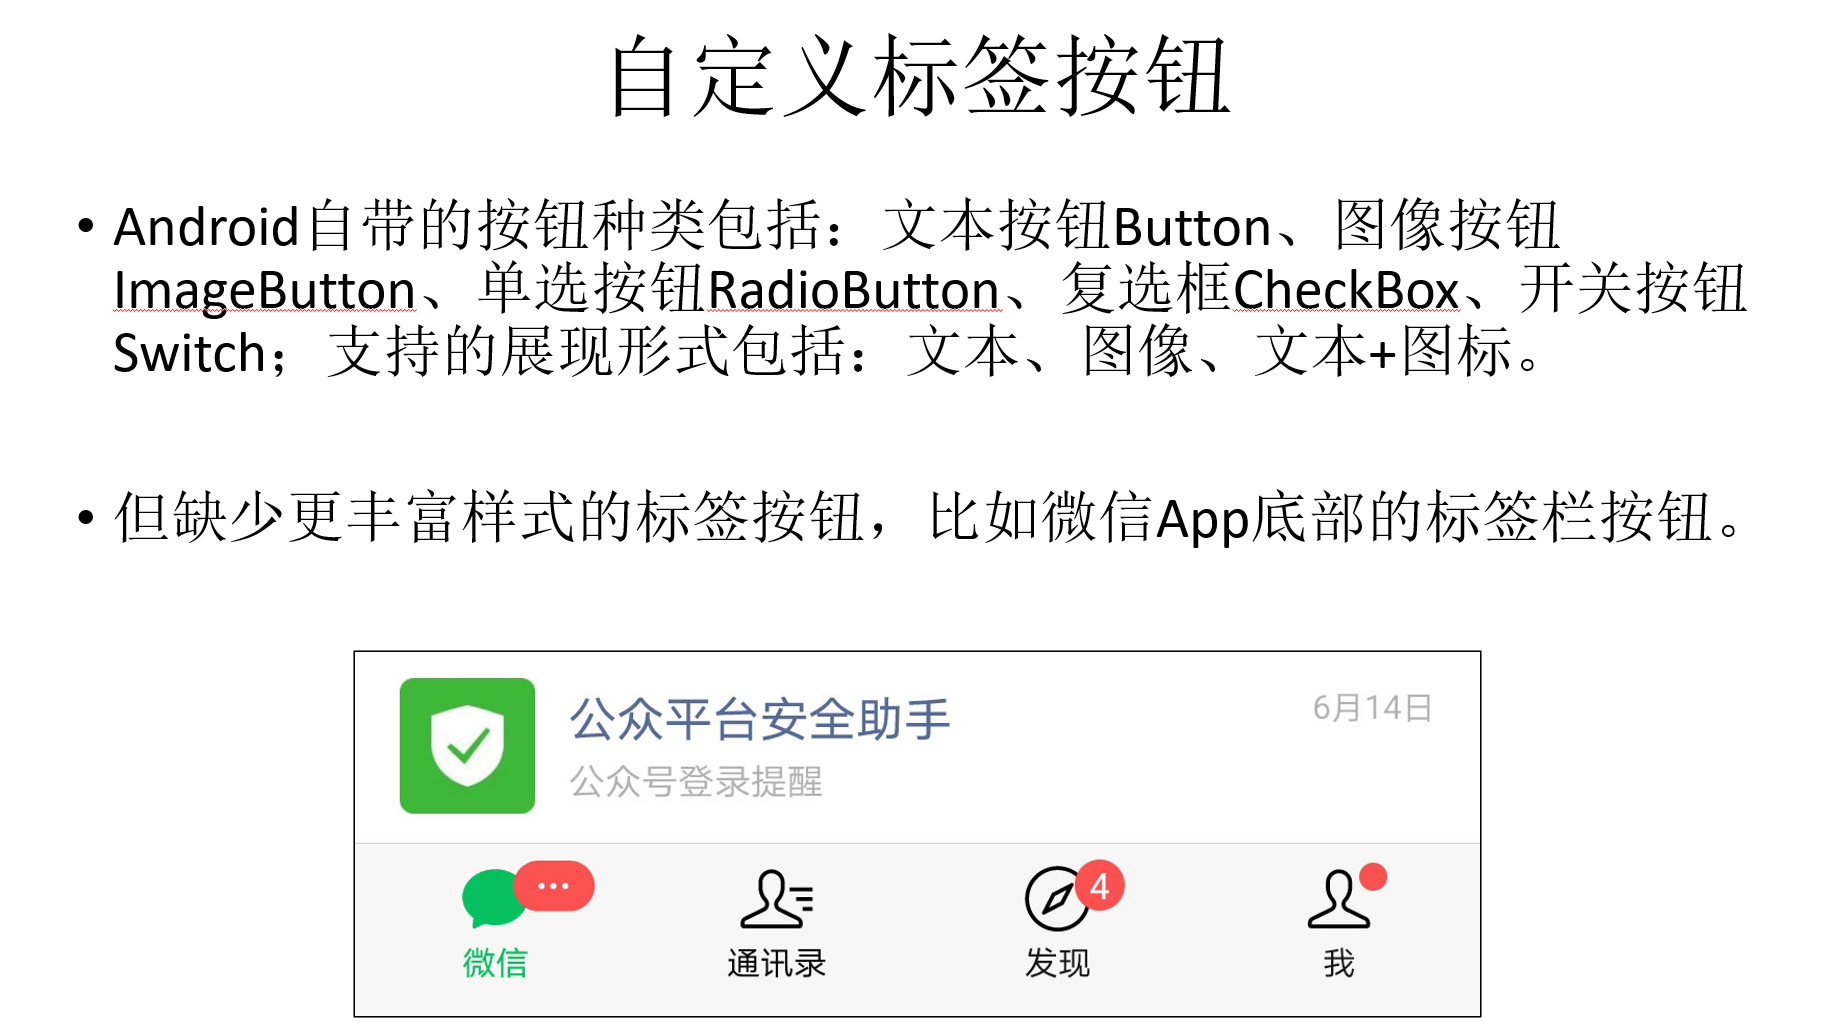
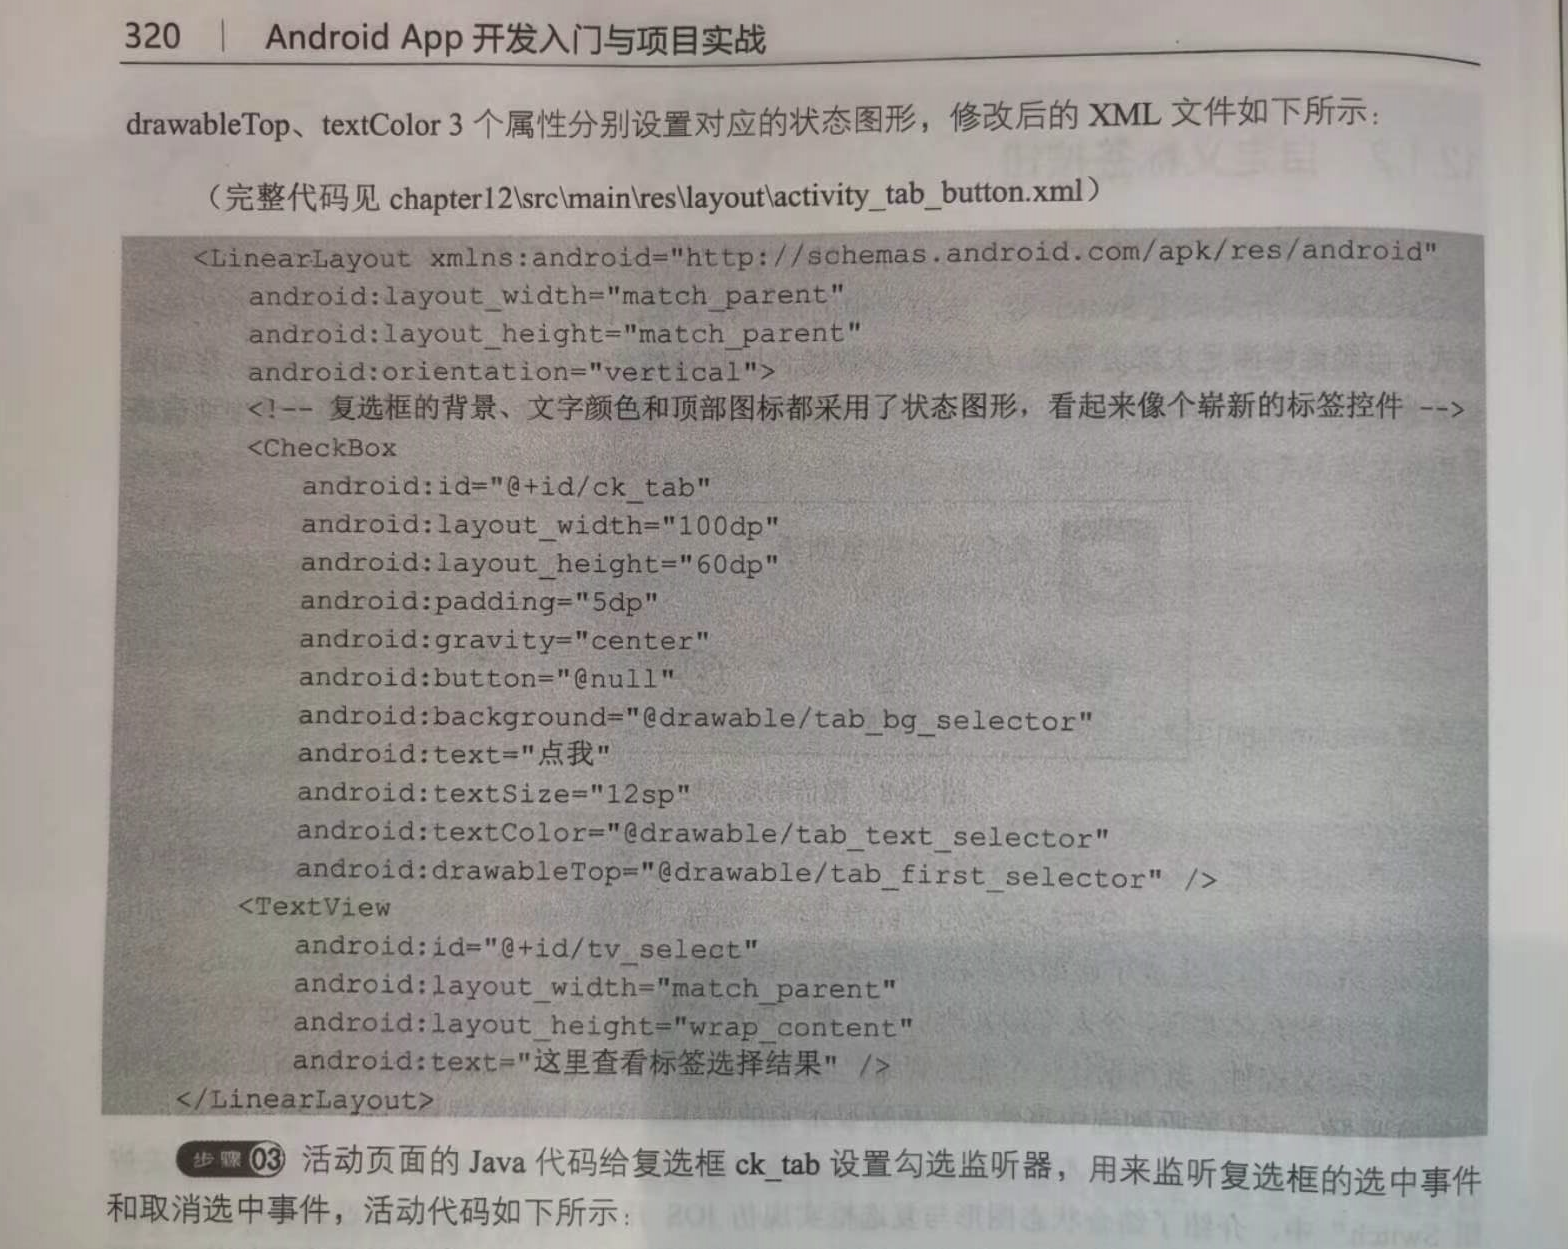
自定义标签按钮的步骤
(1)定义一个状态图形的XML描述文件,当状态为选中时展示高亮图标,其余情况展示普通图标;
(2)在活动页面的XML文件中添加CheckBox节点,并给该节点的background、drawableTop、textColor三个属性分别设置对应的状态图形;
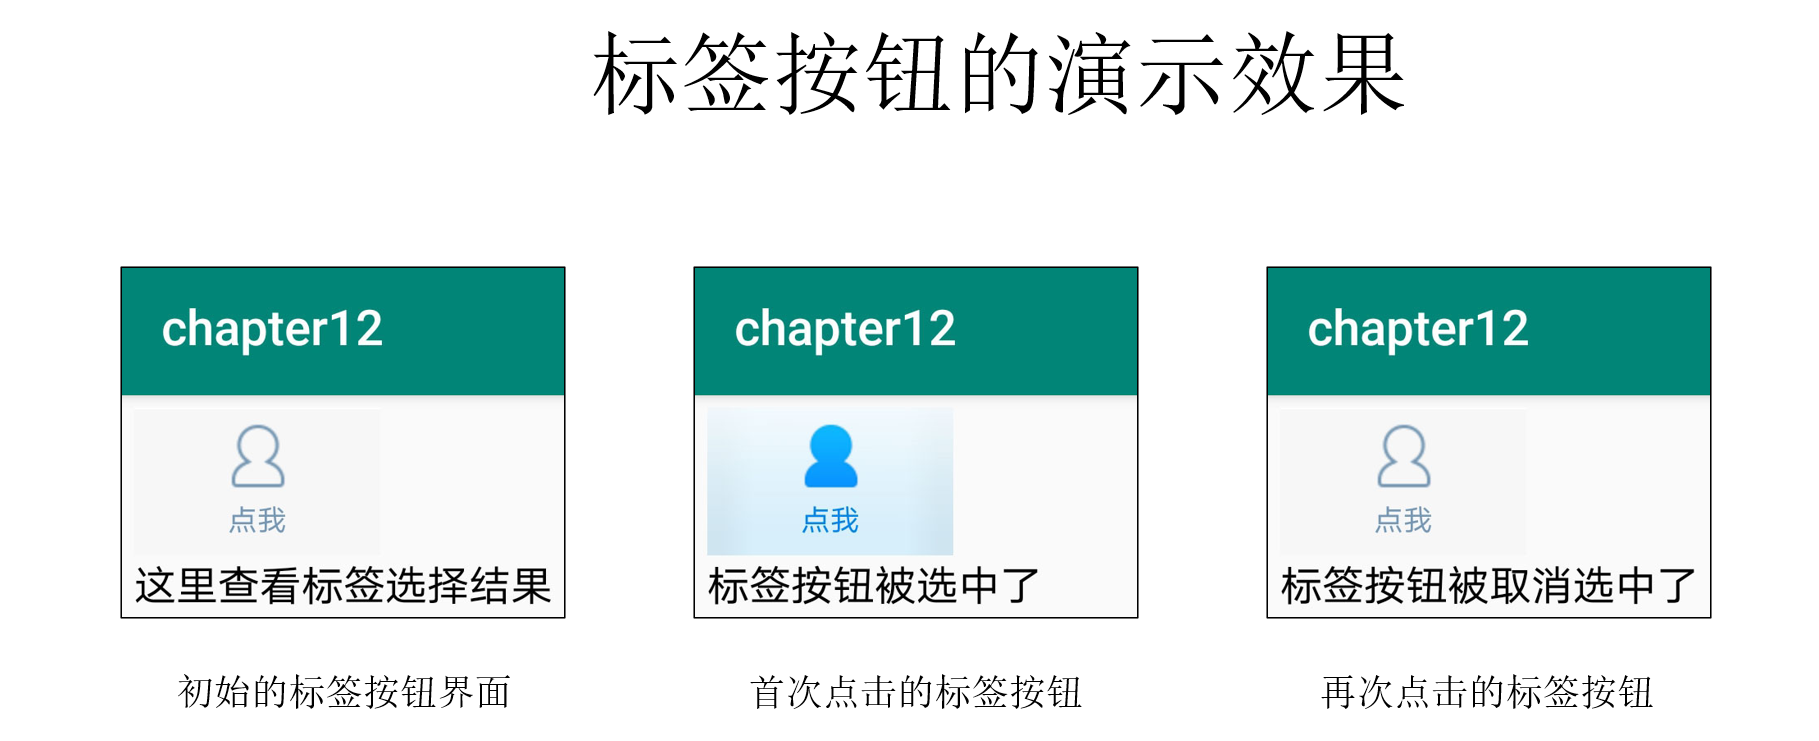
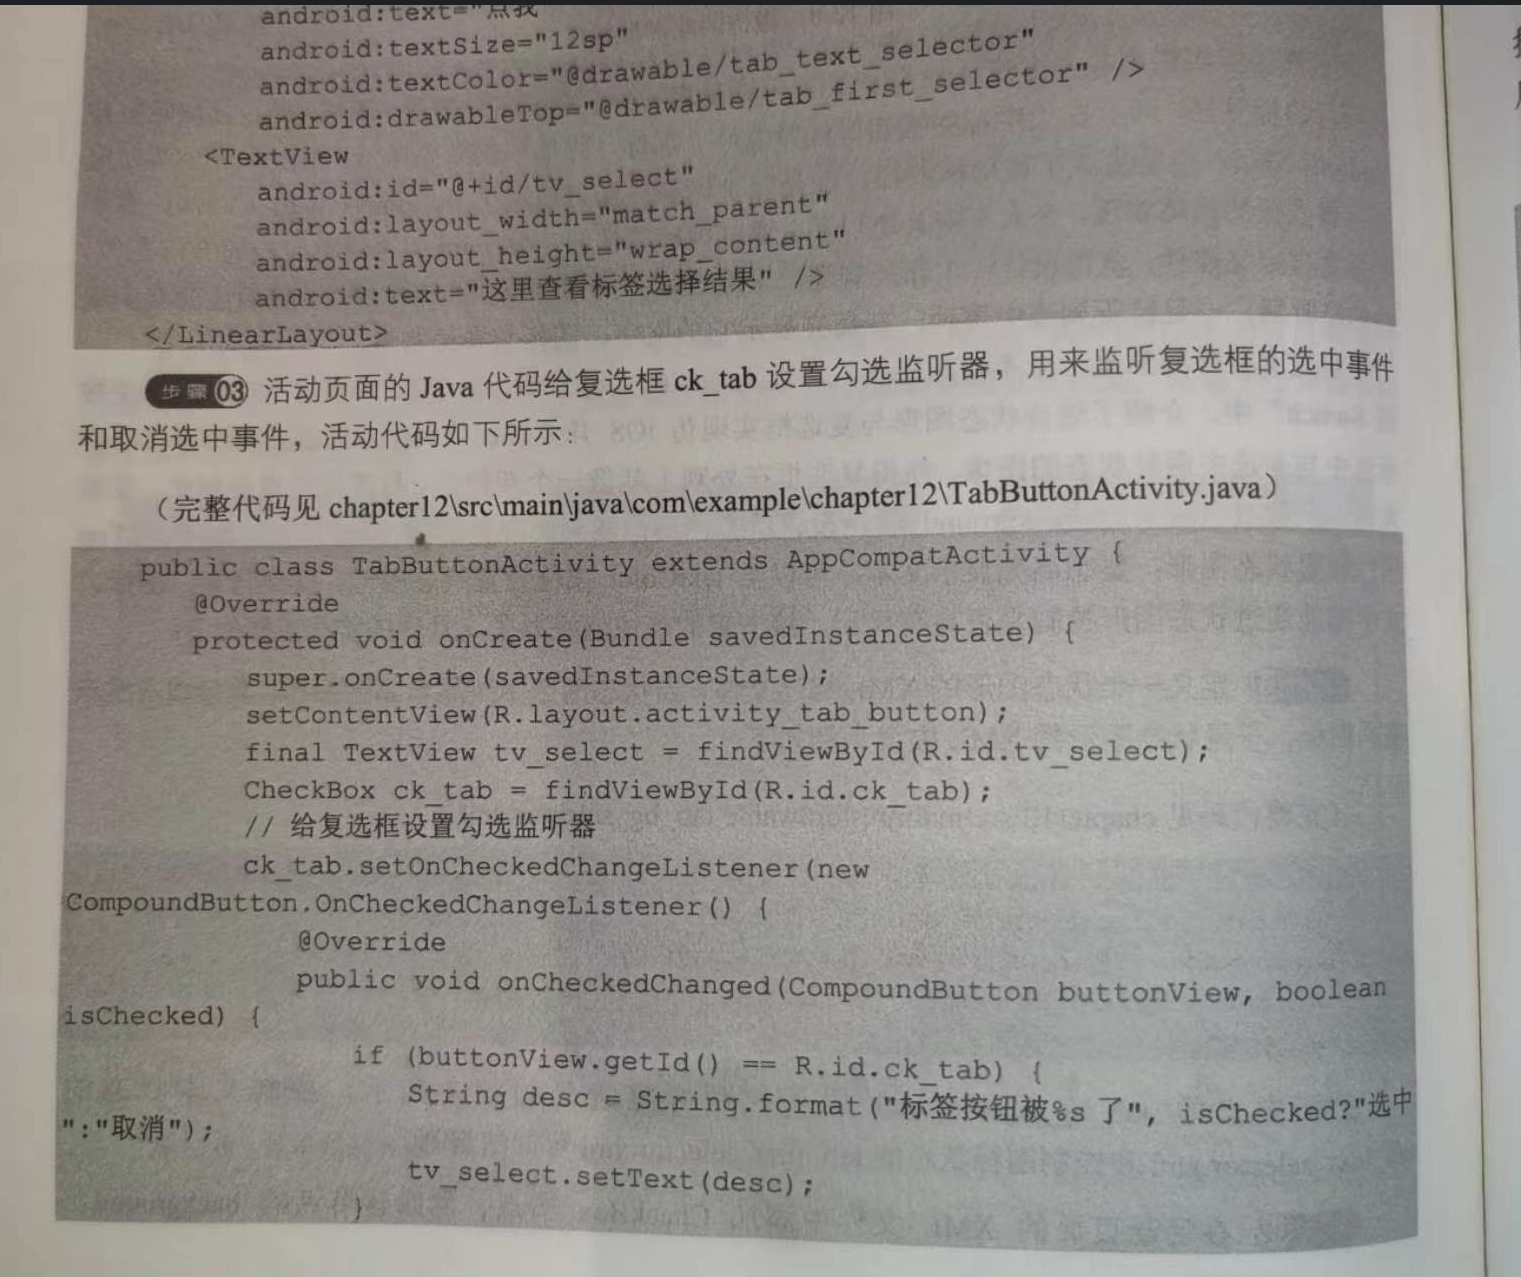
(3)活动页面的Java代码给复选框ck_tab设置勾选监听器,用来监听复选框的选中事件和取消选中事件;
==========================================================================================================
布局:
<LinearLayout xmlns:android="http://schemas.android.com/apk/res/android"
    android:layout_width="match_parent"
    android:layout_height="match_parent"
    android:orientation="vertical"
    android:padding="35dp">

    <!-- 复选框的背景、文字颜色和顶部图标都采用了状态图形,看起来像个崭新的标签控件 -->
    <CheckBox
        android:id="@+id/ck_tab"
        android:layout_width="100dp"
        android:layout_height="94dp"
        android:background="@drawable/tab_bg_selector"
        android:button="@null"
        android:drawableTop="@drawable/tab_first_selector"
        android:gravity="center"
        android:padding="5dp"
        android:text="点我"
        android:textColor="@drawable/tab_text_selector"
        android:textSize="25sp" />

    <TextView
        android:id="@+id/tv_select"
        android:layout_width="wrap_content"
        android:layout_height="wrap_content"
        android:text="这里查看标签选择结果"
        android:textColor="@color/black"
        android:textSize="17sp" />

    <View
        android:layout_width="match_parent"
        android:layout_height="40dp" />

    <LinearLayout
        android:layout_width="match_parent"
        android:layout_height="100dp"
        android:orientation="horizontal">

        <CheckBox
            style="@style/TabButton"
            android:checked="true"
            android:drawableTop="@drawable/tab_first_selector"
            android:text="首页" />

        <CheckBox
            style="@style/TabButton"
            android:drawableTop="@drawable/tab_second_selector"
            android:text="分类" />

        <CheckBox
            style="@style/TabButton"
            android:drawableTop="@drawable/tab_third_selector"
            android:text="购物车" />
    </LinearLayout>

</LinearLayout>

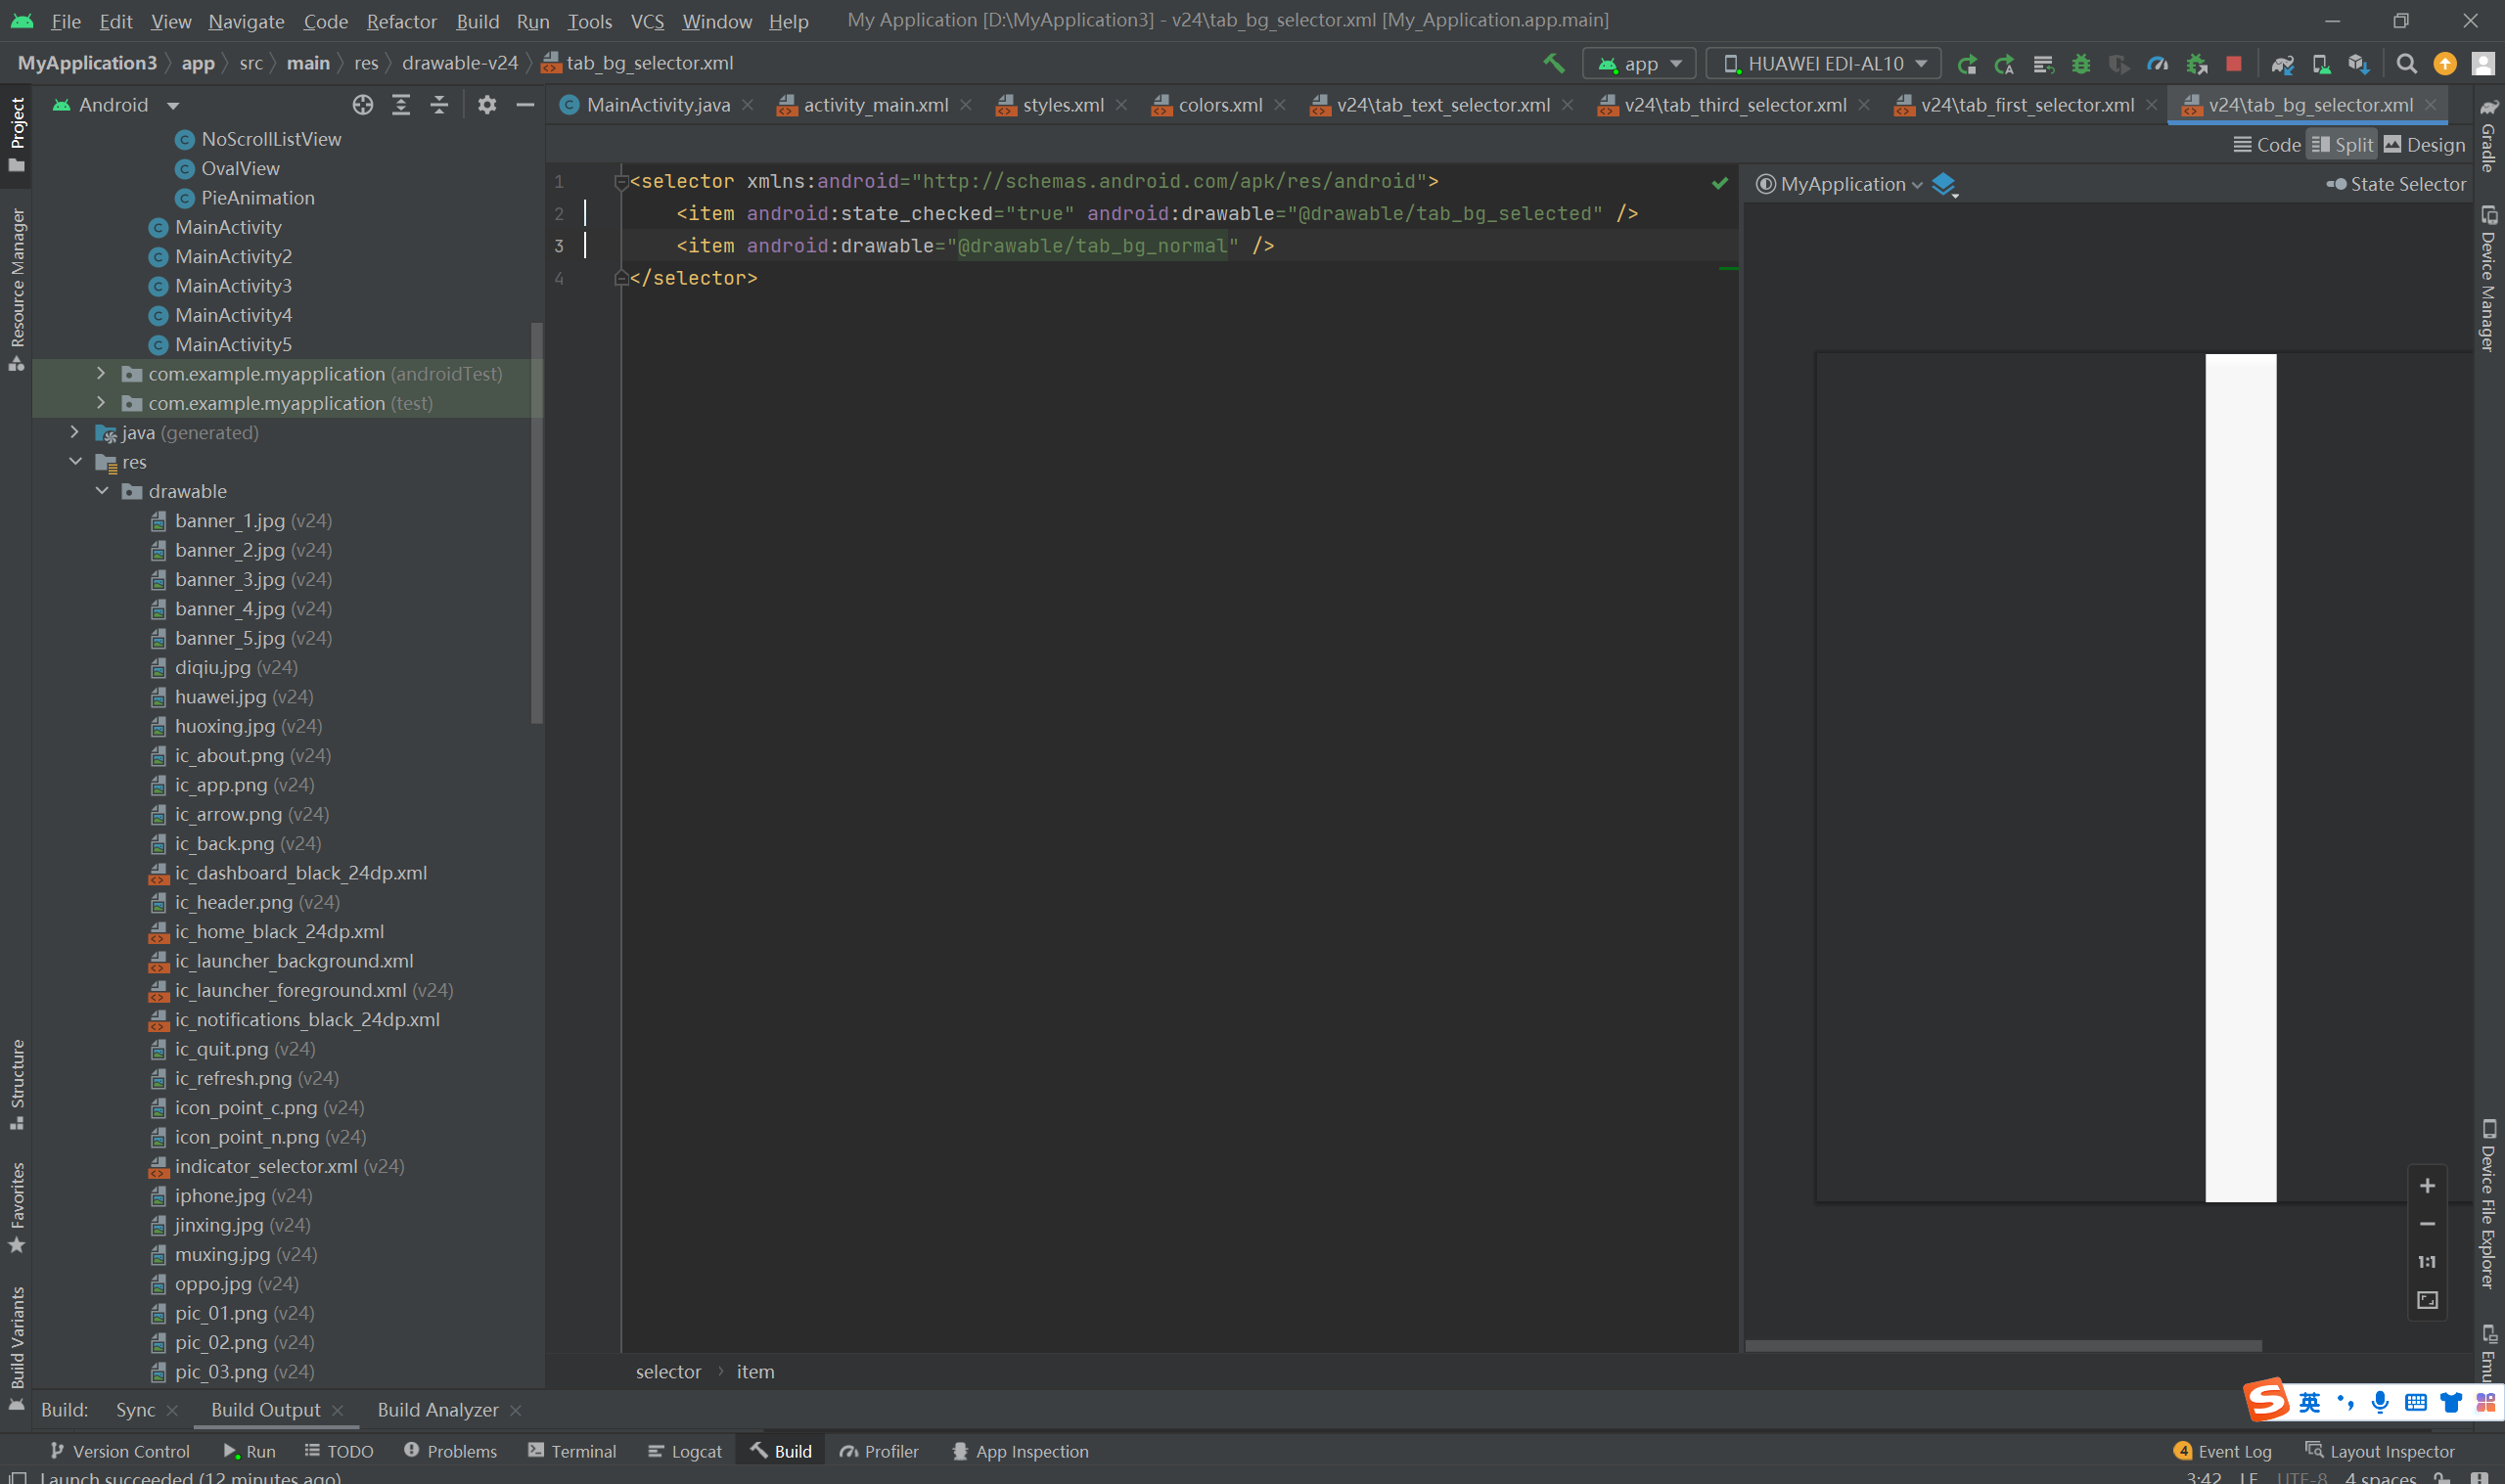
<selector xmlns:android="http://schemas.android.com/apk/res/android">
    <item android:state_checked="true" android:drawable="@drawable/tab_bg_selected" />
    <item android:drawable="@drawable/tab_bg_normal" />
</selector>
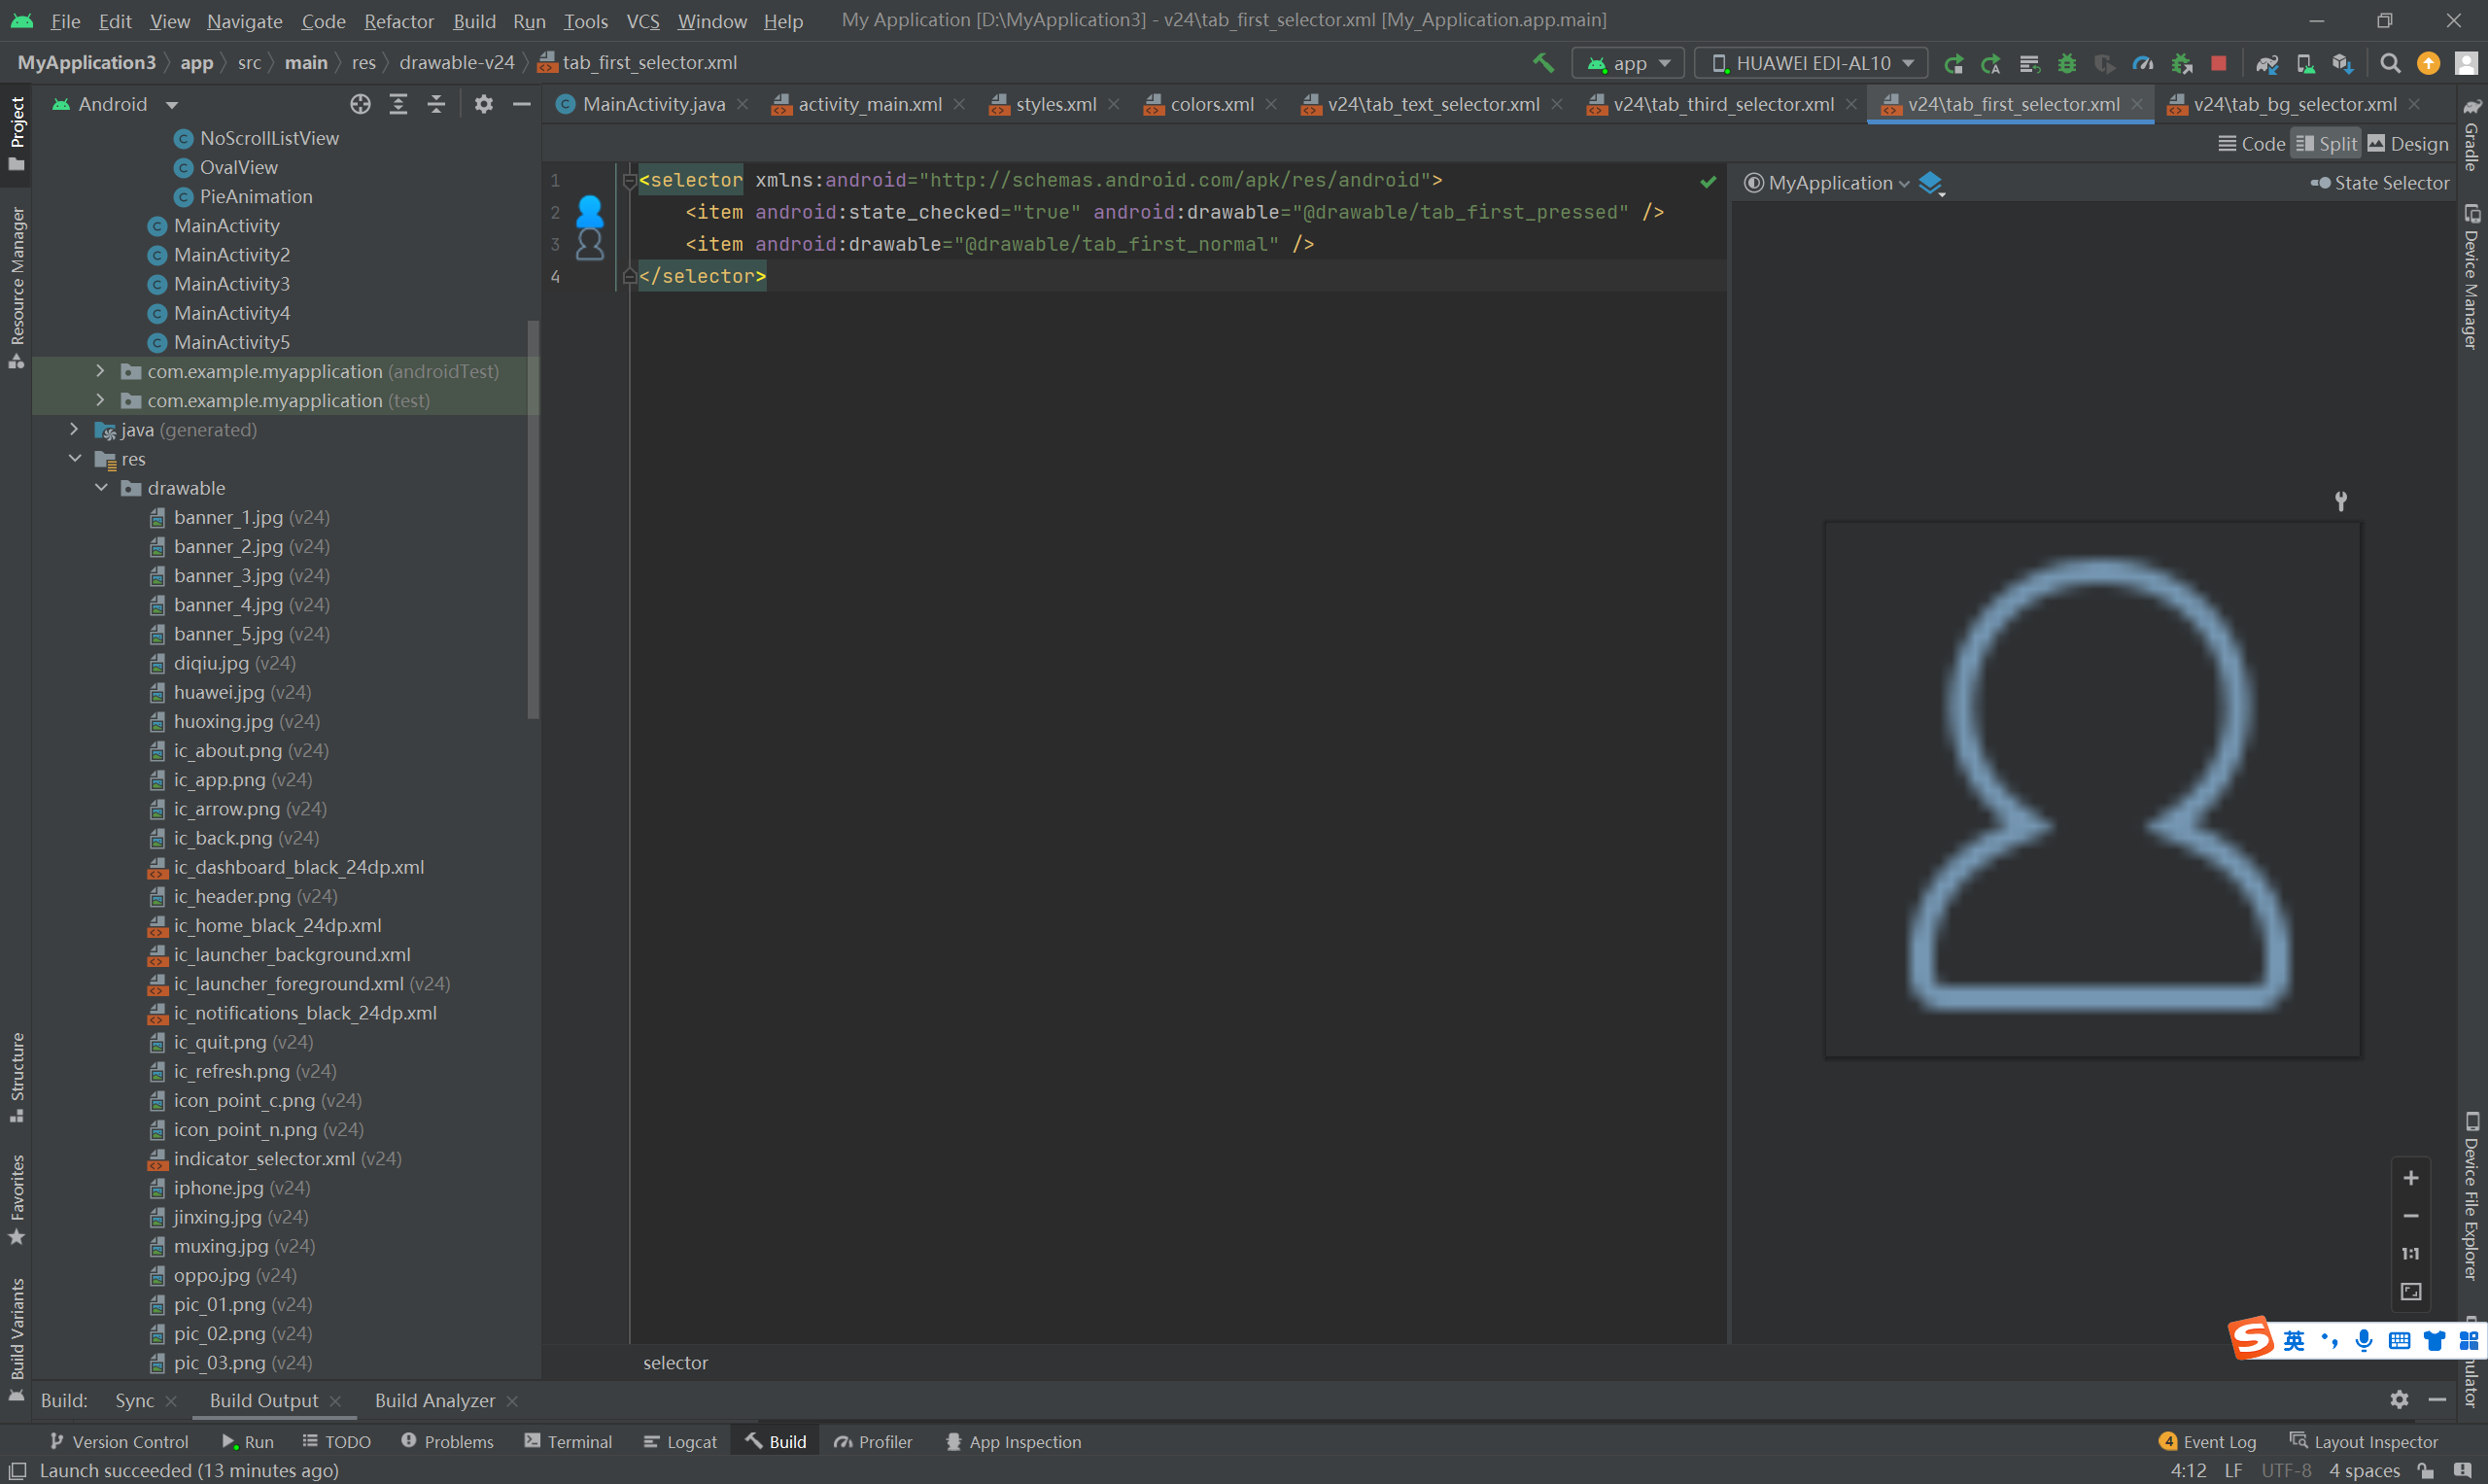
<selector xmlns:android="http://schemas.android.com/apk/res/android">
    <item android:state_checked="true" android:drawable="@drawable/tab_first_pressed" />
    <item android:drawable="@drawable/tab_first_normal" />
</selector>
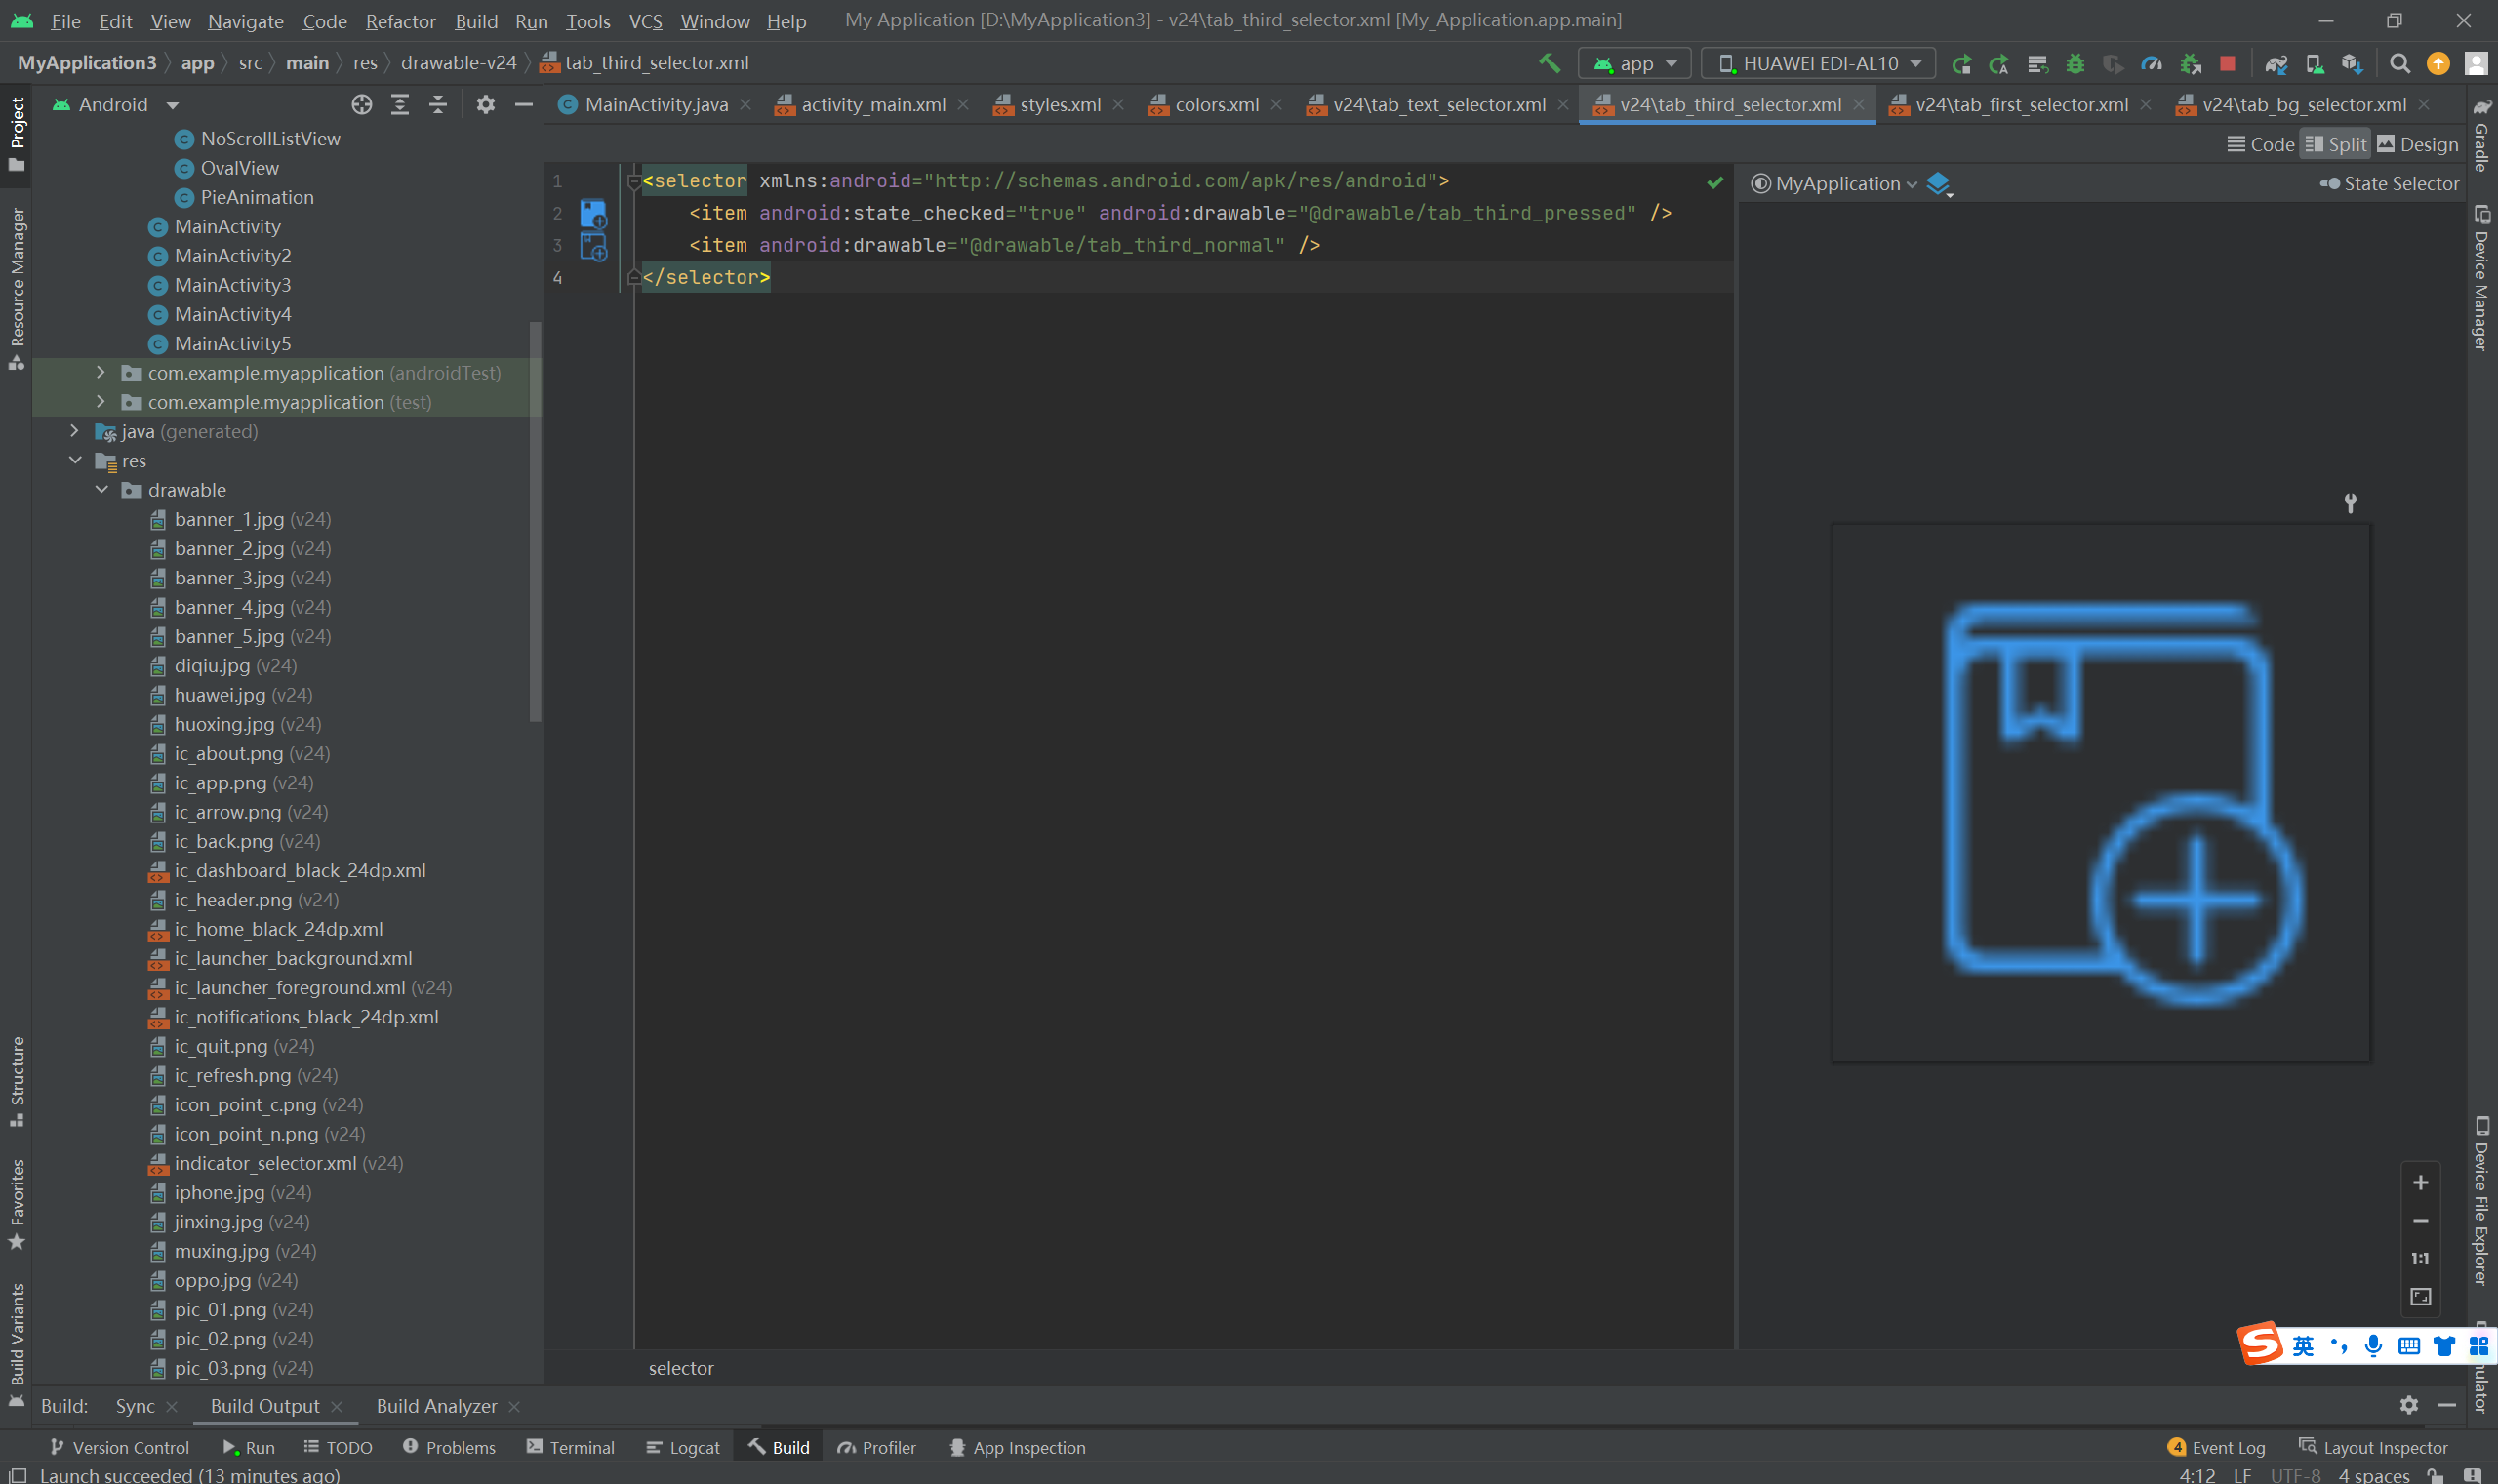
<selector xmlns:android="http://schemas.android.com/apk/res/android">
    <item android:state_checked="true" android:drawable="@drawable/tab_third_pressed" />
    <item android:drawable="@drawable/tab_third_normal" />
</selector>
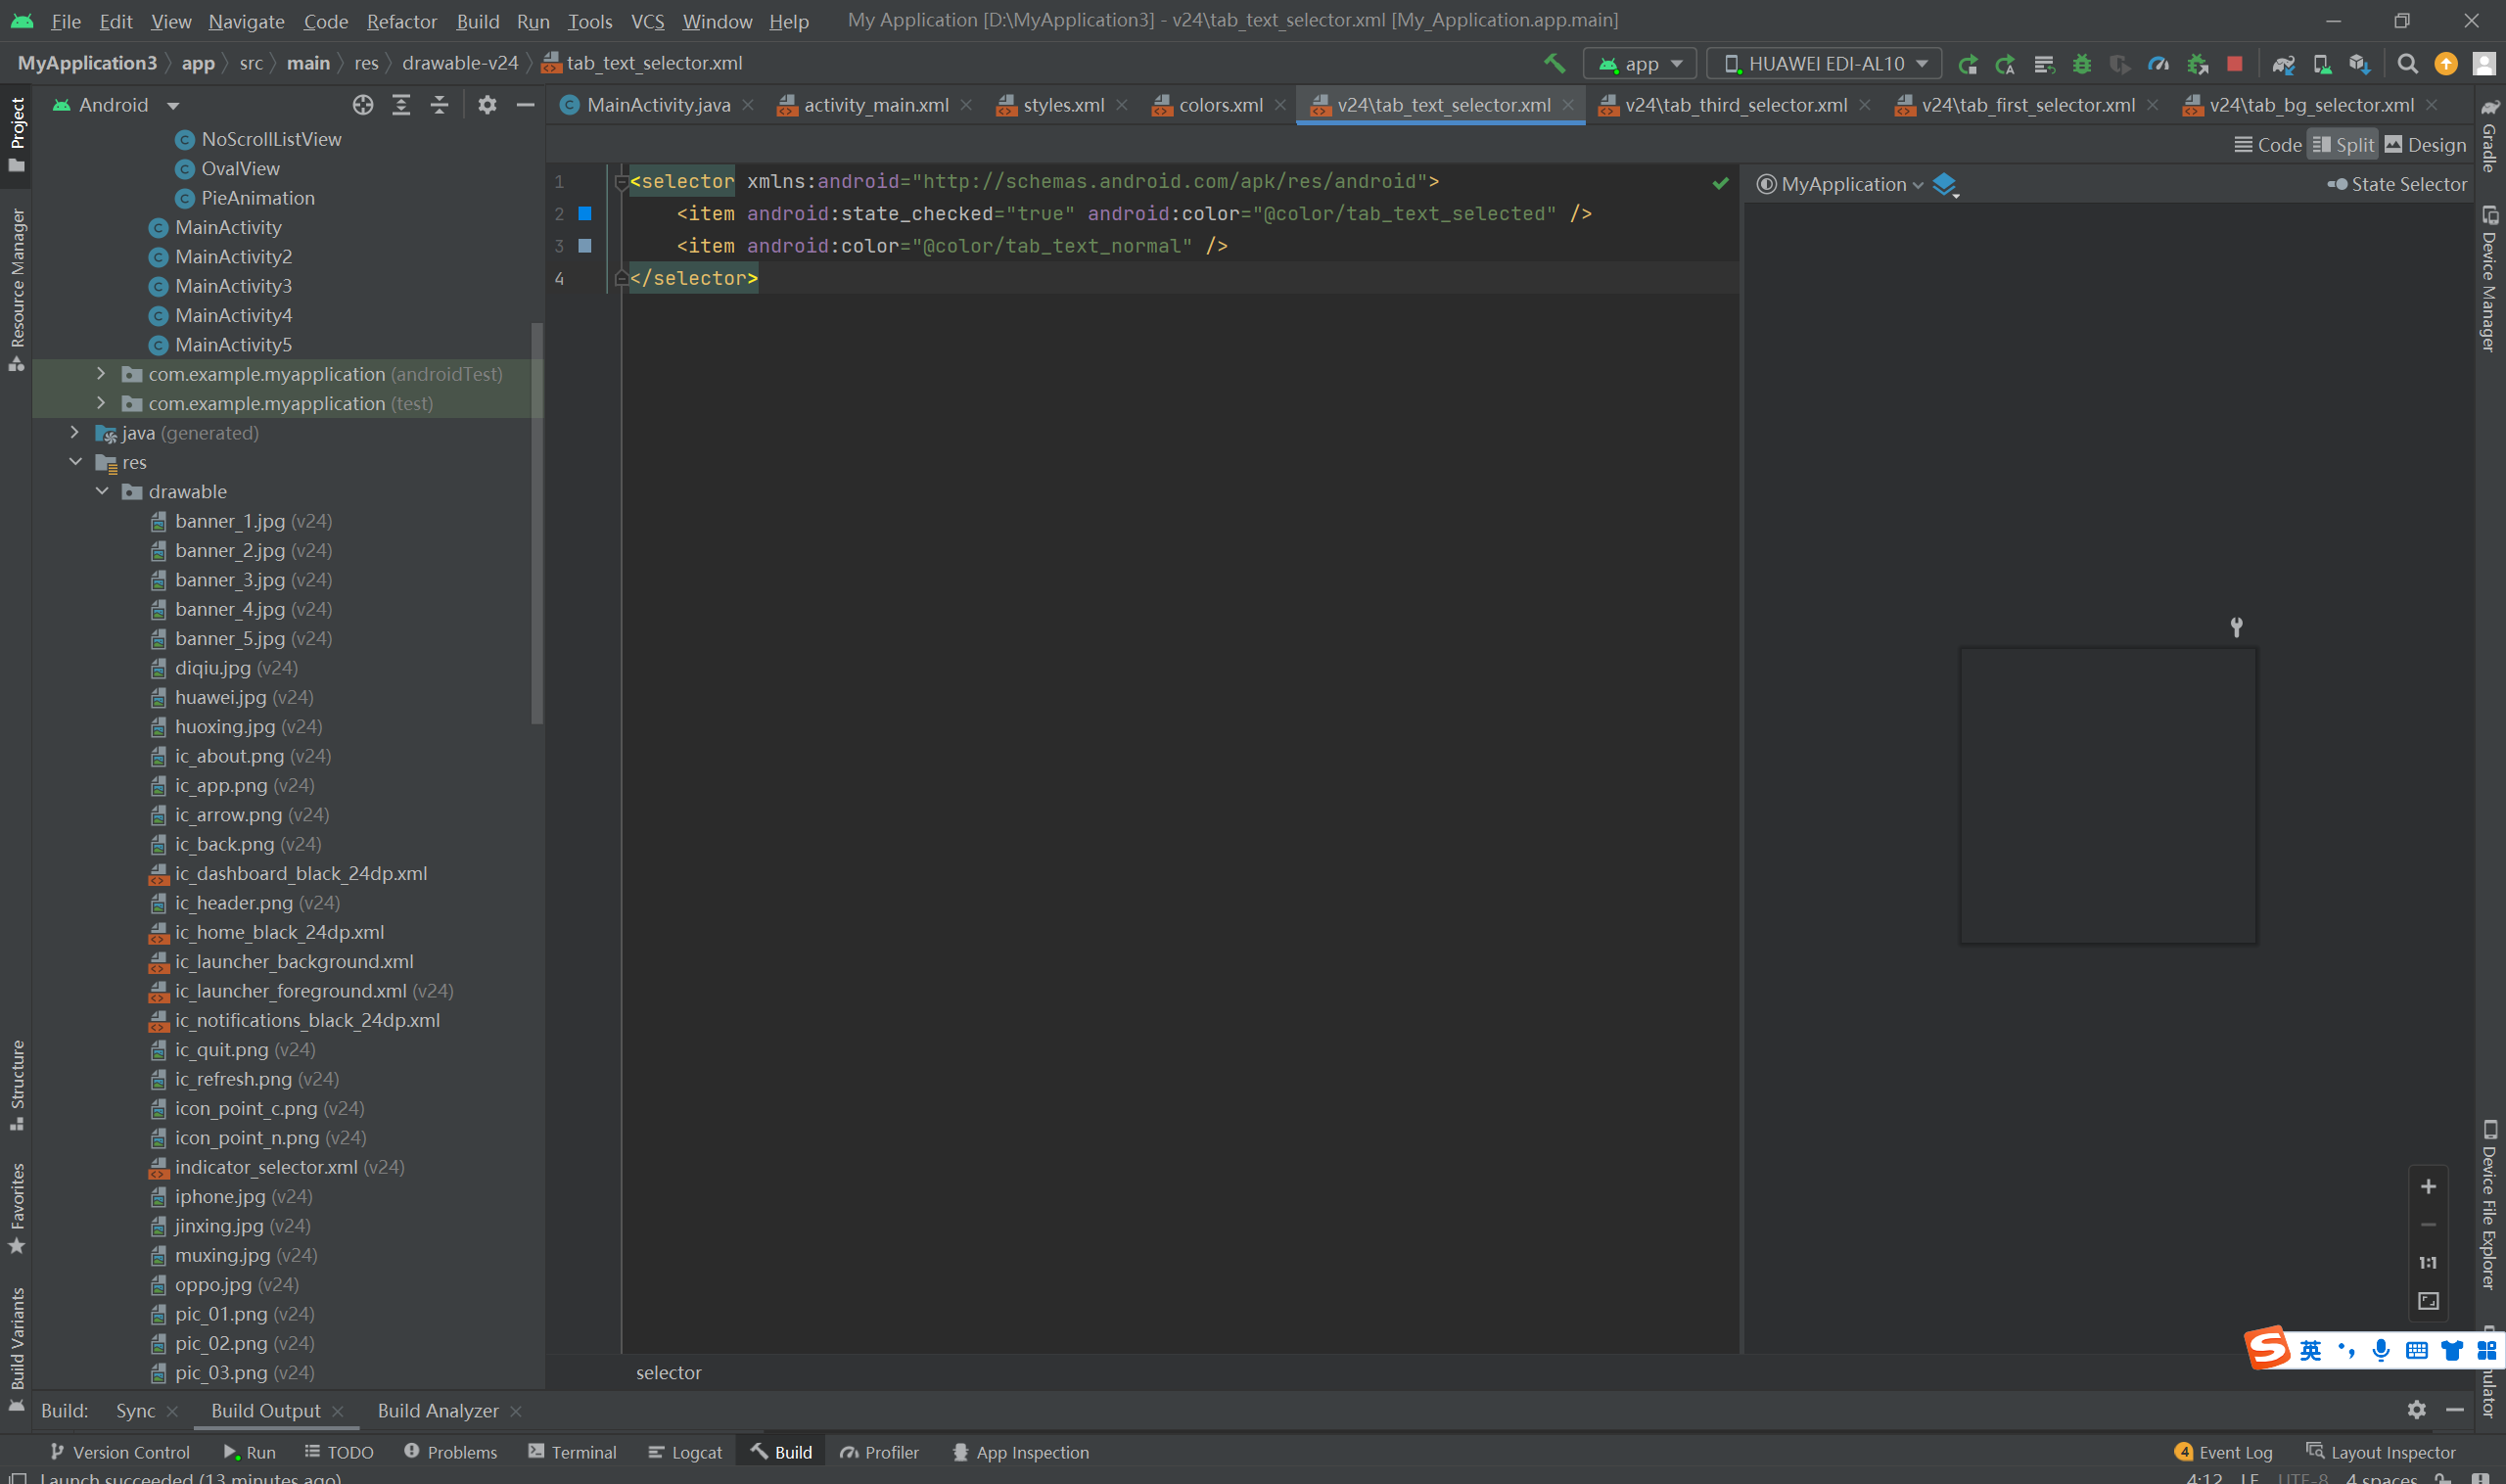
<selector xmlns:android="http://schemas.android.com/apk/res/android">
    <item android:state_checked="true" android:color="@color/tab_text_selected" />
    <item android:color="@color/tab_text_normal" />
</selector>
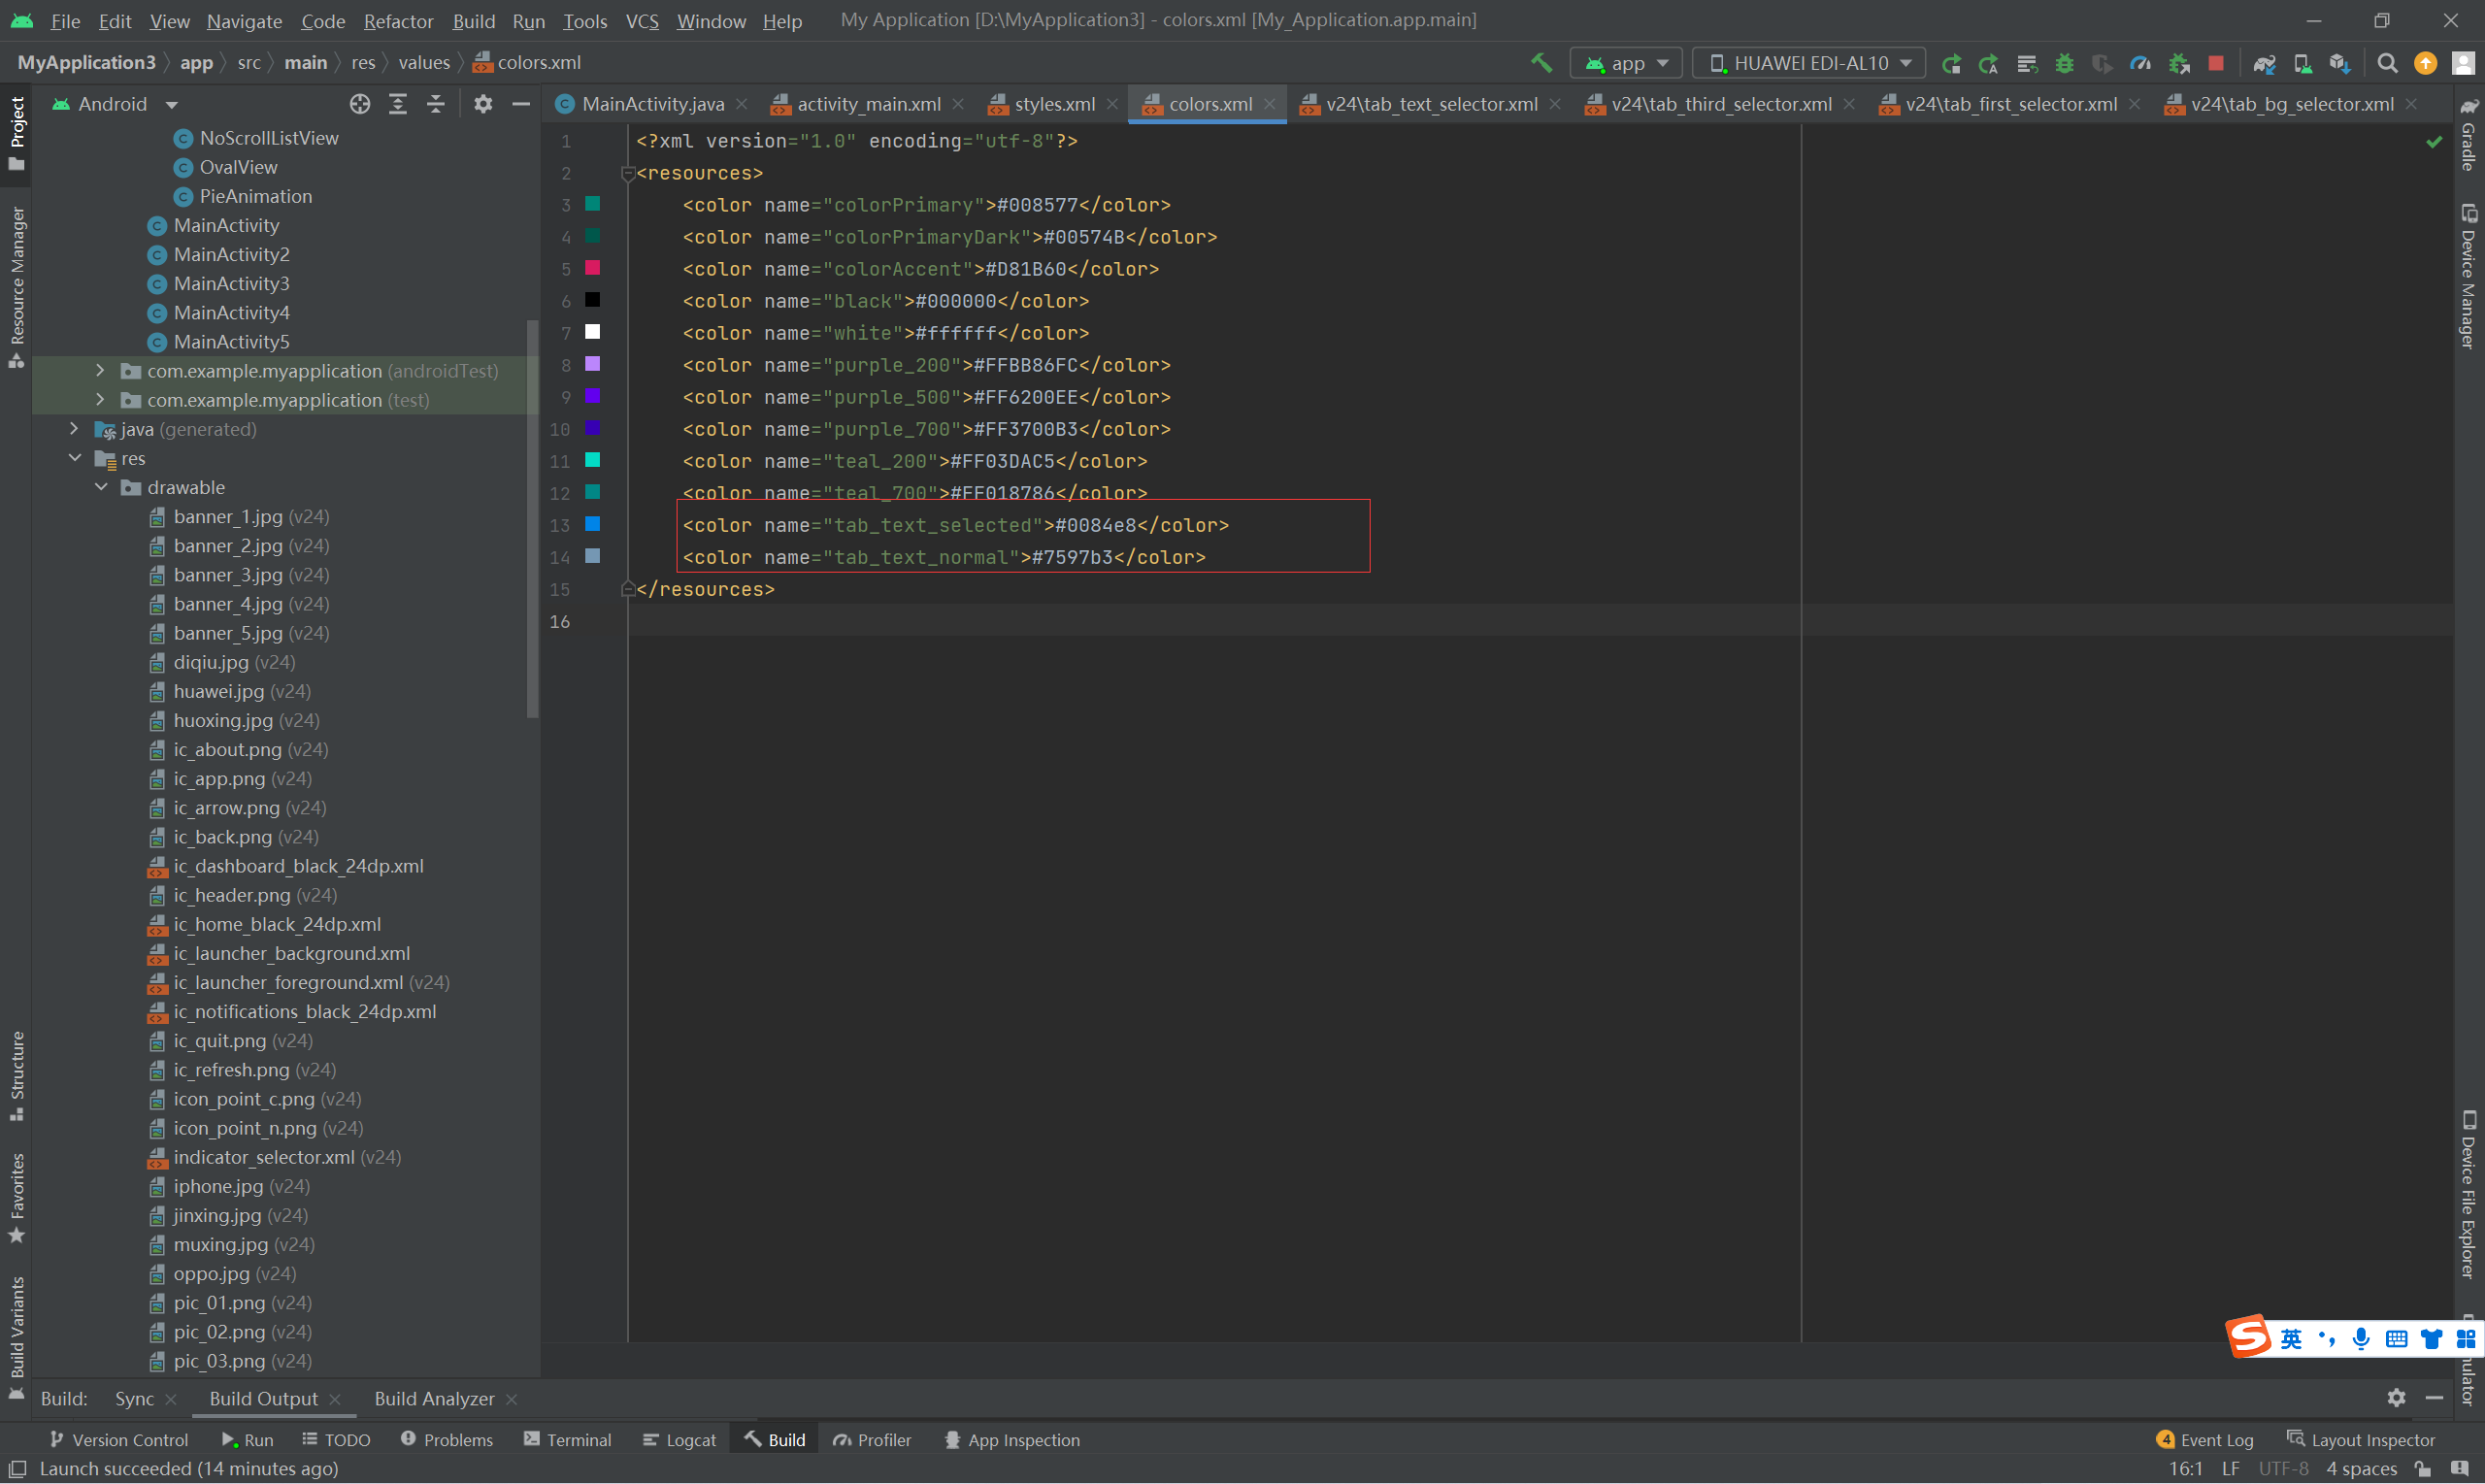
<?xml version="1.0" encoding="utf-8"?>
<resources>
    <color name="colorPrimary">#008577</color>
    <color name="colorPrimaryDark">#00574B</color>
    <color name="colorAccent">#D81B60</color>
    <color name="black">#000000</color>
    <color name="white">#ffffff</color>
    <color name="purple_200">#FFBB86FC</color>
    <color name="purple_500">#FF6200EE</color>
    <color name="purple_700">#FF3700B3</color>
    <color name="teal_200">#FF03DAC5</color>
    <color name="teal_700">#FF018786</color>
    <color name="tab_text_selected">#0084e8</color>
    <color name="tab_text_normal">#7597b3</color>
</resources>
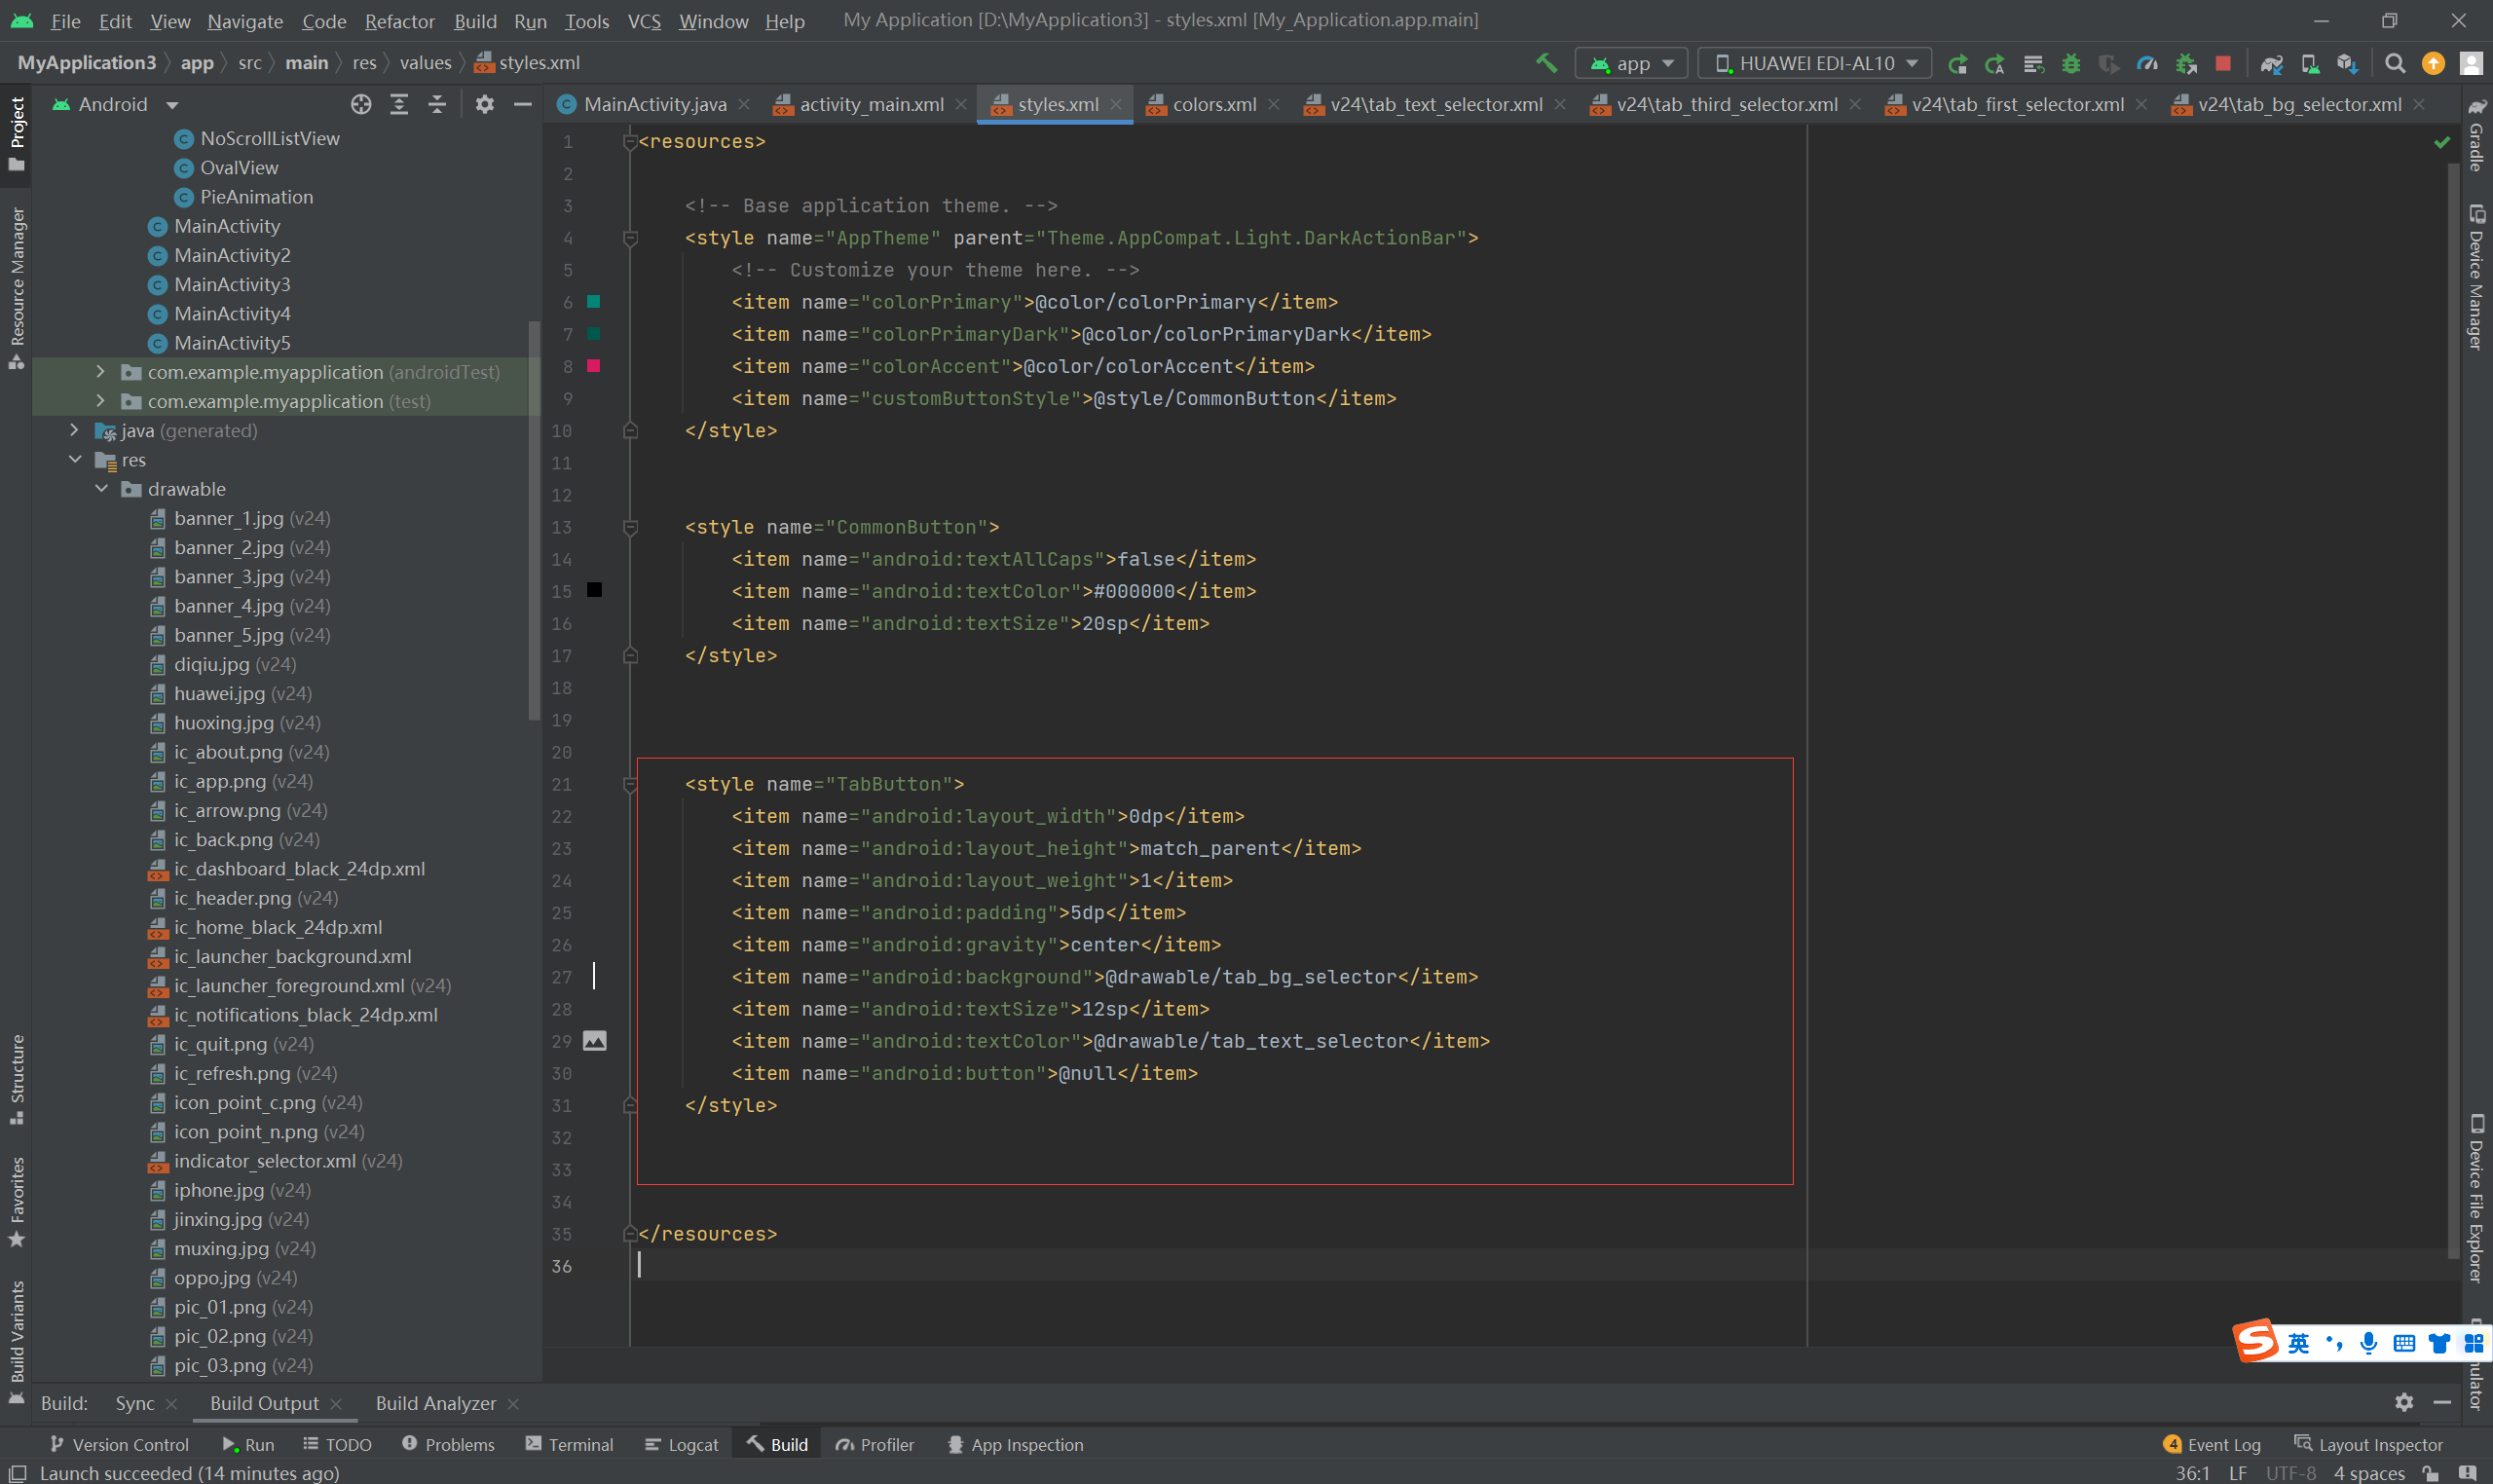
<resources>

    <!-- Base application theme. -->
    <style name="AppTheme" parent="Theme.AppCompat.Light.DarkActionBar">
        <!-- Customize your theme here. -->
        <item name="colorPrimary">@color/colorPrimary</item>
        <item name="colorPrimaryDark">@color/colorPrimaryDark</item>
        <item name="colorAccent">@color/colorAccent</item>
        <item name="customButtonStyle">@style/CommonButton</item>
    </style>


    <style name="CommonButton">
        <item name="android:textAllCaps">false</item>
        <item name="android:textColor">#000000</item>
        <item name="android:textSize">20sp</item>
    </style>


    <style name="TabButton">
        <item name="android:layout_width">0dp</item>
        <item name="android:layout_height">match_parent</item>
        <item name="android:layout_weight">1</item>
        <item name="android:padding">5dp</item>
        <item name="android:gravity">center</item>
        <item name="android:background">@drawable/tab_bg_selector</item>
        <item name="android:textSize">12sp</item>
        <item name="android:textColor">@drawable/tab_text_selector</item>
        <item name="android:button">@null</item>
    </style>


</resources>
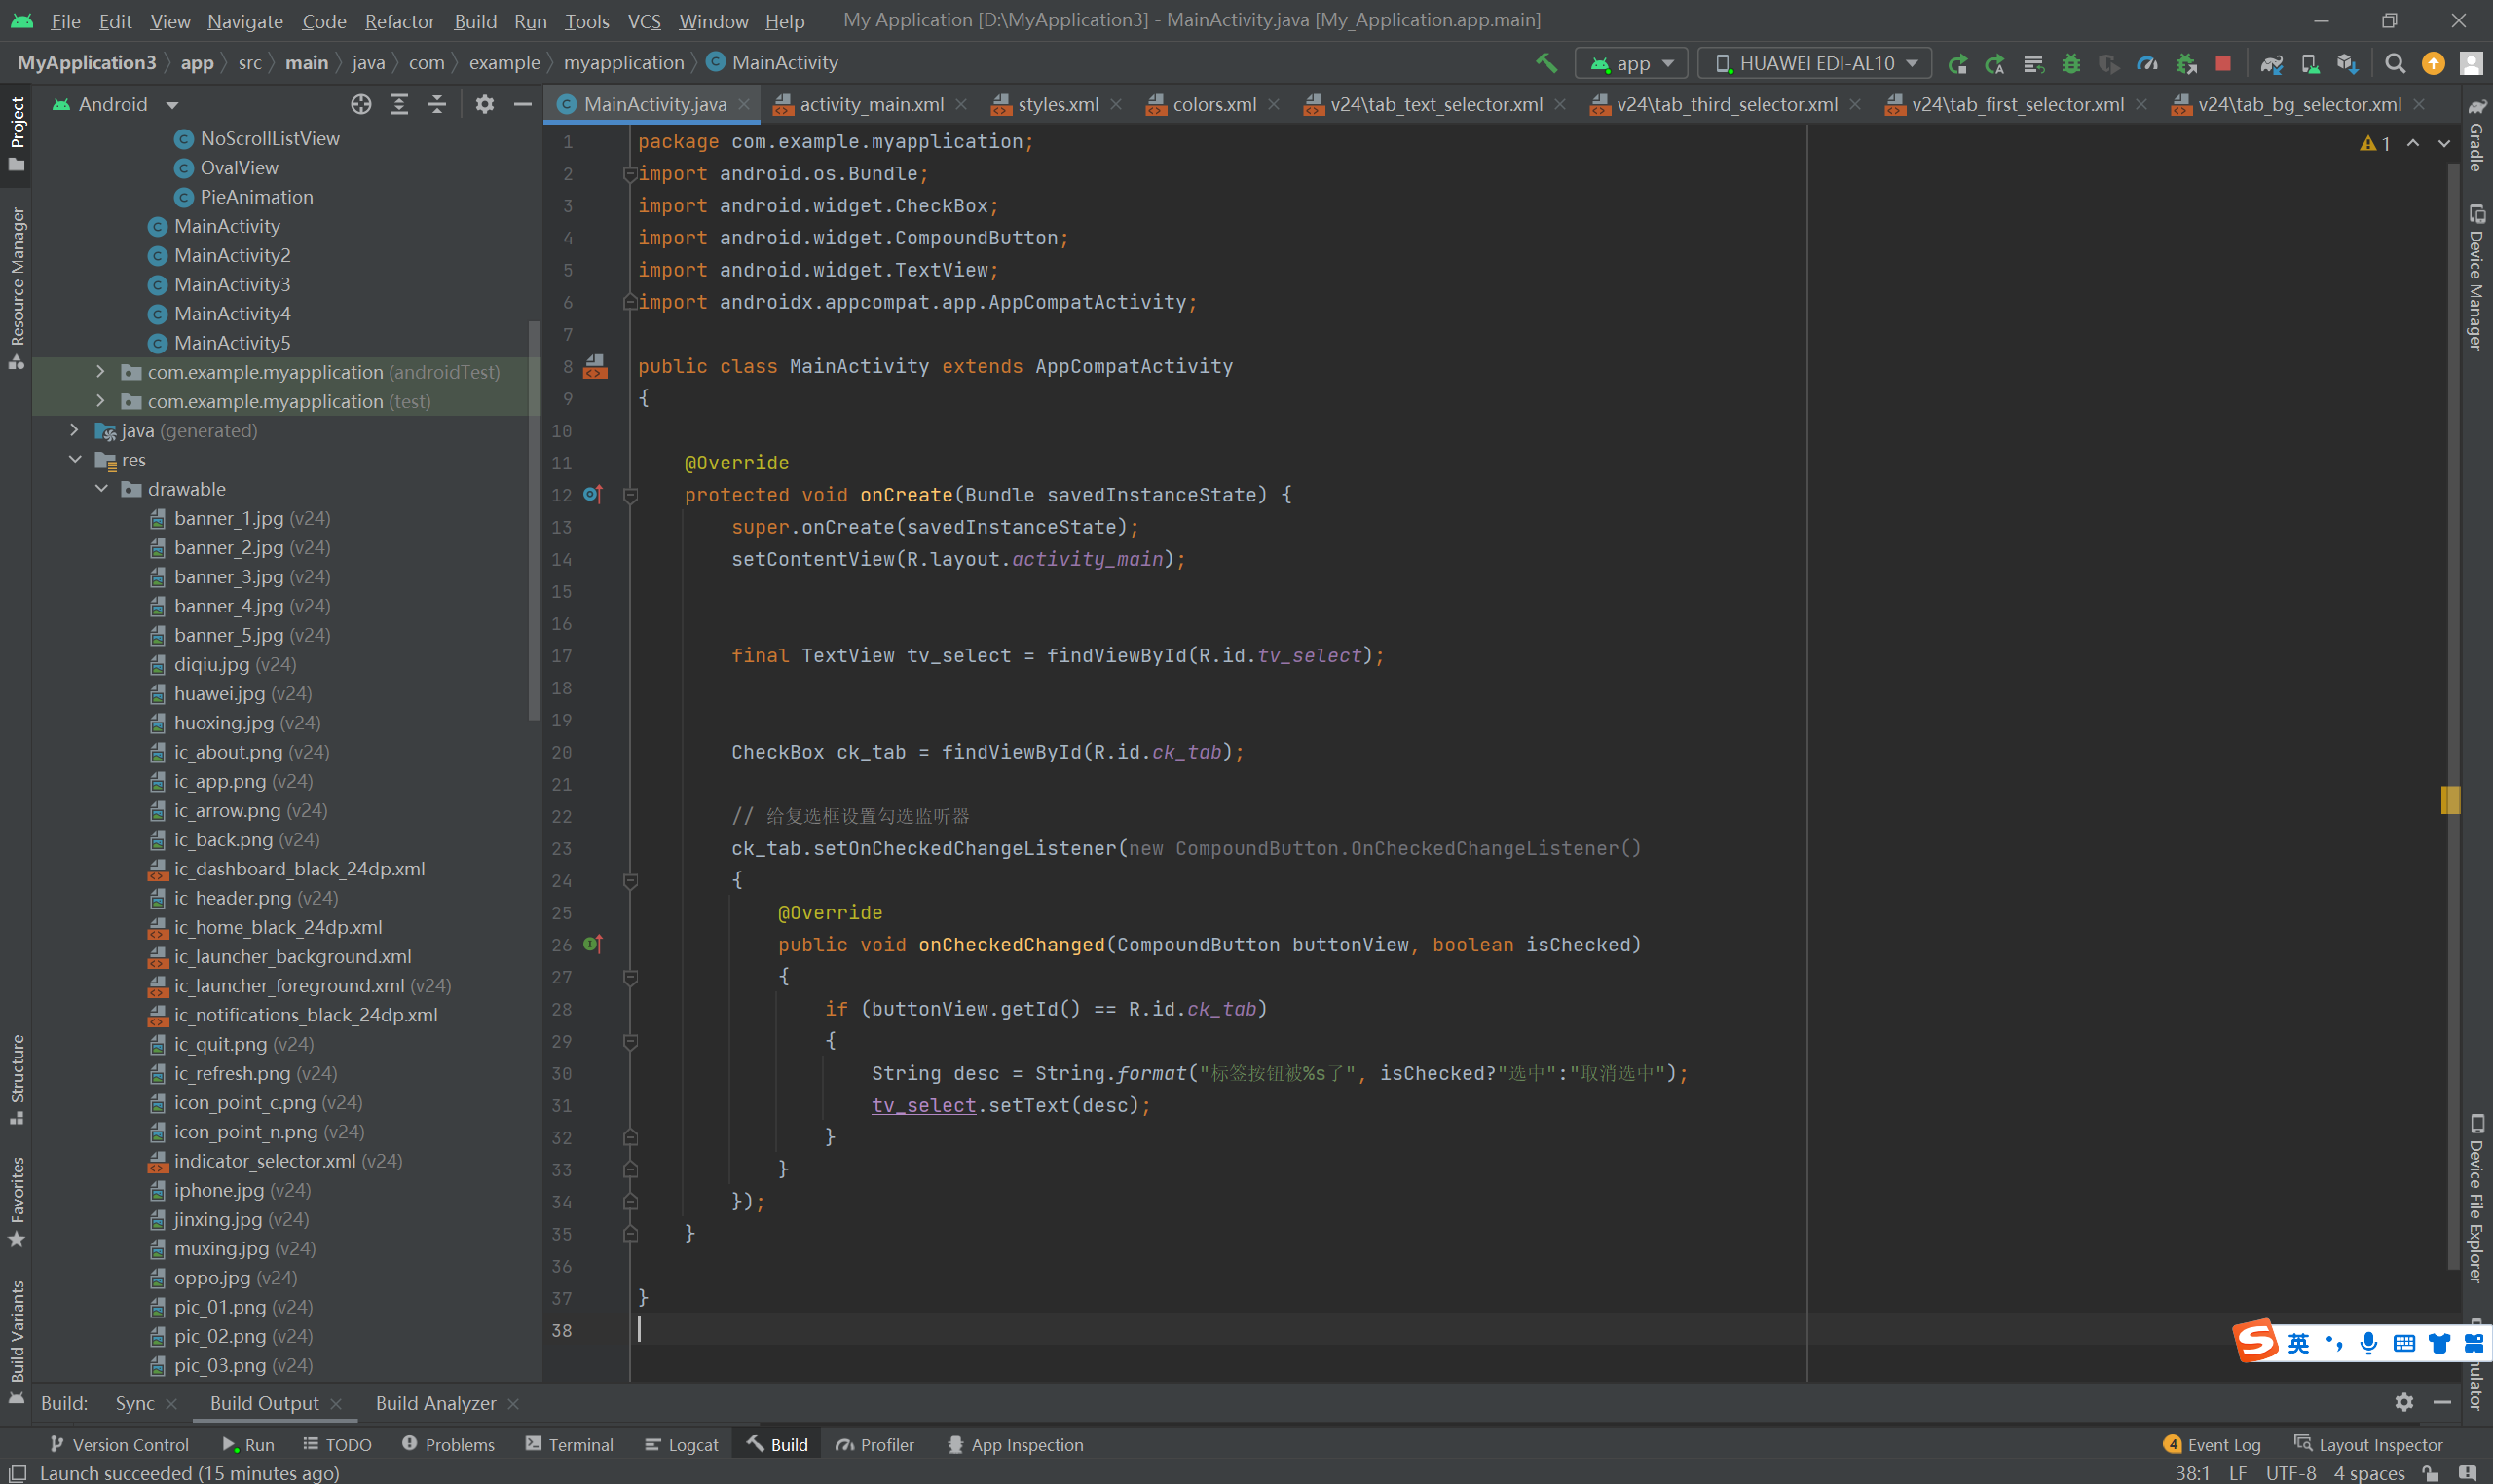
主代码:
package com.example.myapplication;
import android.os.Bundle;
import android.widget.CheckBox;
import android.widget.CompoundButton;
import android.widget.TextView;
import androidx.appcompat.app.AppCompatActivity;

public class MainActivity extends AppCompatActivity
{

    @Override
    protected void onCreate(Bundle savedInstanceState) {
        super.onCreate(savedInstanceState);
        setContentView(R.layout.activity_main);


        final TextView tv_select = findViewById(R.id.tv_select);


        CheckBox ck_tab = findViewById(R.id.ck_tab);

        // 给复选框设置勾选监听器
        ck_tab.setOnCheckedChangeListener(new CompoundButton.OnCheckedChangeListener()
        {
            @Override
            public void onCheckedChanged(CompoundButton buttonView, boolean isChecked)
            {
                if (buttonView.getId() == R.id.ck_tab)
                {
                    String desc = String.format("标签按钮被%s了", isChecked?"选中":"取消选中");
                    tv_select.setText(desc);
                }
            }
        });
    }

}
=======================================================================================================


 3328
3328

 被折叠的 条评论
为什么被折叠?
被折叠的 条评论
为什么被折叠?
 到【灌水乐园】发言


