


public View inflate(@LayoutRes int resource, @Nullable ViewGroup root, boolean attachToRoot) {
final Resources res = getContext().getResources();
XmlResourceParser parser = res.getLayout(resource);
try {
return inflate(parser, root, attachToRoot); //2
} finally {
parser.close();
}
}
复制代码
2、最终会调用到如下inflate方法,注释1处将root赋值给result;注释2处会通过createViewFromTag创建根View;注释4处用于inflate所有的children;这里解释一下最后一个attachToRoot参数,如果设置为true,会调用注释5将根view添加到root中然后将root返回;如果设置为false,会调用到注释3处,将root的参数设置到根view中去,但并不会执行addView操作,然后调用到注释6处将根view赋值给result,这样返回的就是根view而不是root;
public View inflate(XmlPullParser parser, @Nullable ViewGroup root, boolean attachToRoot) {
View result = root; //1
final String name = parser.getName();
// Temp is the root view that was found in the xml
final View temp = createViewFromTag(root, name, inflaterContext, attrs); //2
ViewGroup.LayoutParams params = null;
if (root != null) {
// Create layout params that match root, if supplied
params = root.generateLayoutParams(attrs);
if (!attachToRoot) {
// Set the layout params for temp if we are not
// attaching. (If we are, we use addView, below)
temp.setLayoutParams(params); //3
}
}
// Inflate all children under temp against its context.
rInflateChildren(parser, temp, attrs, true); //4
// We are supposed to attach all the views we found (int temp)
// to root. Do that now.
if (root != null && attachToRoot) {
root.addView(temp, params); //5
}
// Decide whether to return the root that was passed in or the
// top view found in xml.
if (root == null || !attachToRoot) {
result = temp; //6
}
return result;
}
复制代码
3、通过createViewFromTag创建根view,此方法调用链如下所示;注释1处是第一次创建view;注释2和注释3最终都会调用到注释3处的方法;注释1是一种情况,注释3是另一种情况,我们分别讨论一下;
private View createViewFromTag(View parent, String name, Context context, AttributeSet attrs) {
return createViewFromTag(parent, name, context, attrs, false);
}
View createViewFromTag(View parent, String name, Context context, AttributeSet attrs,
boolean ignoreThemeAttr) {
View view = tryCreateView(parent, name, context, attrs); //1
if (view == null) {
final Object lastContext = mConstructorArgs[0];
mConstructorArgs[0] = context;
try {
if (-1 == name.indexOf(‘.’)) {
view = onCreateView(context, parent, name, attrs); //2
} else {
view = createView(context, name, null, attrs); //3
}
}
}
return view;
}
复制代码
3-1 tryCreateView
第一种情况tryCreateView方法如下所示,如果mFactory2不为空,会通过注释1处mFactory2的onCreateView方法创建view;如果mFactory不为空,会通过注释2处mFactory的onCreateView创建view;那么这两个factory是什么呢?如注释3和注释4所示,Factory是一个单方法的接口,Factory2继承自Factory,重载了一个onCreateView方法;这两个变量初始都为空,因此我们开发者可以实现这两个接口,然后赋值给这两个变量,这样就会优先通过我们设置的方法加载view了;
public final View tryCreateView(@Nullable View parent, @NonNull String name,
@NonNull Context context,
@NonNull AttributeSet attrs) {
View view;
if (mFactory2 != null) {
view = mFactory2.onCreateView(parent, name, context, attrs); //1
} else if (mFactory != null) {
view = mFactory.onCreateView(name, context, attrs); //2
} else {
view = null;
}
return view;
}
private Factory mFactory; //3
private Factory2 mFactory2; //4
public interface Factory {
View onCreateView(@NonNull String name, @NonNull Context context,
@NonNull AttributeSet attrs);
}
public interface Factory2 extends Factory {
View onCreateView(@Nullable View parent, @NonNull String name,
@NonNull Context context, @NonNull AttributeSet attrs);
}
复制代码
3-2 createView
因为系统并没有给mFactory和mFactory2赋值,因此会走到createView方法;方法代码如下所示,注释1处首先从sConstructorMap获取构造方法,第一次肯定为空;然后走到注释2处,通过反射获得构造方法,mConstructorSignature这个参数代表的是两个参数的构造方法,因此返回的就是带两个参数的构造方法;接着在注释3处将构造方法放入sConstructorMap中;最后在注释4处通过newInstance方法获取view实例并返回;
public final View createView(@NonNull Context viewContext, @NonNull String name,
@Nullable String prefix, @Nullable AttributeSet attrs)
throws ClassNotFoundException, InflateException {
Constructor<? extends View> constructor = sConstructorMap.get(name); //1
if (constructor == null) {
constructor = clazz.getConstructor(mConstructorSignature); //2
constructor.setAccessible(true);
sConstructorMap.put(name, constructor); //3
}
Object lastContext = mConstructorArgs[0];
mConstructorArgs[0] = viewContext;
Object[] args = mConstructorArgs;
args[1] = attrs;
final View view = constructor.newInstance(args); //4
return view;
}
复制代码
三、AndroidX的AppCompatActivity源码变化
1、当我们的Activity继承自AppCompatActivity时,setContentView方法会调用到AppCompatActivity的setContentView;因此最终调用的是AppCompatDelegateImpl的setContentView;
AppCompatActivity – setContentView
public void setContentView(@LayoutRes int layoutResID) {
getDelegate().setContentView(layoutResID);
}
AppCompatActivity – getDelegate
public AppCompatDelegate getDelegate() {
if (mDelegate == null) {
mDelegate = AppCompatDelegate.create(this, this);
}
return mDelegate;
}
AppCompatDelegate – create
自我介绍一下,小编13年上海交大毕业,曾经在小公司待过,也去过华为、OPPO等大厂,18年进入阿里一直到现在。
深知大多数Android工程师,想要提升技能,往往是自己摸索成长或者是报班学习,但对于培训机构动则几千的学费,着实压力不小。自己不成体系的自学效果低效又漫长,而且极易碰到天花板技术停滞不前!
因此收集整理了一份《2024年Android移动开发全套学习资料》,初衷也很简单,就是希望能够帮助到想自学提升又不知道该从何学起的朋友,同时减轻大家的负担。
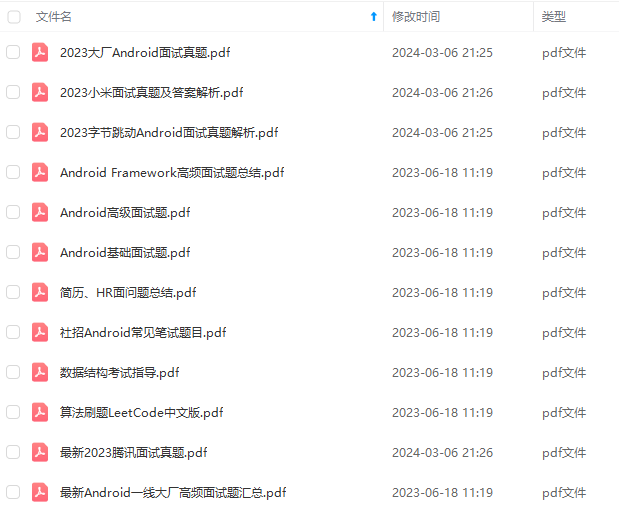

既有适合小白学习的零基础资料,也有适合3年以上经验的小伙伴深入学习提升的进阶课程,基本涵盖了95%以上Android开发知识点,真正体系化!
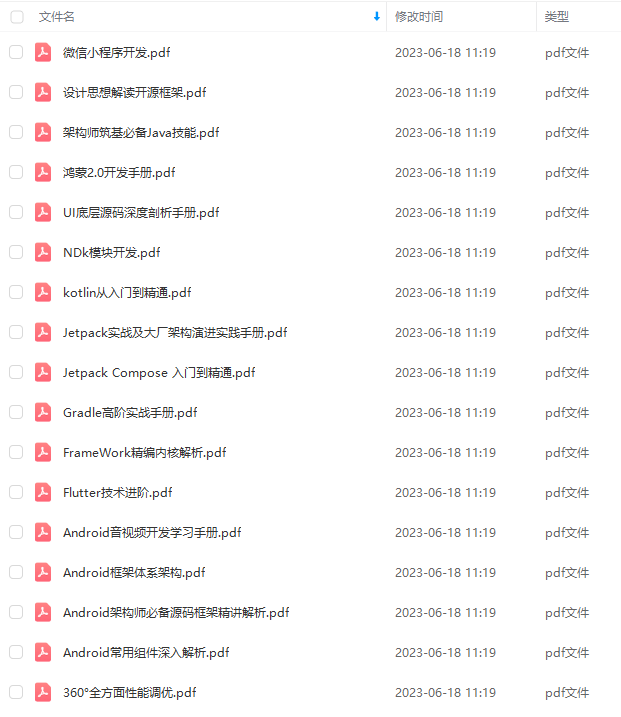
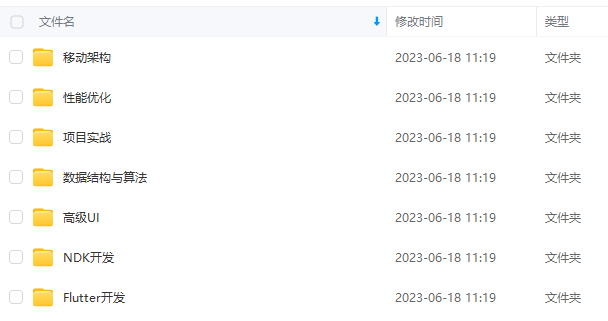
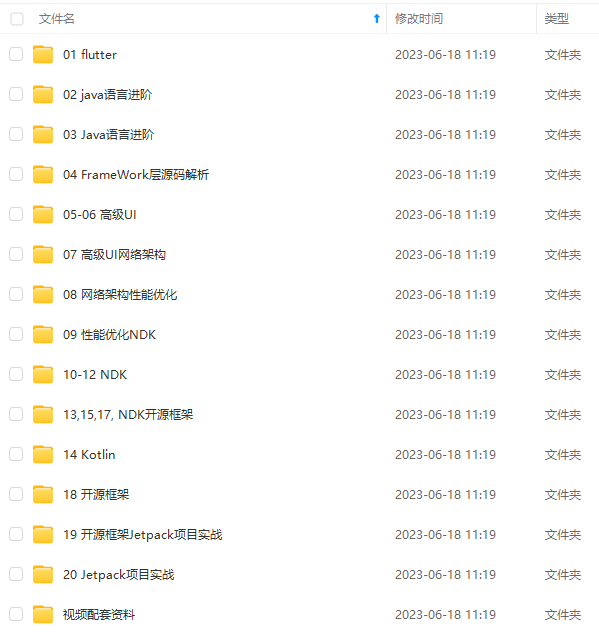
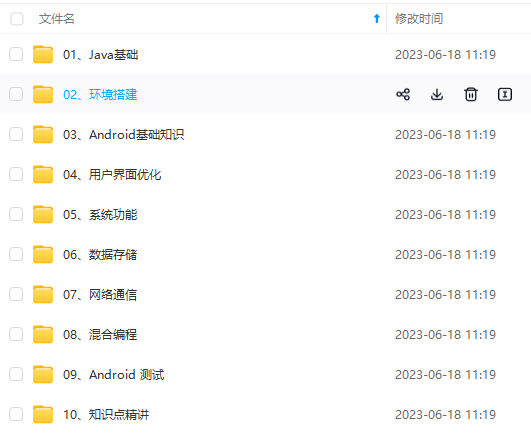
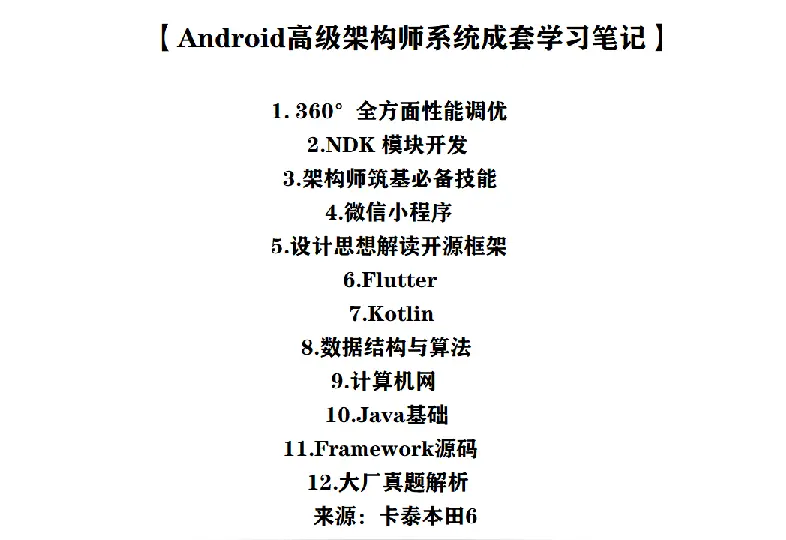
由于文件比较大,这里只是将部分目录大纲截图出来,每个节点里面都包含大厂面经、学习笔记、源码讲义、实战项目、讲解视频,并且后续会持续更新
如果你觉得这些内容对你有帮助,可以添加V获取:vip204888 (备注Android)

总结
**其实上面说了这么多,钱是永远赚不完的,在这个知识付费的时代,知识技能提升才是是根本!我作为一名8年的高级工程师,知识技能已经学习的差不多。**在看这篇文章的可能有刚刚入门,刚刚开始工作,或者大佬级人物。
像刚刚开始学Android开发小白想要快速提升自己,最快捷的方式,就是有人可以带着你一起分析,这样学习起来最为高效,所以这里分享一套高手学习的源码和框架视频等精品Android架构师教程,保证你学了以后保证薪资上升一个台阶。
这么重要的事情说三遍啦!点赞+点赞+点赞!
【Android高级架构师系统学习资料】高级架构师进阶必备——设计思想解读开源框架
第一章、热修复设计
第二章、插件化框架设计
第三章、组件化框架设计
第四章、图片加载框架
第五章、网络访问框架设计
第六章、RXJava 响应式编程框架设计
第七章、IOC 架构设计
第八章、Android 架构组件 Jetpack

有人可以带着你一起分析,这样学习起来最为高效,所以这里分享一套高手学习的源码和框架视频等精品Android架构师教程,保证你学了以后保证薪资上升一个台阶。
这么重要的事情说三遍啦!点赞+点赞+点赞!
[外链图片转存中…(img-08pl4sI9-1712080291678)]
【Android高级架构师系统学习资料】高级架构师进阶必备——设计思想解读开源框架
第一章、热修复设计
第二章、插件化框架设计
第三章、组件化框架设计
第四章、图片加载框架
第五章、网络访问框架设计
第六章、RXJava 响应式编程框架设计
第七章、IOC 架构设计
第八章、Android 架构组件 Jetpack
[外链图片转存中…(img-Em96V7Uw-1712080291678)]


 3919
3919

 被折叠的 条评论
为什么被折叠?
被折叠的 条评论
为什么被折叠?
 到【灌水乐园】发言


