


 本文介绍了如何使用Fragment和FrameLayout在Android应用中实现底部Tab切换的效果。通过创建多个Fragment作为页卡内容,并结合帧布局,展示了Tab切换的实现过程,同时讨论了直接替换Fragment和使用ViewPager两种方法的优缺点。
前言
底部切换效果已经很常见了,本文介绍其中的一种实现方法:FrameLayout+Fragment
本案例已上传至Github,你可以查看完整源码,也可以下载demo apk体验一下
实现效果如下:
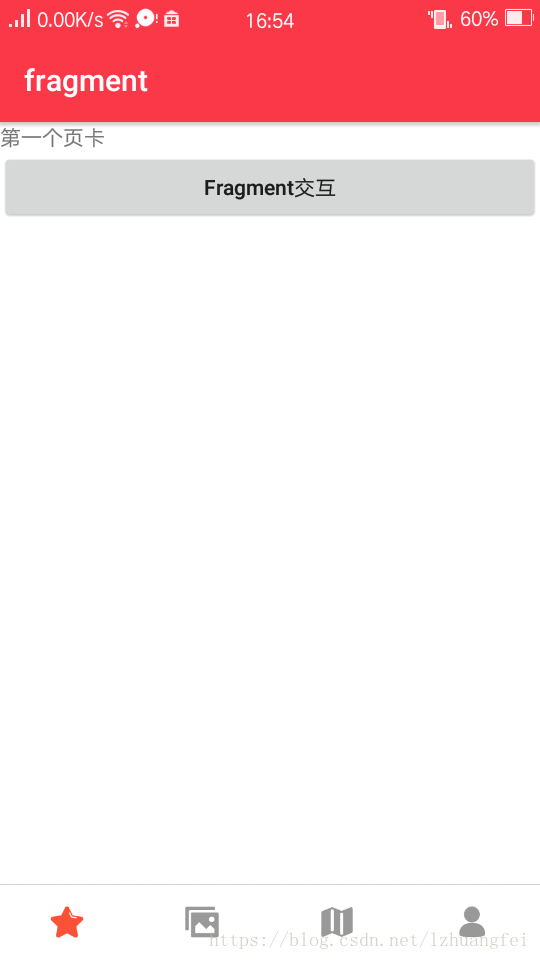
Tab切换
Step1:创建Fragment
创建四个页卡所表示的Fragment以及其布局文件,图中每个页卡都是一个Fragment(碎片)
先创建第一个页卡的Fragment以及布局文件
fragment_tab1.xml
<LinearLayout xmlns:android="http://schemas.android.com/apk/res/android"
    xmlns:tools="http://schemas.android.com/tools"
    android:layout_width="match_parent"
    android:layout_height="match_parent"
    tools:context="com.zhuangfei.fragment.TabFragment1"
    android:orientation="vertical">

    <TextView
        android:layout_width="match_parent"
        android:layout_height="wrap_content"
        android:text="第一个页卡" />

    <Button
        android:id="@+id/tab1_btn"
        android:layout_width="match_parent"
        android:layout_height="wrap_content"
        android:textAllCaps="false"
        android:text="Fragment交互"/>

</LinearLayout>
TabFragment1.java
import android.os.Bundle;
import android.support.v4.app.Fragment;
import android.view.LayoutInflater;
import android.view.View;
import android.view.ViewGroup;
import android.widget.Button;
import android.widget.Toast;

/**
 *第一个页卡
 * A simple {@link Fragment} subclass.
 */
public class TabFragment1 extends Fragment {


    View view;

    @Override
    public View onCreateView(LayoutInflater inflater, ViewGroup container,
                             Bundle savedInstanceState) {
        view=inflater.inflate(R.layout.fragment_tab1, container, false);

        Button button=view.findViewById(R.id.tab1_btn);
        button.setOnClickListener(new View.OnClickListener() {
            @Override
            public void onClick(View view) {
                Toast.makeText(getContext(),"findViewById()时不要忘了前边的view."
                        ,Toast.LENGTH_SHORT).show();
            }
        });
        return view;
    }
}以下copy3份,并简单的修改一下显示的文字
fragment_tab2.xml
<LinearLayout xmlns:android="http://schemas.android.com/apk/res/android"
    xmlns:tools="http://schemas.android.com/tools"
    android:layout_width="match_parent"
    android:layout_height="match_parent"
    tools:context="com.zhuangfei.fragment.TabFragment1">

    <TextView
        android:layout_width="match_parent"
        android:layout_height="match_parent"
        android:text="第二个页卡" />

&
最低0.47元/天 解锁文章


 3655
3655

 被折叠的 条评论
为什么被折叠?
被折叠的 条评论
为什么被折叠?
 到【灌水乐园】发言


