


 本文详细介绍了使用Apache Shiro框架进行权限认证的具体步骤,包括配置XML文件、初始化SecurityManager、登录验证、角色与权限授权,以及自定义Realm的实现过程。
第一 、配置 xml 文件
认证 Authentication
第二、controller层 建立factory,初始化
Factory<SecurityManager> factory = new IniSecurityManagerFactory("F:\\SoftwareInstall\\Eclipse\\workSpace\\shiro\\src\\main\\resources\\shiro.ini");
		SecurityManager sm = factory.getInstance();
		SecurityUtils.setSecurityManager(sm);
		Subject subject = SecurityUtils.getSubject();

F:\\SoftwareInstall\\Eclipse\\workSpace\\shiro\\src\\main\\resources\\shiro.ini  为shiro.ini的绝对地址或相对地址。
shiro.ini代码:
[main]
userRealm=com.nt.realm.UserRealm
# 定义凭证匹配器类
credentialsMatcher =org.apache.shiro.authc.credential.HashedCredentialsMatcher
# 设置加密算法
credentialsMatcher.hashAlgorithmName=md5
# 迭代次数
credentialsMatcher.hashIterations=2
# 引用凭证匹配器
userRealm.credentialsMatcher=$credentialsMatcher

securityManager.realms=$userRealm
第三、传入登录输入的名字和密码
UsernamePasswordToken token = new UsernamePasswordToken(u.getUsername(),u.getPassword());
第四、调用subject.login. 作用是:调用自定义的realm类,传入登陆的名字在数据库查询。在底层(不可见)自行对密码验证。(坑,传入的密码会先加密后(在shiro.ini里设置加密)与数据库的密码匹配,即如若加密,则数据库的密码是被加密好的,不然报错)
2、subject.login(token)此步调用认证和授权两步,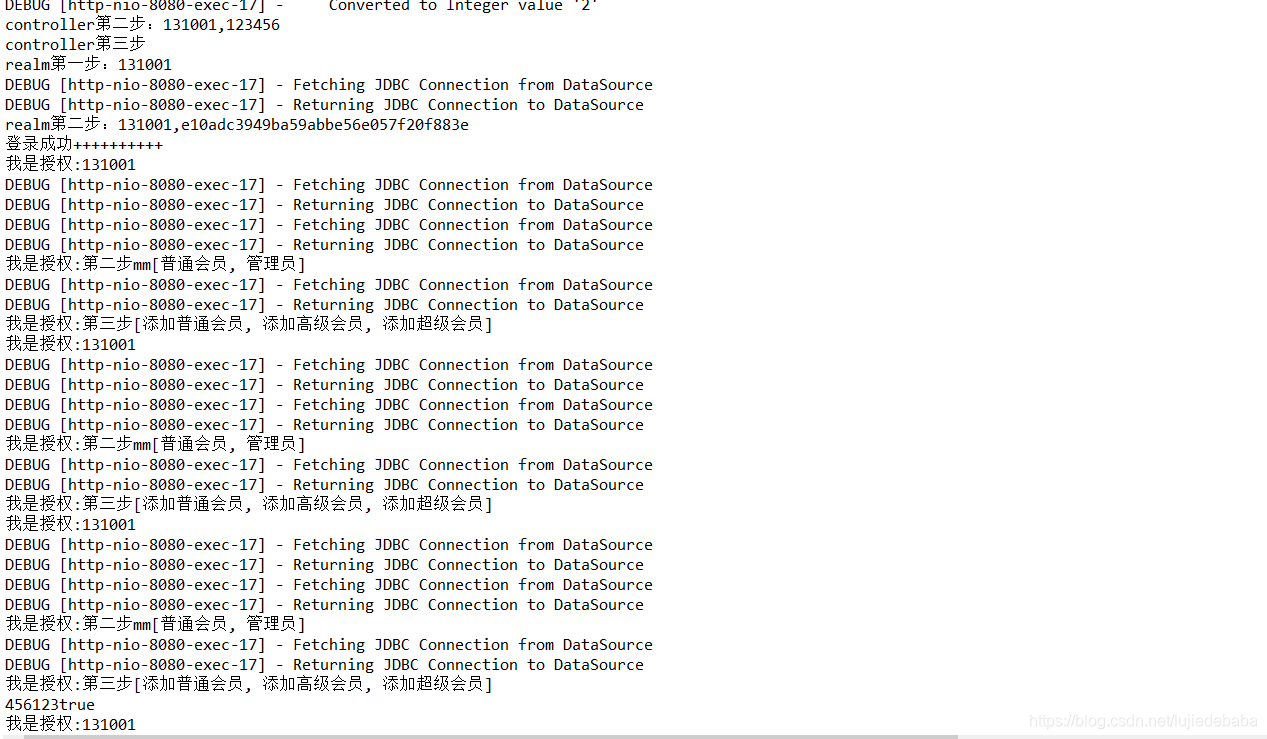
3、subject.hasAllRoles(list),subject.isPermittedAll(“添加普通会员”,“添加高级会员”,“添加超级会员”); 各调用一次realm 授权方法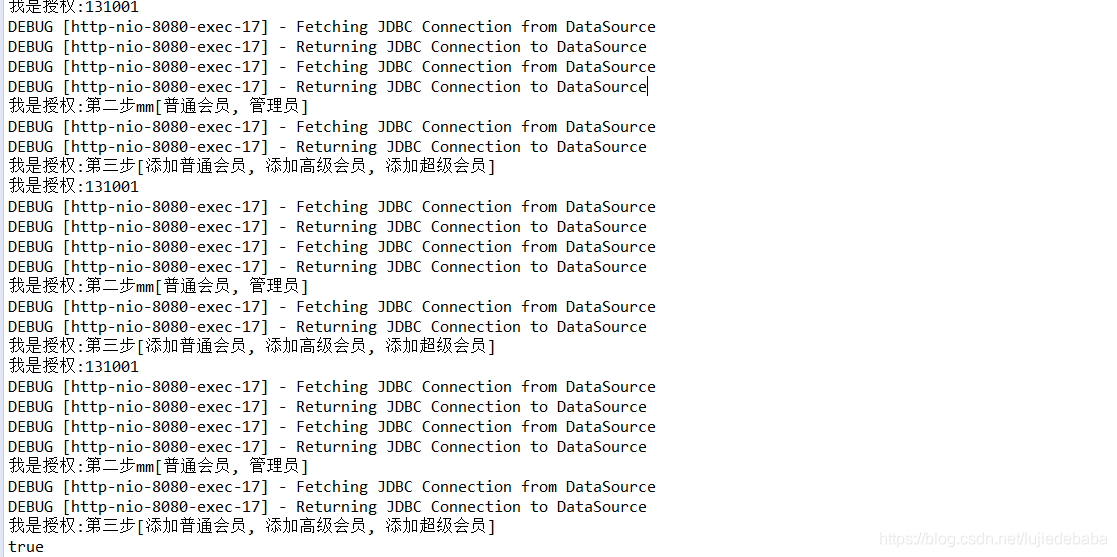
try {
			subject.login(token);

		//User us = (User) subject.getSession();

			System.out.println("登录成功");


 List<String>  list  = new  ArrayList<String>();
		  list.add("管理员");
		  list.add("普通会员");
			System.out.println("456123"+subject.hasAllRoles(list));
		System.out.println(subject.isPermittedAll("添加普通会员","添加高级会员","添加超级会员"));
			mav.addObject("status","恭喜您登录成功!!!");
			  return mav;

		} catch (UnknownAccountException e) {
			System.out.println("账户不存在");
		} catch (IncorrectCredentialsException e) {
			System.out.println("密码错误");
		}
第五、执行自定义realm,代码如下,应在第四步前,贴出来方便大家理解
	@Override
	protected AuthenticationInfo doGetAuthenticationInfo(AuthenticationToken token) throws AuthenticationException {
		// TODO Auto-generated method stub
		   // 获取需要验证的用户名


		String username = (String)token.getPrincipal();


		System.out.println("realm第一步:"+username);
        // 查询数据库中是否存在该用户名
        User user = this.userService.getUserByUserName(username);//查出数据

    	System.out.println("realm第二步:"+user.getUsername()+","+user.getPassword());

        if (user!= null) {
            // 存在
        	SimpleAuthenticationInfo simpleAuthenticationInfo = new SimpleAuthenticationInfo(user.getUsername(), user.getPassword(), getName());
            return simpleAuthenticationInfo;
        }
        // 不存在
		return null;

	}
授权(角色和权限) Authorization
    /**
     * 为当前登录的用户授予角色和权限
     * @param principalCollection
     * @return
     */
	@Override
    protected AuthorizationInfo doGetAuthorizationInfo(PrincipalCollection principalCollection) {
        // 获取需要授权的用户名
        String username = (String) principalCollection.getPrimaryPrincipal();

        System.out.println("我是授权:"+username);
        // 创建授权对象
        SimpleAuthorizationInfo authzInfo = new SimpleAuthorizationInfo();
        // 查询当前用户名角色并授权
        authzInfo.setRoles(this.userService.getRolesByUserName(username));
        System.out.println("我是授权:第二步mm"+this.userService.getRolesByUserName(username));


        // 查询当前用户名权限并授权
        authzInfo.setStringPermissions(this.userService.getPermissionByUserName(username));
        System.out.println("我是授权:第三步"+authzInfo.getStringPermissions());
        return authzInfo;
    }
:权限分配应该由前台来实现,将可操作的按钮和链接等组件隐藏,shiro只要将查到的权限名返回给前台,前台的组件与权限名绑定,让组件显示或隐藏。


 862
862

 被折叠的 条评论
为什么被折叠?
被折叠的 条评论
为什么被折叠?
 到【灌水乐园】发言


