


 本文详细介绍了如何在服务器上安装并配置Nginx、MySQL及PHP7,通过一系列命令实现LNMP环境的快速部署。文章提供了具体的安装步骤及Nginx配置示例,并指导如何启动与设置服务开机自启。
Nginx以及MySQL安装请看上面的博客
PHP7安装
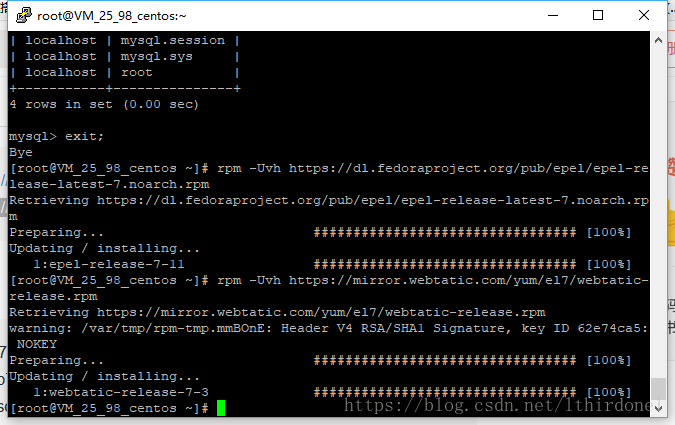
rpm -Uvh https://dl.fedoraproject.org/pub/epel/epel-release-latest-7.noarch.rpm
rpm -Uvh https://mirror.webtatic.com/yum/el7/webtatic-release.rpm
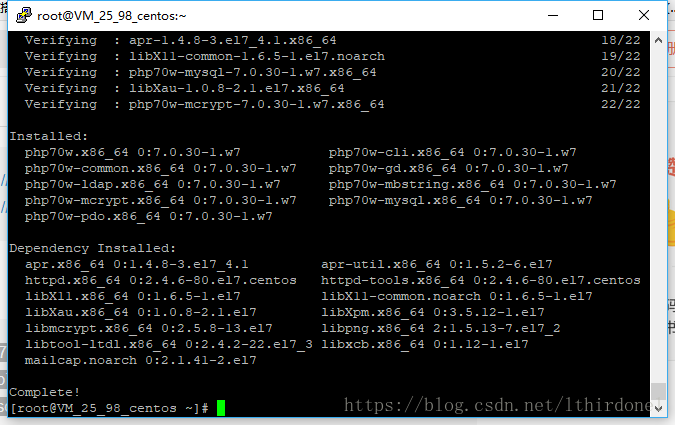
安装PHP7以及需要的插件
yum install php71w php71w-fpm php71w-cli php71w-common php71w-devel php71w-gd php71w-pdo php71w-mysql php71w-mbstring php71w-bcmath
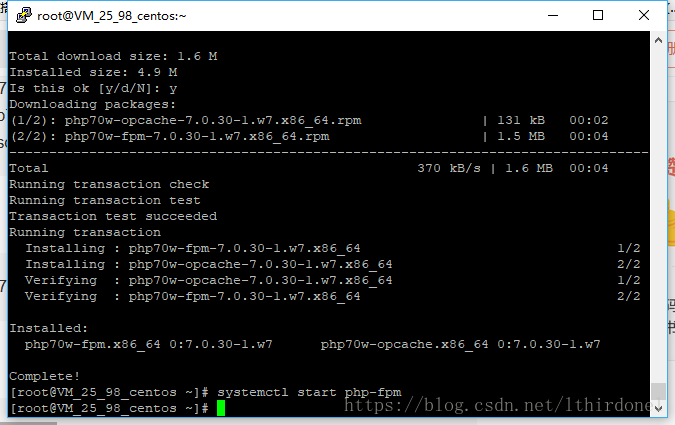
启动php-fpm
systemctl start php-fpm
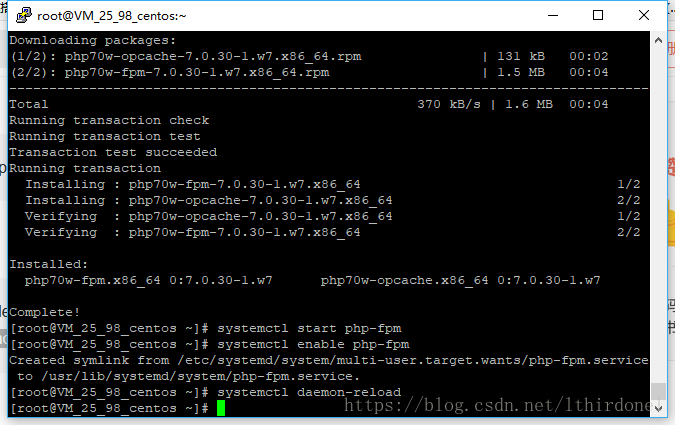
开机启动设置
systemctl enable php-fpm
systemctl daemon-reload
修改nginx根目录
修改 /etc/nginx/conf.d/default.conf
用以下代码替换
server {
    listen       80;
    server_name  localhost;
    location / {
        root   /www;
        index  index.html index.htm index.php;
    }
    error_page   500 502 503 504  /50x.html;
    location = /50x.html {
        root   /usr/share/nginx/html;
    }
    location ~ \.php$
    {
        root /www; fastcgi_pass 127.0.0.1:9000;
        fastcgi_index index.php;
        fastcgi_param SCRIPT_FILENAME $document_root$fastcgi_script_name;
        include fastcgi_params;
    }
}
上面的root /www; 代表你html的路径,这是已经修改到/www的路径
ps:具体nginx配置会发新的一个博客,感谢关注。
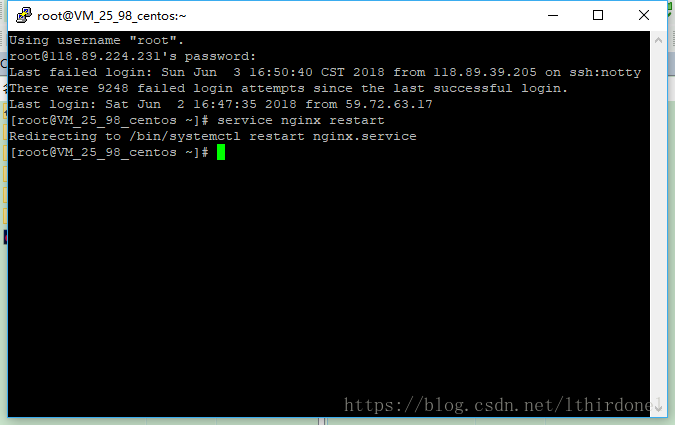
重启Nginx使修改生效
service nginx restart
(如果前面安装完成nginx后可能没重启,直接重启服务器就ok)
经过NMP这三部的安装后,至此LNMP的搭建就完成了!


 515
515

 被折叠的 条评论
为什么被折叠?
被折叠的 条评论
为什么被折叠?
 到【灌水乐园】发言


